Recovering Lost Excel Worksheet Password
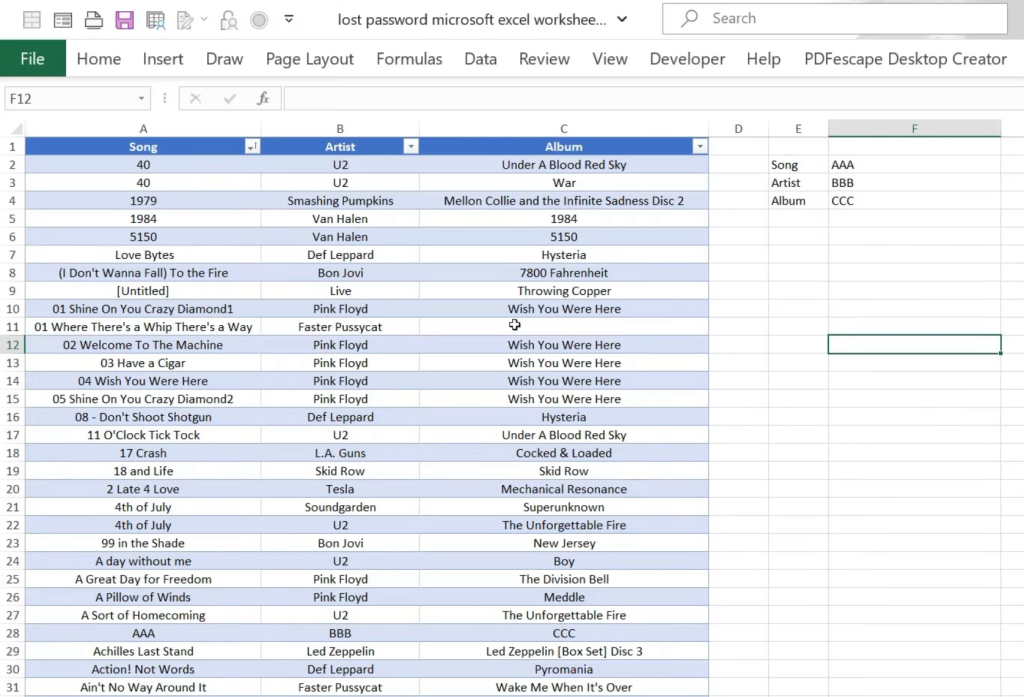
Launch Microsoft Excel and open the workbook containing the password-protected worksheet.
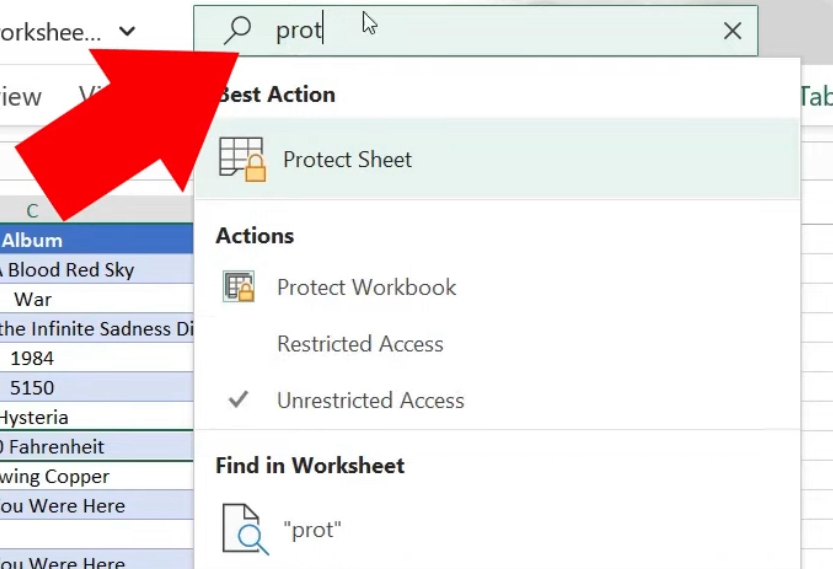
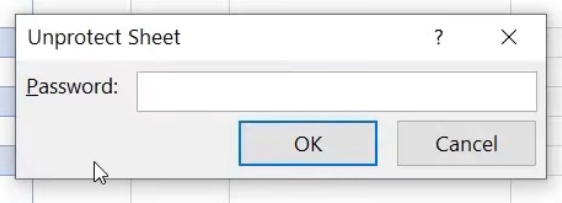
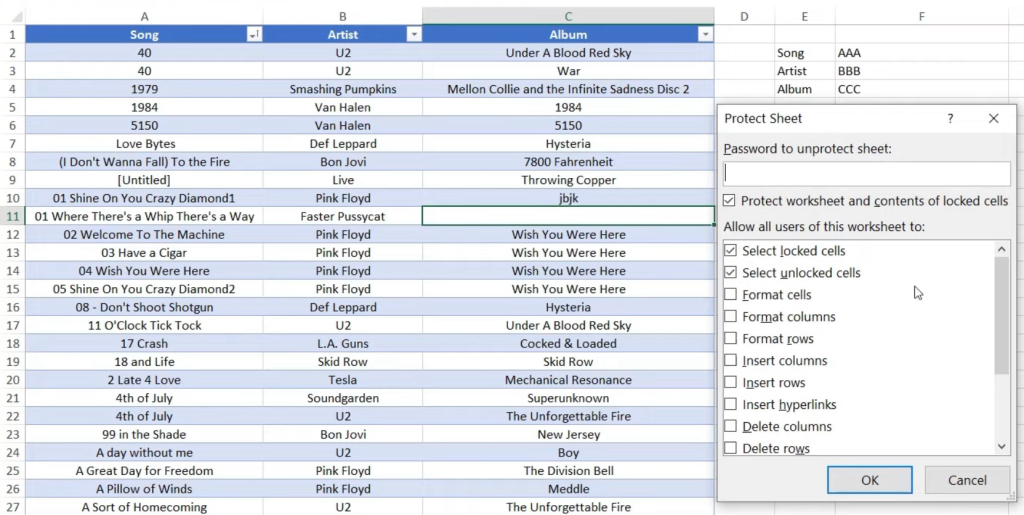
Navigate to the Search Box and type in Protect Sheet. If it is password protected, you will be prompted for the worksheet password.
Since you’ve forgotten the password, we’ll explore methods to recover or test the worksheet without it.
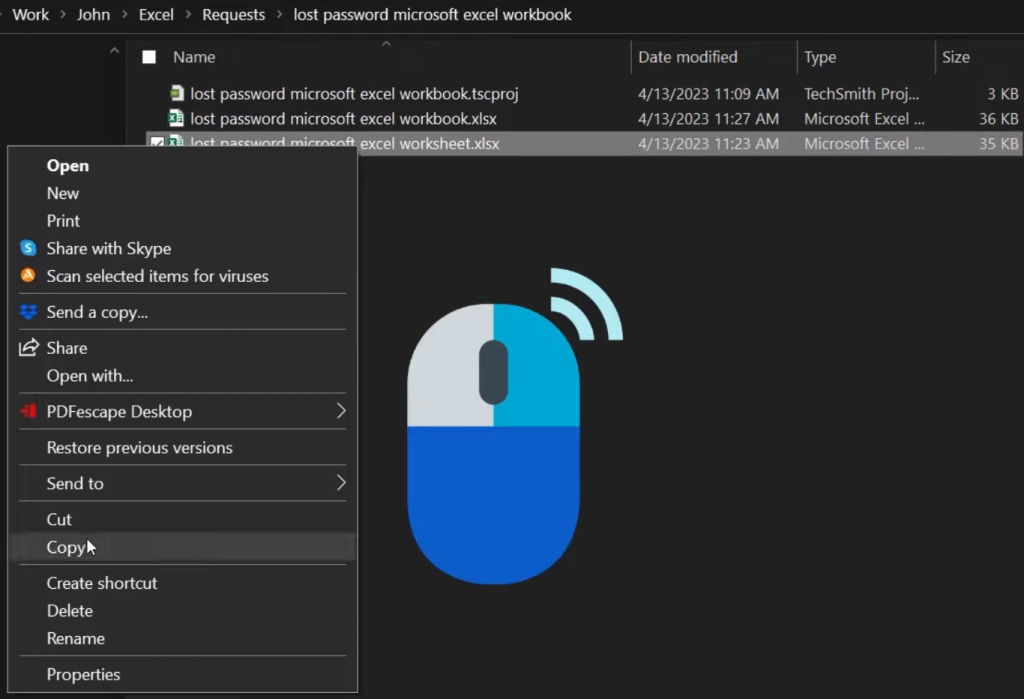
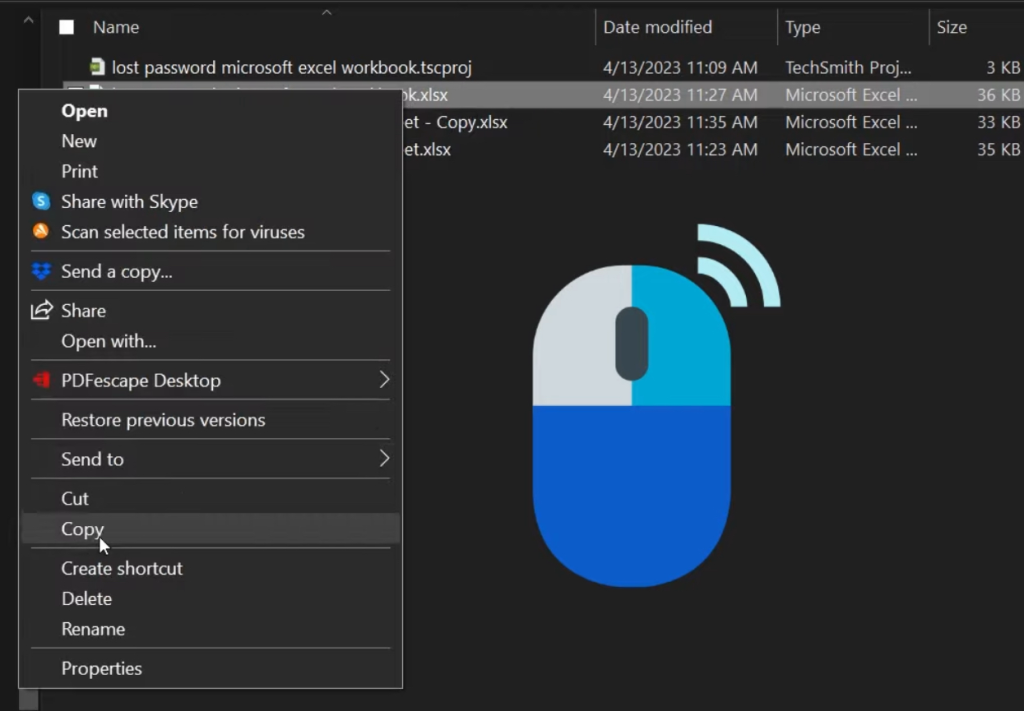
Now, let’s save a copy of the password-protected worksheet to avoid any potential data loss. Go back to File Explorer and Right-click on your file to Copy.
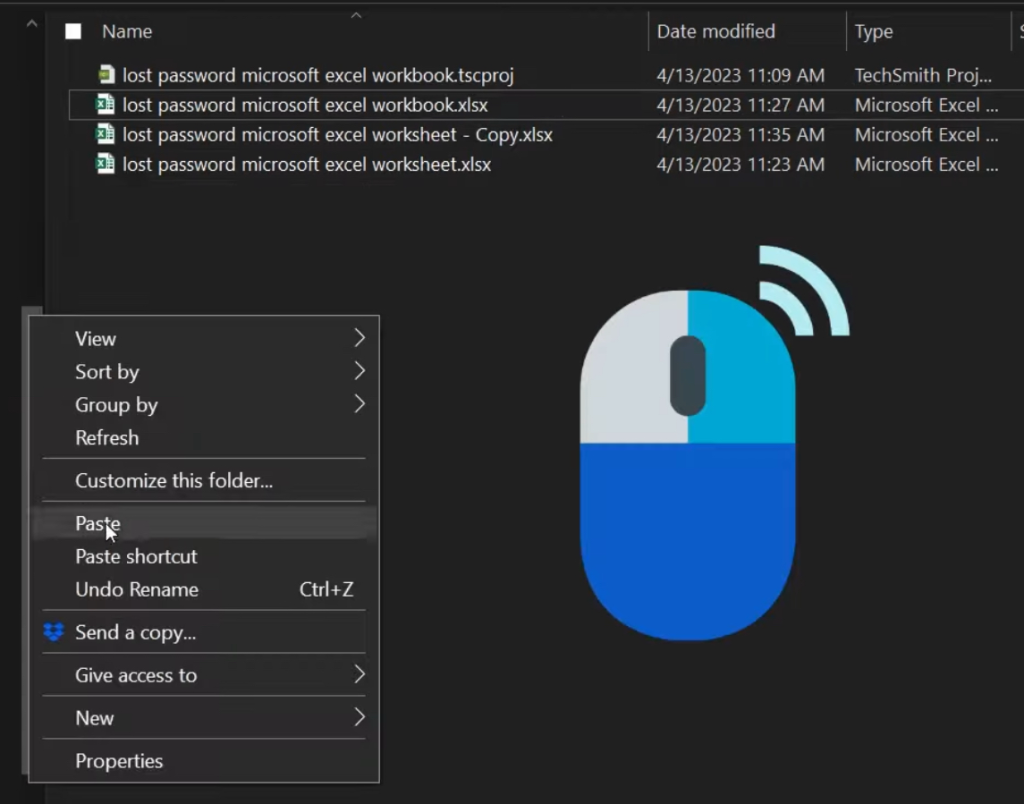
Then, Right-click again on an empty space in the folder to Paste a copy of the file.
As you can see, a duplicate of the worksheet has been saved.
Left-click once on the duplicate worksheet file. Pause for a second. Then, click once again. Highlight the “xlsx” extension.
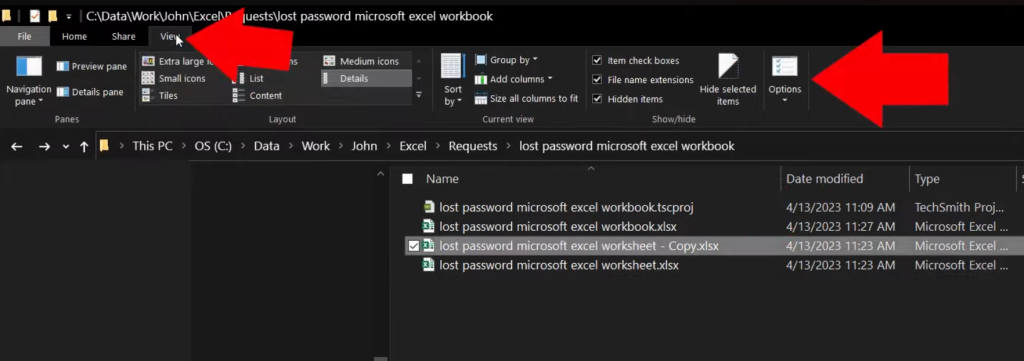
Note: If you can’t see the file extension, go up to the View tab, then click on Options.
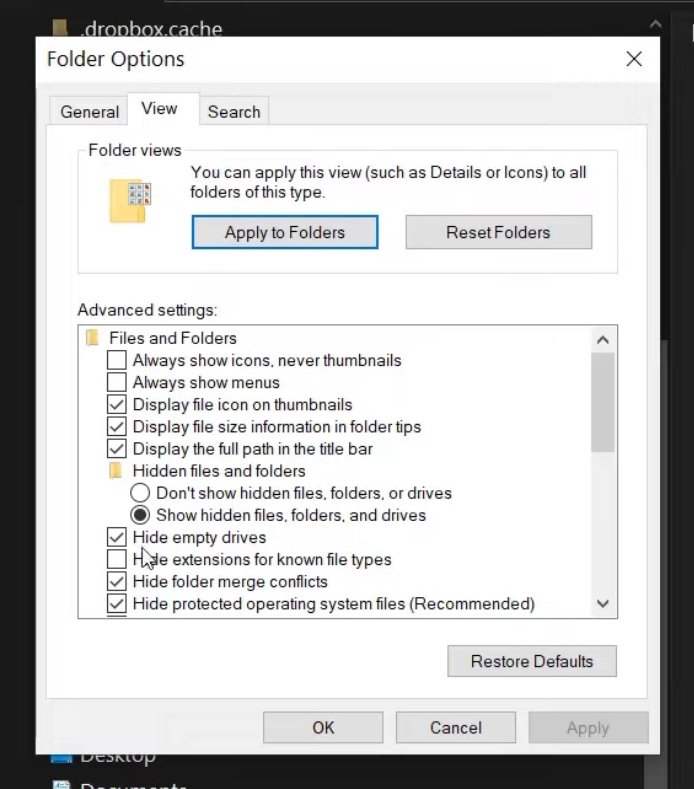
From there, click on the View tab, and make sure the “Hide extensions for known file types” is unchecked.
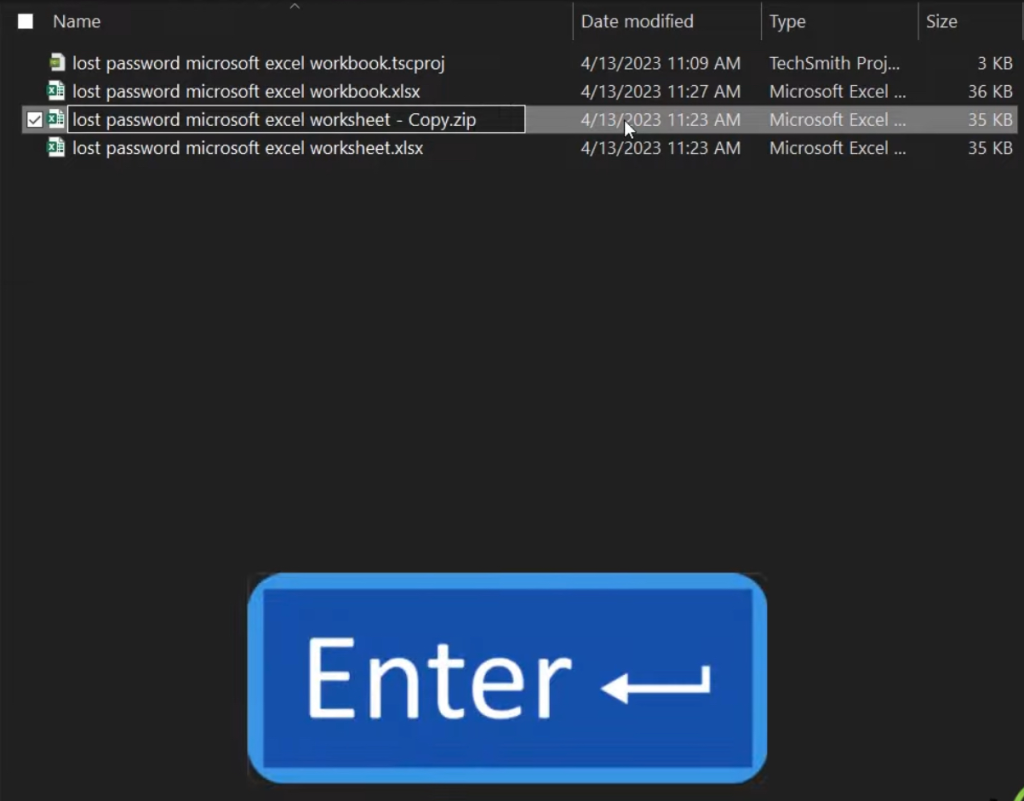
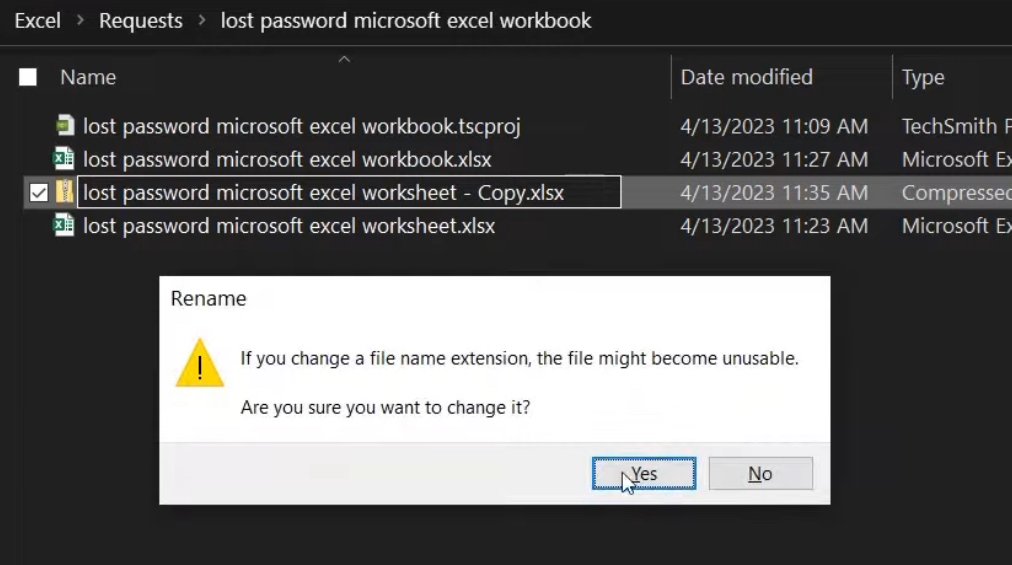
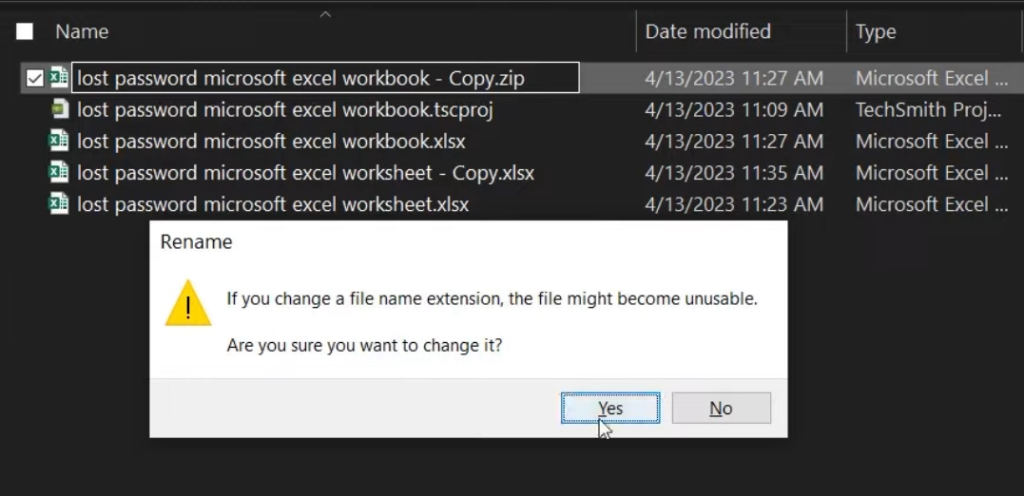
Replace the “xlsx” extension name with “zip” and hit Enter.
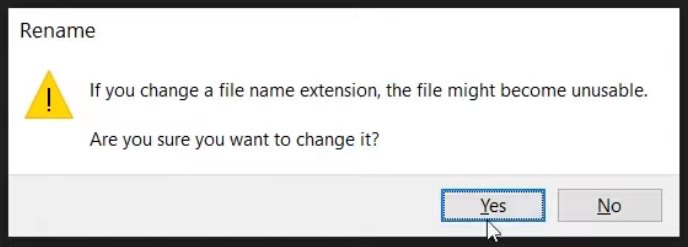
Click Yes when prompted with this message:
As you can see, the Excel icon has been changed to the zip file icon.
Click the Extract button to reveal a new pop-up window displaying the file contents.
Double-click on the zip file and click on the XL folder.
Find the Worksheets folder within the XL directory, which contains individual worksheets labeled “sheet1.xml,” “sheet2.xml,” and so on.
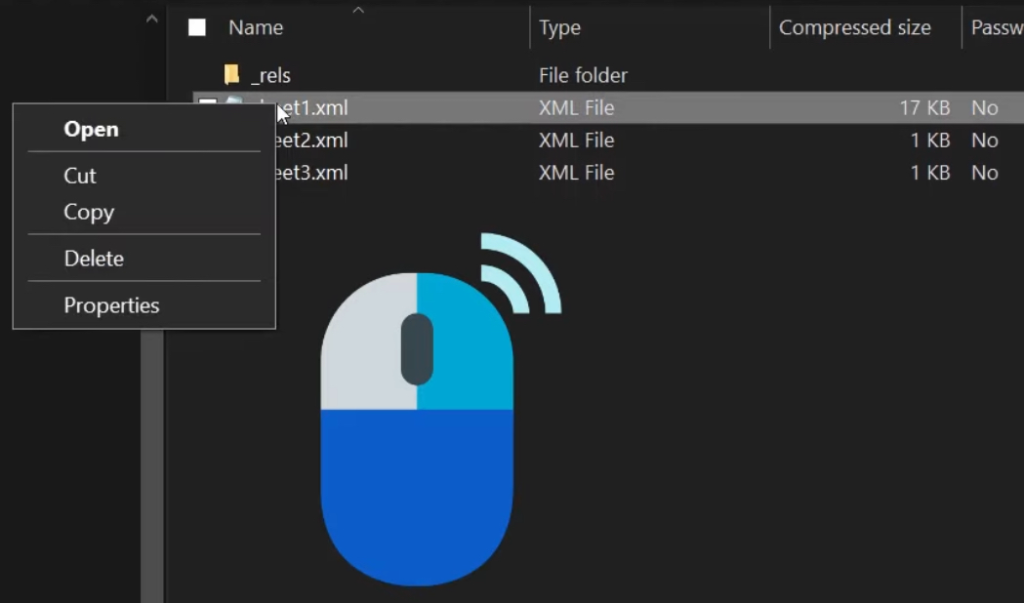
Right-click on sheet1.xml, go to Copy.
Then, Paste a copy of sheet1.xml onto the Desktop.
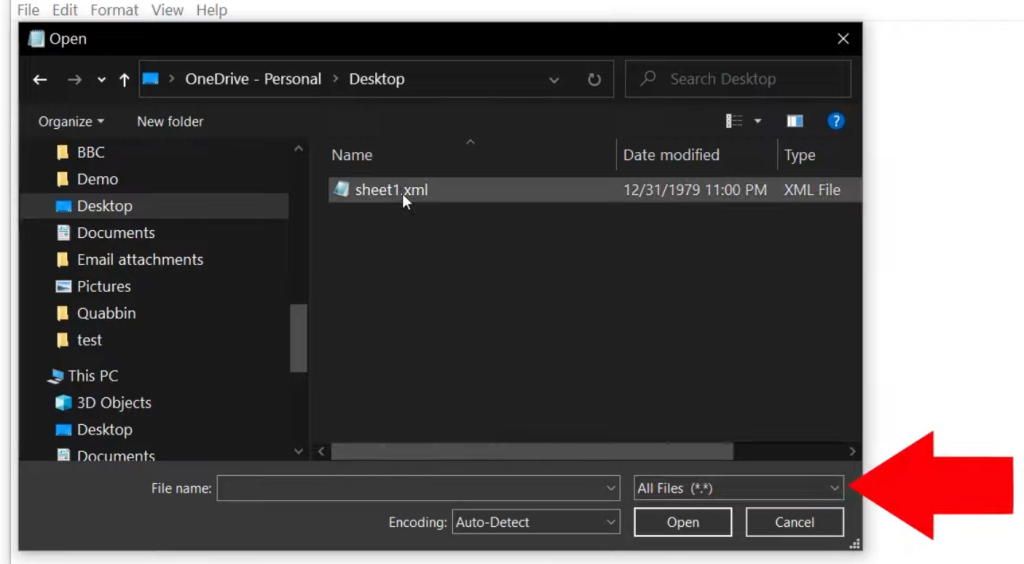
From there, go to the Notepad application. Go to File, Open, and Desktop.
Go down to where it says Text Documents and click All Files.
Double-click on the file.
The coding text may look a bit complex. But we don’t need to know how to read any of these.
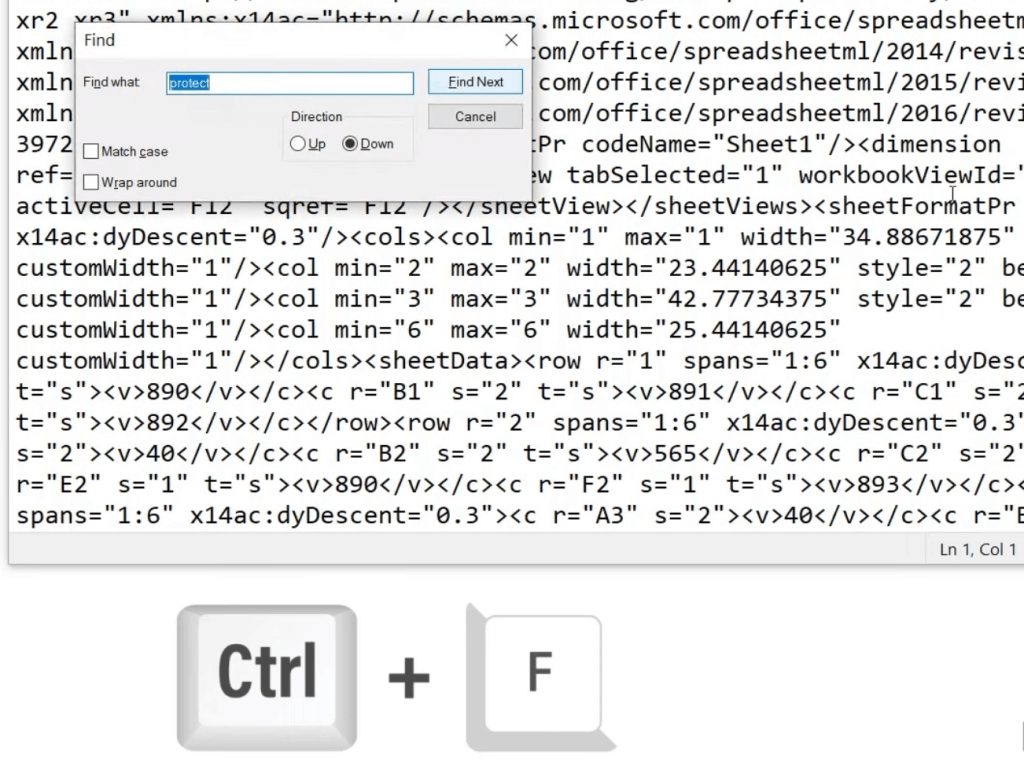
Click CTRL + F on your keyboard to do a text search. Type in the word “protect”
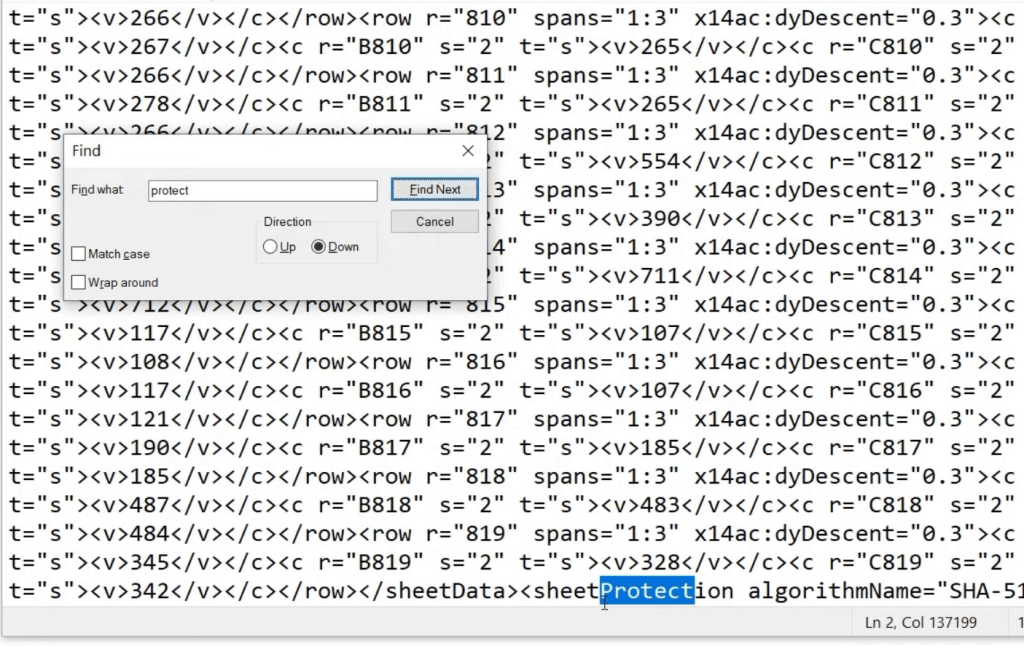
Go to Find Next. As you can see, the word “protect” will be highlighted.
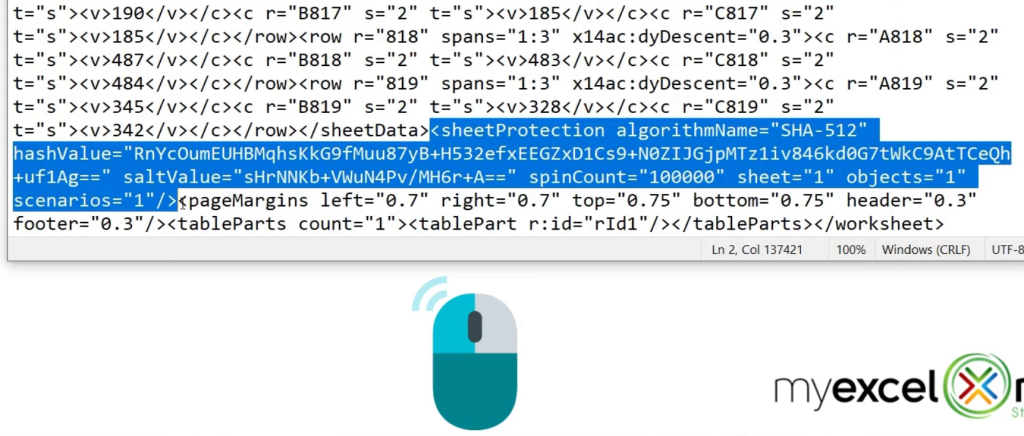
We will be looking for the character “<.” It is beside “sheetProtection.” Identify the end of this code by locating the first “>” following it.
Highlight and delete all text within this code, starting from “<” and ending with “>” in Notepad.
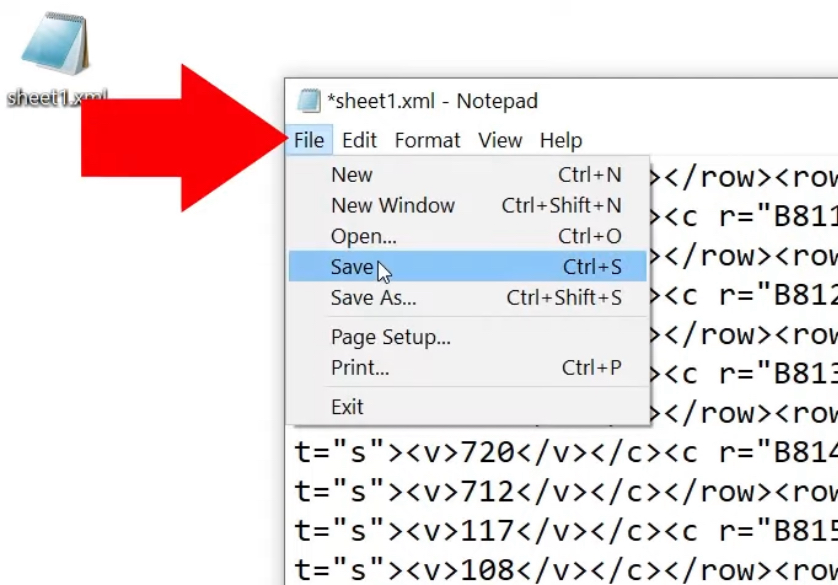
Save the modified XML file by clicking the File button in the top left corner of Notepad and selecting Save.
Right-click on the file on the Desktop and go to Cut.
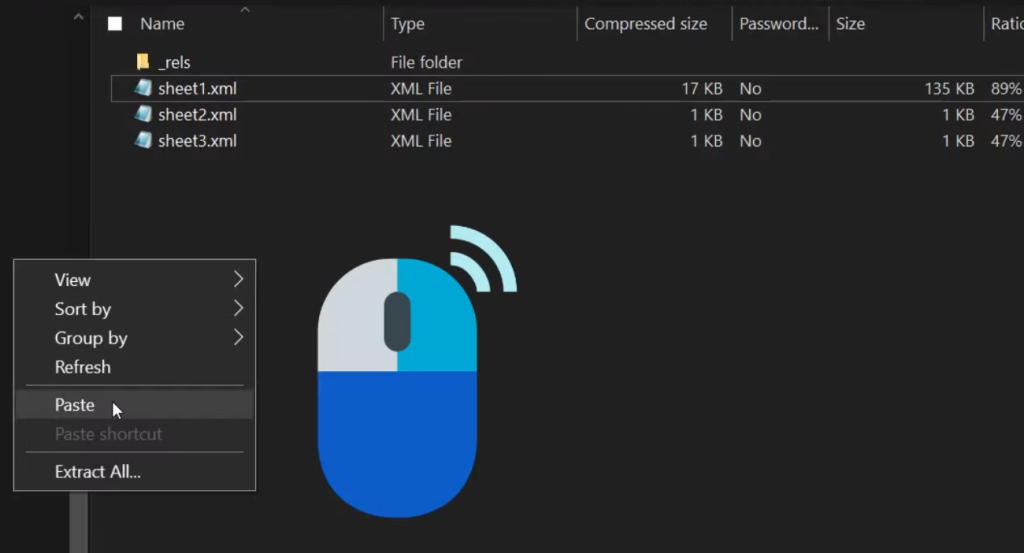
Go back to File Explorer. Right-click, then go to Paste.
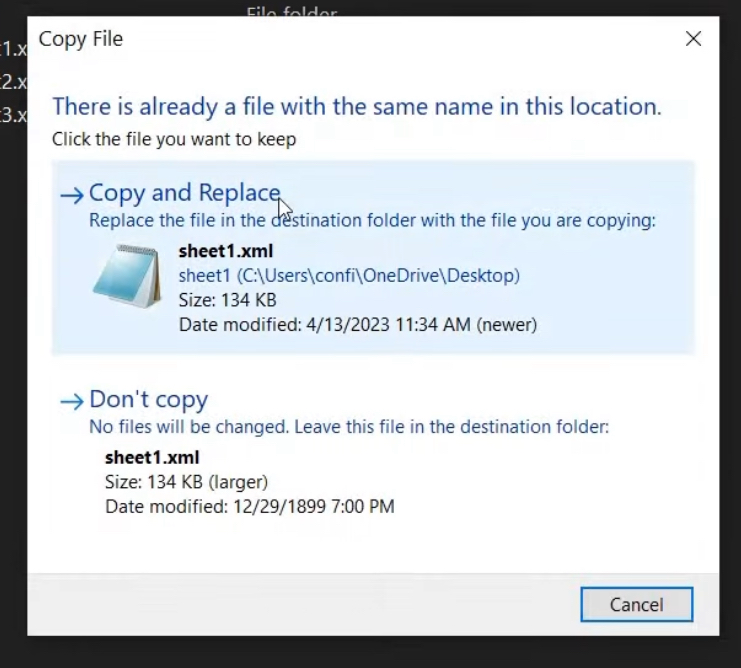
You will be prompted with this message:
Select Copy and Replace.
Hit the back button 3 times until you are back to where we started.
Click the zip file. Highlight “zip” and replace it with “xlsx.” Press Enter.
Click Yes on the warning message.
Finally, when you double-click on the xlsx file, you will be able to access your spreadsheet without requiring a password.
To verify that it is no longer password-protected, head over to the search bar. Type in “protect.”
Go to Protect Sheet.
As you can see, you are now given the option to put the password in. Meaning it is no longer password-protected.
Recovering Lost Excel Workbook Password
Removing the password protection from an Excel Workbook is very similar to the method we used for the worksheet. With a few key differences:
Launch Microsoft Excel and open the workbook.
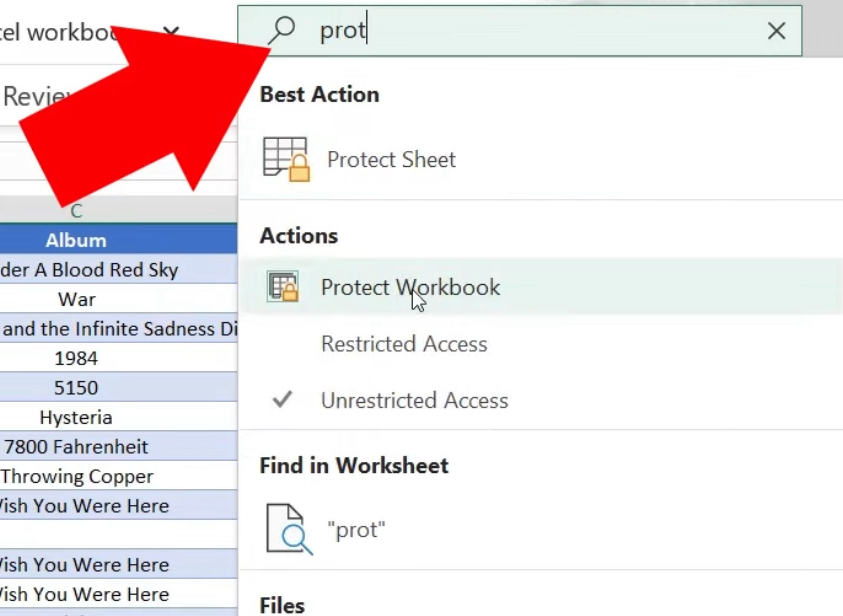
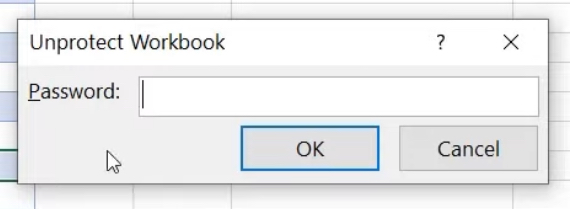
Navigate to the Search Box and type in “Protect Workbook.” If it is password protected, you will be prompted for the workbook password.
Since you’ve forgotten the password, we’ll explore methods to recover or test the worksheet without it.
Save a copy of the password-protected worksheet to avoid any potential data loss. Go back to File Explorer and Right-click on your workbook file to Copy.
Then, Right-click again on an empty space in the folder to Paste a copy of the file.
As you can see, a duplicate of the workbook has been saved.
Left-click once on the duplicate workbook file. Pause for a second. Then, click once again. Highlight the “xlsx” extension.
Note: If you can’t see the file extension, go up to the View tab, then click on Options.
From there, click on the View tab, and make sure the “Hide extensions for known file types” is unchecked.
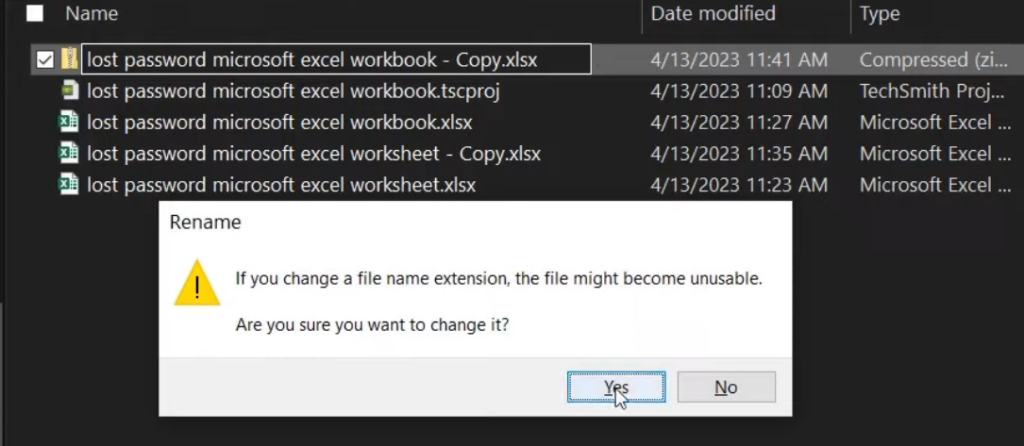
Replace the “xlsx” extension name with “zip” and hit Enter.
Click Yes when prompted with this message:
As you can see, the Excel icon has been changed to the zip file icon.
Click the Extract button to reveal a new pop-up window displaying the file contents.
Double-click on the zip file and click on the XL folder.
This time, we are not going the “worksheets” folder. Instead, we will Right-click the “workbook.xml” file. Click Copy.
Then, Paste a copy of workbook.xml onto the Desktop.
From there, go to the Notepad application. Go to File, Open, and Desktop.
Go down to where it says Text Documents and click All Files.
Double-click on the file.
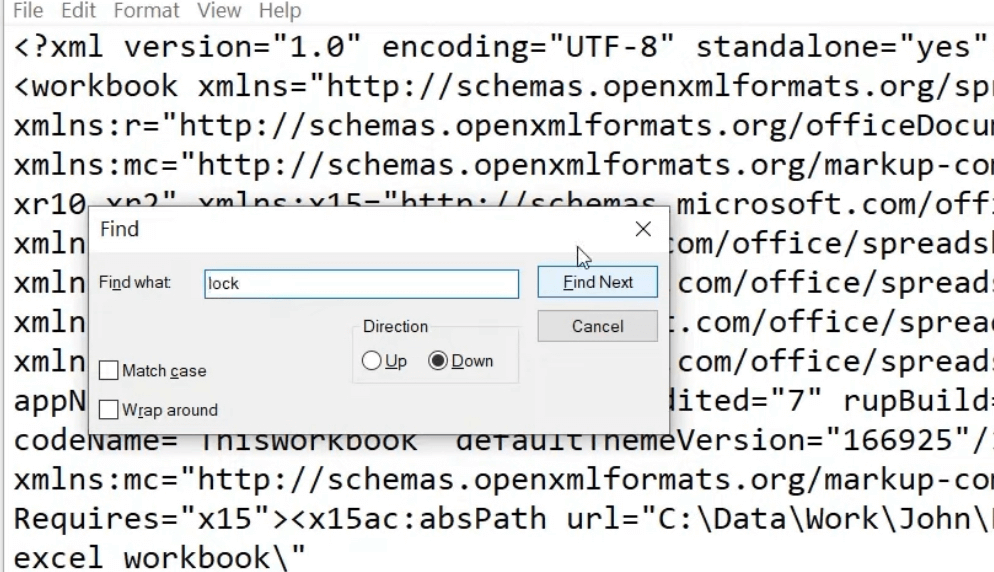
Click CTRL + F on your keyboard to do a text search. Type in the word “lock.”
Go to Find Next. As you can see, the word “lock” will be highlighted.
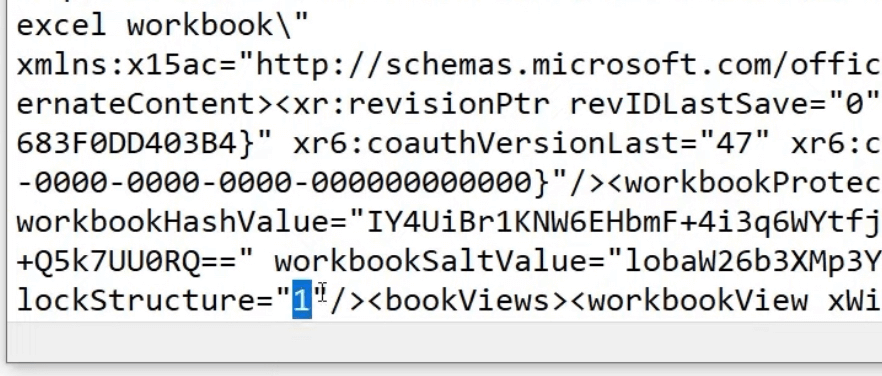
This time, we are not going to delete anything.
From the lockStructure=“1”, change the 1 to a 0.
Save the modified XML file by clicking the File button in the top left corner of Notepad and selecting Save.
Right-click on the file on the Desktop and go to Cut.
Go back to File Explorer. Right-click, then go to Paste.
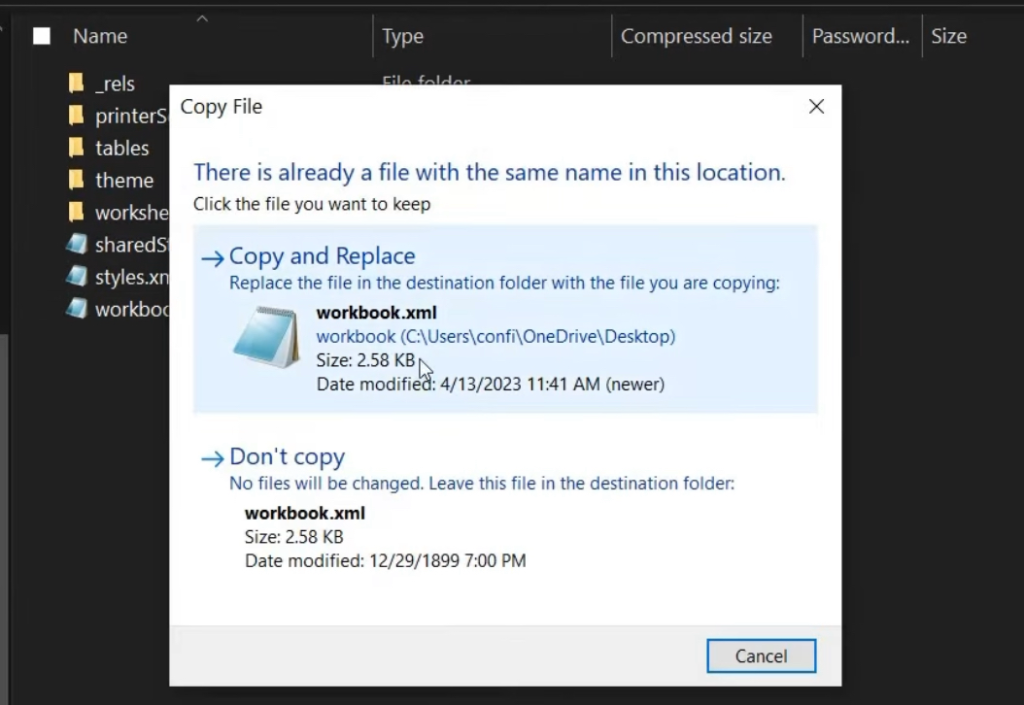
You will be prompted this message:
Select Copy and Replace.
Hit the back button 2 times until you are back to where we started.
Click the zip file. Highlight “zip” and replace it with “xlsx.” Press Enter.
Click Yes on the warning message.
Finally, when you double-click on the xlsx file, you will be able to access your spreadsheet without requiring a password.
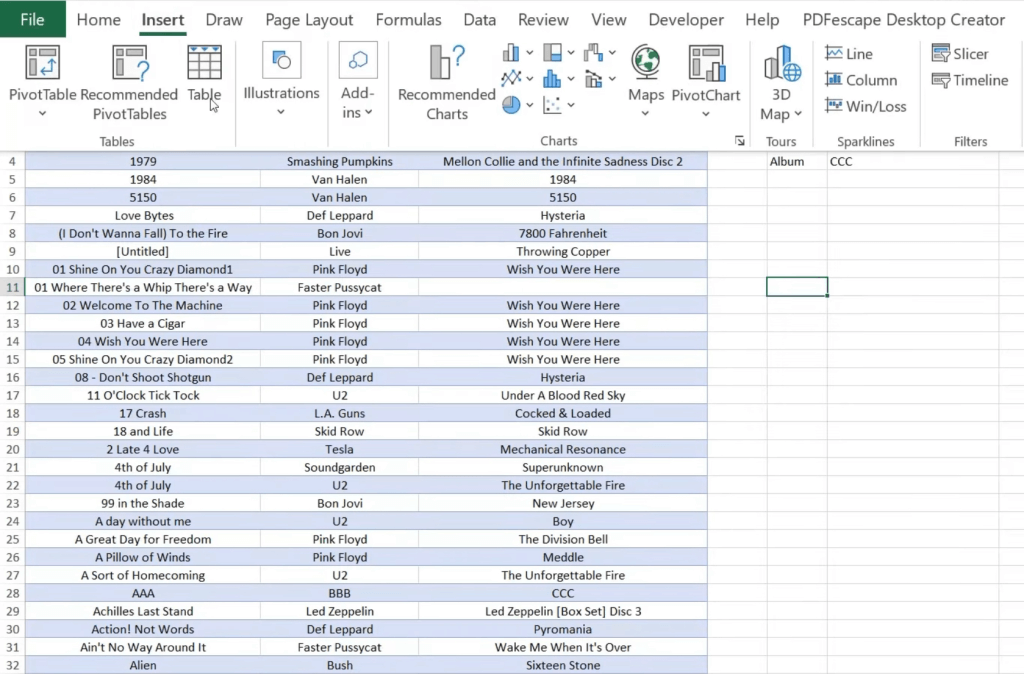
As you can see, you are now able to edit the cell freely. Meaning it is no longer password-protected.
Important Considerations
- Before attempting any password recovery method, make a backup copy of your Excel file to prevent potential data loss.
- Only attempt to recover passwords for files you legitimately own or have permission to access.
- Keep in mind that stronger passwords may be harder to recover or crack.
Conclusion:
There you have it! By following these step-by-step instructions, you can explore different methods to regaining access to your password-protected Excel worksheet or workbook. As a friendly reminded, always exercise caution and prioritize ethical practices when attempting to regain access to files protected by passwords.
Click here to learn How to Clean and Transform Data Using Power Query in Excel!
Click here to learn how to Find Errors with Go to Special Constants!
Click here to learn how Protect Excel Sheets Made Easy: With or Without a Password!
Click here to learn Microsoft’s tutorial on how to Protect an Excel file!
John Michaloudis is a former accountant and finance analyst at General Electric, a Microsoft MVP since 2020, an Amazon #1 bestselling author of 4 Microsoft Excel books and teacher of Microsoft Excel & Office over at his flagship MyExcelOnline Academy Online Course.

