As someone who often works with presentations, I sometimes need to mark a slide deck as a draft to ensure everyone knows it’s not the final version. Adding a Draft watermark to PowerPoint slides is a professional and effective way to communicate this. Let me show you how I do it, step by step.
Key Takeaways:
- A “Draft” watermark signals that the content is a work in progress, helping to manage expectations during collaboration.
- Adding a watermark in Slide Master ensures consistent application across all slides and saves time.
- Adjusting transparency (50–80%) and using subtle fonts ensures the watermark doesn’t overpower slide content.
- Positioning the watermark diagonally or in less cluttered areas enhances visibility without obstructing key elements.
- Watermarks can be added, adjusted, or removed effortlessly, allowing flexibility for presentation needs.
Table of Contents
Introduction to Watermarking PowerPoint Slides
The Significance of Watermarks in Presentations
Watermarks play a crucial role in presentations by serving multiple purposes. They can mark a PowerPoint as a ‘Draft’, denoting that the content is a work in progress and not the final version. Watermarks also act as a deterrent against unauthorized use of the material; imagine creating a slide with a groundbreaking idea only to find it elsewhere without your consent.
By using watermarks, we get to subtly embed ownership or copyright information directly into our slides. This not only protects intellectual property but can also establish a professional image when our presentations are shared or displayed publicly.
Understanding the ‘Draft’ Watermark
The ‘Draft’ watermark is particularly useful during the iterative process of creating a presentation. It signifies that the content is not finalized, and it provides a visual cue to reviewers that changes are expected. This type of watermark is usually translucent and positioned strategically so as not to interfere with the slide’s readability.
By adopting such a watermark, we create a layer of communication that transcends the actual content, ensuring everyone involved is aware of the presentation’s development stage.
Simple Steps to Add a Draft Watermark
Using Slide Master for a Persistent Draft Watermark
Using the Slide Master to add a ‘Draft’ watermark in PowerPoint ensures a consistent and persistent presence across all slides. Here’s a quick walkthrough:
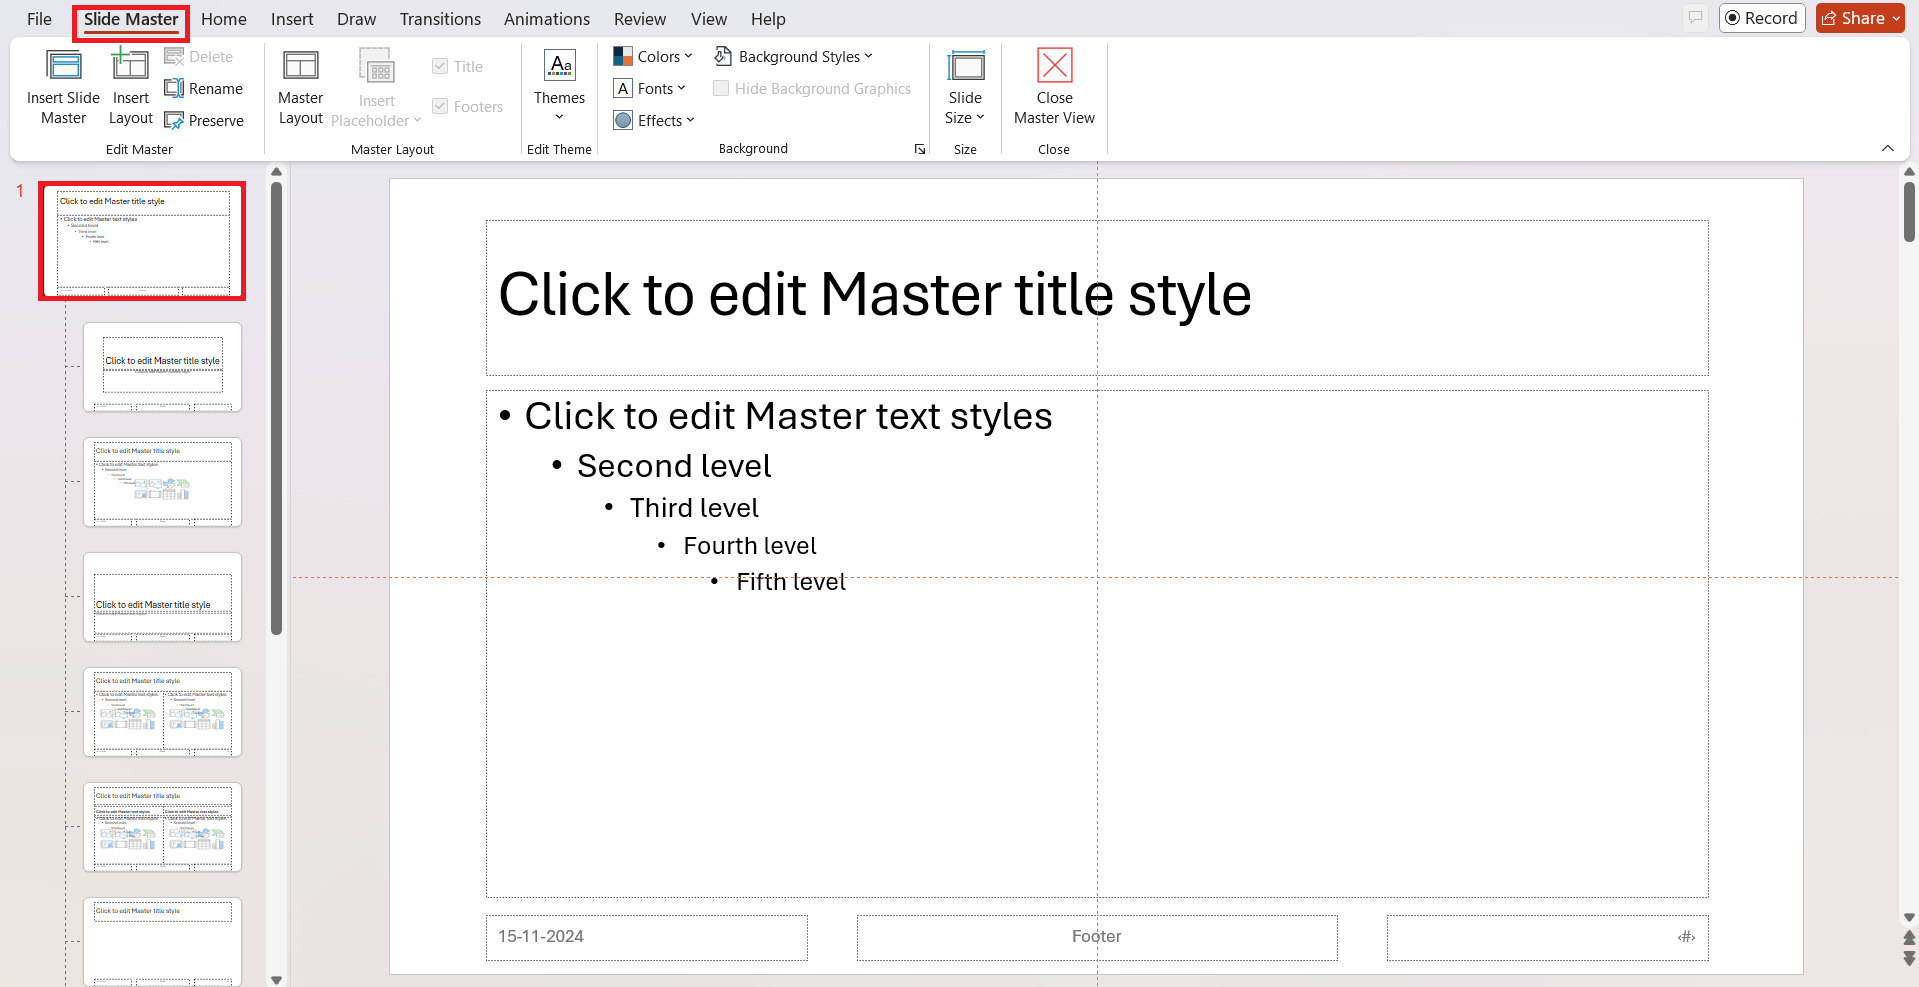
STEP 1: Open PowerPoint and navigate to the “View” tab, selecting “Slide Master” from the Master Views group.
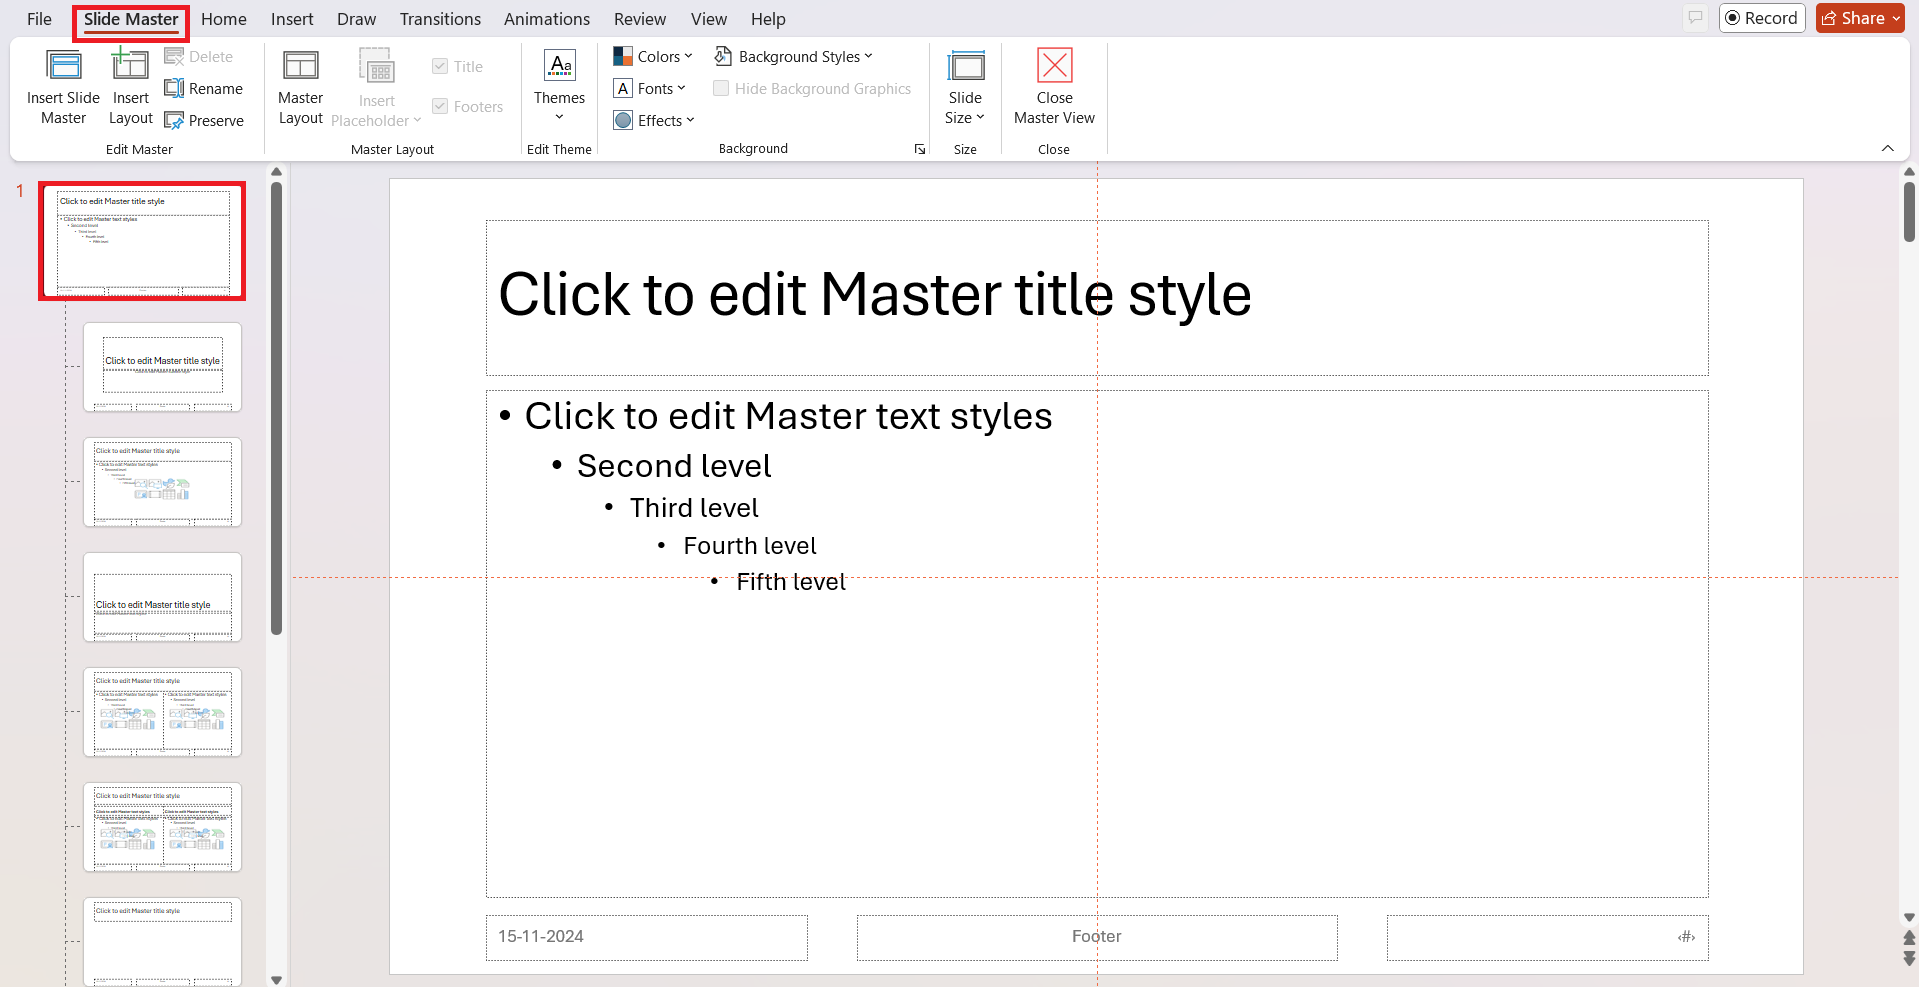
STEP 2: In the Slide Master view, you will see a range of slide layouts. To apply the watermark globally, click on the larger slide thumbnail at the top of the left-hand pane.
STEP 3: Head over to the “Insert” tab and choose either “Text Box” for text watermarks or “Pictures” if you’re using an image.
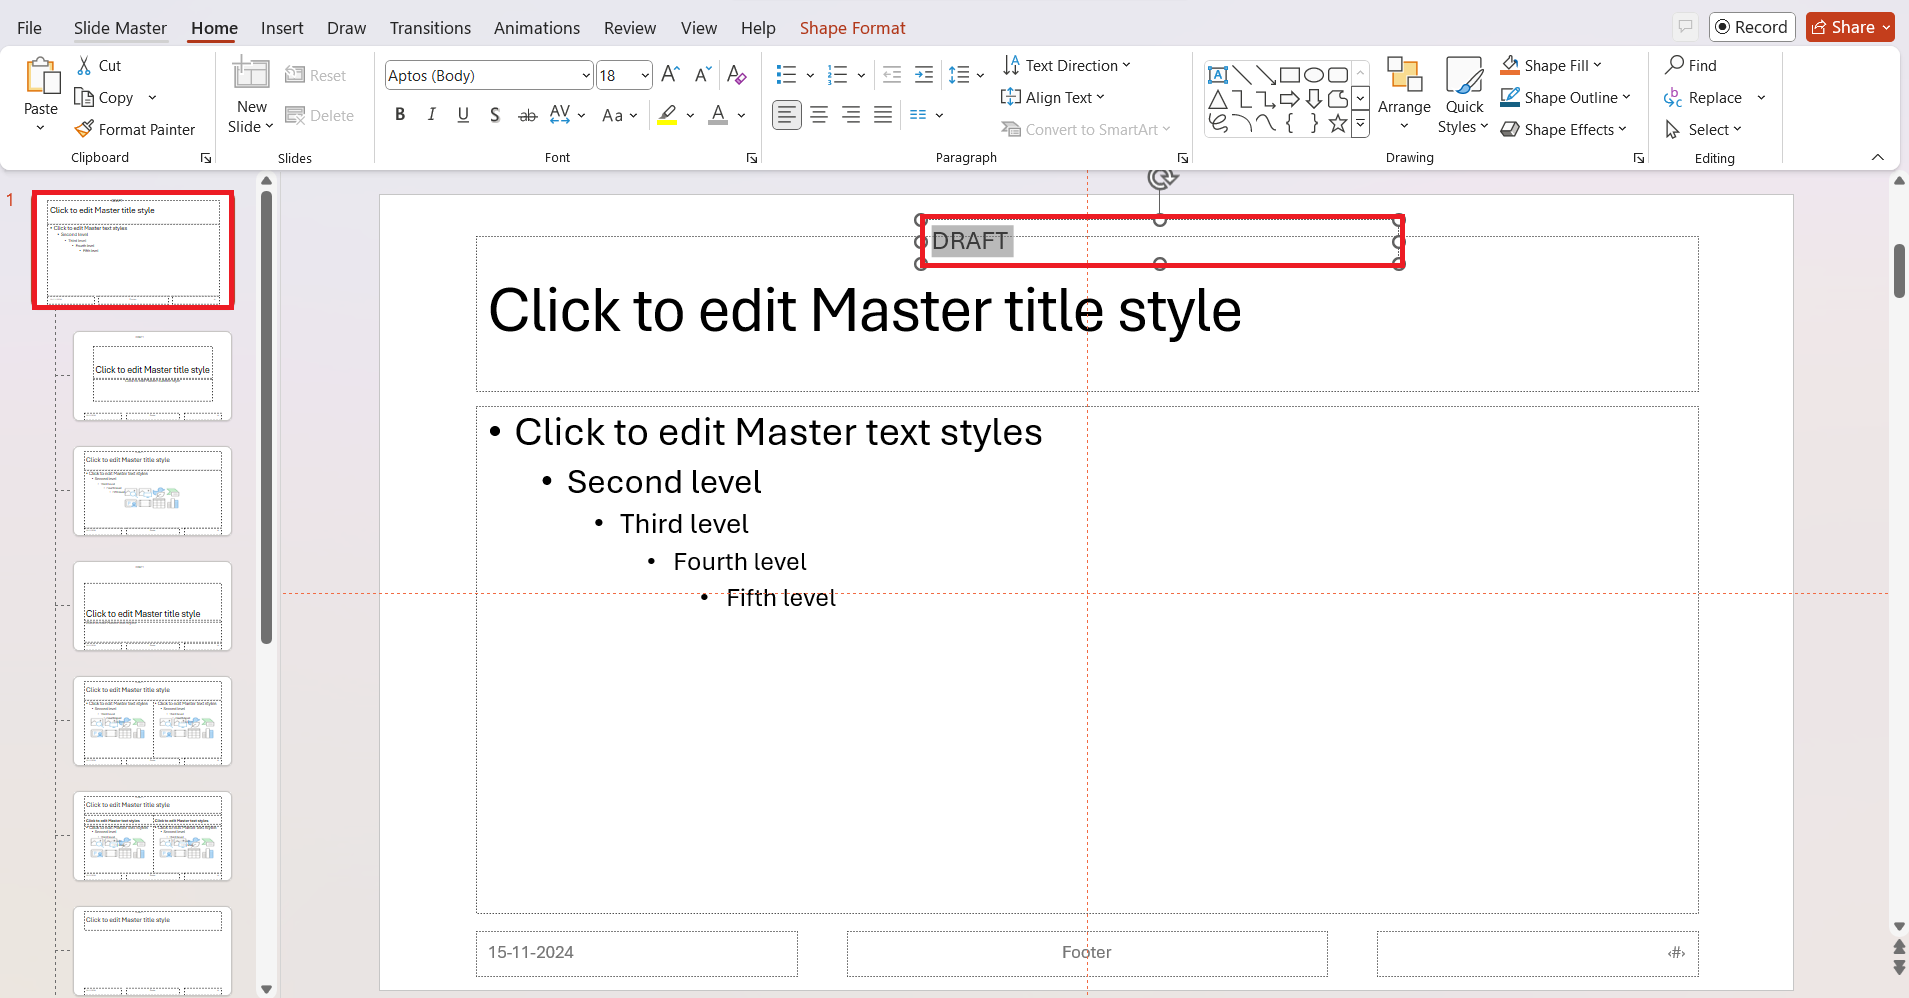
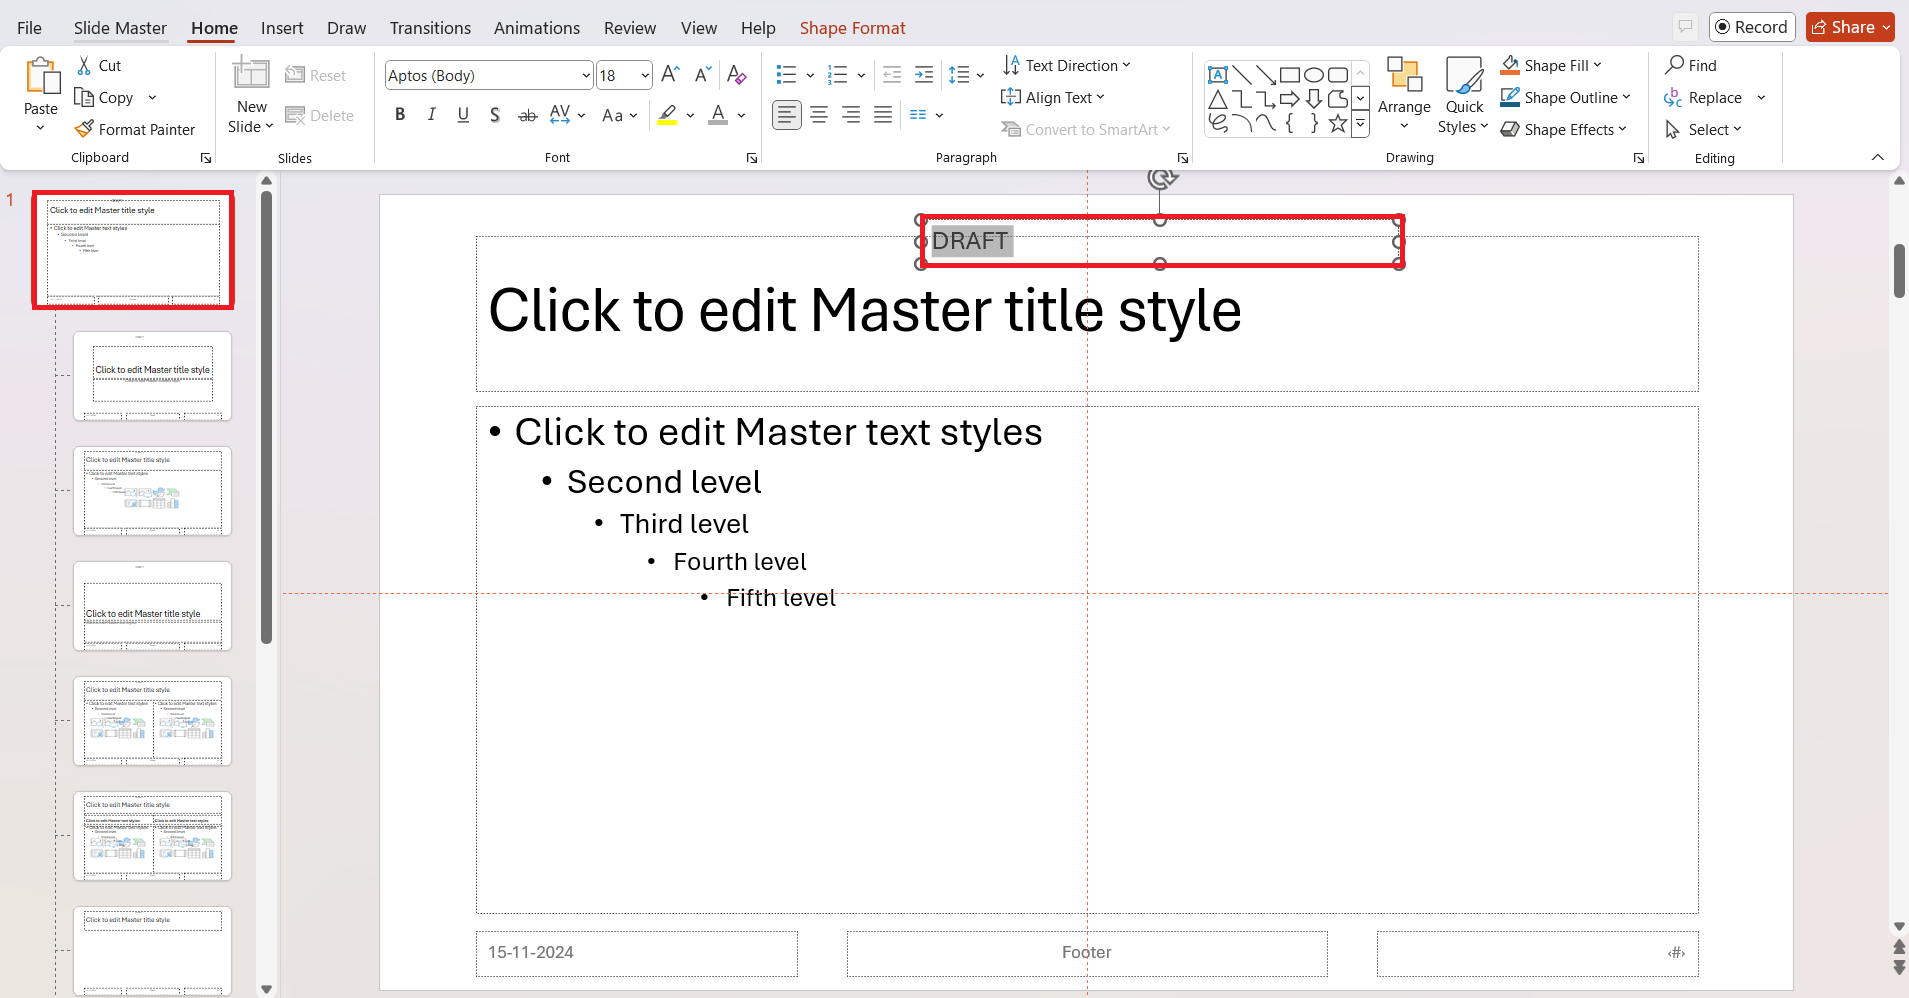
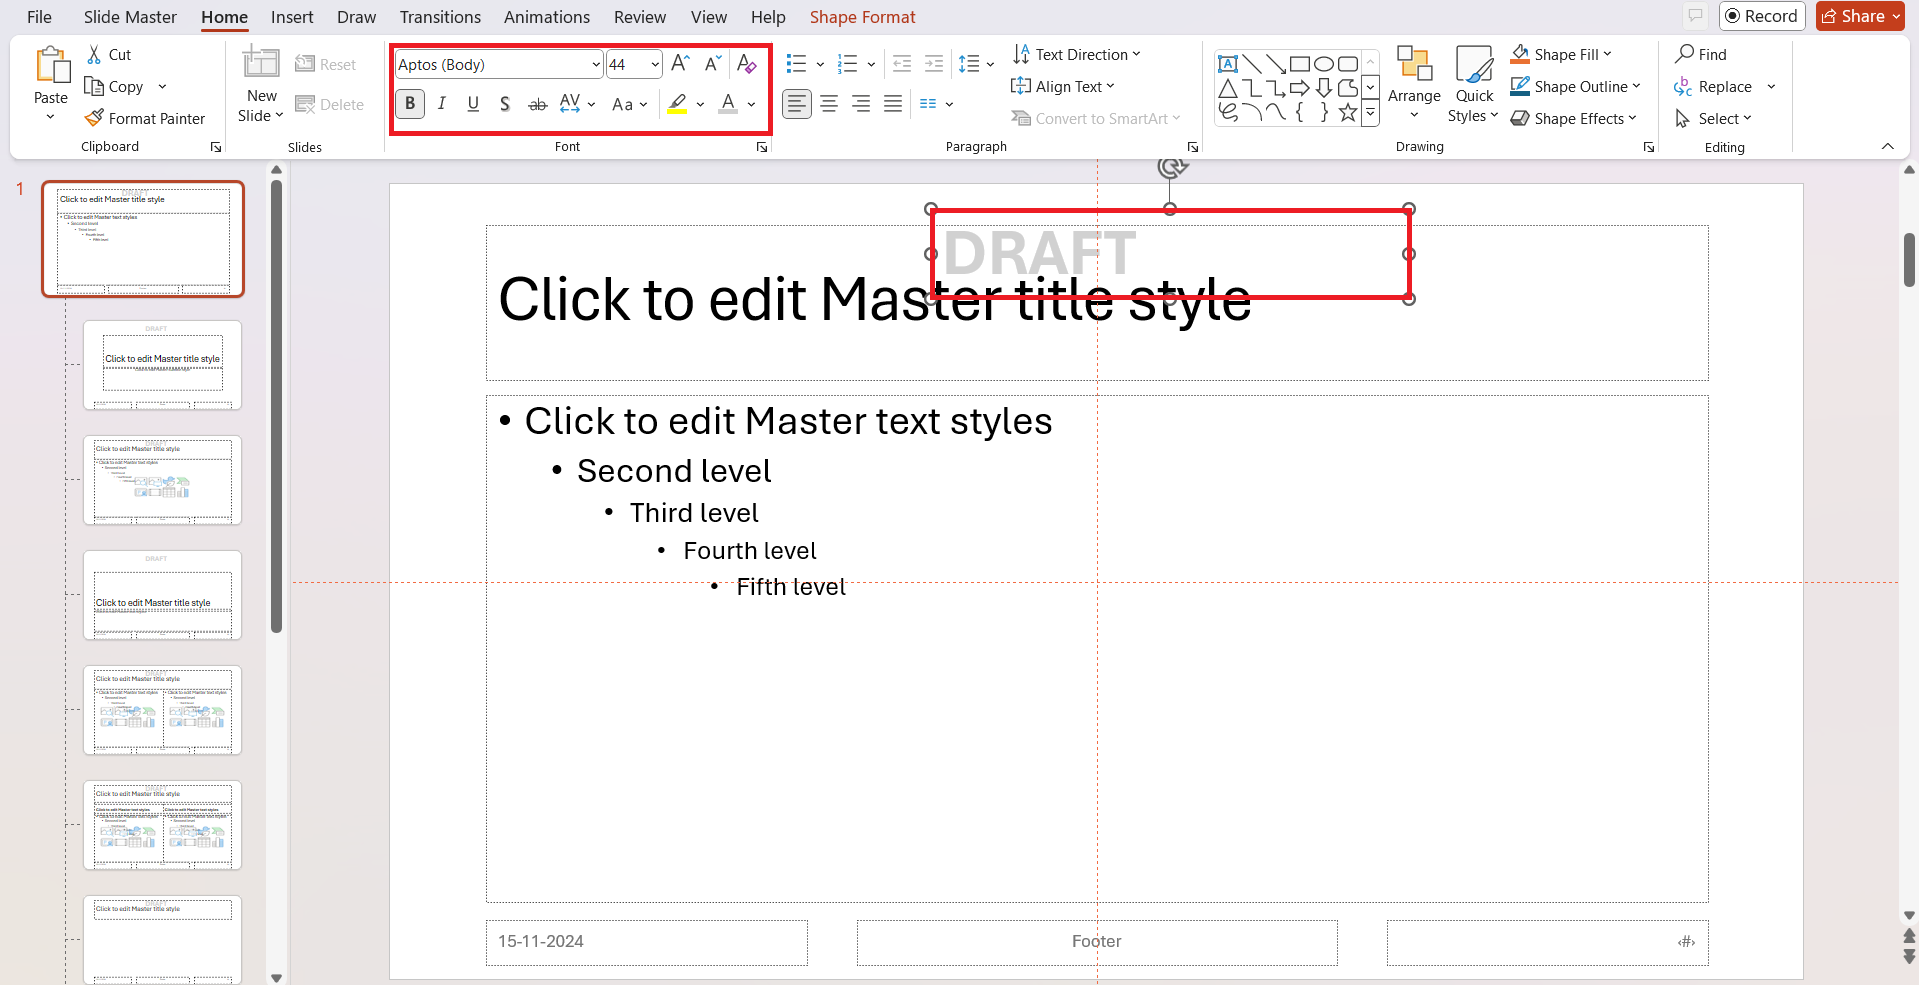
STEP 4: For a text watermark, click and drag your cursor on the master slide to draw a text box, and type in ‘Draft’ or your preferred watermark text.
STEP 5: Customize the text’s formatting – font style, size, color, and even transparency to ensure it doesn’t overwhelm your slide’s content.
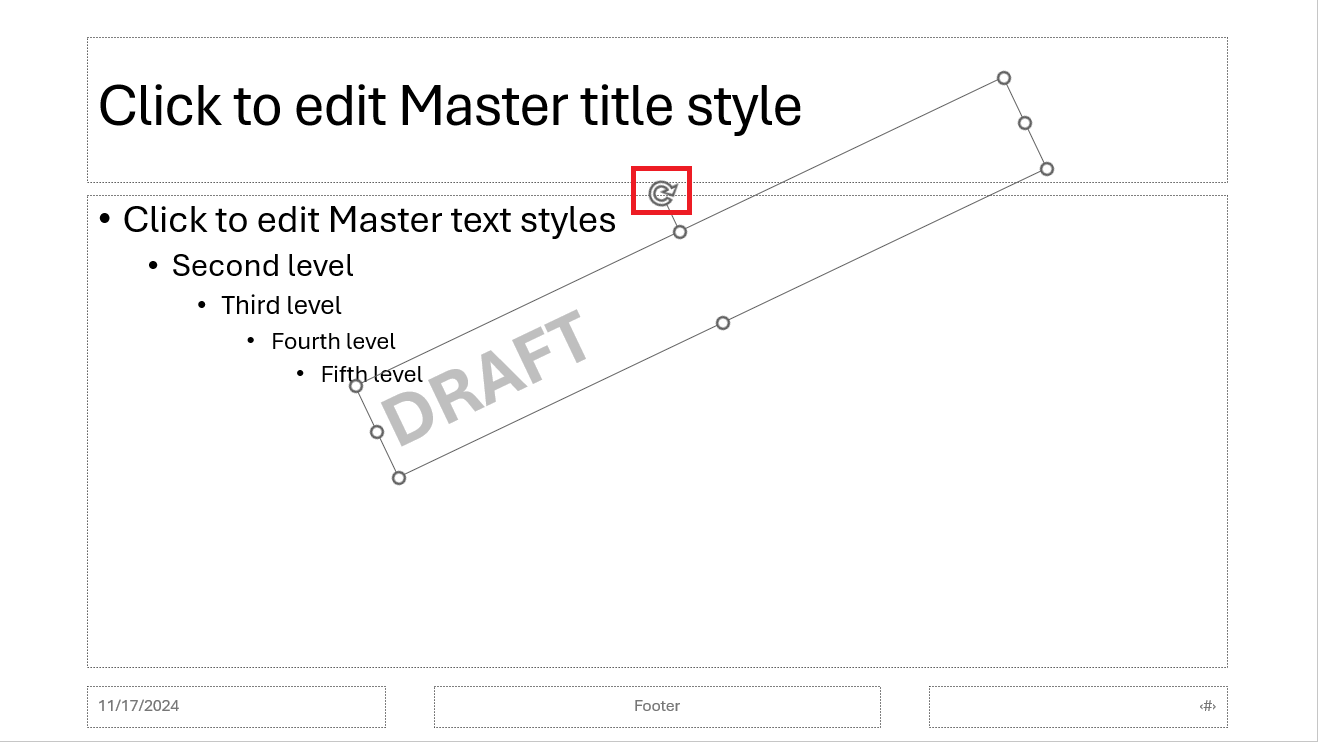
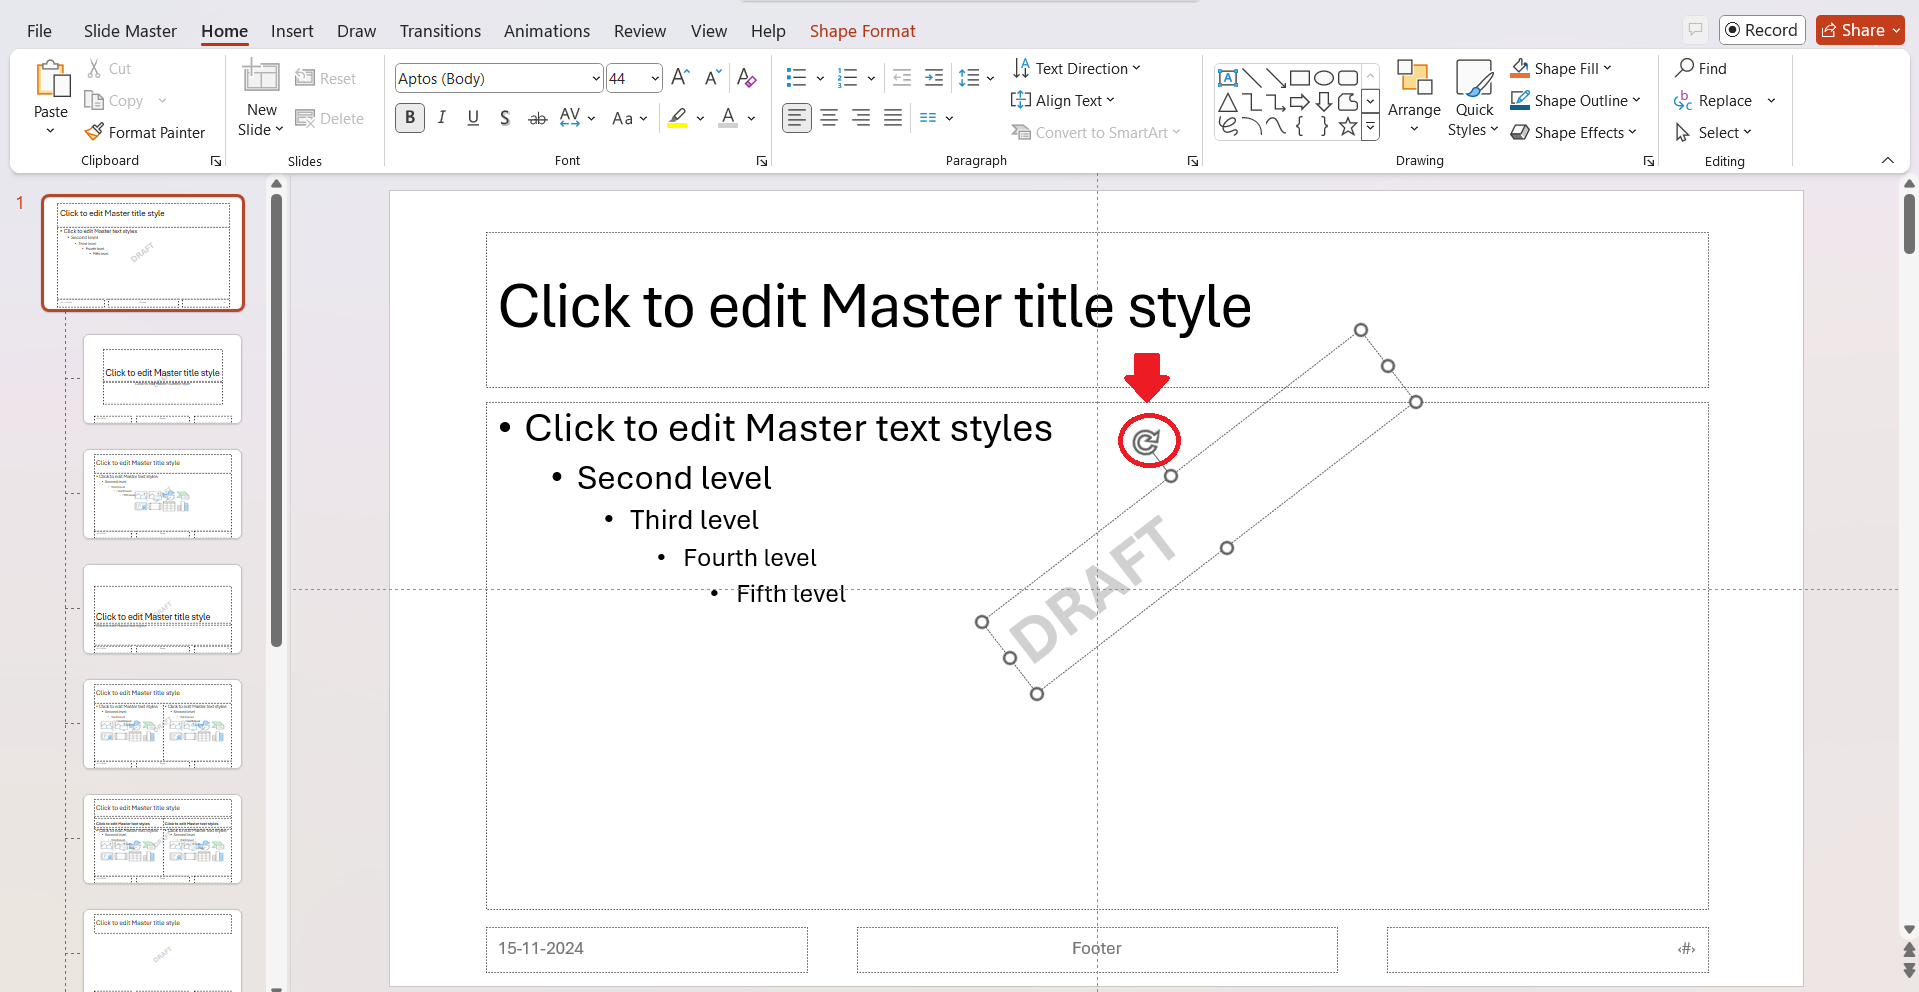
STEP 6: Use the rotation handle to tilt the watermark for a more traditional watermark look.
STEP 7: Once satisfied with the design and placement of your watermark, close the Slide Master view.
The changes will be applied across all slides automatically.
The key benefit of this method is that you set the watermark once, and it reflects on each slide, saving significant time and ensuring uniformity.
Customizing Your Draft Watermark
Adjusting the Transparency and Formatting
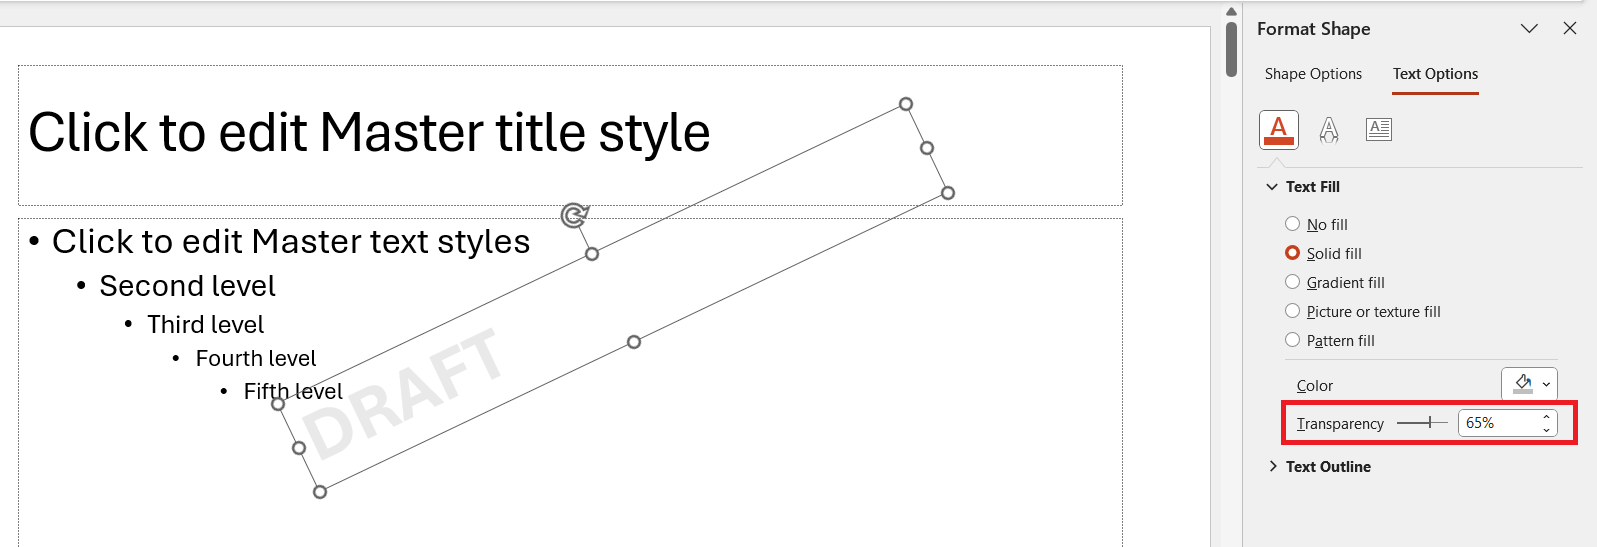
For a professional-looking ‘Draft’ watermark, adjusting the transparency is key. We want it to be noticeable without upstaging the actual slide content. Here’s what I do to achieve the right balance:
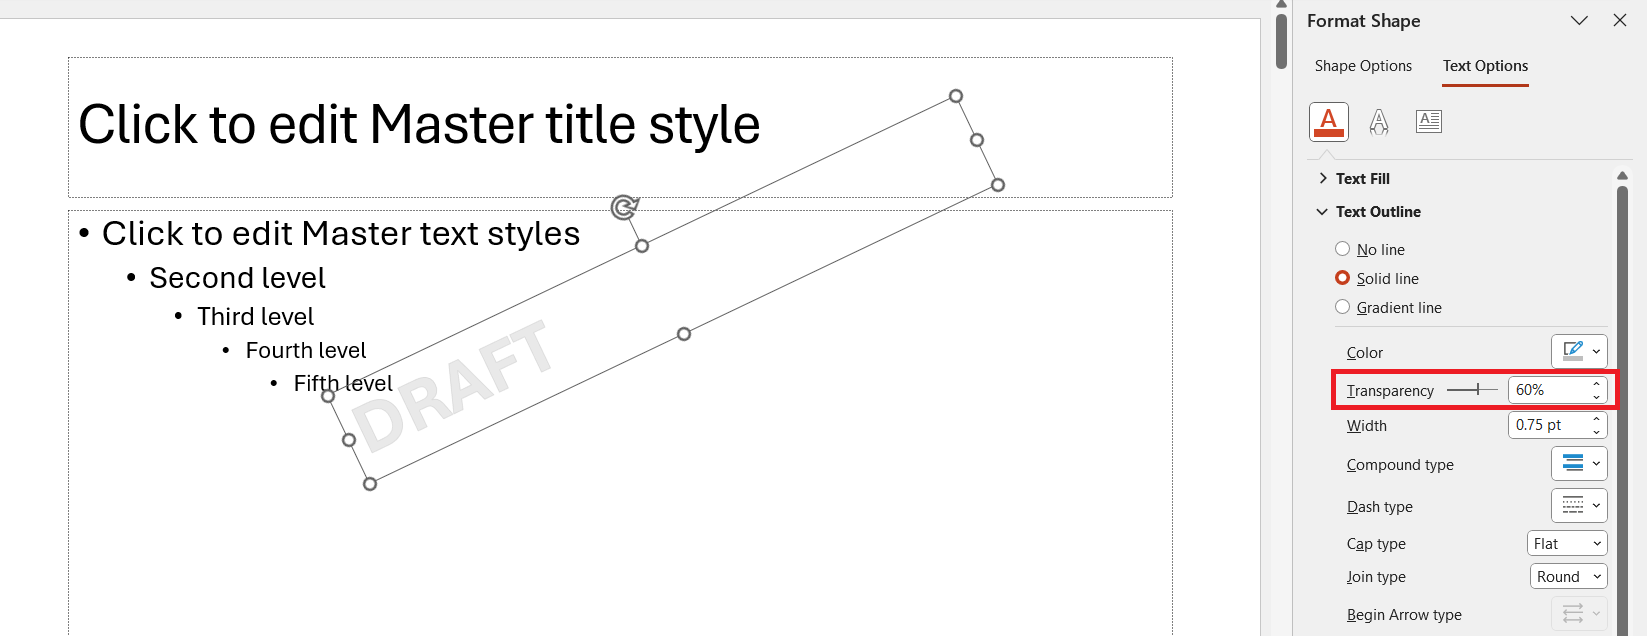
STEP 1: Go to the Format Shape pane where I find the Text Fill option. Here, I set the transparency slider, usually around 50-80%, depending on the background and text color.
STEP 2: For text outlines, I typically set the transparency slightly lower than the fill for a subtle contrast, maybe around 60-75%.
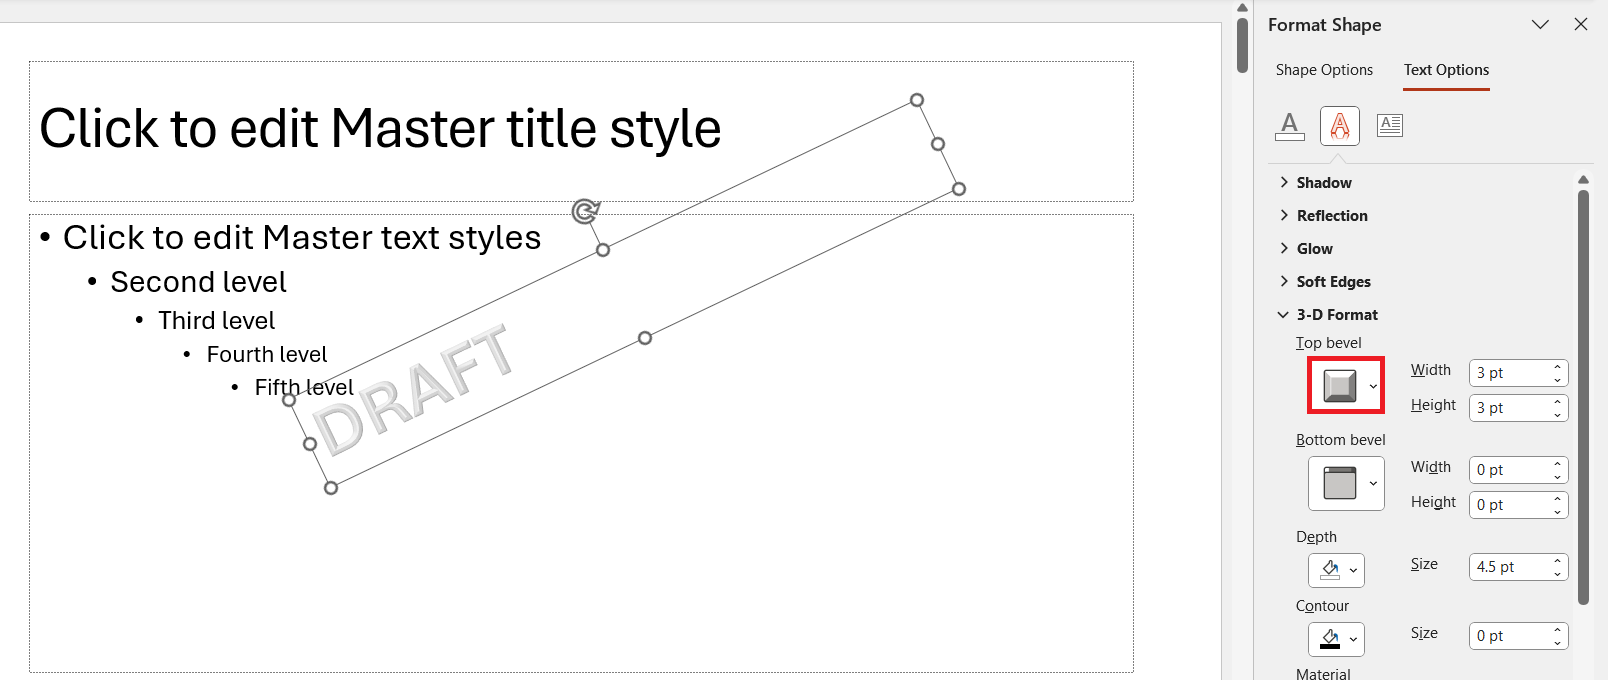
STEP 3: I often experiment with other Text Effects, like shadows or a three-dimensional effect, to make the watermark look integrated yet distinguished from the slide content.
I always remind myself to choose text colors that contrast well with the slide backgrounds to maintain readability and to use a font that’s easy to read yet understated.
Positioning the Draft Watermark for Optimal Visibility
Ensuring our ‘Draft’ watermark is visible without obstructing the slide’s key information requires strategic positioning. Here’s how I usually proceed:
- I click and drag the text box to the center for a balanced look. Then, I use the rotation handle to angle the watermark, typically diagonal, which naturally draws less attention yet is easily noticed.
- I keep in mind the slide layout and relocate the watermark accordingly if it masks any vital elements like charts, images, or bullet points.
- If a slide has a particularly busy background or color scheme, I might position the watermark in a less cluttered space or adjust its size and transparency to help it stand out.
Through careful positioning, we make sure our watermark serves its purpose without diminishing the overall impact of our presentation.
FAQs on Draft Watermarks in PowerPoint
How do I put a draft watermark in PowerPoint?
To add a ‘Draft’ watermark in PowerPoint, select ‘View’ > ‘Slide Master’, and then choose ‘Insert’ > ‘Text Box’. Draw the text box on the Slide Master, type ‘DRAFT’, and adjust the font color and transparency to suit. Rotate and place the watermark, then close the Master view to apply it across all slides.
Can I apply a draft watermark to select slides only?
Yes, to apply a ‘Draft’ watermark to select slides only, use the text box tool on the ‘Insert’ tab to add text to each desired slide individually. Adjust the font and transparency to your preference and position the watermark where it’s visible yet non-intrusive.
How can I remove a draft watermark from my presentation?
To remove a ‘Draft’ watermark, simply go to the ‘Slide Master’ view by selecting ‘View’ > ‘Slide Master’, click on the first slide thumbnail, select the watermark text box, and press ‘Delete’. Close the Slide Master to apply the changes to the entire presentation.
How do I insert a transparent watermark in PowerPoint?
To insert a transparent watermark in PowerPoint, enter the ‘Slide Master’ view, create a text box or insert an image, then select ‘Format Shape’ or ‘Format Picture’. Navigate to the ‘Fill’ section, and use the transparency slider to set your desired level of transparency, I find between 50-80% often works well.
How do I remove a watermark in PowerPoint?
To remove a watermark in PowerPoint, access ‘Slide Master’ view by clicking on ‘View’, then ‘Slide Master’. Find the watermark on the slide layout and select it. Once selected, press ‘Delete’ on your keyboard. Ensure you repeat this for any specific slides if the watermark was added manually.
John Michaloudis is a former accountant and finance analyst at General Electric, a Microsoft MVP since 2020, an Amazon #1 bestselling author of 4 Microsoft Excel books and teacher of Microsoft Excel & Office over at his flagship MyExcelOnline Academy Online Course.

