In this article, we will cover the following subtopics –
- What is a Breakout Room
- Creating a Breakout Room
- Interacting with Breakout Rooms
- Making a Breakout Room Announcement
- Breakout Room Settings
- Returning to the Main Meeting
Watch this video on How to Create a Breakout Room in Microsoft Teams Meeting on YouTube and give it a thumbs-up!
The breakout room is used to provide a smaller space for participants to discuss ideas or projects and then provide feedback in the main meeting. Once the breakout room discussions are complete, the organizer can close those rooms and participants can reconvene the main meeting to present their ideas and inputs to everyone.
This feature of Microsoft Teams is available only to the paid users of Microsoft 365.
There are several reasons why one should use a breakout room in Microsoft Teams –
- If you are teaching a class, a breakout room can be used for students to partner up for a project
- If you are a manager of a corporate, a breakout room can be used for department-specific discussions
- It can also be used to host any impromptu discussion
- It allows participants to use a virtual whiteboard to draw out ideas
- It can be used to provide training to a smaller group separately
- Breakout Rooms allow even participants to record the room meetings
Breakout rooms can be created only on the desktop version of Microsoft Teams. However, attendees can join the breakout rooms using any platform either a web browser or a mobile application.
To create a breakout room in Microsoft Teams, the organizer of the Teams meeting needs to follow the steps mentioned below –
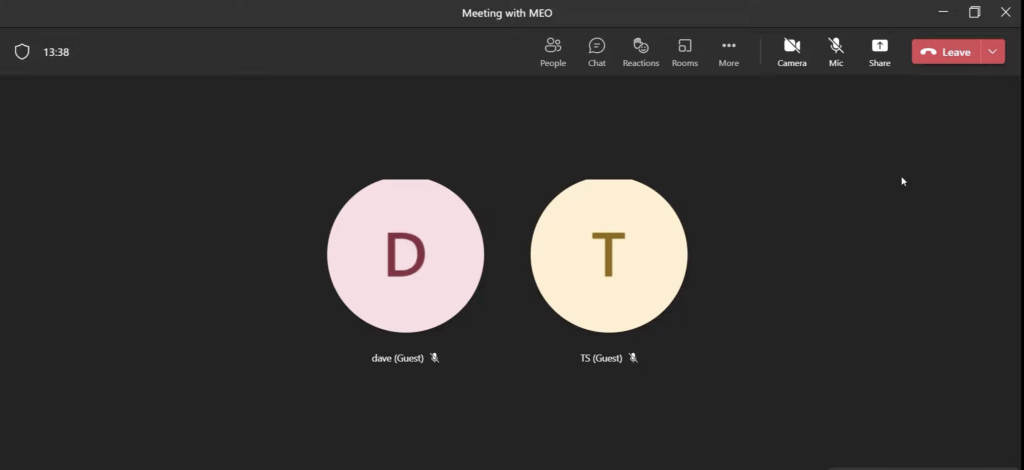
- Open Microsoft Teams and start a meeting
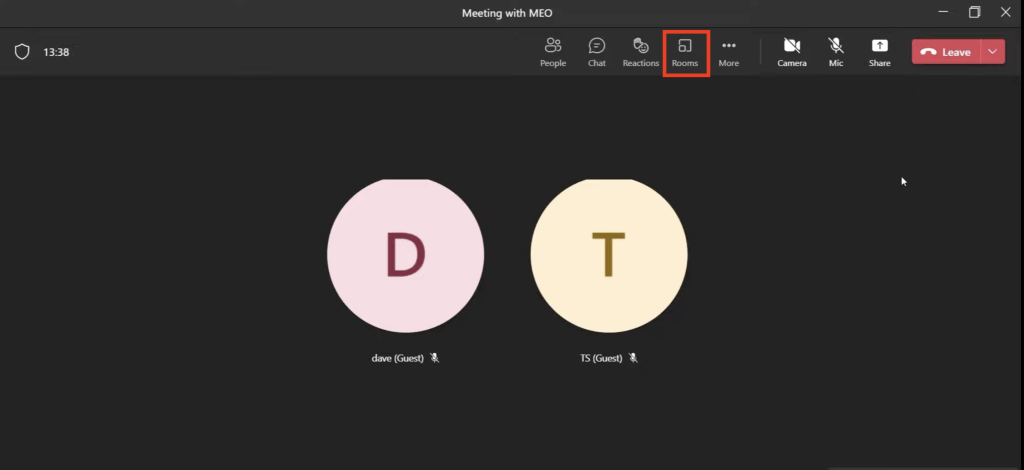
- Select the breakout room icon on the top right corner of the screen
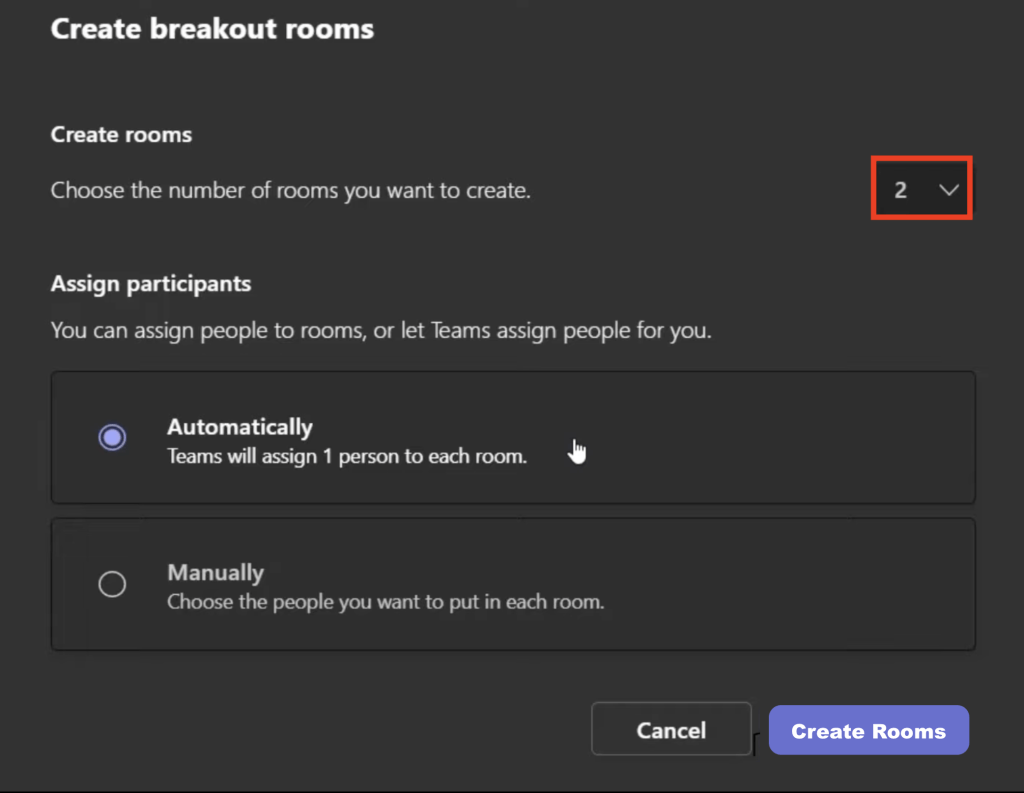
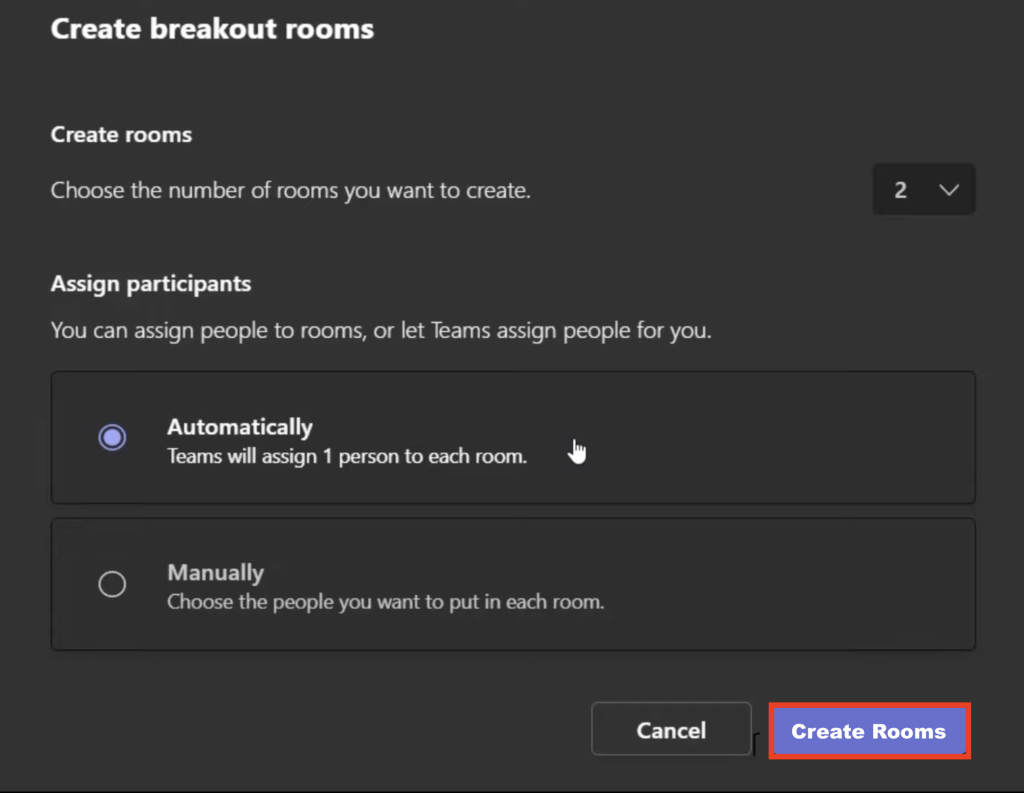
- Select the number of rooms you want to create from the dropdown
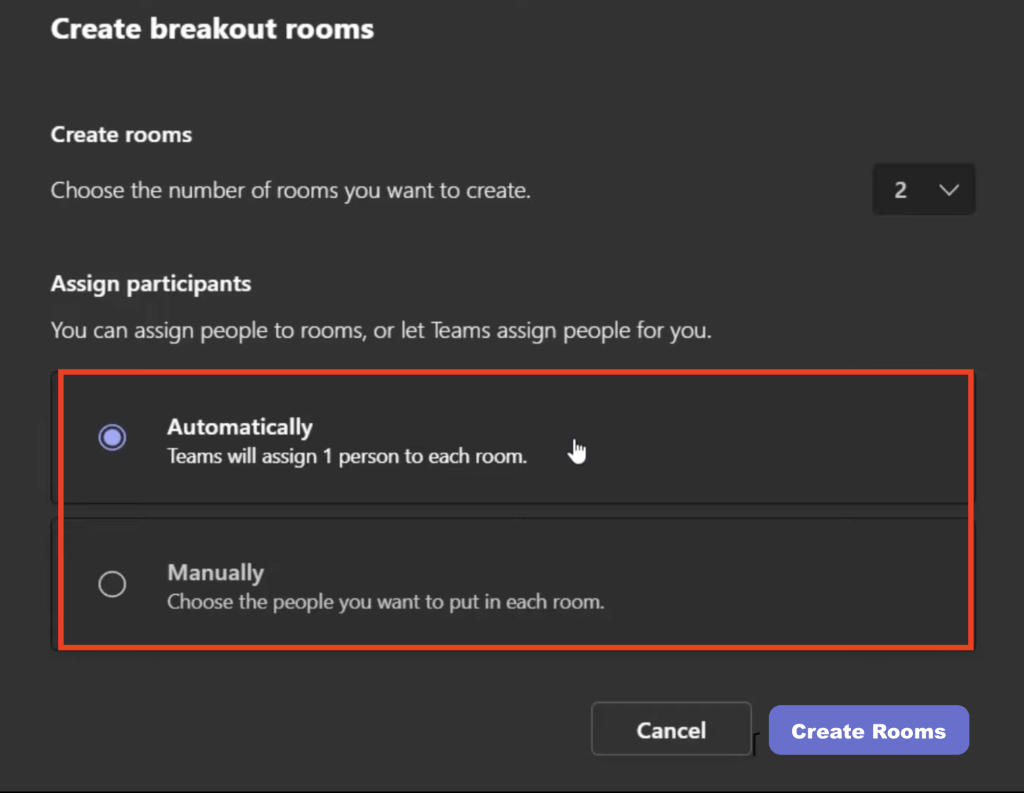
- Choose an option –
- Click on Create Rooms
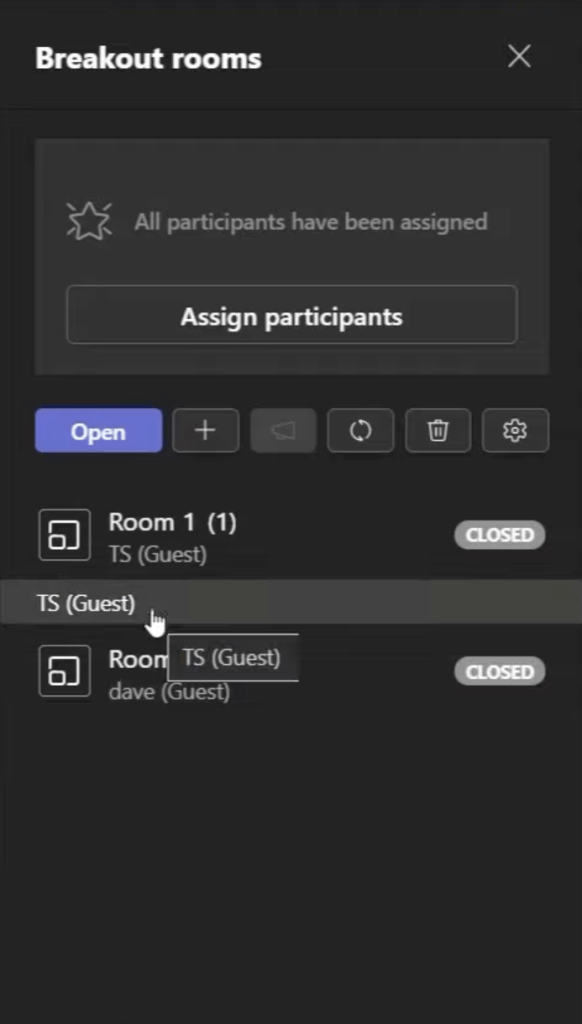
- The breakout room panel will open and you can click on the room to see who is inside a room
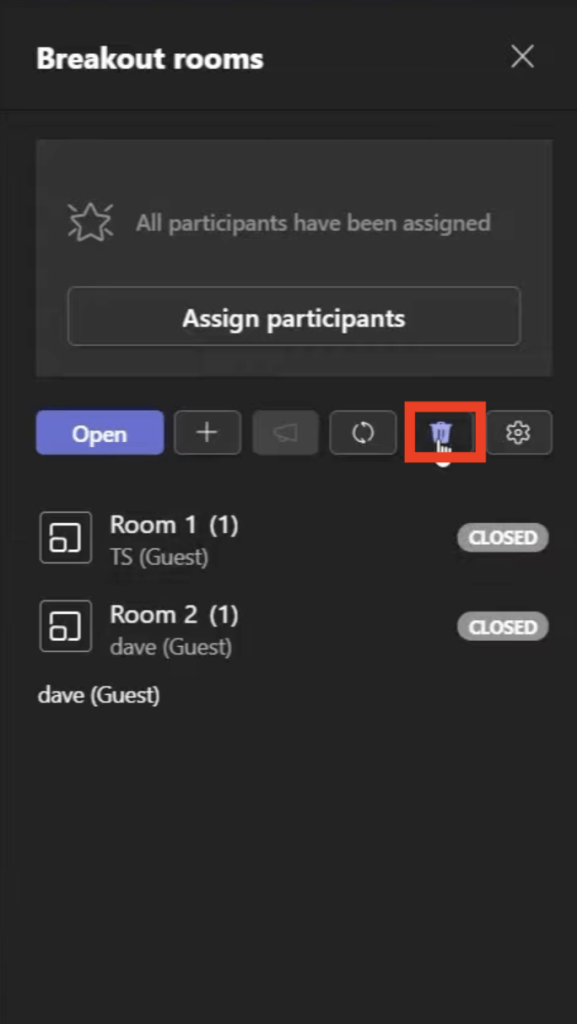
- Click on the delete icon to delete all existing rooms
Interacting with Breakout Rooms
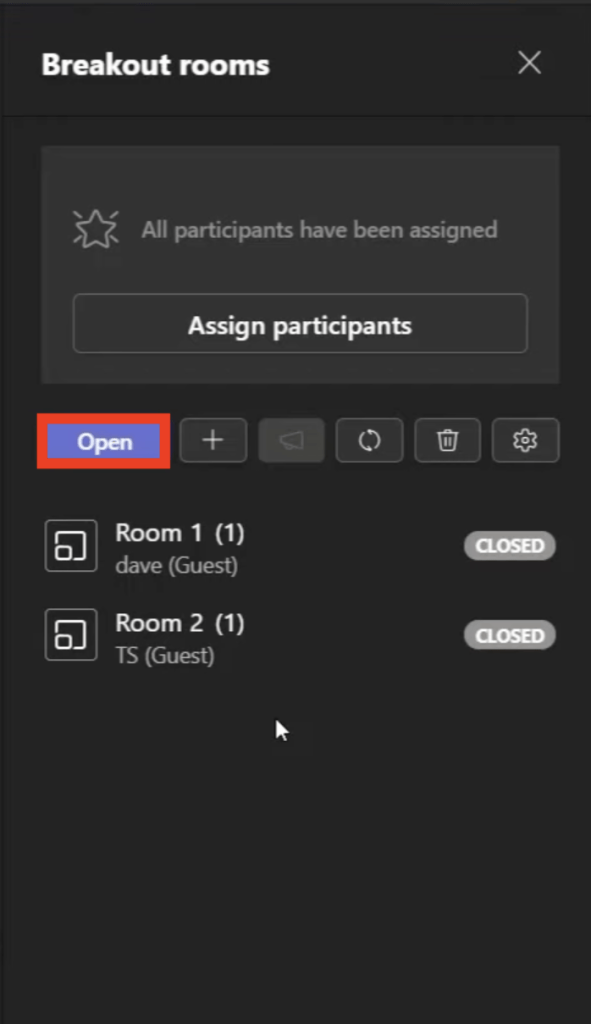
When you are ready to start the breakout room in Microsoft Teams, simply click on Open.
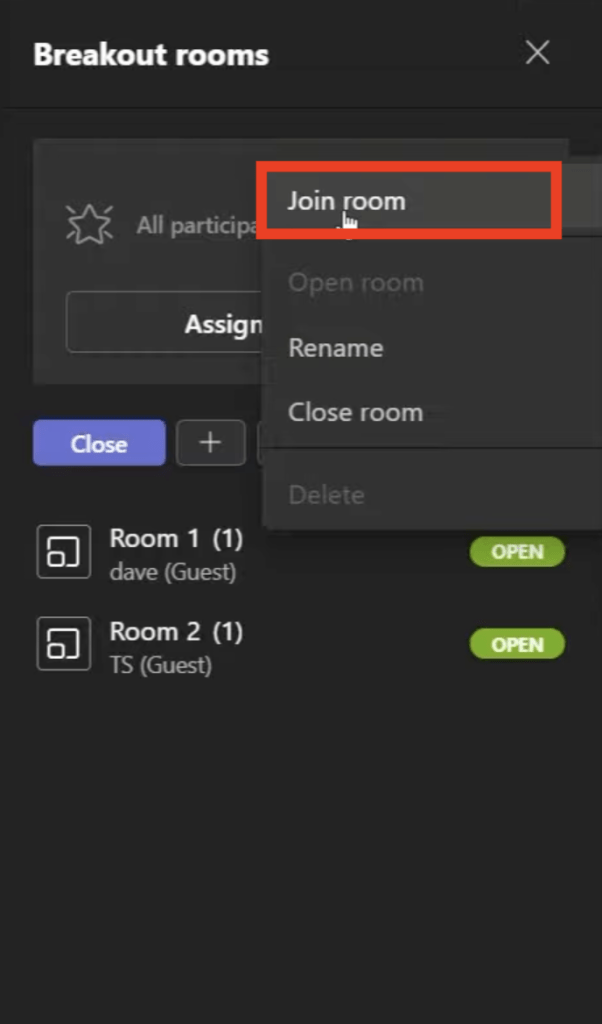
To enter a breakout room, go to the three dots next to the room and click on Join.
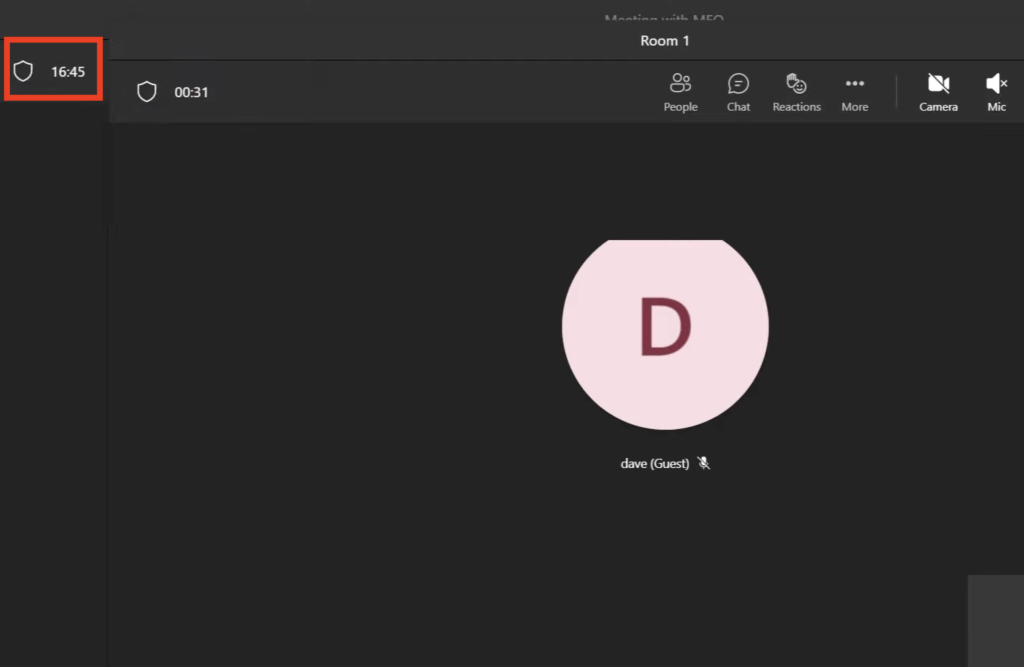
Once you are inside the room, you can see that the main meeting is still running in the background.
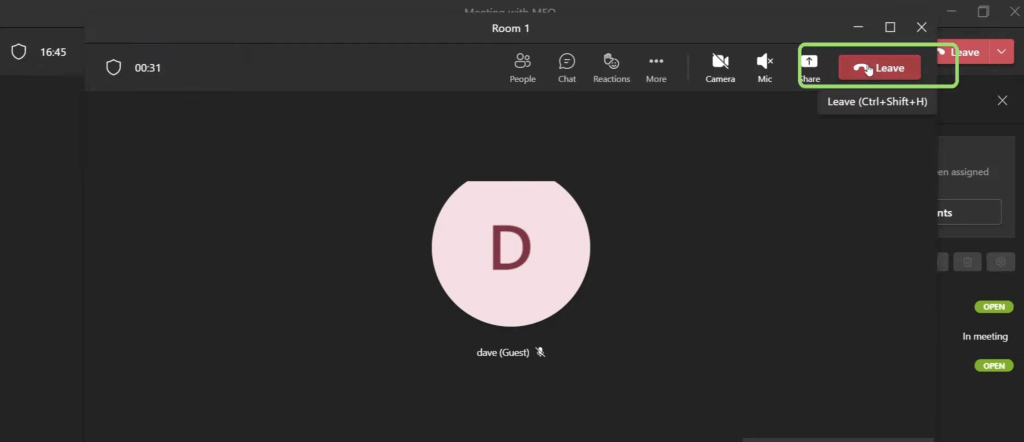
To leave the breakout room meeting, simply click on the Leave button.
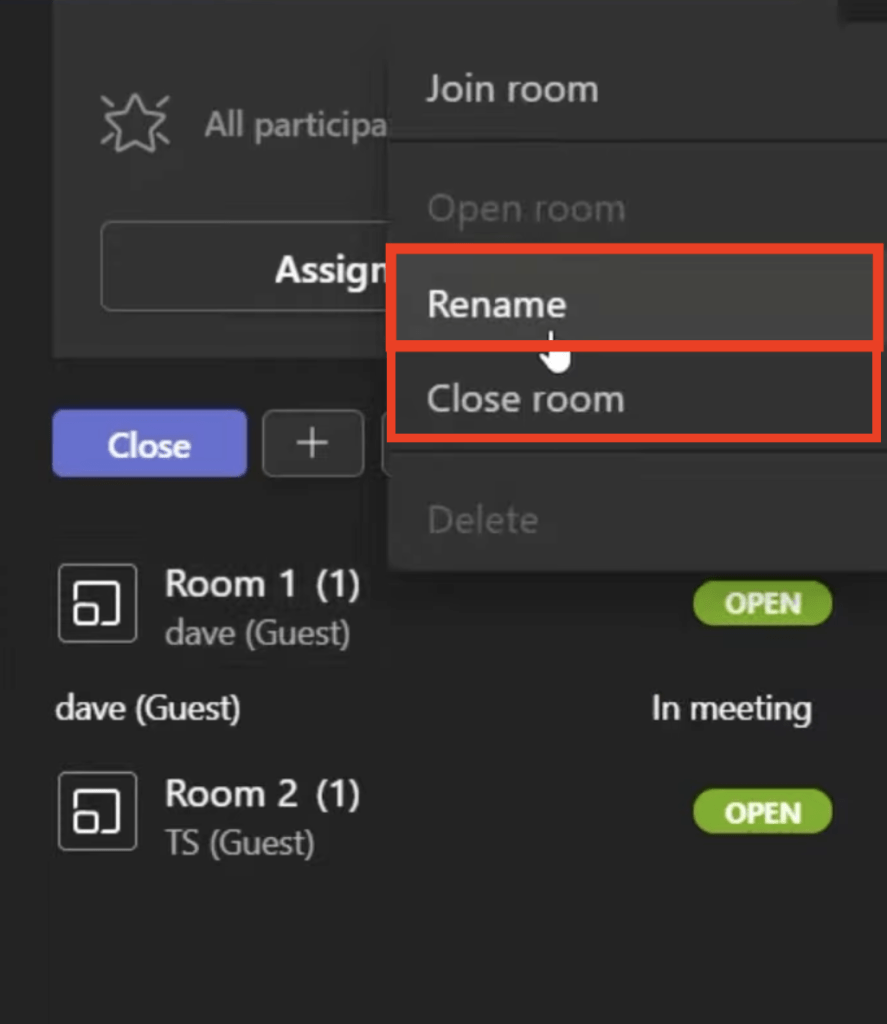
To rename or close a breakout room, simply click on the three dots next to the room name and click on Rename or Close Room respectively.
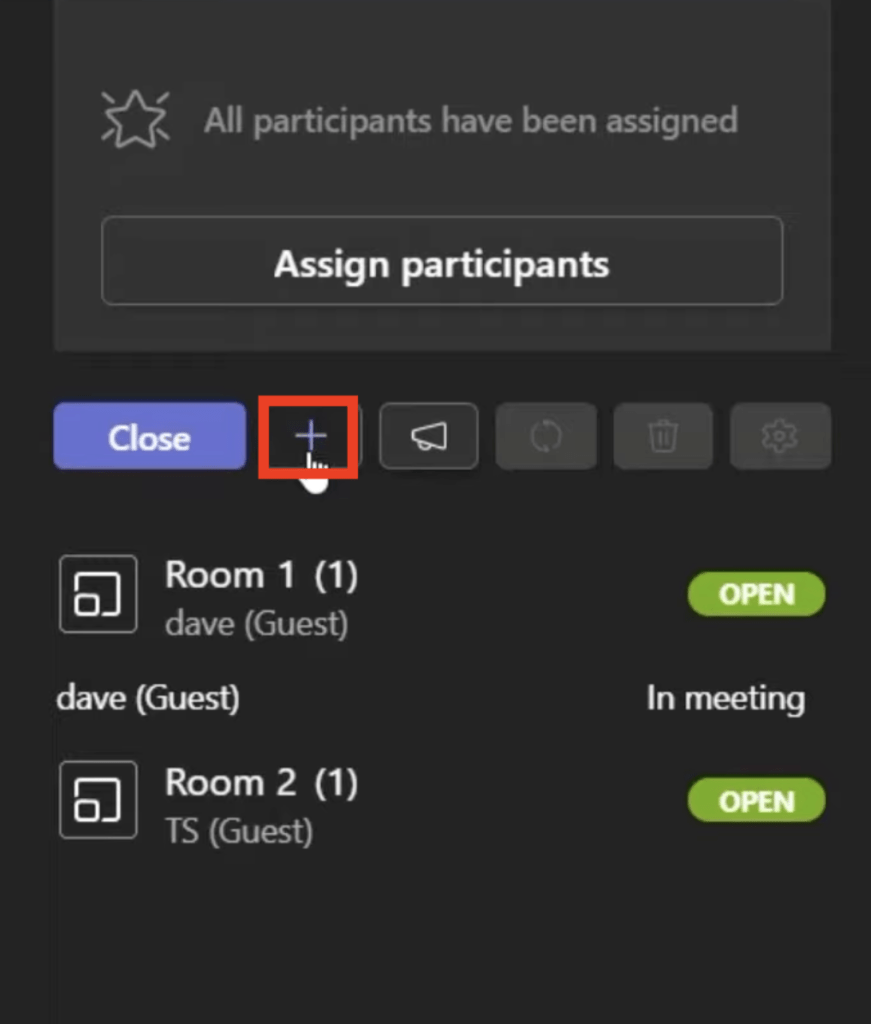
To add a new room, click on the + sign.
Making a Breakout Room Announcement
It is very easy to make an announcement once the group has been divided into small breakout rooms in Microsoft Teams. This feature can be used to provide information to participants such as a general update, remaining breakout session time, or offer suggestions.
To make a text announcement to all breakout rooms in Microsoft Teams, follow the steps below –
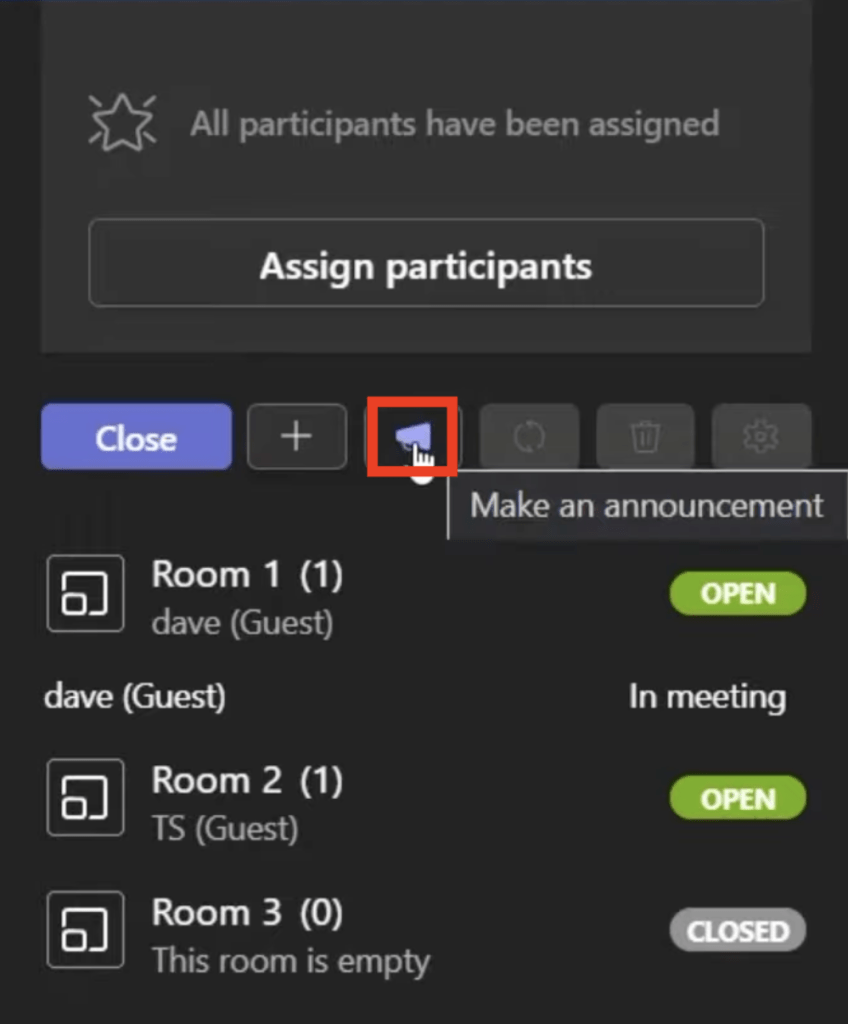
- Go to the Breakout room panel
- Select Make an Announcement
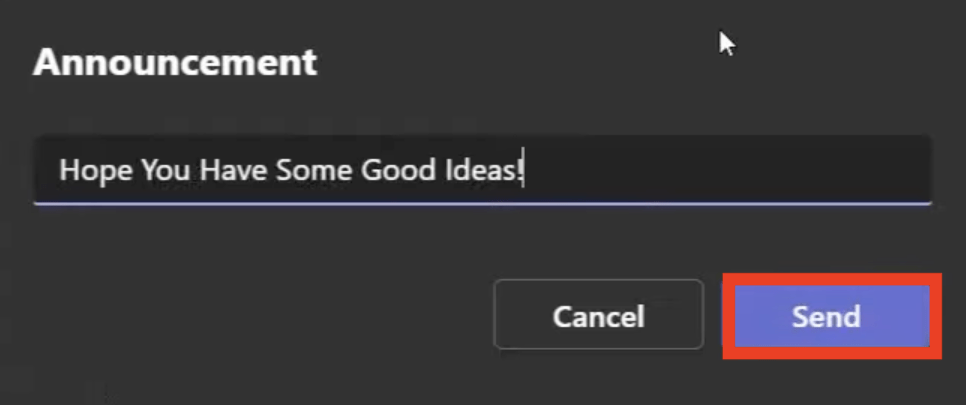
- Type the announcement and hit Send
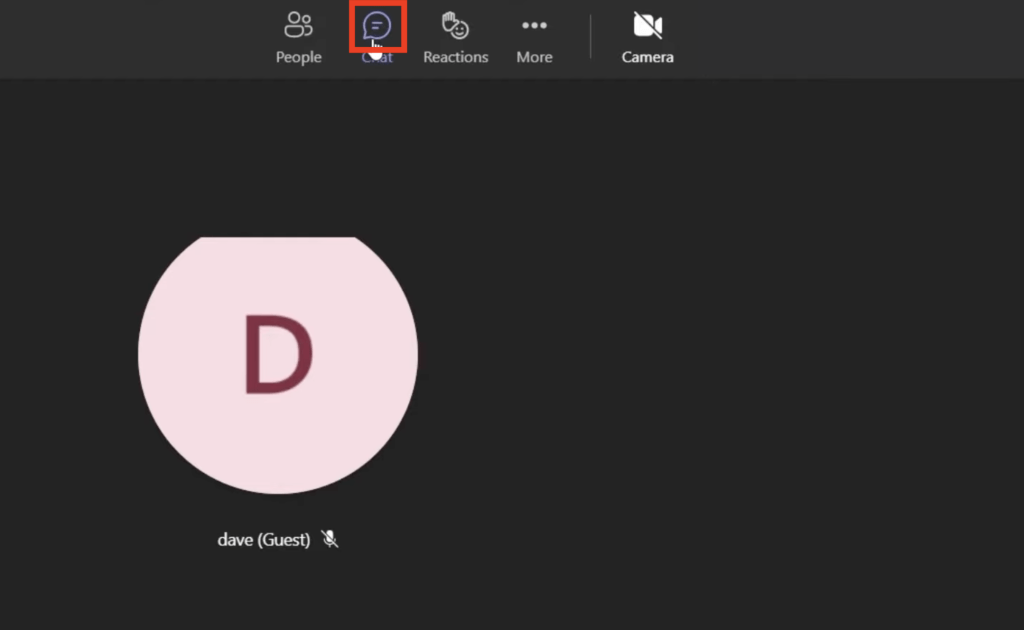
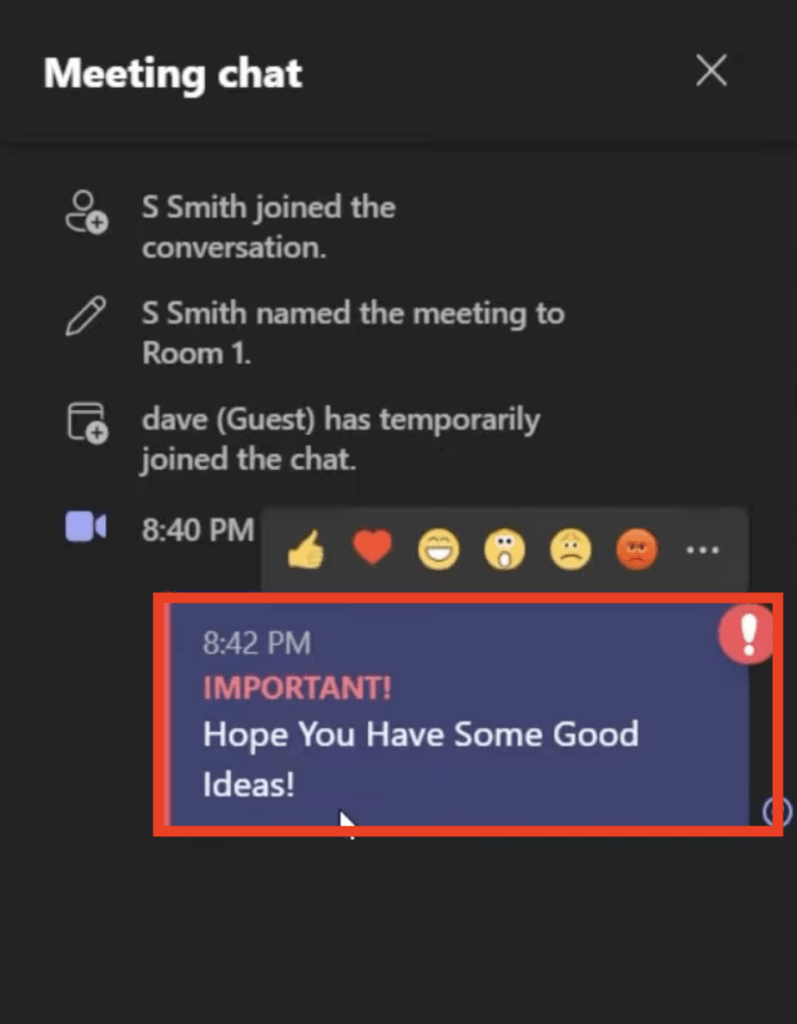
- Head over to the chat section
- You will find the announcement in the chat marked as important
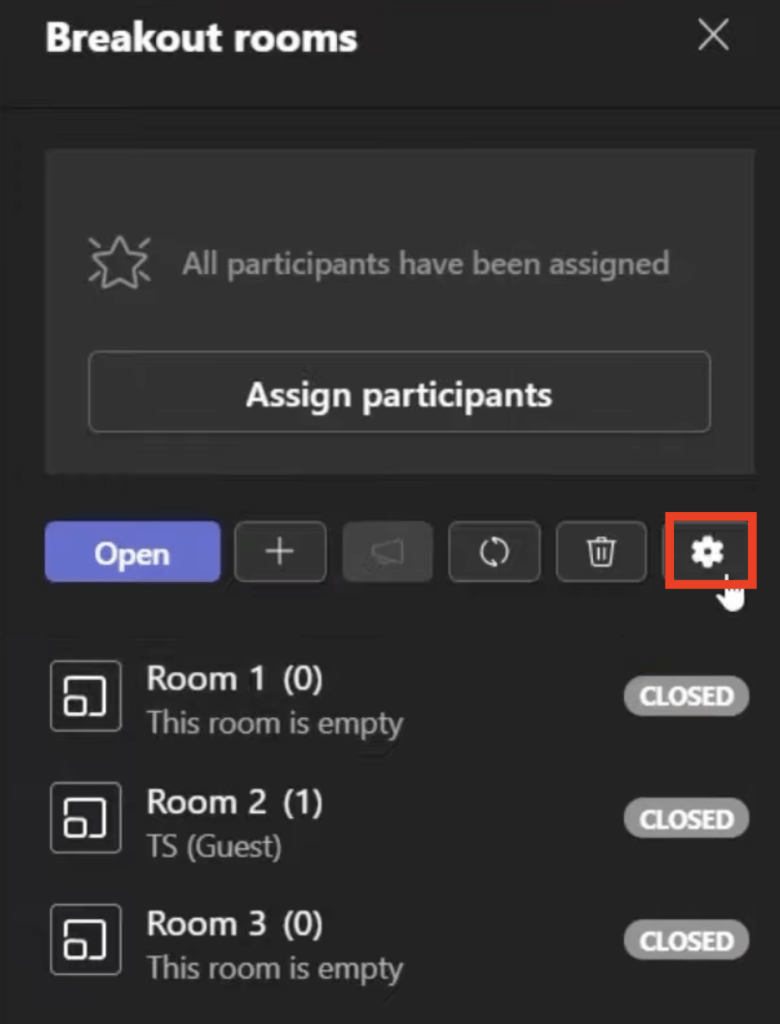
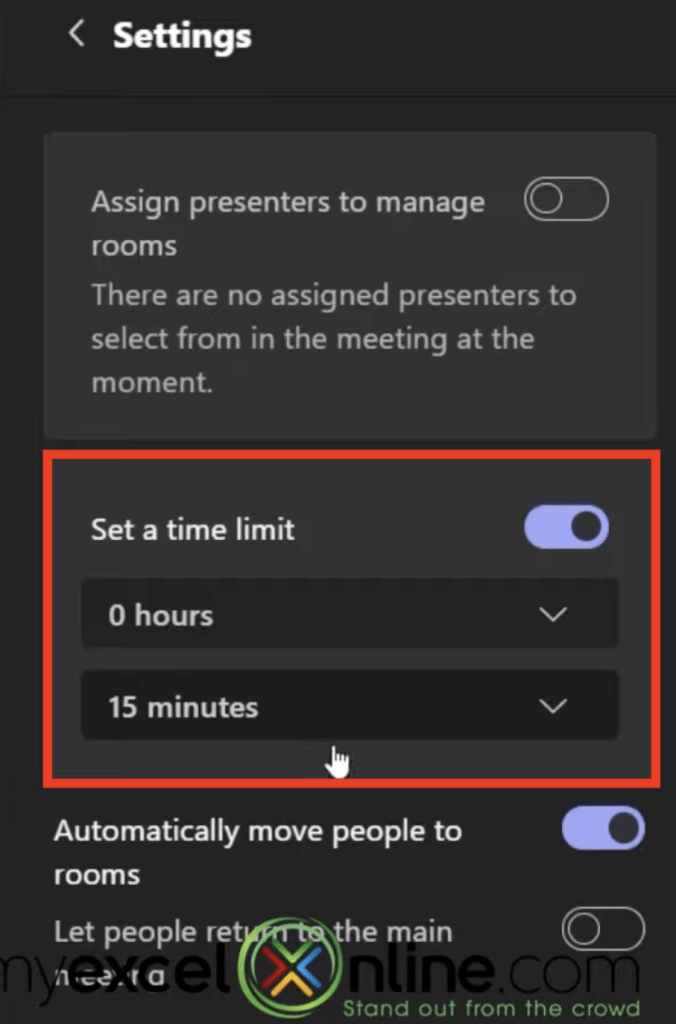
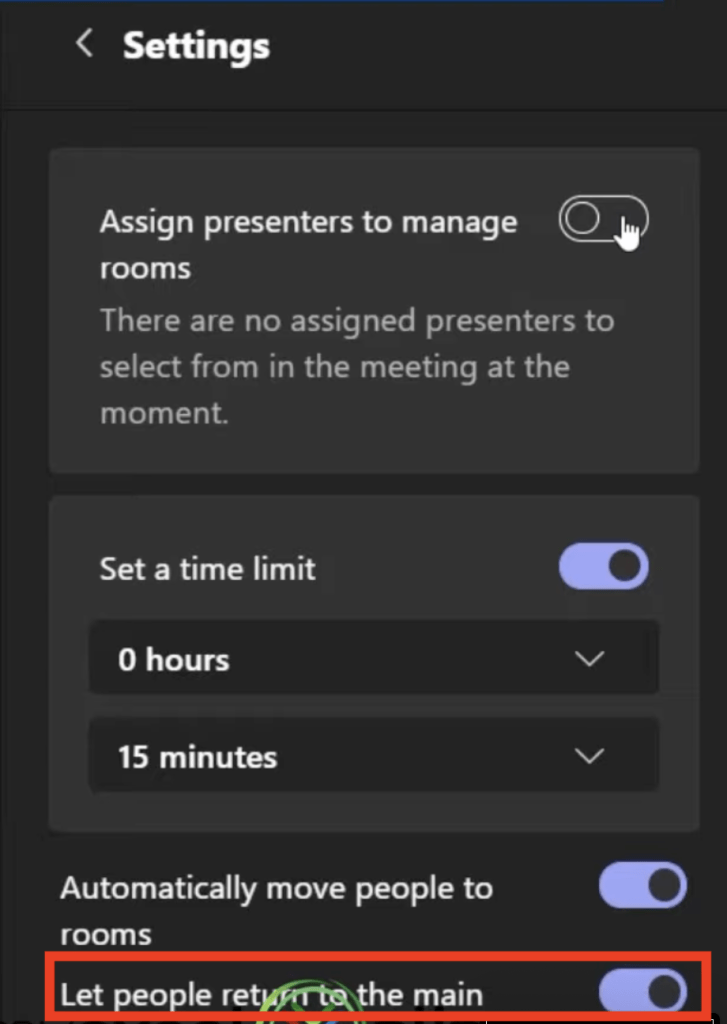
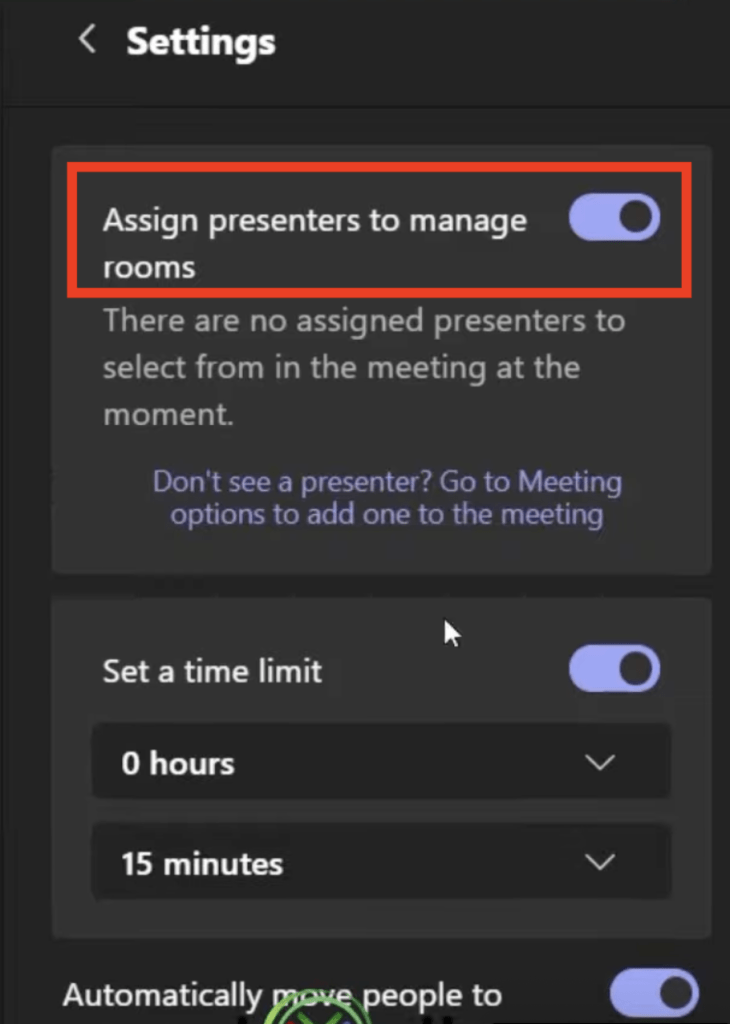
You can select the settings button to make the following changes –
- Set a time limit to make sure that the breakout room meeting lasts till that time only. Once the time is up, the breakout room will be closed and participants will be returned back to the main meeting.
- Let participants decide to leave their breakout room and return to the main meeting.
- Assing different presenters to manage different breakout rooms.
Once the breakout room meetings are over, and you want the participants to return back to the main meeting –
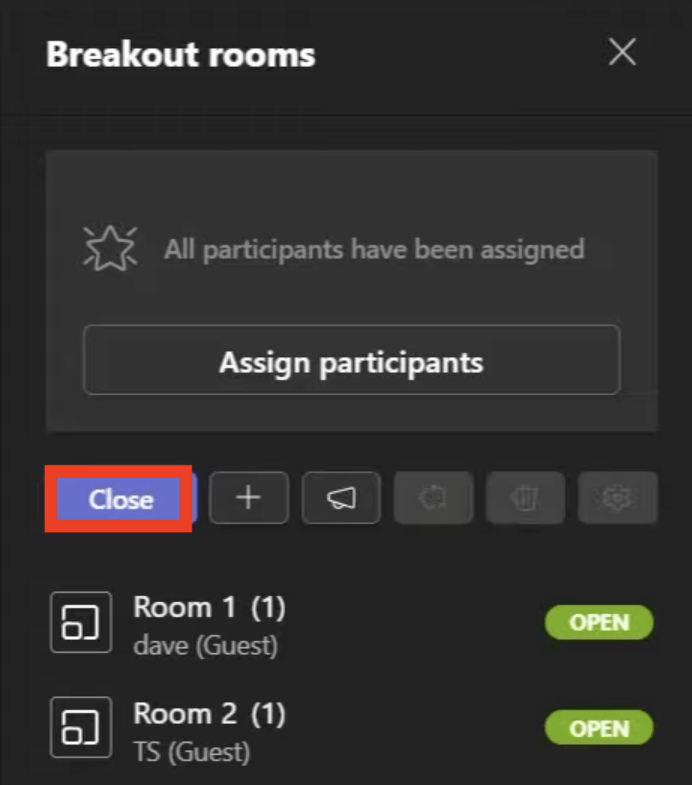
- Go to the Breakout room panel
- Click on Close to close all the breakout rooms
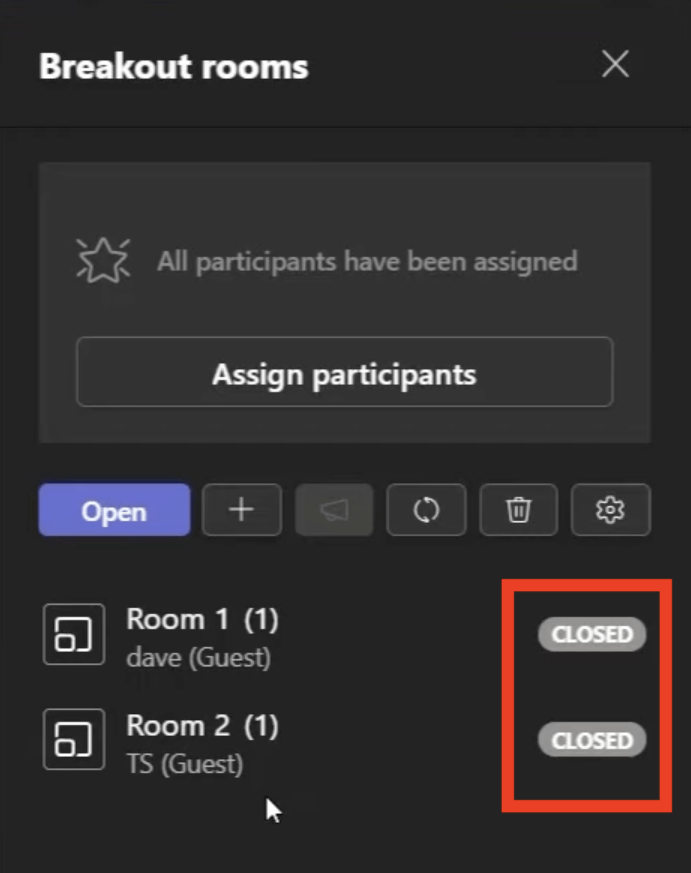
- The status of all the rooms will be changed to Closed
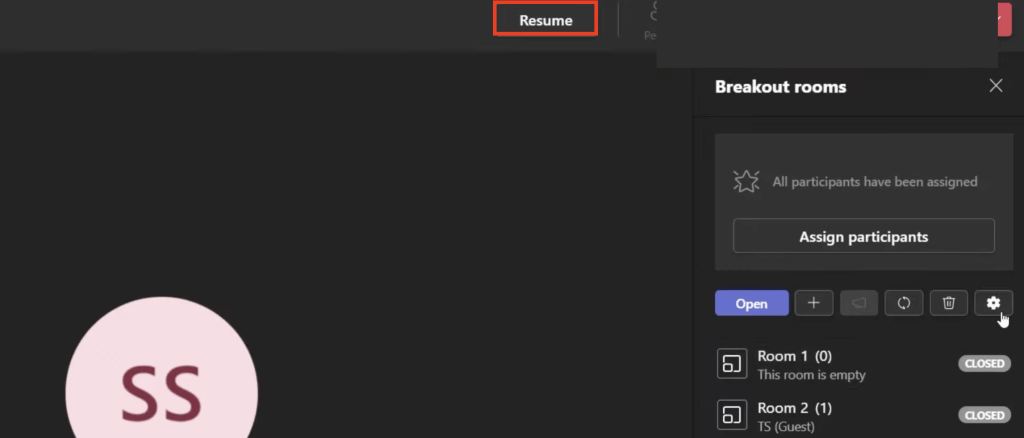
- Select Resume to start the larger group meeting again
In this article, we have defined a breakout room and learned how to create, join, add, and rename a breakout room in Microsoft Teams meeting. We have also seen how to make an announcement to all breakout rooms, change settings for breakout rooms, return to the main meeting in Microsoft Teams, and more!
John Michaloudis is a former accountant and finance analyst at General Electric, a Microsoft MVP since 2020, an Amazon #1 bestselling author of 4 Microsoft Excel books and teacher of Microsoft Excel & Office over at his flagship MyExcelOnline Academy Online Course.

