Download our 141 Free Excel Templates and Spreadsheets!
Key Takeaways
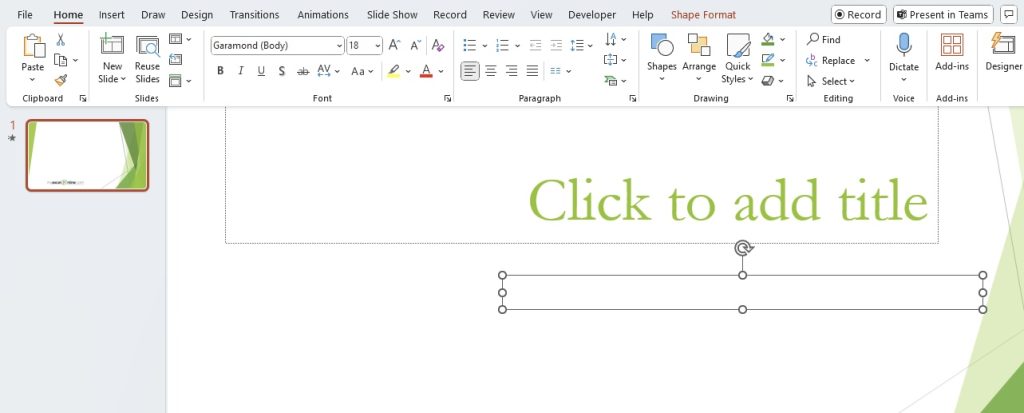
- To delete a text box in PowerPoint, click on the box to select it, indicated by a border with handles, and then press the ‘Delete’ key on your keyboard.
- If a deletion is made by mistake, the ‘Undo’ function can be immediately accessed with the keyboard shortcut Ctrl+Z to restore the text box.
- An alternative method for deleting a text box is to right-click on the selected text box and then click the ‘Delete’ option from the contextual menu that appears.
Common Text Box Frustrations and Solutions
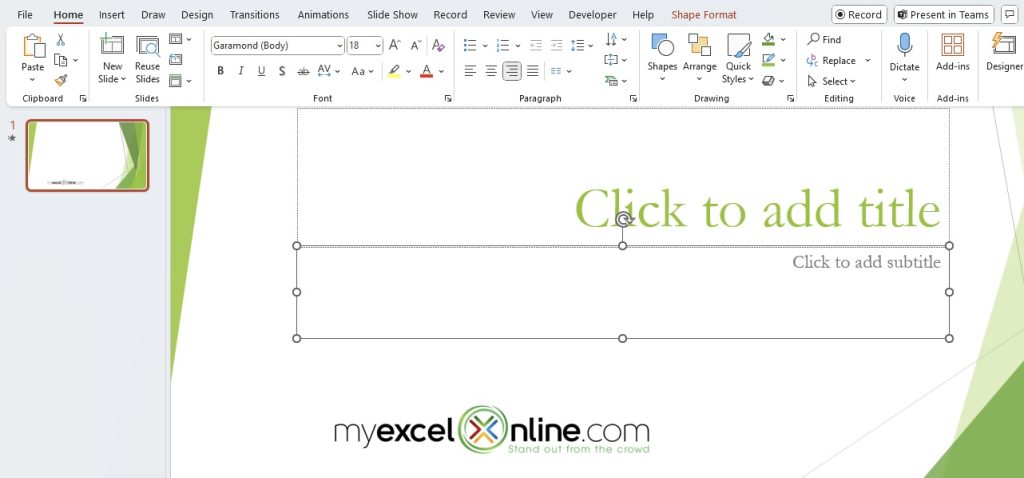
Everyone who’s worked with PowerPoint knows the drill: the text box that just won’t do what you want it to. You go to delete it, and nothing happens, or you find your text inconveniently formatted. Common issues include unselectable text boxes, unexpected layering that blocks access, or grouped objects that refuse to be edited independently.
The solution often lies in the details:
To tackle selection trouble, zoom in and ensure you’re clicking on the box border.
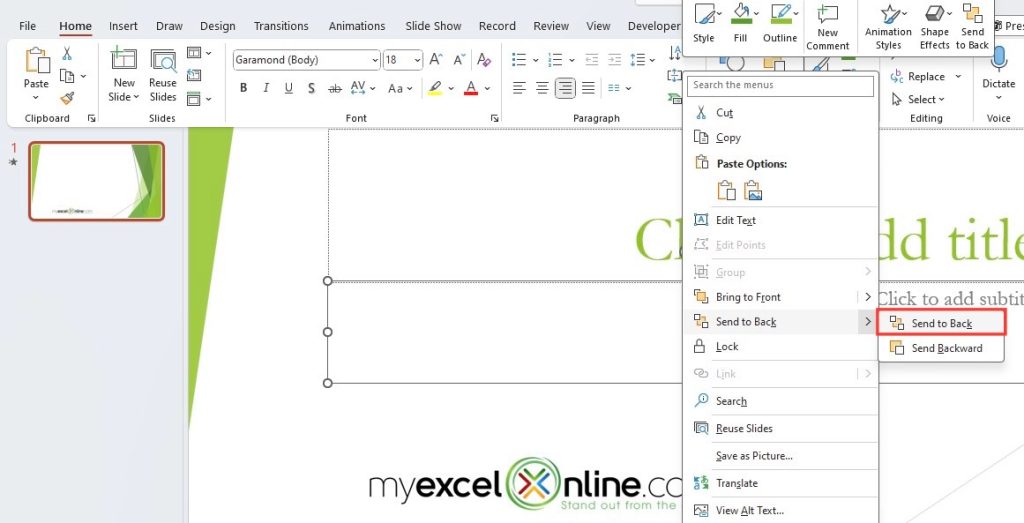
If you’re dealing with obstructive layering, right-click and send objects to the back to clear the way.
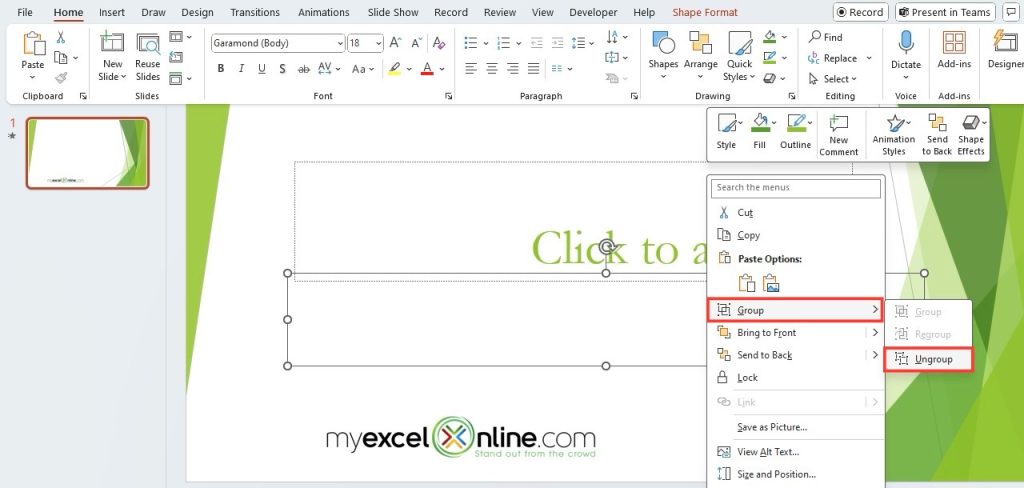
When grouped objects are the culprits, take a moment to ungroup them (right-click > Group > Ungroup), and you’ll be editing smoothly in no time. Always be meticulous with document elements—it pays off!
Table of Contents
Step-by-Step Instructions for Deleting Text Boxes
How to Identify and Select Unwanted Text Boxes
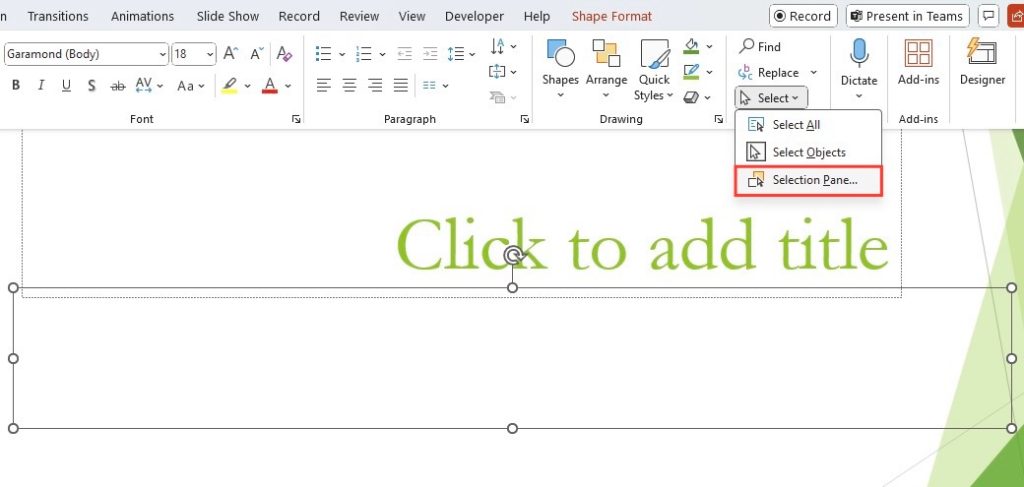
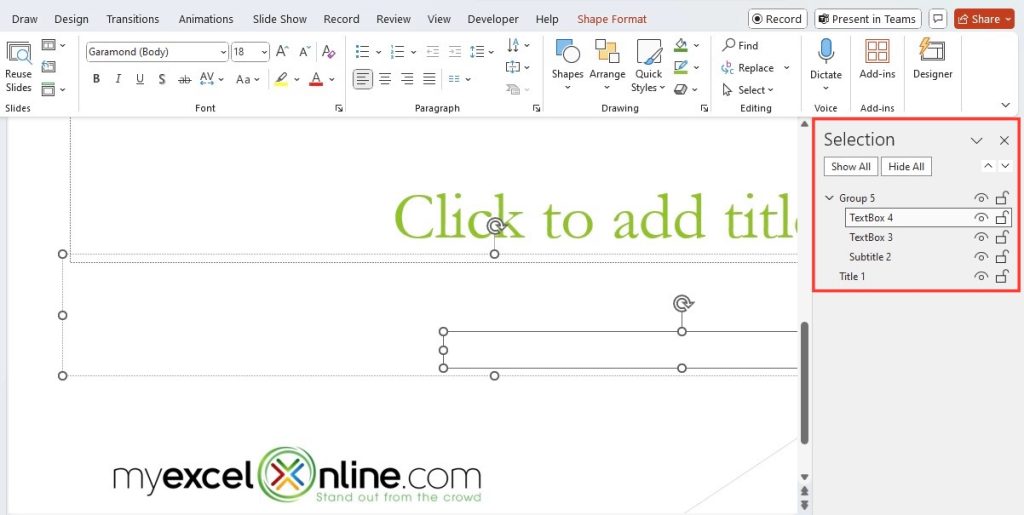
Zeroing in on those pesky unwanted text boxes is your first mission. Start by hovering over the text box edges. When your cursor becomes a four-arrowed cross, you’ve hit the jackpot—that’s your text box! If it’s being shy, use the Selection Pane to uncover it among other elements; you can open this pane via the “Home” tab, then click “Select” and “Selection Pane.” This feature displays a neat list of all objects on the slide, making it simple to spot and select the text boxes you wish to remove.
Remember, a careful scan of your slide for any hidden or overlapping text boxes can save you from future headaches. Once identified, a single click should get them selected and ready for the next step.
Tips for Ensuring Successful Deletion
Getting text boxes to vanish without a trace often requires an extra touch of care. After selecting your intended text box, look out for that all-important confirmation dialog. It’s your safeguard against accidental deletions, so take it seriously. Always confirm the deletion to prevent losing valuable data or, if you’ve made a mistake, rely on the ‘Undo’ feature—it’s your presentation lifesaver.
When deleting, also keep an eye on the animation pane and slide design to ensure you’re not disturbing the slide’s flow or coherence. Each text box might be playing a role in the bigger picture of your presentation narrative. It’s wise to double-check your slides post-deletion for any unexpected changes that could throw a wrench in the works.
Advanced PowerPoint Techniques for Text Box Control
Handling Stubborn Text Boxes That Won’t Delete
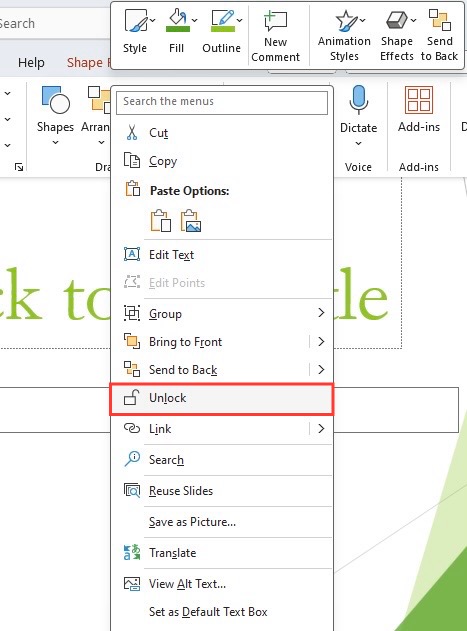
If you’re facing a text box that clings on like a stubborn stain, don’t worry—there’s always a trick up PowerPoint’s sleeve. When pressing the delete key proves futile, inspect the text box properties. Sometimes, specific settings prevent removal, so reset them to standard—this alone can solve your issue. And on the off chance that you’ve stumbled upon a locked text box, right-click the text box and select Unlock.
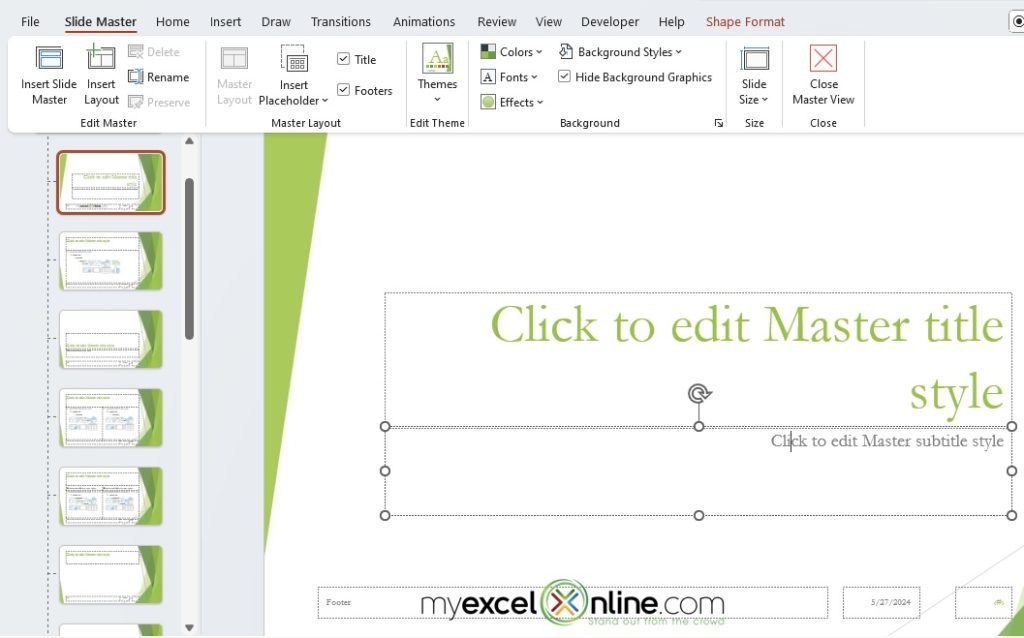
When deletion woes persist, take a dive into the Slide Master. It’s possible the text box is part of a slide layout used across your presentation. Editing or removing it from there ensures it disappears from all slides using that layout.
Utilizing Slide Master to Manage Global Text Issues
The Slide Master is a powerful tool in your kit for managing global text issues across your presentation. Imagine you want the same header text on each slide; well, the Slide Master allows you to add it once, and like magic, it appears everywhere. Conversely, to remove a recurring text box, dive into the Slide Master, find the rogue text and delete it. This will ensure that the text box disappears from every slide derivative of that master layout, saving you time and maintaining consistency.
Just be cautious—changes made in the Slide Master affect all slides linked to it. To avoid widespread mayhem, confirm you’re editing the correct master slide or layout before proceeding.
Streamlining Your Workflow with Text Box Shortcuts
Keyboard Shortcuts for Faster Text Box Editing
Speed up your game with keyboard shortcuts—they’re the secret weapon for faster text box editing. Once you highlight the troublesome text box, smash that ‘Delete’ key to send it packing. Control your workflow better by also using ‘Ctrl+X’ to cut or ‘Ctrl+Z’ to undo an action immediately, without moving your hands from the keyboard.
It’s these little snippets of time you save that can add up to hours over the course of editing a large PowerPoint file. Work smarter, not harder, and let your fingers do the dance—your efficiency will soar!
PowerPoint Add-Ins to Enhance Text Box Management
For those looking to turbocharge their text box management, PowerPoint add-ins are like having a pit crew for your presentations. These handy tools integrate seamlessly into PowerPoint, offering advanced features beyond the basics. Whether you’re after smart alignment, batch editing, or intricate text box animations, there’s an add-in for that.
Popular choices include ToolsToo and Power-user, which pack a punch with their ability to manipulate multiple text boxes simultaneously and add a sprinkle of design pizzazz. Just be sure your add-in is compatible with your version of PowerPoint before installing, for smooth sailing.
Avoiding Common Pitfalls When Working with Text Boxes
Preventative Measures to Simplify Text Box Editing
Taking preventative measures now can save you a heap of headaches later. Start with the habit of naming your text boxes in the Selection Pane right after creation; this makes them easier to find and manage later on. Also, think twice before copying and pasting text boxes from different sources to avoid formatting mishaps—stick with the ‘Keep Source Formatting’ option to maintain uniformity.
Always align and distribute your text boxes properly from the get-go using the align tools. This approach not only makes your slides visually appealing but also simplifies future editing when text boxes are neatly organized and positioned.
Best Practices for Text Box Consistency Across Multiple Slides
For that polished, professional look, you need consistency in your text boxes across slides. Establish a style guide and stick to it like glue: use the same fonts, colors, and sizes for similar text elements. Make use of Slide Master to set these styles, ensuring uniform headers, footers, and body text.
Apply layouts from the Slide Master when creating new slides to maintain this consistency. And before finalizing your presentation, do a slide-by-slide walk-through to double-check alignment and format—consistency is king!
FAQs
Why can’t I delete a text box on my PowerPoint slide?
If a text box just won’t budge when you try to delete it, it could be locked by the Slide Master or part of a group of objects. Ensure it’s not currently being used in an animation or linked to other slides’ content. Check these, ungroup if needed, and attempt deletion again. If all else fails, reach out to the Slide Master or try a different selection method.
How do I delete multiple text boxes at once in PowerPoint?
To delete several text boxes simultaneously, hold down the ‘Shift’ or ‘Ctrl’ key and click on each one. This groups your selection, allowing you to press the ‘Delete’ key or right-click and choose ‘Cut’ to remove them all in one swift move. Quick and tidy!
John Michaloudis is a former accountant and finance analyst at General Electric, a Microsoft MVP since 2020, an Amazon #1 bestselling author of 4 Microsoft Excel books and teacher of Microsoft Excel & Office over at his flagship MyExcelOnline Academy Online Course.

