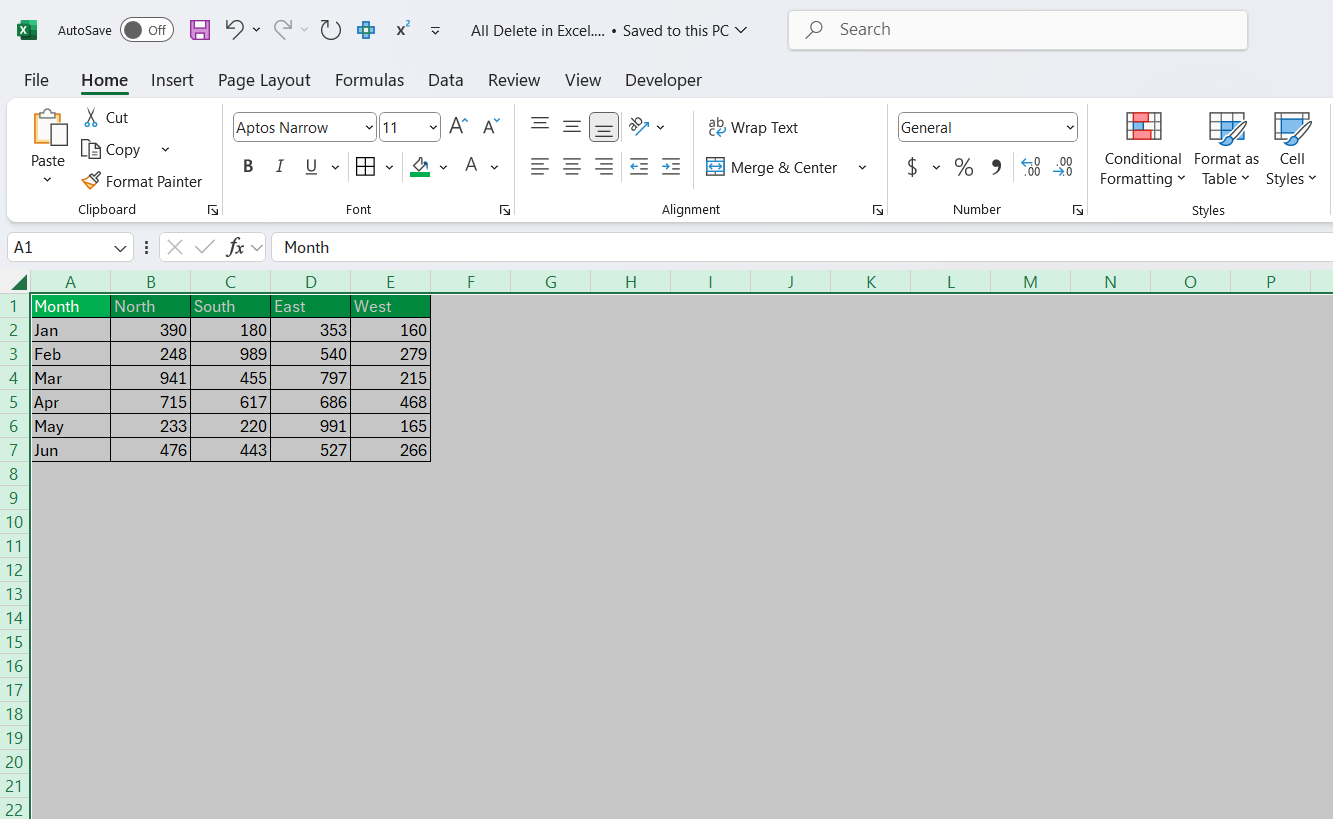
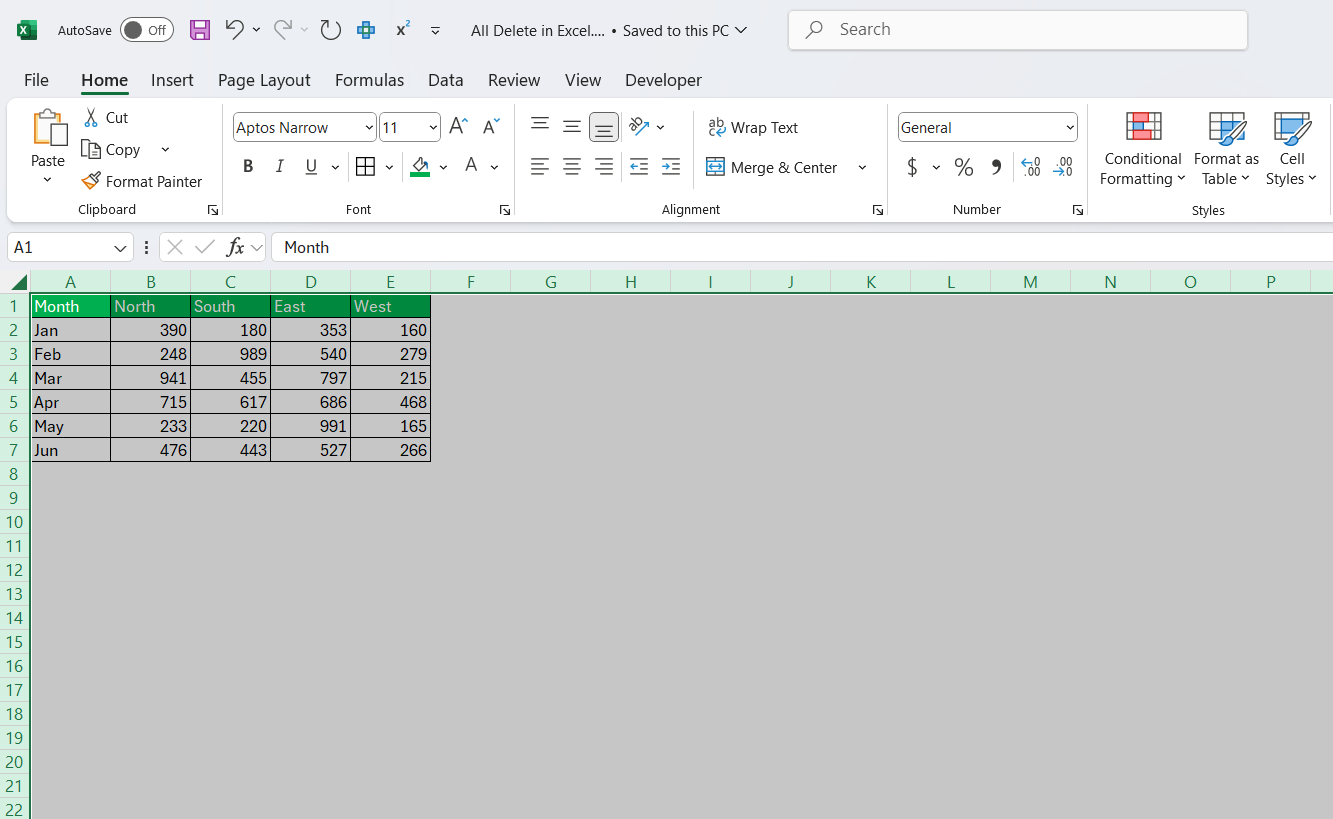
I’ve been using Excel for years now, and one thing I’ve learned along the way is how powerful the delete function can be—especially when you want to clear everything out and start fresh. Whether I’m cleaning up a massive dataset or just getting rid of a few rows and columns that are no longer needed, knowing how to delete all in Excel has made my life so much easier.
So, in this article, I want to walk you through how I do an all delete in Excel, the different methods I’ve come across, and some neat tricks I’ve picked up that might help you too.
Key Takeaways:
- Deleting in Excel helps me clear clutter and start fresh efficiently.
- Using “Clear All” from the ribbon removes data, formatting, and more in one go.
- Right-clicking to delete full rows or columns is perfect for trimming large datasets.
- Creating backups and using filters ensures I don’t accidentally delete important data.
- Undo (Ctrl + Z) is my quick fix for any mistaken deletions during cleanup.
Table of Contents
Introduction
Understanding the Clutter in Excel
Excel, a powerful tool for data management, can quickly become cluttered due to unused and blank rows. This clutter not only affects the performance of the spreadsheet but can also lead to inaccuracies in data analysis. Understanding the nature of this clutter is crucial.
Essentially, it occurs when cells are altered or data is deleted, but Excel still retains a record of these changes. This means even empty cells might be pan of the problem. Recognizing this hidden clutter becomes the first step in efficiently managing your spreadsheets.
Why Keeping Your Spreadsheet Clean Matters
Keeping your spreadsheet clean is essential for several reasons. First, it ensures data accuracy, which is critical when making informed decisions based on your data. A clutter-free sheet accelerates processing times, leading to more efficient data retrieval and calculations.
Moreover, a well-organized spreadsheet improves readability, making it easier to present information to stakeholders. Finally, clean spreadsheets reduce the likelihood of errors during data manipulation, ensuring that your analyses remain precise and reliable.
Quick and Easy Methods to do All Delete
Method 1: Clearing All Contents in a Worksheet
If I want to keep the structure (like the column and row layout) but just get rid of the data, here’s what I do:
STEP 1: I press Ctrl + A to select the entire sheet.
STEP 2: Then I hit the Delete key on my keyboard.
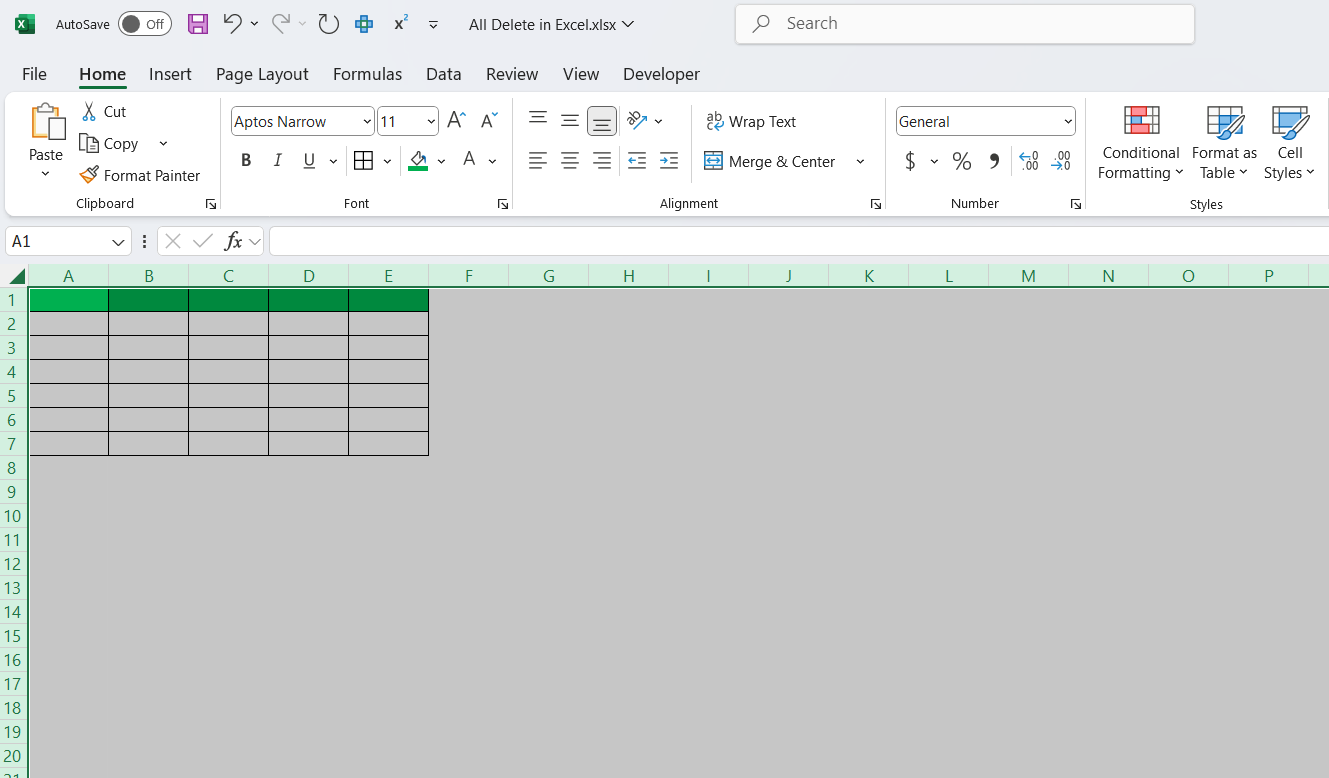
This wipes out all the values, leaving blank cells everywhere. But it still keeps any formatting—like cell colors or borders—which sometimes I don’t want.
Method 2: Using “Clear All” from the Ribbon
This is one of my favorites when I want a complete cleanup:
STEP 1: I select the entire sheet with Ctrl + A.
STEP 2: Then I go to the Home tab on the ribbon.
STEP 3: Under the Editing group, I click Clear > Clear All.
This removes everything—data, formatting, comments, hyperlinks—you name it. It’s like hitting reset on that part of the sheet.
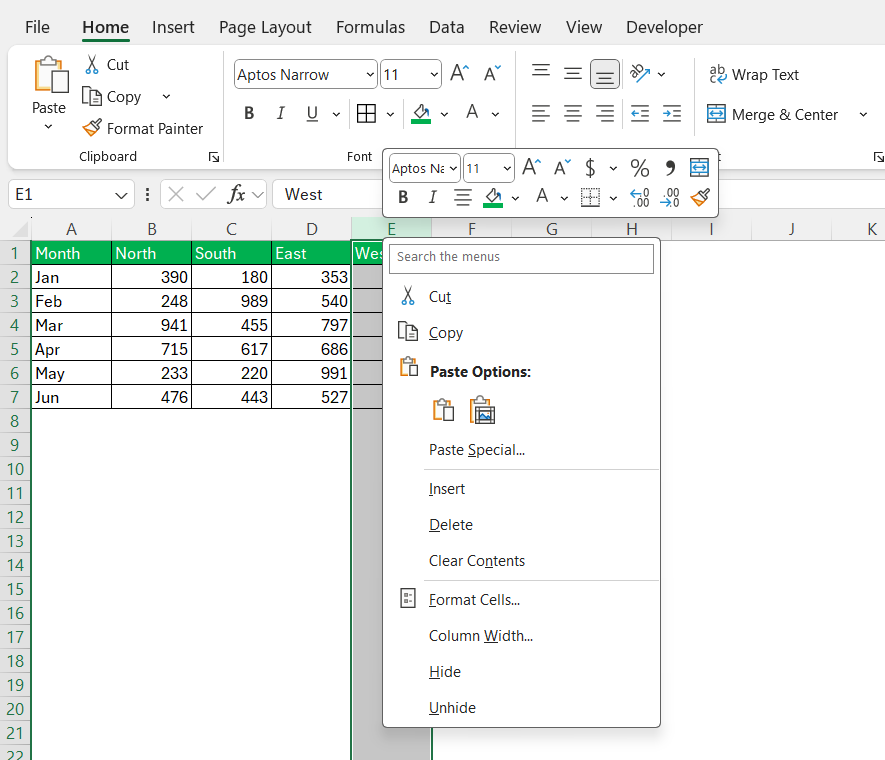
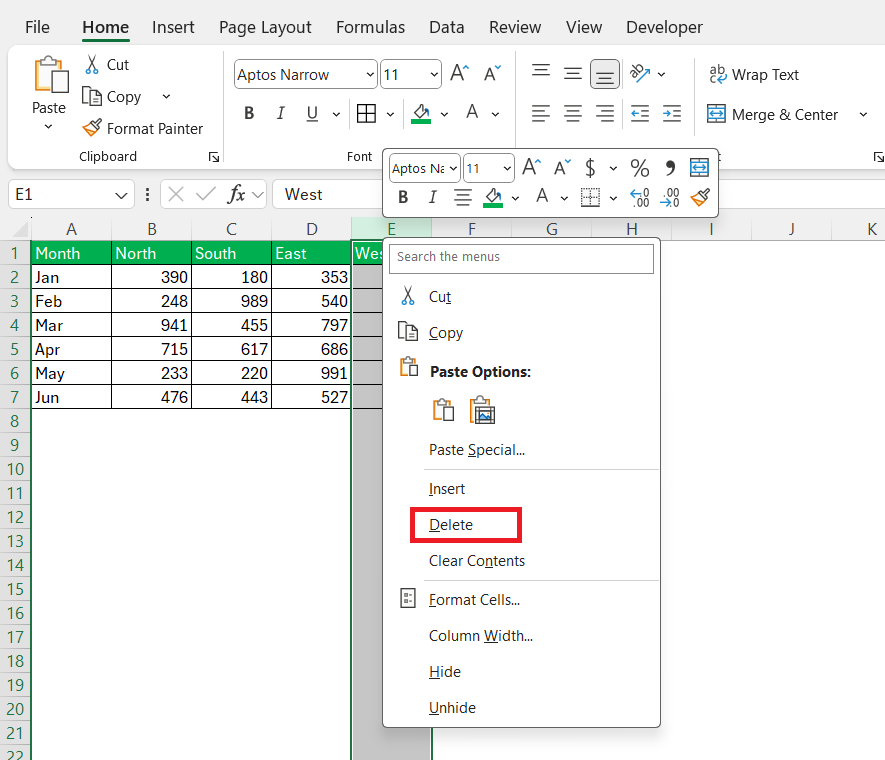
Method 3: Deleting Entire Rows or Columns
There are times I don’t just want to clear the cells—I want the entire row or column gone. Here’s what I do:
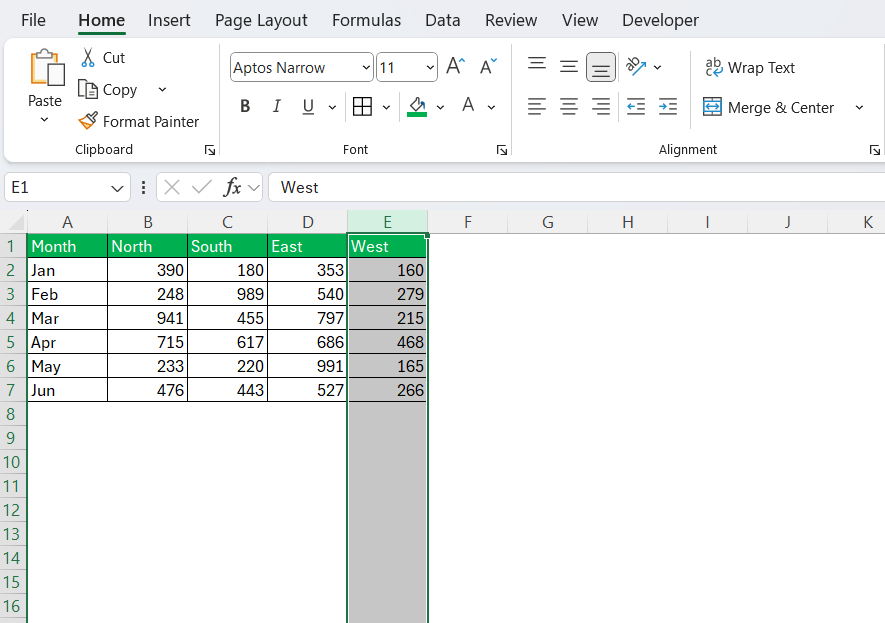
STEP 1: Select the row number or column letter that I wish to delete.
STEP 2: Right-click on the row number or column letter.
STEP 3: Click Delete.
I use this especially when I’m trimming down big data imports that have empty rows or unnecessary columns.
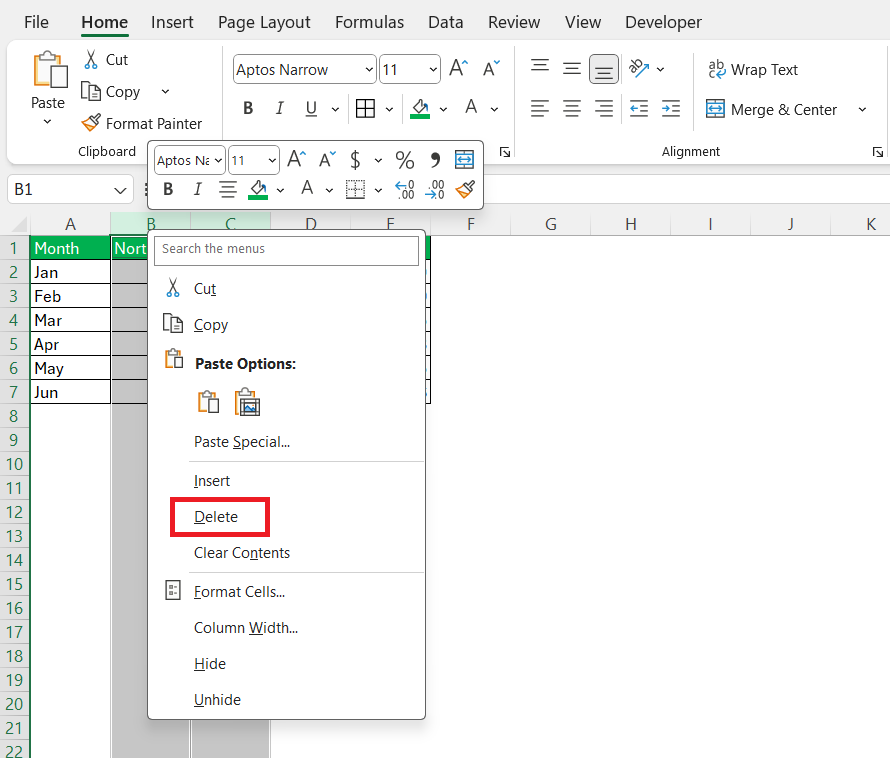
Pro tip: If I want to delete multiple rows or columns, I select them while holding down Ctrl, then right-click and delete all at once.
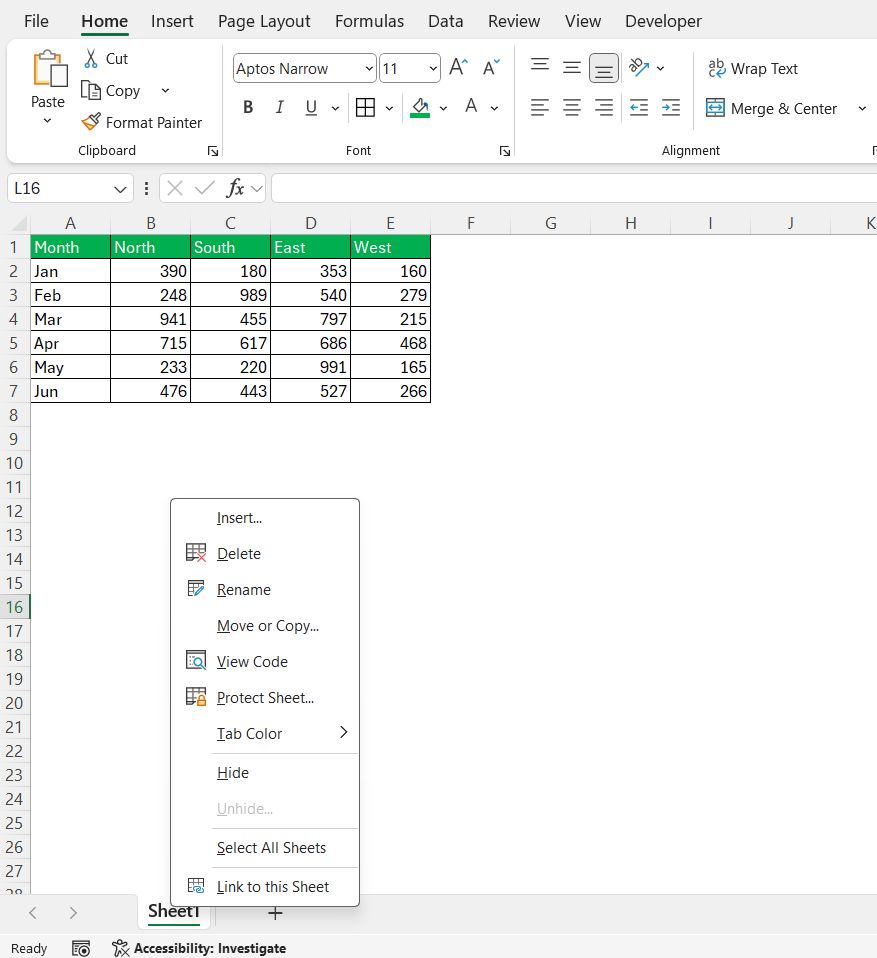
Method 4: Deleting the Entire Worksheet
When a sheet is not of use to me, I don’t waste time:
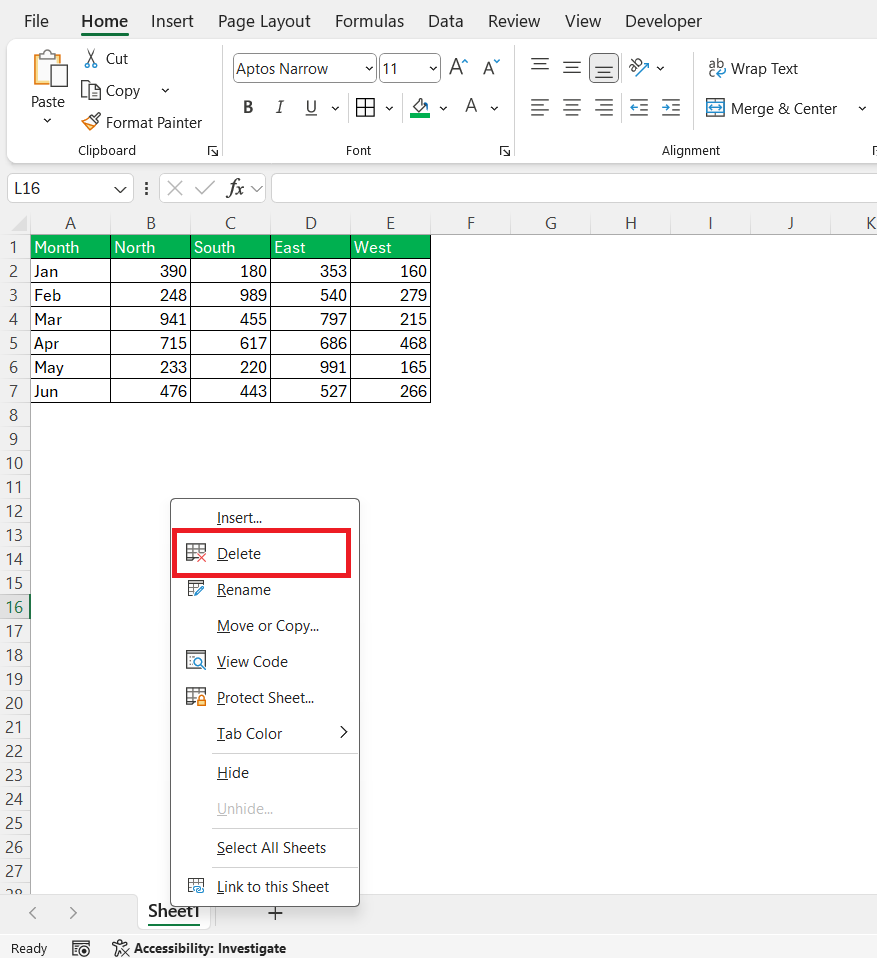
STEP 1: I right-click on the sheet tab.
STEP 2: Click Delete.
And just like that, it’s gone. (But don’t forget to save your work first, or you can’t undo this!)
Method 5: Starting Fresh – Creating a New Workbook
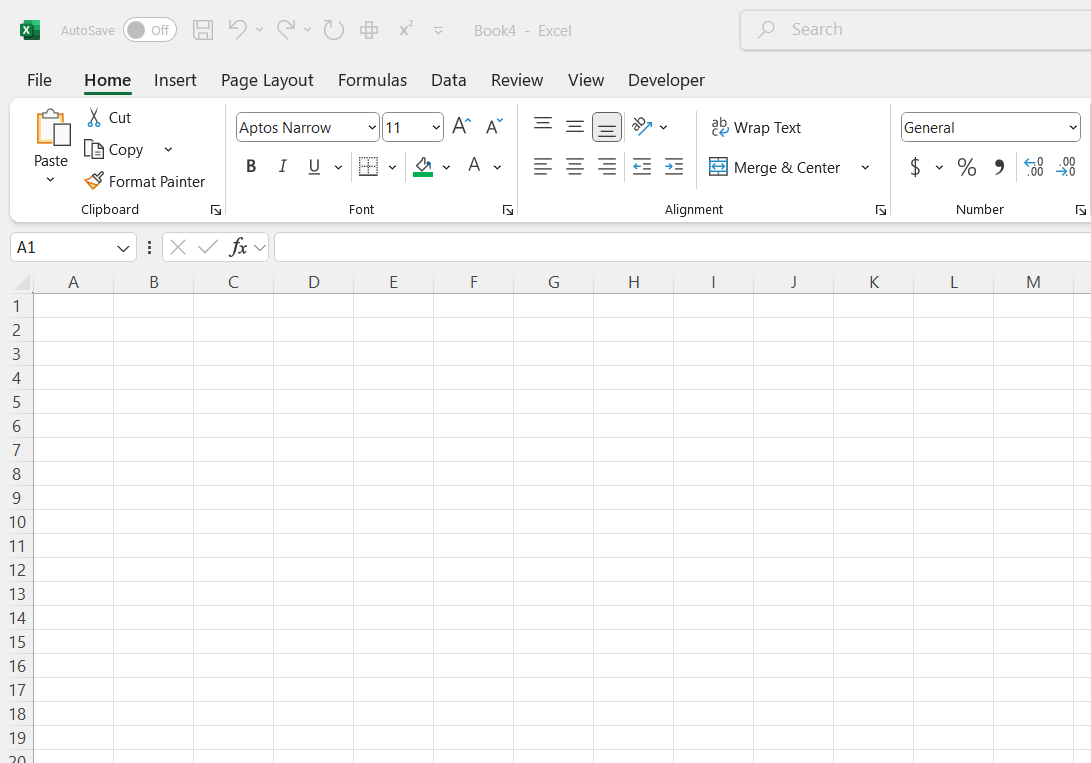
If everything’s a mess and I just want to start over, I simply press Ctrl + N. It opens a fresh, new workbook.
Sometimes it’s better to walk away from the chaos and just rebuild.
Avoiding Common Mistakes When Deleting Rows
Ensuring Data Integrity
Maintaining data integrity is crucial when deleting rows in Excel to prevent unintentional loss of valuable information. Ensuring this involves a set of best practices that can safeguard your data:
- Always create a backup copy of your spreadsheet before performing bulk deletions. This can be as simple as saving a separate version of the file.
- Examine your data for dependent formulas or references that might be affected by row deletions. Ensure all adjustments are made to preserve calculations.
- If an error occurs, the undo feature (Ctrl + Z) can reverse your last action. However, this is only viable for immediate corrections.
- Utilize filters to isolate specific rows for deletion carefully, minimizing the chances of deleting unintended data.
- Prior to confirming deletions, review your selected rows to ensure they are the correct ones targeted for removal.
These steps are essential in maintaining the integrity of your data, ensuring that any deletions lead to a more organized dataset without sacrificing the completeness or accuracy of your information. With these measures in place, you can confidently manage your spreadsheet tasks while reducing the risk of data mishaps.
Additionally, fostering a habit of regularly auditing your datasets can further aid in identifying potential errors early, contributing to more reliable data management practices. This vigilance ensures your analyses and decisions remain accurate and trustworthy, safeguarding the overall quality of your data operations.
Preventing Accidental Data Loss
Accidental data loss can be a significant setback, especially when managing extensive datasets in Excel. To prevent such occurrences, consider integrating the following practices into your data management routine:
- Implement data validation rules to prevent incorrect data entry or accidental overwrites, helping maintain data accuracy and consistency.
- Protect your worksheet by setting permissions that prevent unauthorized modifications or deletions. This ensures crucial data remains untouched by accidental edits.
- When moving data, prefer “Copy” over “Cut” to ensure the original data remains until you confirm a successful transfer.
By incorporating these strategies, you can create a robust environment that minimizes the risk of accidental data loss. These preventive measures not only enhance your spreadsheet’s security but also provide peace of mind by ensuring that your data manipulation tasks are performed safely and efficiently.
FAQs
How can I quickly remove multiple blank rows?
To quickly remove multiple blank rows in Excel, use the “Go To Special” feature. First, select your data range. Then press F5, choose “Special,” and select “Blanks.” After highlighting all blank cells, right-click and choose “Delete,” then select “Entire Row.” This efficiently removes all blank rows from your dataset.
What is the best tool for deleting unused rows automatically?
Macros are the best tool for automatically deleting unused rows in Excel. They allow you to record and automate repetitive tasks, ensuring consistent and efficient row removal with minimal manual intervention. Once set up, running a macro can quickly eliminate unnecessary rows, streamlining your data management process.
Can I undo a row deletion in Excel?
Yes, you can undo a row deletion in Excel by immediately using the undo feature. Simply press Ctrl + Z on your keyboard to reverse the last action, restoring the deleted row. This feature is only effective if used directly after the deletion and before any other action.
How to find all and Delete in Excel?
To find and delete specific items in Excel, press Ctrl + F to open the Find dialog, type the word to find, and click “Find All.” This will list cells containing that keyword. Press Ctrl + A to select all results. Close the dialog, right-click on one of the highlighted cells, and choose “Delete,” then select “Entire Row” to remove all found instances.
How do I Delete all cells down in Excel?
To delete all cells down in Excel, select the starting cell at the top of the column where you want to begin deletion. Press Ctrl + Shift + Down Arrow to highlight all cells from the selected cell to the bottom of the column. Right-click on the highlighted area, choose “Delete,” and select “Shift cells up” to remove all selected cells and shift the remaining ones up.
John Michaloudis is a former accountant and finance analyst at General Electric, a Microsoft MVP since 2020, an Amazon #1 bestselling author of 4 Microsoft Excel books and teacher of Microsoft Excel & Office over at his flagship MyExcelOnline Academy Online Course.

