When working with large datasets in Excel, finding and replacing specific values can save a lot of time and effort. In this article, I’ll guide you through the powerful Find and Replace in Excel, showing you how to quickly locate and update data across your worksheets. Whether you’re correcting errors, updating information, or reformatting your data, mastering this tool will make your workflow much more efficient.
Key Takeaways:
- Find and Replace in Excel is essential for quickly locating and updating data in large datasets.
- Keyboard shortcuts (Ctrl + F and Ctrl + H) streamline the Find and Replace process.
- Wildcards enhance Find and Replace by allowing more complex searches.
- Advanced options like “Match Case” and “Format” give precise control over searches.
- Troubleshooting tips ensure Find and Replace works as expected in different scenarios.
Table of Contents
Unveiling Find and Replace in Excel
Why Find and Replace is Essential for Efficient Spreadsheet Management
When managing large datasets, quickly locating and updating specific information is crucial for efficiency. Excel’s Find and Replace is a fundamental tool for this purpose. It’s essential in editing and manipulating data accurately without the manual scrutiny of every cell.
Imagine having to sift through thousands of rows for a specific entry – it would be like trying to find a needle in a haystack but Find and Replace makes this task effortless. With a few clicks, you can isolate and alter data on a massive scale, saving countless hours and reducing the potential for human error.
Accessing the Find and Replace Options
To access the Find and Replace options in Excel, perform the following step:
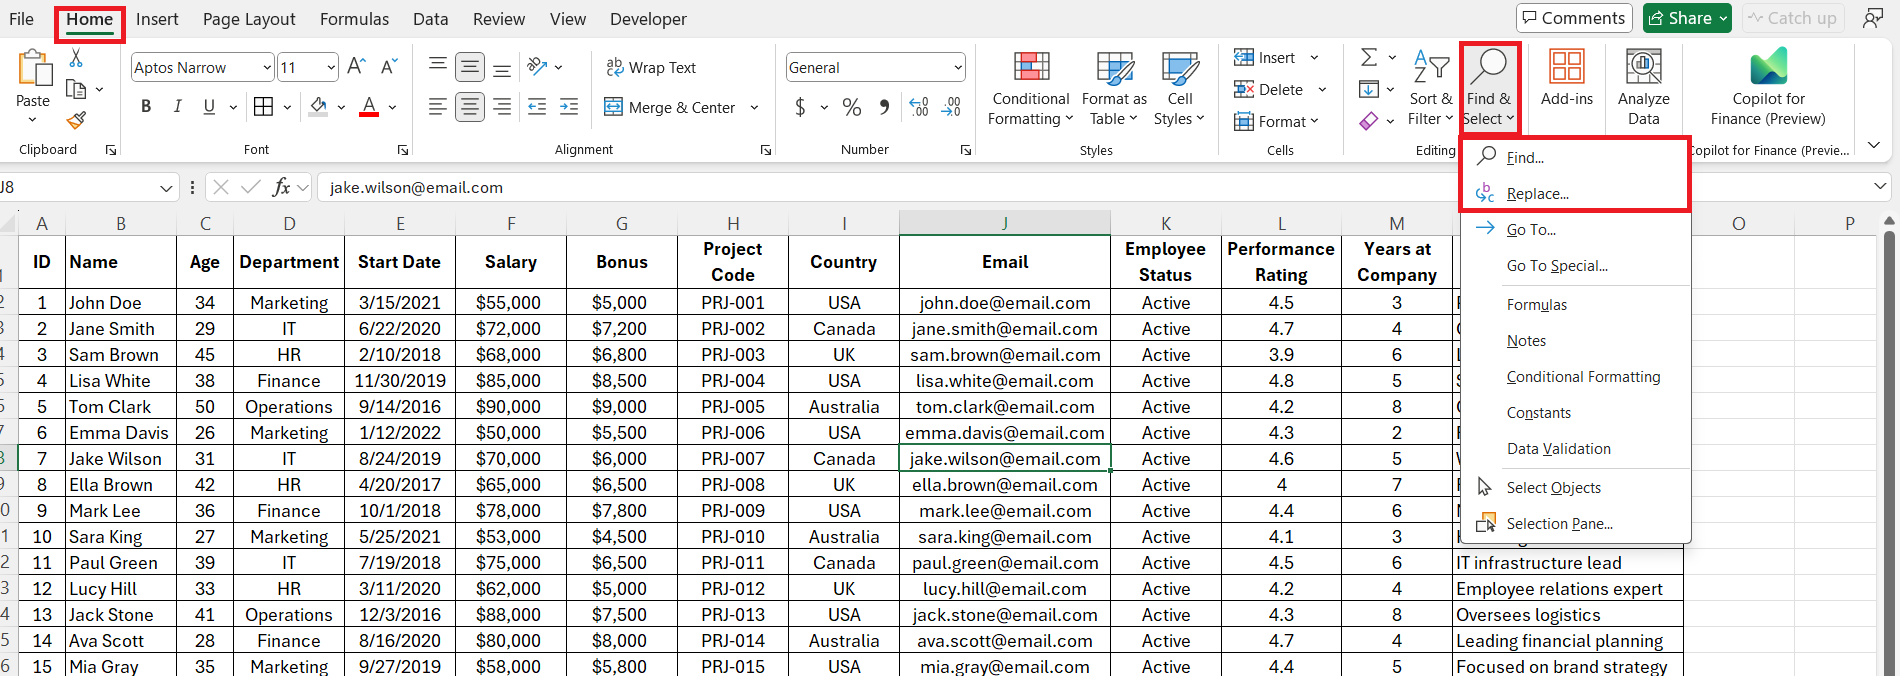
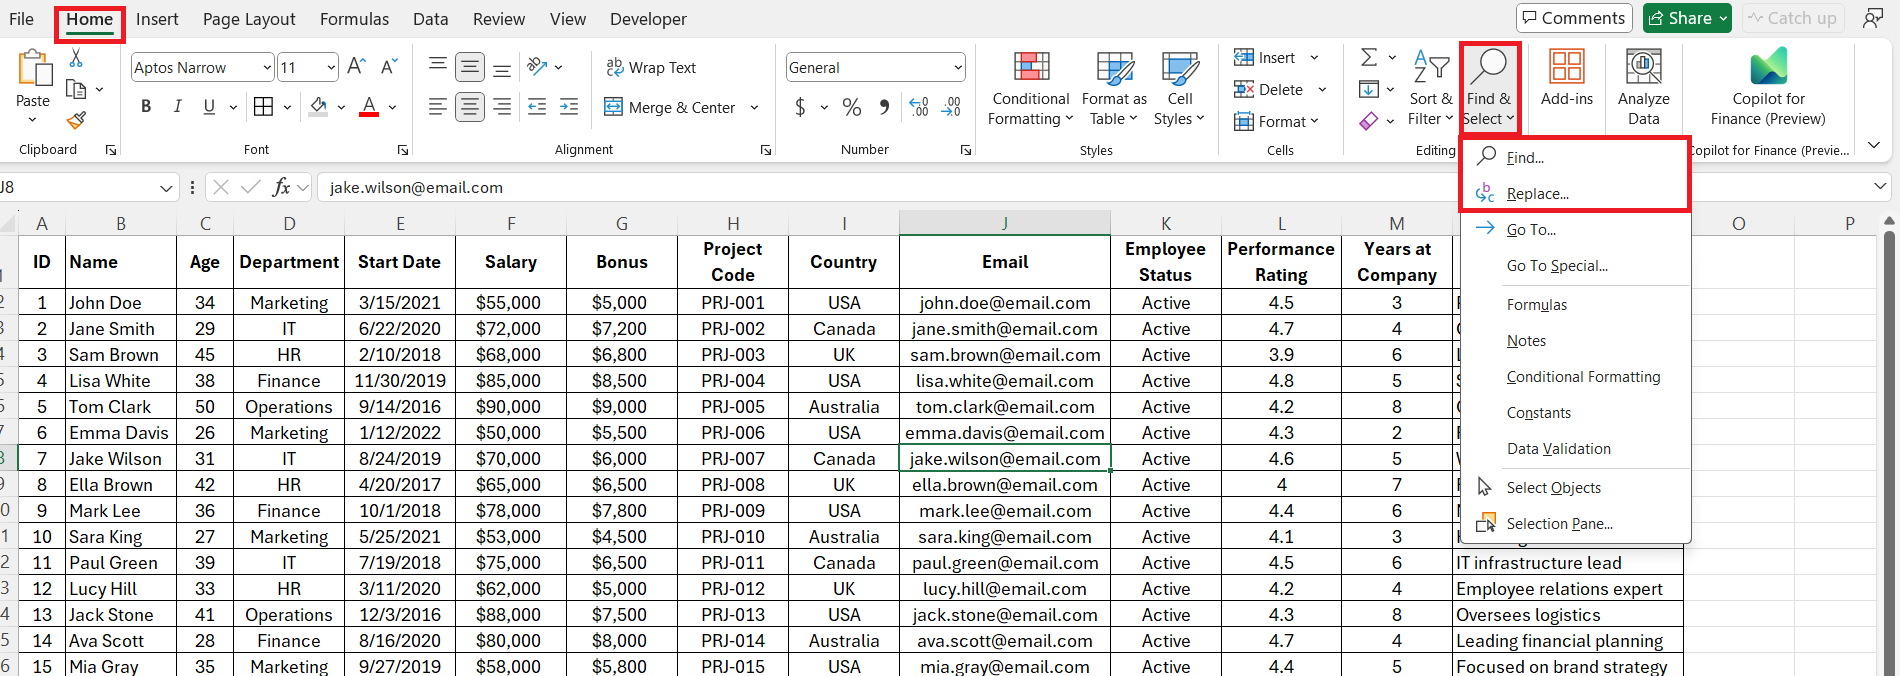
We need to navigate through the interface to the “Editing” group under the Home tab, where we will find the “Find & Select” button. Clicking on this reveals options including “Find…” and “Replace…” which lead us to the respective dialogue boxes.
Alternatively, we can bypass the ribbon entirely using the keyboard shortcuts Ctrl + F for Find.
Press Ctrl + H for Replace, which offers a swifter approach to launching these indispensable features without interruption to our workflow.
Basic Steps to Using Find and Replace in Excel
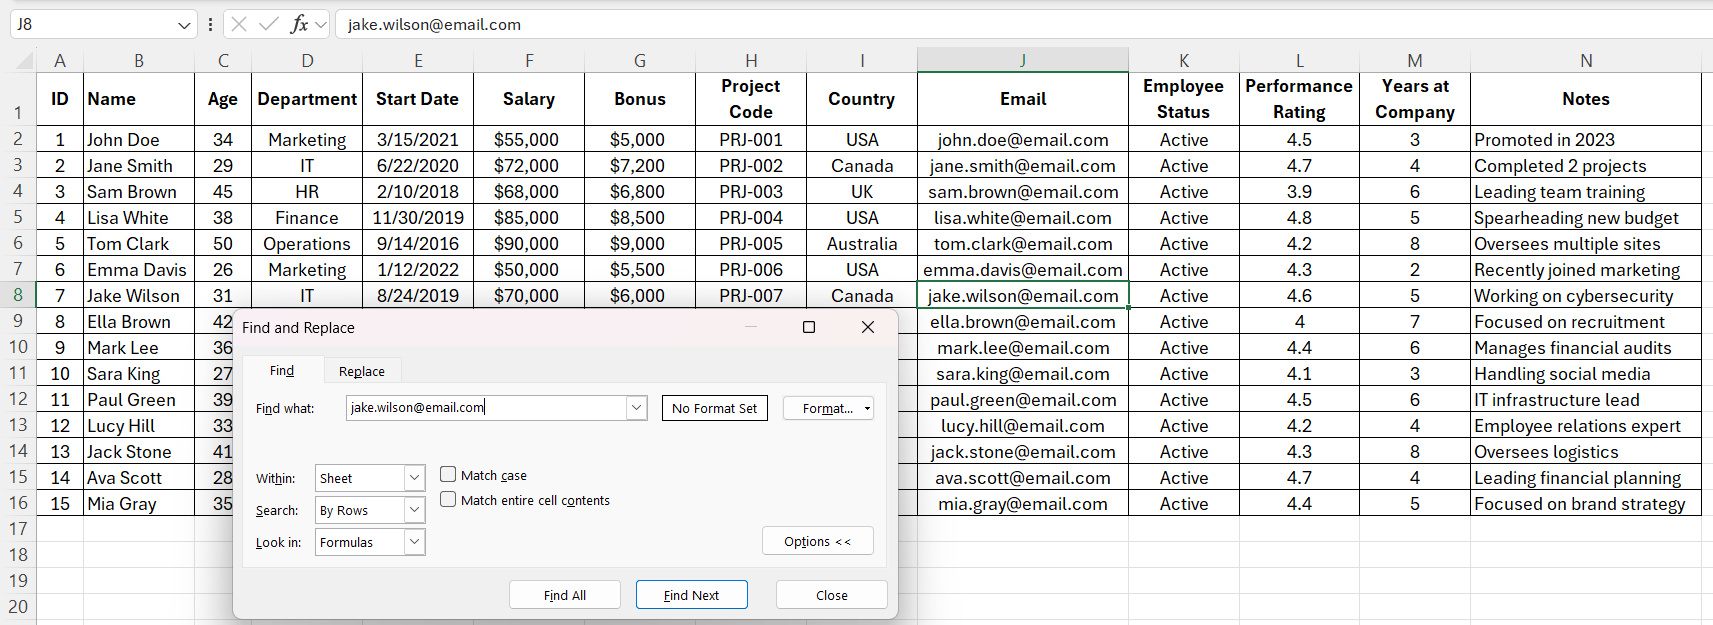
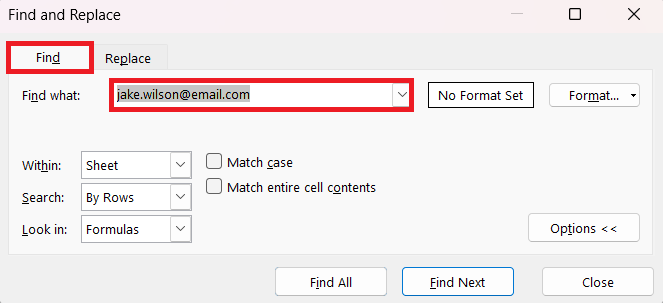
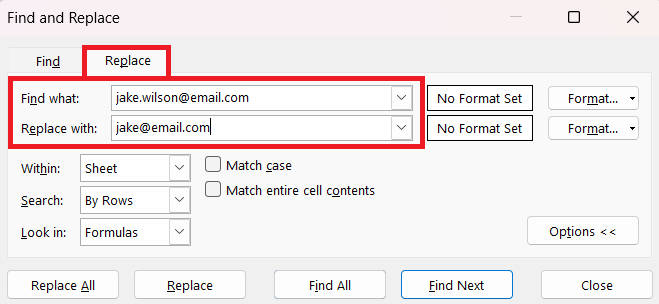
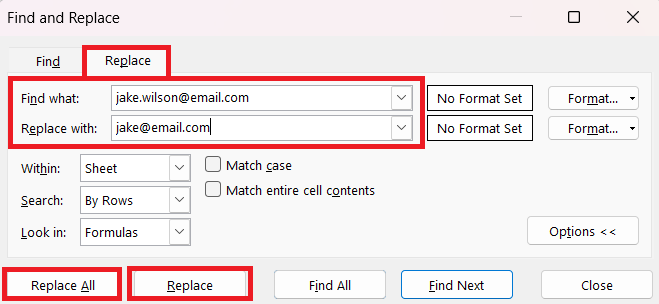
Executing a Find and Replace operation in Excel requires straightforward steps that can be mastered quickly. After opening the “Find and Replace” dialog box, you enter the text you’re searching for in the “Find what” field
and the replacement text in the “Replace with” field.
Then, depending on your need, you can either select “Replace All” to update every instance at once or “Replace” to do it one at a time.
This simple process can transform tedious manual editing into a quick and error-free task, showcasing the user-friendly nature of Excel’s features.
Going Beyond Basics: Advanced Find and Replace Techniques
Utilizing Wildcards for More Complex Searches
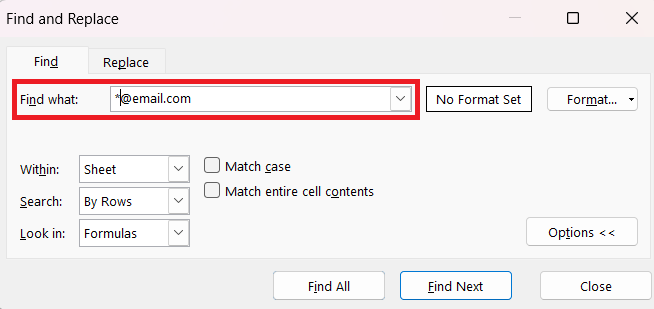
Wildcards in Excel are incredibly useful for conducting more complex searches, especially when I’m dealing with variations in text. By incorporating the question mark (?) to represent any single character and the asterisk (*) for any string of characters, we can vastly enhance the search criteria.
For instance, if you’re unsure about a character in a word, placing a “?” in its place will find all possible matches. With “”, we can find text strings that have multiple variations. Mastering these symbols allows us to execute sophisticated searches with ease, turning Excel into a more dynamic tool for data management.
Understanding and Using Advanced Find and Replace Options
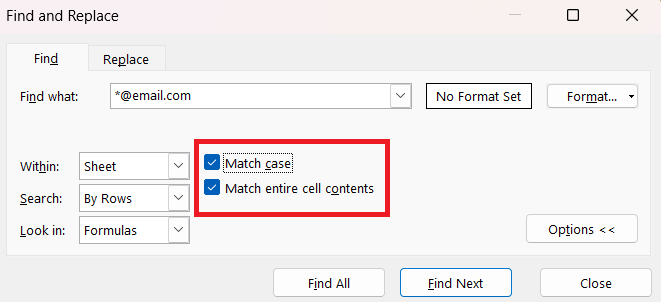
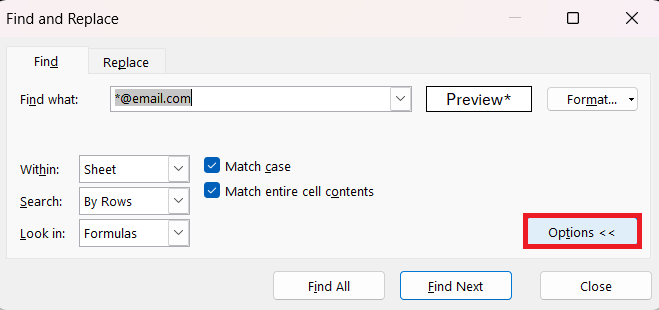
Digging deeper into Excel’s capabilities reveals its advanced Find and Replace options that propel our search capabilities. Options such as “Match Case” or “Match Entire Cell Contents” give us exacting control over our searches, ensuring that only the precise data we intend to change is affected.
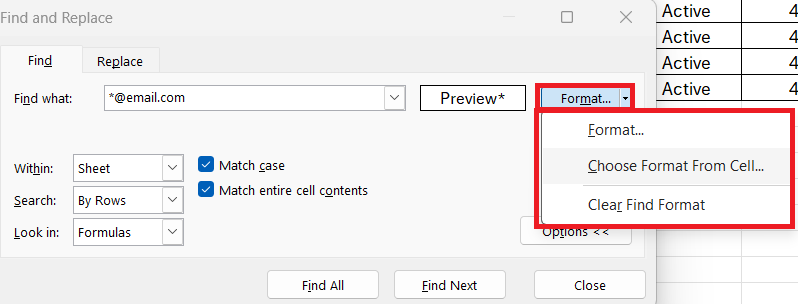
The “Format” search further refines this by letting us locate data based on its appearance, like font type or cell shading, by using the “Choose Format From Cell” dropper tool.
These advanced options, housed within the “Find and Replace” dialog box under the “Options” button, equip us to navigate and manipulate extensive datasets with an expert touch.
FAQs About Excel’s Find and Replace Feature
How to find and replace one column in Excel?
To find and replace within one column in Excel, first select the column where you want to perform the find and replace. Then, open the Find and Replace dialogue box using Ctrl + H. Enter your search term in the “Find what” box and your replacement term in the “Replace with” box. Ensure your selection remains within the chosen column, then click “Replace All” or go through each instance with “Replace”. This confines the changes to the selected column only, protecting the rest of your data from unintended edits.
What are the shortcut keys in Excel for Find and Replace?
The primary shortcut keys to access Find and Replace in Excel are Ctrl + F (Find) and Ctrl + H (Replace). These shortcuts are time-savers, allowing you to instantly open the Find or Replace dialogue boxes without navigating through the menu. For more specialized searches, Shift + F4 continues the search for the next occurrence, while Ctrl + Shift + F4 searches for the previous one. And when you need to find or replace a line break in Excel, Ctrl + J comes to the rescue.
Can You Use Wildcards in the COUNTIF Function Alongside Find and Replace?
Yes, we can use wildcards in the COUNTIF function, which can be a real game-changer when working with large data sets. When entrusting the COUNTIF function with wildcards like * or ?, we can count cells that match specific patterns, making this tool incredibly versatile. For example, using =COUNTIF(A2:A10, "s*t") counts cells in the range A2:A10 that start with “s” and end with “t”. Thus, the COUNTIF function, bolstered by wildcards, becomes an indispensable partner to Find and Replace for sophisticated data analysis and editing.
How Do I Fix Issues Where Find and Replace Isn’t Working as Expected?
If Find and Replace isn’t working as expected, there are a few strategies to troubleshoot and fix the issue. First, check for any accidental spaces or case sensitivity issues in your search criteria. If you’re working with numbers or dates, verify that they aren’t formatted as text. In the “Find and Replace” dialogue, clicking “Options” allows you to set or clear specific search constraints like “Match Case” or “Match Entire Cell Contents” to refine your search. Should issues persist, consider checking the format of the cells or ensuring that the workbook or a specific worksheet is not protected. Sometimes, simply restarting Excel can resolve unexplained glitches.
How to access the find and replace feature of excel?
Accessing the Find and Replace feature in Excel is straightforward. To launch it, simply press Ctrl + F for Find or Ctrl + H for Replace to open the respective dialogue box instantly. Alternatively, you can click on the Home tab, navigate to the Editing group, and select “Find & Select” to choose either the Find or Replace option. These steps provide quick routes to one of Excel’s most powerful features, allowing you to edit and manage data efficiently regardless of the size of your worksheet or workbook.
John Michaloudis is a former accountant and finance analyst at General Electric, a Microsoft MVP since 2020, an Amazon #1 bestselling author of 4 Microsoft Excel books and teacher of Microsoft Excel & Office over at his flagship MyExcelOnline Academy Online Course.

