How to Calculate how many seconds in 24 hour duration in Excel
Introduction: Master Time Calculations in Excel.
Navigating the Challenges of Time.
Managing time effectively is not just a soft skill for personal development; for professionals using Excel, it’s a critical technical skill.Whether you’re coordinating across time zones, analyzing hours spent on tasks, or creating time-sensitive reports, understanding time calculations can significantly enhance your mastery of Excel.
Introduction: Master Time Calculations in Excel
Navigating the Challenges of Time
Managing time effectively is not just a soft skill for personal development; for professionals using Excel, it’s a critical technical skill. Whether you’re coordinating across time zones, analyzing hours spent on tasks, or creating time-sensitive reports, understanding time calculations can significantly enhance your mastery of Excel.
Excel as a Tool for Time Management Professionals
Excel has long been the go-to tool for time management pros. Its robust functionality allows you to plan projects, track hours, and analyze data—all in one place. With Excel, you can create comprehensive schedules, set deadlines, and measure productivity, transforming raw time data into actionable insights.
The Fundamentals of Time in Excel
Understanding Excel’s Time Representation
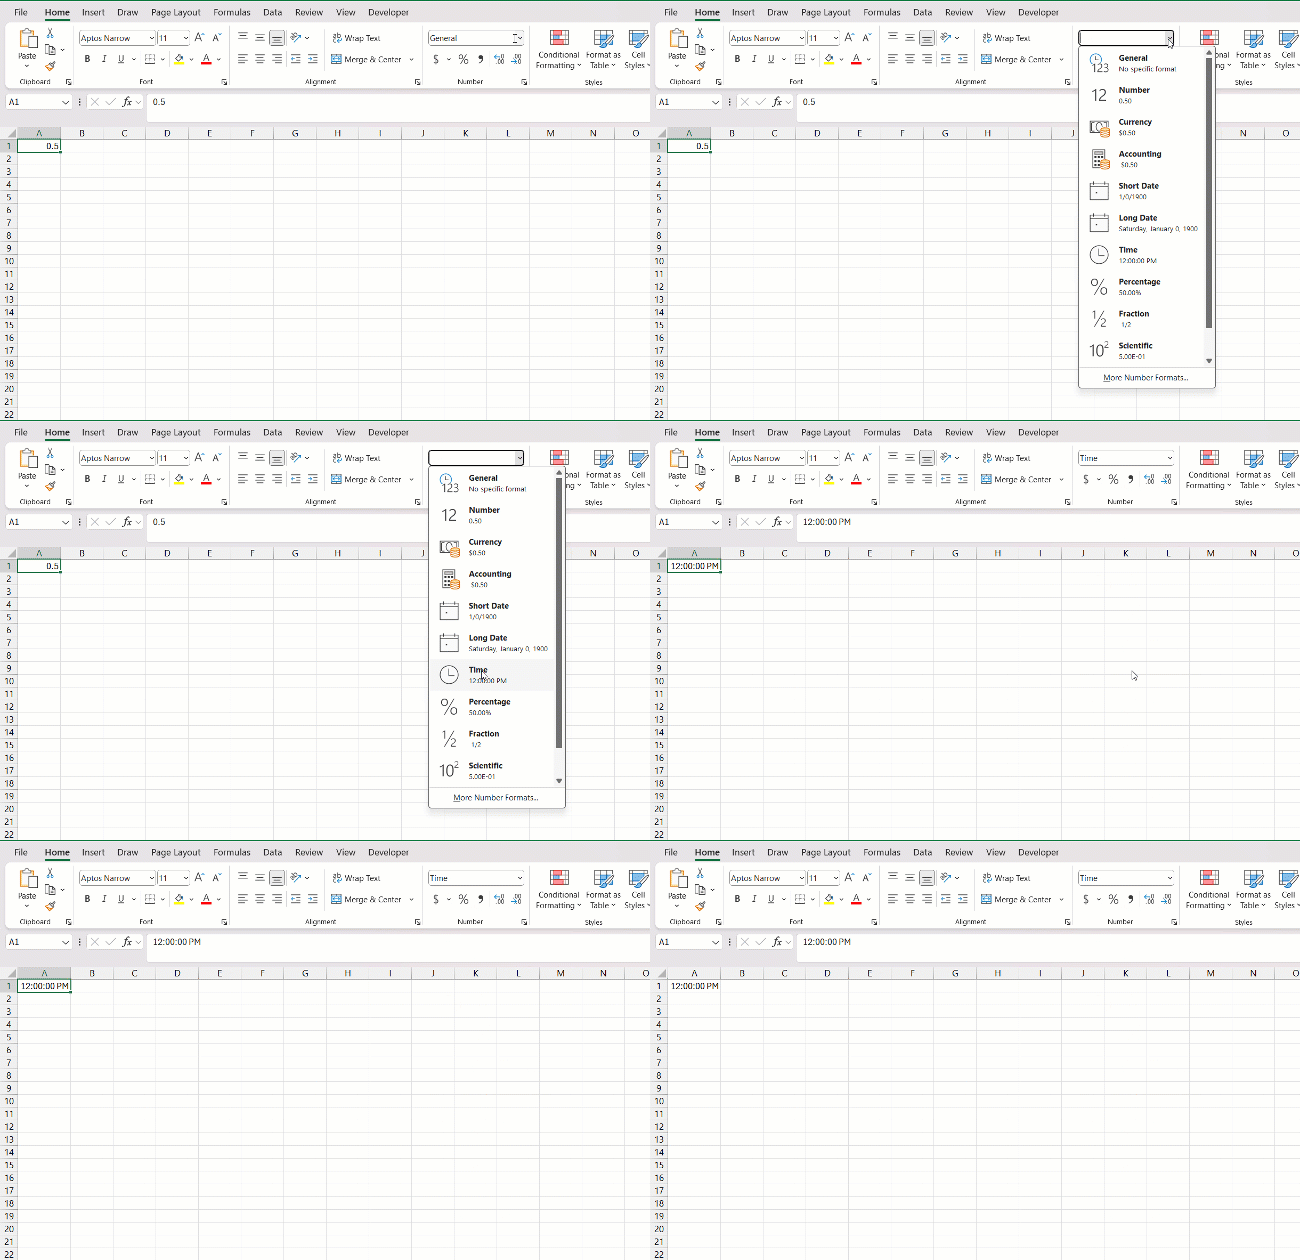
Did you know that Excel has a unique way of perceiving time? The program stores time as a decimal portion of a day. For instance, midday or 12:00 PM is seen as 0.5 since it’s halfway through a 24-hour cycle.
This might seem trivial at first glance, but it’s the secret sauce for all time-related calculations in Excel.
The Role of 86400 in Time Calculations
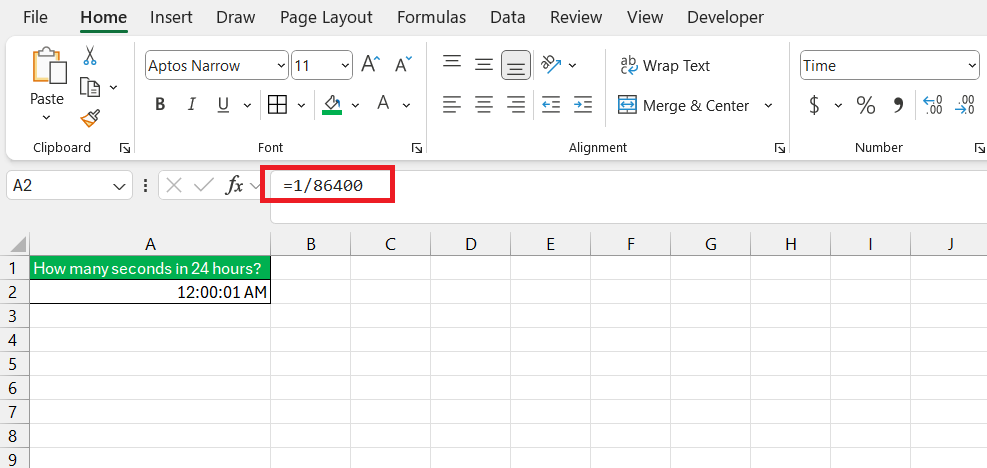
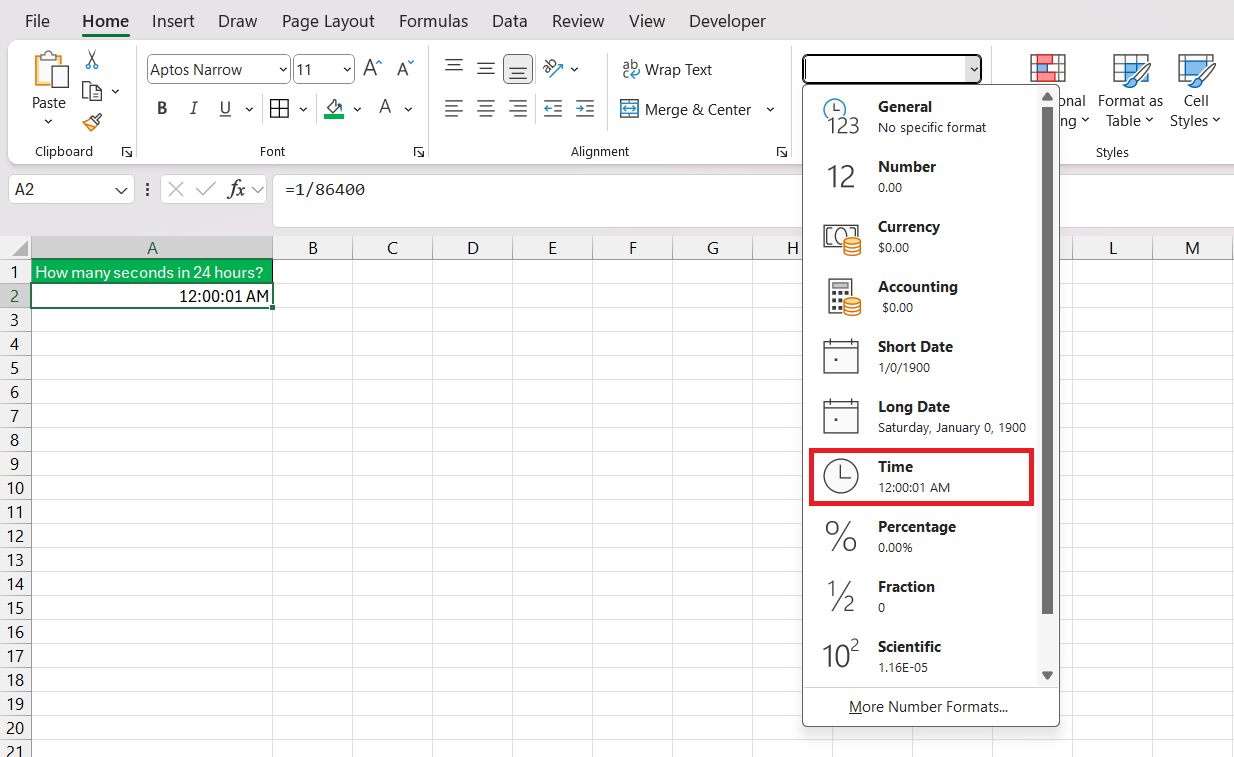
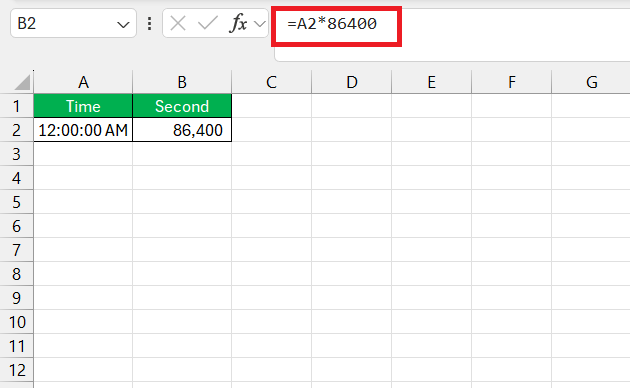
When diving into Excel time calculations, one magic number you’ll often encounter is 86400. This isn’t a random figure; it’s the number of seconds in a 24-hour day. Understanding this is pivotal because, in Excel, time is fractionally represented—so 1 second is 1/86400 of a day.
By using 86400 in your formulas, you can easily convert fractional days into seconds, making your data more tangible and usable.
Step-by-Step Guide to Calculating Seconds in 24hours
Establishing Your Starting Point: Entering Time Data in Excel
Entering time data in Excel correctly sets the stage for all subsequent calculations. You’d typically input times using the format hh:mm:ss for hours, minutes, and seconds, respectively.
Understanding how to input time correctly ensures that Excel interprets your data accurately, allowing you to avoid potential pitfalls right from the start.
Converting Time to Seconds: Applying Formulas and Functions
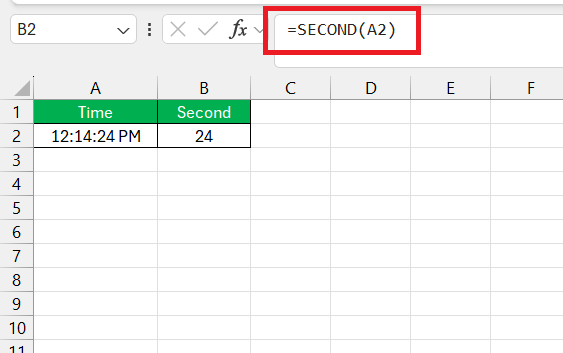
Once your time data is in place, converting it to seconds is straightforward with the right formulas and functions. You can use simple multiplication of hours with 3600 seconds, or harness Excel’s HOUR, MINUTE, and SECOND functions for a detailed breakdown.
These functions individually convert each component of your time into seconds before you sum them up, offering flexibility in how you approach time conversion in your worksheets.
Handy Tips and Tricks for Efficient Time Conversion
How many seconds in 24 hours?
When you need the total number of seconds for a given time, multiplication comes to the rescue in Excel. Simply multiply the time by 86400—there you have it, the time in seconds.
This method is not only quick but also eliminates the need to break down hours, minutes, and seconds separately, streamlining your time conversion tasks.
Real-World Application: Common Scenarios for Time Conversions
Tracking Project Timesheets with Second-Level Detail
For managing projects with precision, adding second-level detail to your timesheets in Excel can be invaluable. This approach allows you to track even the smallest of time increments, ensuring accurate billing, resource allocation, and analysis of work patterns. When every second counts, Excel’s granular time-tracking capabilities offer a level of detail that few other tools can match.
Analyzing Log Files and Timestamped Data in Excel
Log files and timestamped data can be complex to analyze, but Excel’s robust features simplify the process. By converting timestamps to seconds, you can perform in-depth analysis, spot trends, and identify outliers. Excel empowers you to transform seemingly impenetrable logs into meaningful statistics, providing valuable insights for informed decision-making.
Troubleshooting Common Issues During Time Calculations
Resolving Errors When Working Across Multiple Days
When your time data spans multiple days, errors can easily creep in. Excel might not automatically account for the day change, leading to negative time values or other issues. To resolve this, one can use formulas that factor in the date change or even conditional formatting to highlight discrepancies. With the right approach, you can ensure that tracking and calculations remain accurate, no matter how many days your data covers.
Addressing Unexpected Results and Formatting Mistakes
Encountering unexpected results and formatting errors is common while working with time in Excel. To address these, double-check your data entry, ensure you’ve selected the correct cell format, and verify that your formulas are accurate. Conditional formatting can help you visually identify anomalies, while Excel’s error-checking features can pinpoint the exact nature of any mishaps.
FAQ: Crunching Time Calculation Questions
How do you do a 24 hour formula in Excel?
To do a 24-hour time formula in Excel, enter your time in hh:mm format, making sure your cells are formatted to display time. For duration calculations that sum up to or exceed 24 hours, use the custom format "[hh]:mm" so Excel can display hours beyond the typical 12 or 24-hour clock.
How Do I Convert a Time Range to Total Seconds in Excel?
To convert a time range to total seconds in Excel, subtract the start time from the end time, then multiply the result by 86400. This gives you the duration in seconds. Make sure both time cells are formatted correctly before applying the formula.
Can Excel Handle Time Calculations That Exceed 24 Hours?
Absolutely, Excel can handle time calculations that exceed 24 hours. Just remember to format the cells with the custom time format "[hh]:mm:ss" or "[hh]:mm", so it correctly displays the total hours instead of reverting to the default 24-hour clock format.
How to format Excel cells for 24 hour time?
To format Excel cells for 24-hour time, right-click on the cell, select ‘Format Cells,’ choose ‘Time’ from the Category list, and then select a 24-hour format under Type. This displays your time data in 24-hour notation without AM or PM.
How do I count over 24 hours in Excel?
To count over 24 hours in Excel and get a cumulative total, you’ll need to use a custom format. Right-click on the cell, go to ‘Format Cells’, select ‘Custom’, and type in the format [h]:mm:ss or [h]:mm. Now Excel will add up time beyond the 24-hour mark without resetting back to zero.
John Michaloudis is a former accountant and finance analyst at General Electric, a Microsoft MVP since 2020, an Amazon #1 bestselling author of 4 Microsoft Excel books and teacher of Microsoft Excel & Office over at his flagship MyExcelOnline Academy Online Course.

