You have been following our Macro tutorials and are becoming an expert in no time!
What if there’s a macro that you’re using all of the time, day in, day out? We can add a macro to the Quick Access Toolbar Ribbon in Excel for easy access!
Make sure your Excel ribbon has the Developer Tab enabled following this tutorial.
I explain how you can do this below, so download the file below which has our sample macro inside the Excel Workbook.
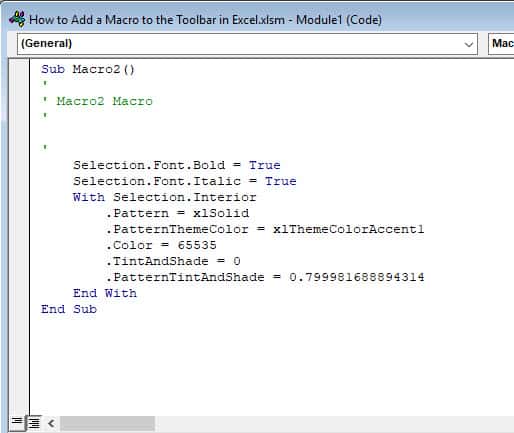
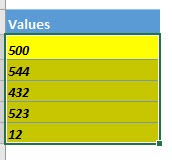
The sample macro (Macro2) will set your selected text to yellow, bold and italic:
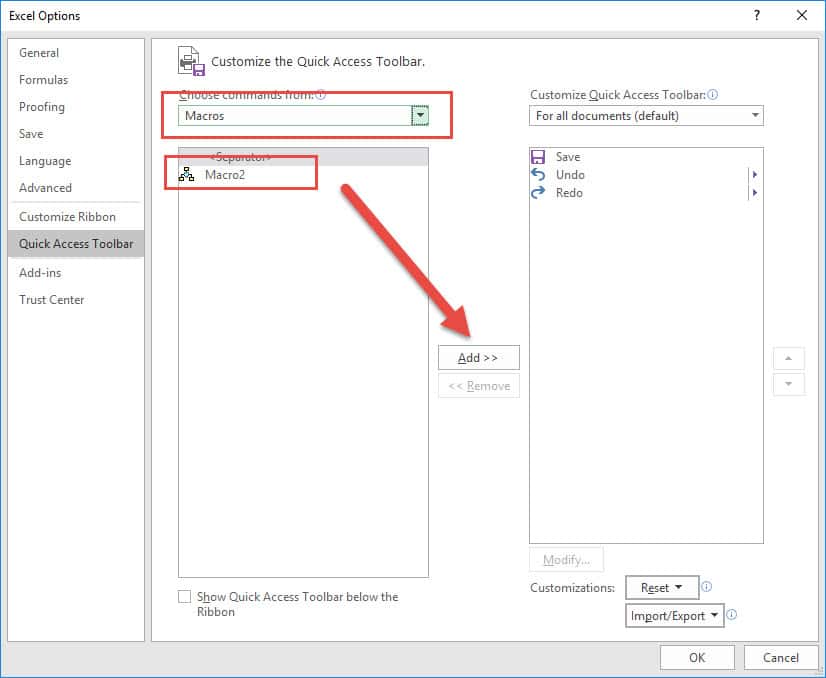
STEP 1: Right click on the top Ribbon and select Customize Quick Access Toolbar.
STEP 2: On Choose commands from, select Macros from the drop down.
Select Macro2 and click Add >>
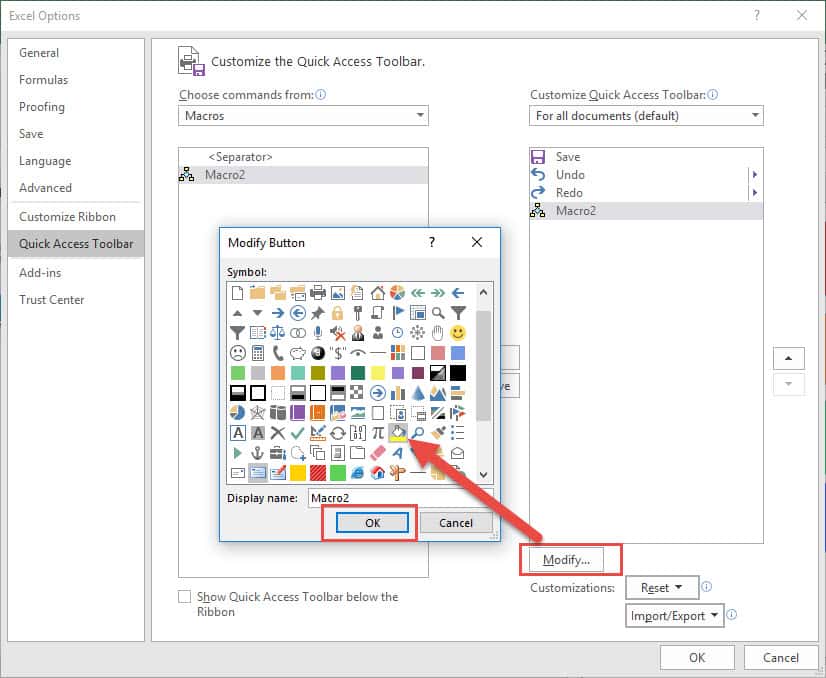
On the right side, make sure Macro2 is selected and click on Modify.
Select any Symbol that you like to represent this macro and click OK.
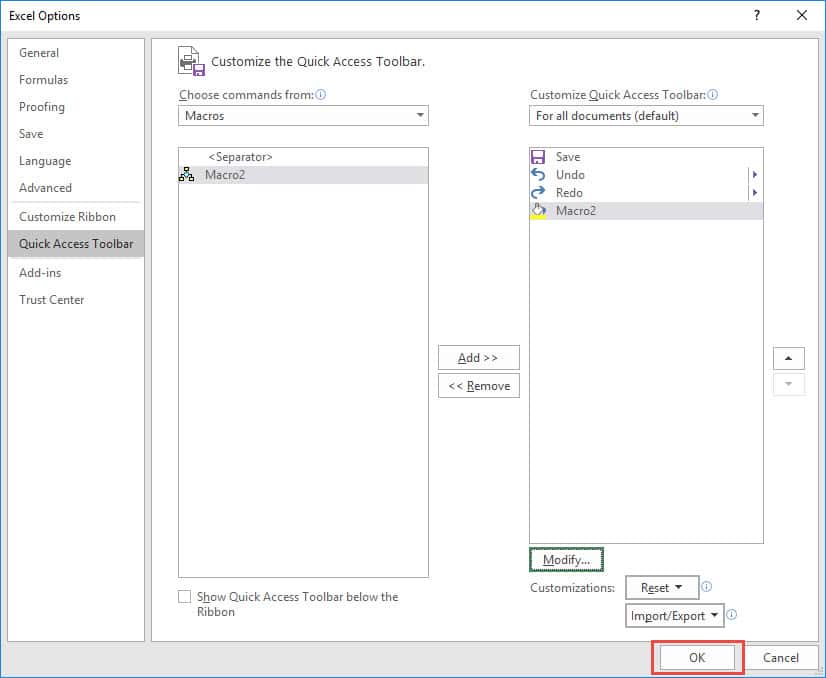
Click OK to finish the setup.
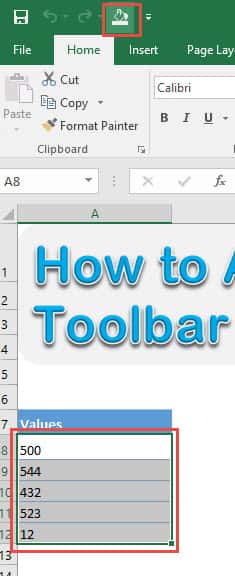
STEP 3: Now let us try out the macro in action!
Select a range of cells, and try out your new Quick Access Toolbar button!
That was easy! Now you can access your macro with just one click!
How to Add a Macro to the Quick Access Toolbar Ribbon in Excel

Bryan
Bryan Hong is an IT Software Developer for more than 10 years and has the following certifications: Microsoft Certified Professional Developer (MCPD): Web Developer, Microsoft Certified Technology Specialist (MCTS): Windows Applications, Microsoft Certified Systems Engineer (MCSE) and Microsoft Certified Systems Administrator (MCSA).
He is also an Amazon #1 bestselling author of 4 Microsoft Excel books and a teacher of Microsoft Excel & Office at the MyExecelOnline Academy Online Course.

