Adding columns in Microsoft Excel is a fundamental skill that enhances data organization and analysis. Whether you’re managing financial figures or cataloging inventory, inserting columns allows for seamless expansion and adjustment of your spreadsheet. This introduction will guide you through the simple steps on how to add columns in Excel, empowering you to manipulate your data with ease and precision.
Key Takeaways:
- Fundamental Organizational Role: Excel columns are essential for organizing and analyzing data effectively, serving as the building blocks of well-structured spreadsheets.
- Efficiency and Productivity: Mastering column management saves time and reduces complexity when handling large datasets or adjusting spreadsheet layouts.
- Multiple Insertion Methods: Learn versatile techniques such as using the Ribbon menu, right-click context menu, and keyboard shortcuts (like Ctrl + Shift + +) to add columns swiftly.
- Bulk Column Addition: Easily insert multiple columns at once by selecting the desired number of existing columns and using simple commands.
- Advanced Techniques: Techniques like adding non-adjacent columns and expanding tables seamlessly integrate additional data into your Excel projects, ensuring flexibility and clarity.
Table of Contents
Introduction to Excel Column Management
Exploring the Basics of Columns in Excel
Welcome to the world of organization where Excel columns play a pivotal role in sorting and analyzing data. They’re like the building blocks of a well-structured spreadsheet. Whether you’re a beginner or a seasoned user, understanding how columns work sets the foundation for effective data manipulation.
Why You Need to Master Adding Columns
Mastering the art of adding columns is like unlocking a new level in your Excel game. It’s crucial for maintaining an organized data set and can save you from chaos when you’re juggling huge amounts of information. Think about when new data emerges or you need to restructure your spreadsheet; adding columns allows for seamless integration without having to start from scratch.
Plus, who doesn’t love a spreadsheet that’s clean, clear, and easy to navigate? Your future self will thank you, not to mention colleagues, clients, or anyone else who might inherit your Excel masterpiece.
Step-by-Step Guide for Adding Single Columns
Using the Ribbon Menu to Insert a Column
Effortlessly insert a new column into your Excel spreadsheet by harnessing the power of the Ribbon menu with these user-friendly steps:
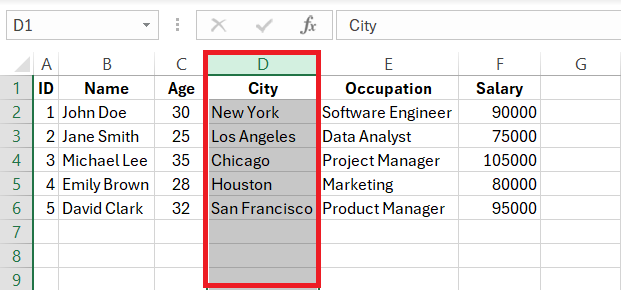
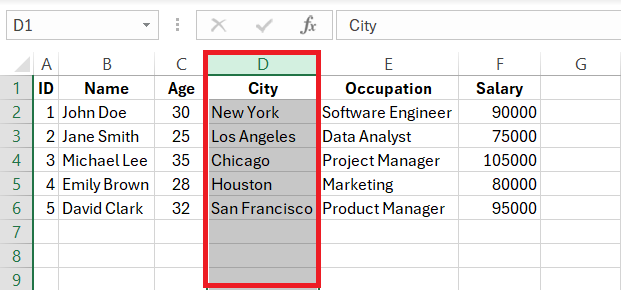
STEP 1: Select the column right next to the spot where you envision your new column to reside.
STEP 2: Navigate to the Home tab, where you’ll spot the Cells group shimmering with potential.
STEP 3: Click on that inviting Insert dropdown arrow.
STEP 4: Choose ‘Insert Sheet Columns’ from the popping menu.
Voila! Excel gracefully slips in a fresh column to the left of your selected one, as if it’s always belonged there. Now, isn’t that just a stress-free way to expand your data canvas?
The Right-Click Method to Add a Column
For a lightning-fast shortcut to column addition, the right-click method stands out as a sublime ally. Here’s the lowdown on making your Excel experience even smoother:
STEP 1: First, hover over the column letter where a new neighbor is desired.
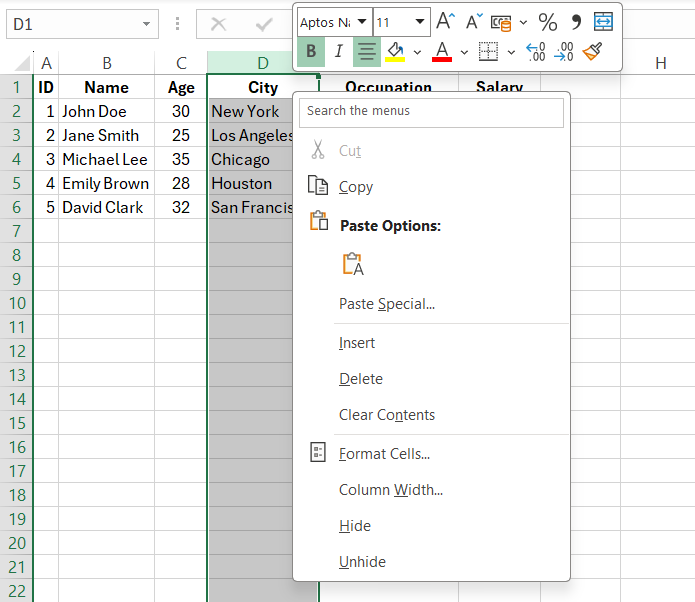
STEP 2: Then, with a swift right-click, summon the context menu to reveal its secrets.
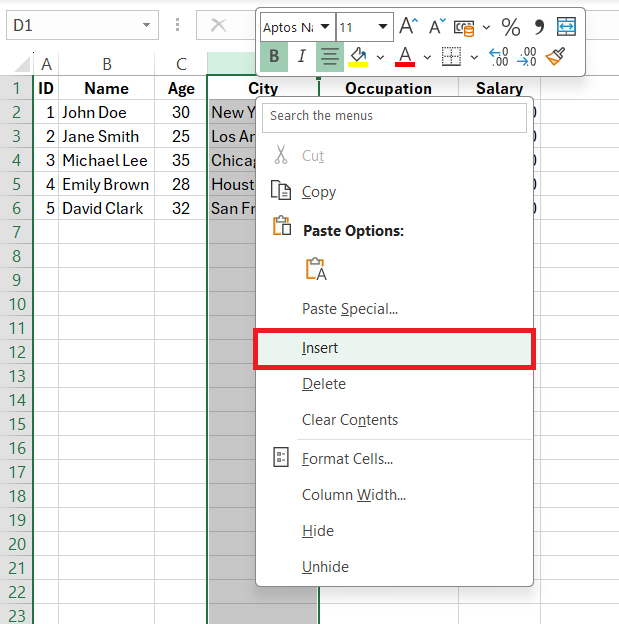
STEP 3: From the list that appears, select ‘Insert’.
And there you have it! Before you can say “efficiency,” a pristine column materializes to the left of your selection, ready for duty.
Enhancing Efficiency with Shortcut Keys
Insert Column Shortcuts You Should Know
Put the power of keyboard shortcuts to use and witness your productivity soar. Here’s the insider scoop on the keystrokes that will have you adding columns in the blink of an eye:
Shortcut for Instant Column Insertion: To add a single column quickly:
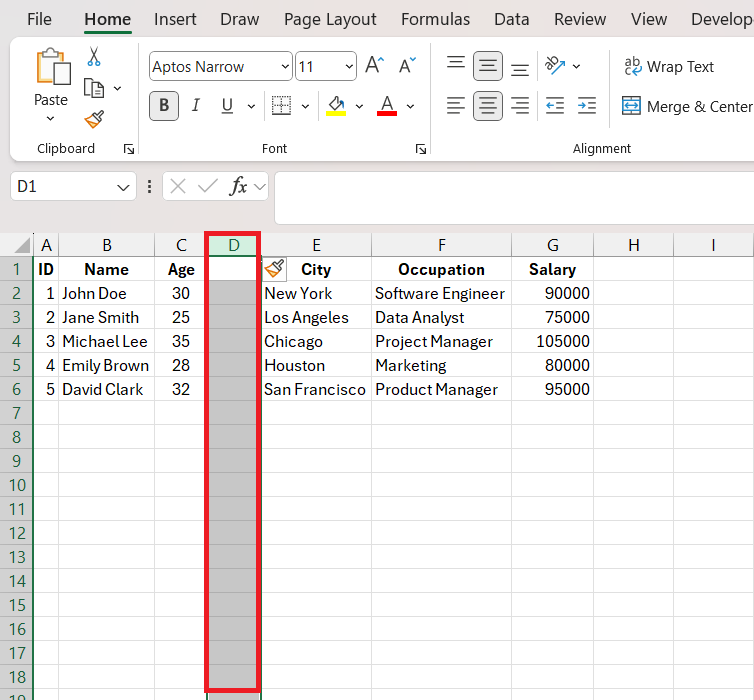
STEP 1: Select any cell in the column you wish to precede the new column.
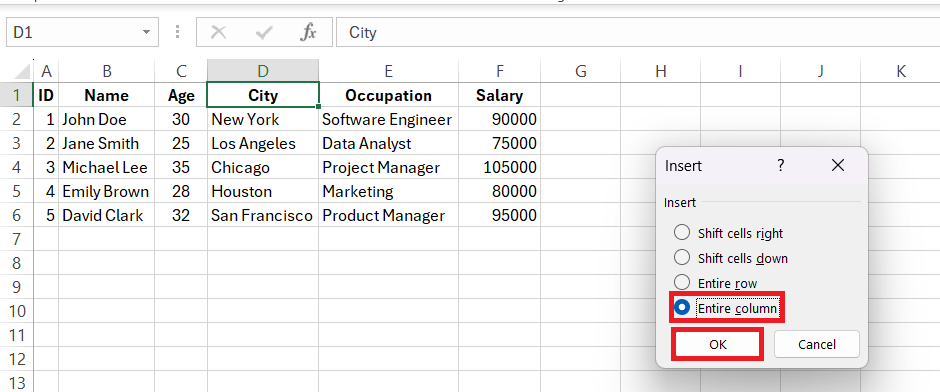
STEP 2: Press CTRL + SHIFT + +, and instantly, a new column emerges like magic before your eyes.
STEP 3: Select the option “Entire Column” and click on “OK”.
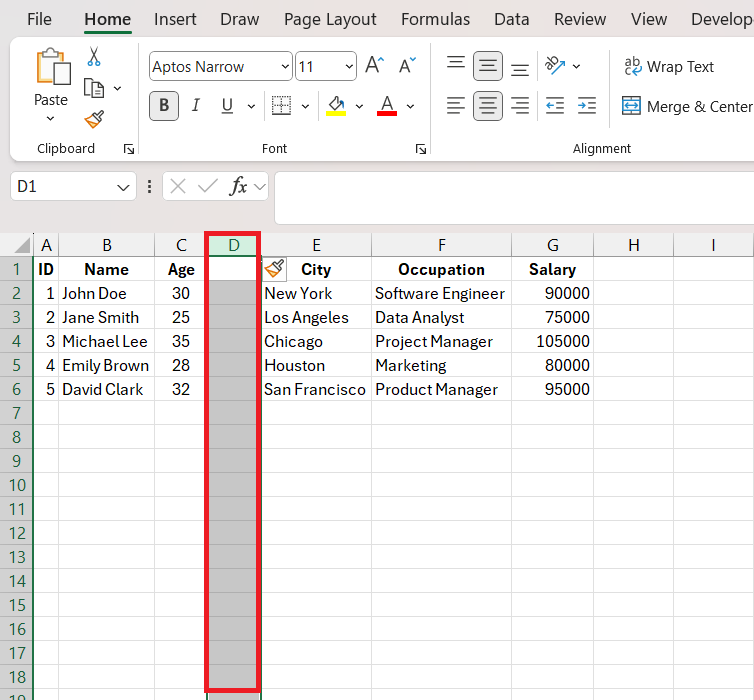
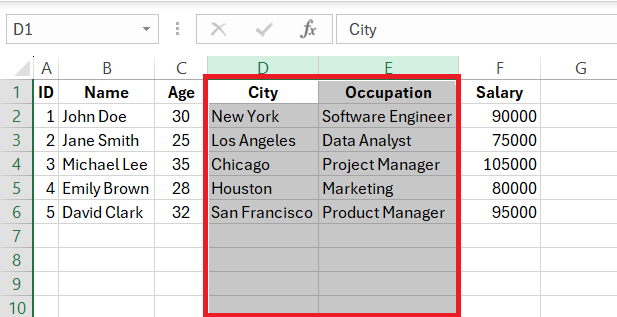
A new column will be added.
This little piece of shortcut wizardry can be your best friend, particularly when you’re knee-deep in data. Harness these keystrokes and turn your column-adding task into a lightning-fast, hands-on-the-keyboard exercise.
Beyond Basics: Adding Multiple Columns
How to Add Multiple Columns at Once
Adding multiple columns in Excel is a breeze once you know the trick. Say goodbye to inserting columns one at a time and hello to bulk additions—all with just a few clicks!
Here’s the drill for multiple-column addition:
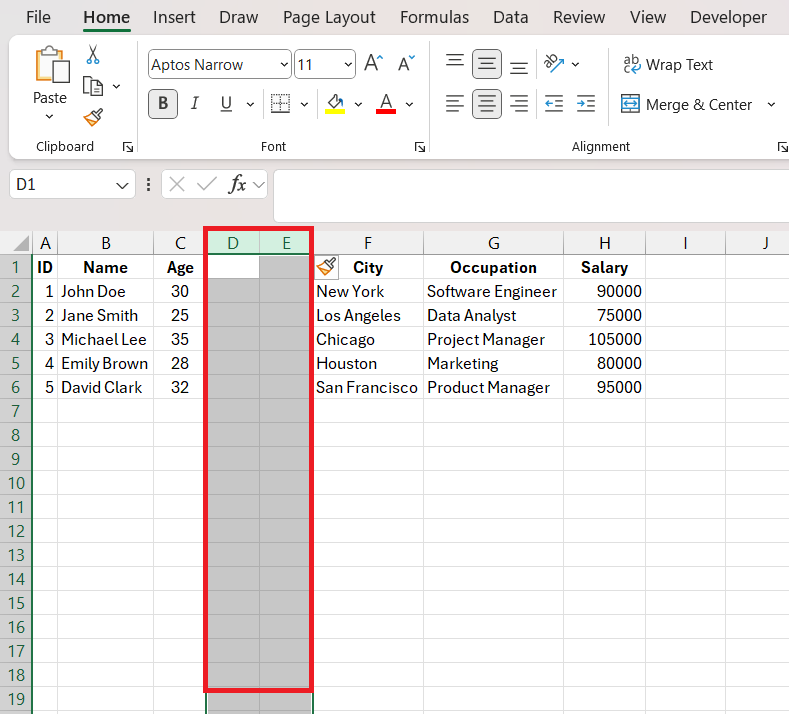
STEP 1: Begin by deciding how many new columns you need. Select the exact number of existing columns—use the click-and-drag method or Ctrl + Space to select entire columns at once.
STEP 2: Once highlighted, either right-click and choose ‘Insert’ or use the Ribbon menu by clicking ‘Insert’ under the Home tab, then ‘Insert Sheet Columns’.
Multiple blank columns will sprout up instantly, primed for your data.
Remember, the number of columns you highlight is the exact number Excel adds.
Tips for Inserting Non-Adjacent Columns
Inserting non-adjacent columns can seem tricky, but once you’ve got this nifty trick up your sleeve, it’ll be smooth sailing. Here’s how to effortlessly add columns in different parts of your spreadsheet:
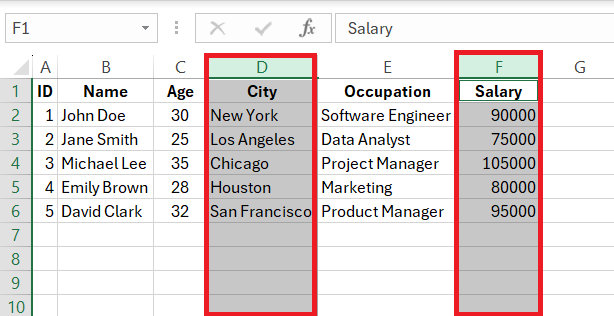
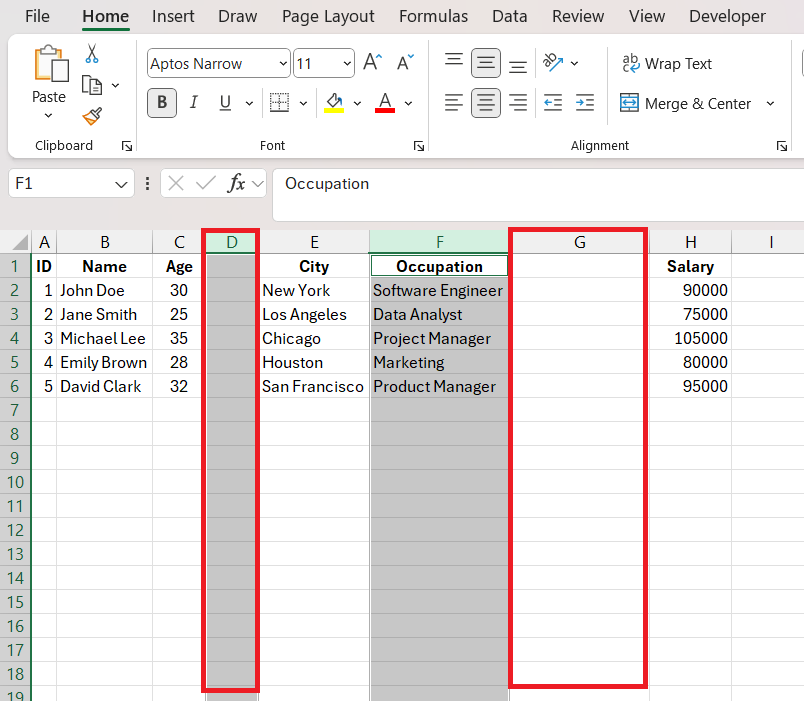
STEP 1: Hold down the Ctrl key and click on the column letters that are non-neighbors, selecting each one individually.
STEP 2: Now, depending on your style, either hit Ctrl + Shift + +, or right-click one of the selected columns and choose ‘Insert’.
As if by a touch of an Excel fairy, a new column will appear to the left of each of your chosen columns, giving you the ability to customize your sheet on a non-linear battleground.
Organizing Data with Table Columns
Adding a Column to an Existing Table in Excel
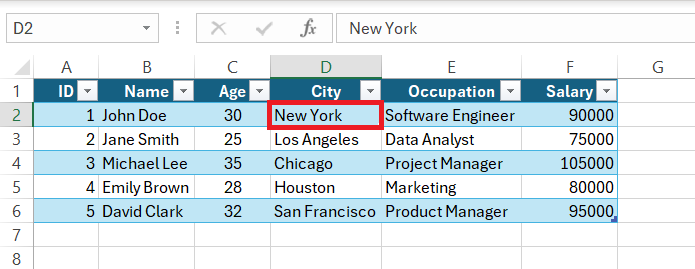
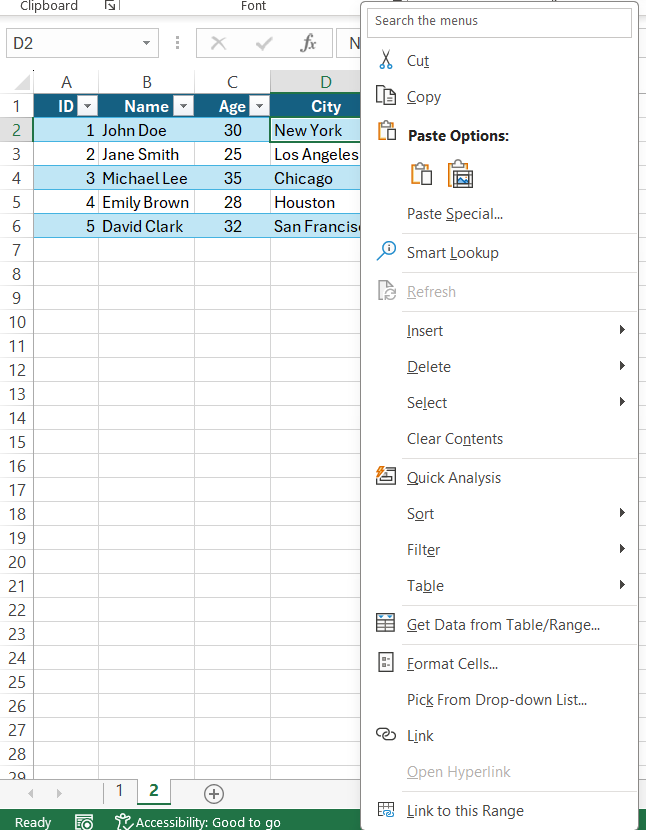
Expanding an Excel table is a piece of cake once you know the ropes. When you’re dealing with a table and you need to slot in a new column, here’s the step-by-step guide:
STEP 1: Click on any cell within the column adjacent to where your new column should reside.
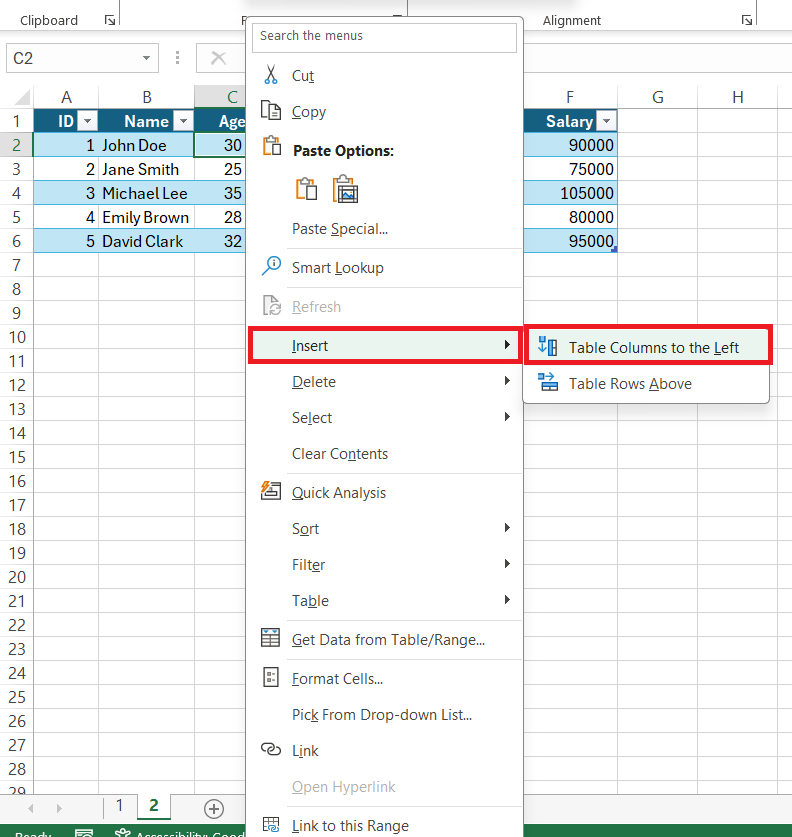
STEP 2: Right-click to bring up the contextual menu.
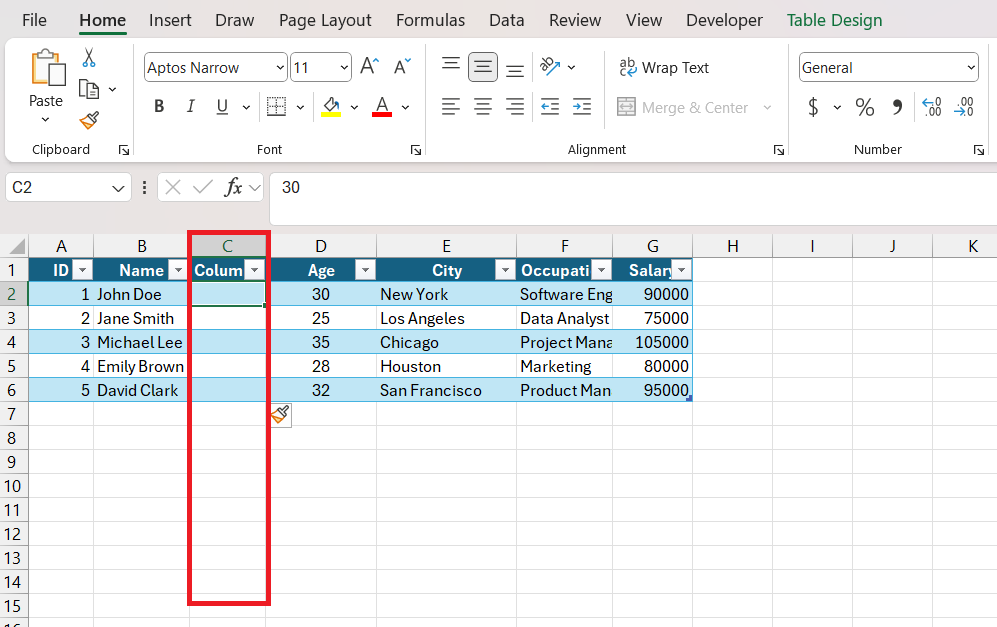
STEP 3: Select ‘Table Columns to the Left’, depending on where you want your new column to show up.
And just like that, a new, neatly formatted column falls into line with your existing table, complete with matching style and structure.
FAQs
How to add columns in Excel?
To add columns in Excel, navigate to the column where you want the new column to appear, right-click on the column header, and select ‘Insert’ from the context menu. Alternatively, use the Ribbon by selecting the column, then go to the Home tab, click ‘Insert,’ and choose ‘Insert Sheet Columns.’ For quick action, select the column and press Ctrl + Shift + +.
What is the Shortcut for Inserting a New Column in Excel?
The shortcut for inserting a new column in Excel is to select a cell or column, then press Ctrl + Shift + + on your main keyboard or Ctrl + + on the numeric keypad. If you prefer using ribbon command shortcuts, press Alt + H + I + C in sequence. These shortcuts quickly add a new column to the left of your selection.
Can I Add Multiple Columns in Excel at the Same Time?
Yes, you can add multiple columns at once in Excel. Simply select the number of columns equal to the number you wish to insert by clicking and dragging across the column headers, then right-click and select ‘Insert’, or use the Ribbon menu by choosing ‘Insert Sheet Columns’ after clicking ‘Insert’ under the Home tab. The number of columns selected will determine the number of new columns inserted.
How do I add the sum of columns in Excel?
To add the sum of columns in Excel, you can use the AutoSum function. Click on the cell at the bottom of the column where you want the total to appear, then click ‘AutoSum’ located in the ‘Editing’ group on the Home tab. Excel will automatically select the cells above. Press Enter to display the sum of the selected cells in the column.
What is the formula to add a column in Excel?
The formula to add a column in Excel is the SUM function. Type =SUM( in the cell where you want the total, then select the range of cells you want to add together. Close the bracket and press Enter. For example, =SUM(A2:A10) adds all numbers from cells A2 to A10. Adjust the cell references according to your data.
John Michaloudis is a former accountant and finance analyst at General Electric, a Microsoft MVP since 2020, an Amazon #1 bestselling author of 4 Microsoft Excel books and teacher of Microsoft Excel & Office over at his flagship MyExcelOnline Academy Online Course.

