When I create a presentation in PowerPoint, organizing images and other objects in groups is often incredibly helpful. Grouping pictures lets me move, resize, and format multiple items at once, which can save a lot of time, especially if my slides are packed with visuals.
In this guide, I’ll walk you through the process of how to group picture in PowerPoint and cover a few tips that can make this feature even more versatile.
Key Takeaways:
- Group picture allows me to move, resize, and format multiple images at once, streamlining my workflow.
- It helps maintain alignment and consistency, which is especially useful for creating infographics or step-by-step visuals.
- Grouped items can be manipulated collectively, so applying effects or resizing happens in one quick step.
- Shortcuts like Ctrl+G for grouping allow me to speed up my edits and work more efficiently.
- Grouping layers and using tools like the Selection Pane help in organizing intricate slide elements effortlessly.
Table of Contents
Navigating the Basics of Grouping
Understanding the Concept of Grouping in PowerPoint
Grouping in PowerPoint is akin to organizing a cluster of individual pieces into a coherent puzzle. It allows us to synergize diverse visual elements — pictures, shapes, text boxes, or charts — into a single cohesive unit that can be effortlessly positioned and modified.
Think of it as binding a bouquet; once grouped, it’s easier to carry and manage altogether. This feature becomes incredibly handy when designing cohesive and complex slides.
When to Opt for Grouping Pictures and Objects
Grouping pictures and objects is ideal when we need symmetry and coordination across multiple elements, like infographics or step sequences. It lets us move, resize, and animate several items at once, keeping layouts intact and simplifying repetitive adjustments.
Beyond pictures, grouping works for any objects that benefit from collective handling, helping us maintain consistency in layouts and easily manage complex diagrams or template edits. In essence, grouping enhances precision, efficiency, and professionalism.
How to Group Picture in PowerPoint
Selecting Your Images with Precision
When it comes to selecting images in PowerPoint, precision is key. The process can sometimes feel like trying to thread a needle — it needs a deft touch and attention to detail. To ensure we don’t miss any crucial elements or grab something extra, there are several methods we can use.
The click-and-drag technique allows for rapid selection by drawing a marquee around the desired images. This works wonderfully when I can visually cluster the images on my slide. When the images are dispersed, holding down the Shift key while clicking on each image comes in a clutch, providing the control needed to pick multiple non-adjacent items.
In scenarios where I need to gather every image on a slide, pressing Ctrl+A is like casting a net — it captures everything in one fell swoop.
This however means that everything gets selected, including text and shapes, so I make sure to glance over the selected bunch before moving on.
With my images accurately selected, I’m set for the next step — grouping them, which promises to make the rest of my PowerPoint journey smoother and more streamlined.
Combining Your Selection into One Group
Once the images are meticulously selected, the next step is to bind them into a single entity, a group. Think of it like a dance troupe moving in unison; each dancer is an image, and the choreography is the grouping we apply.
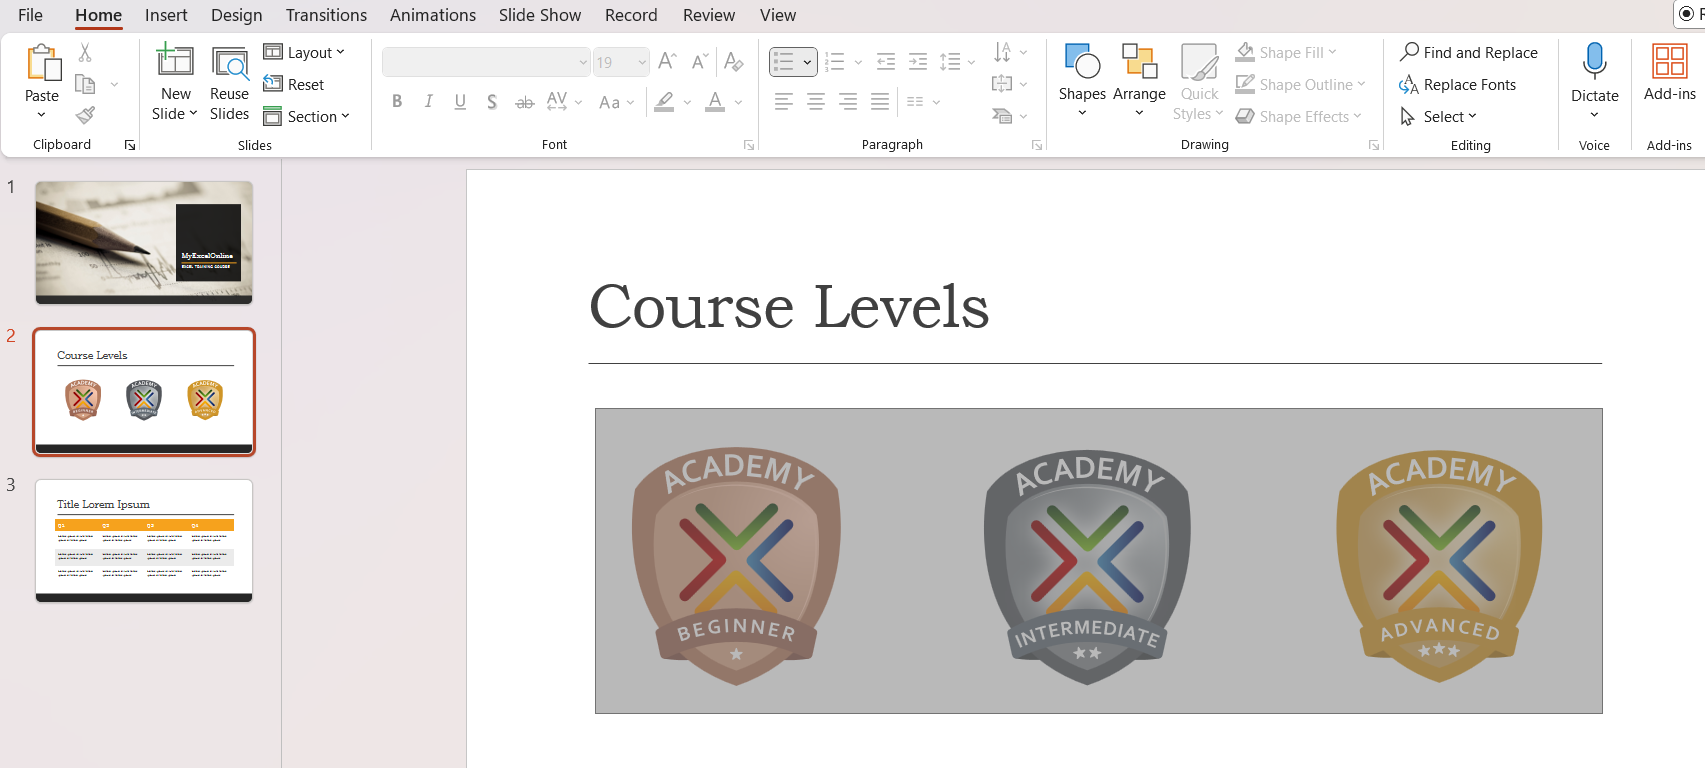
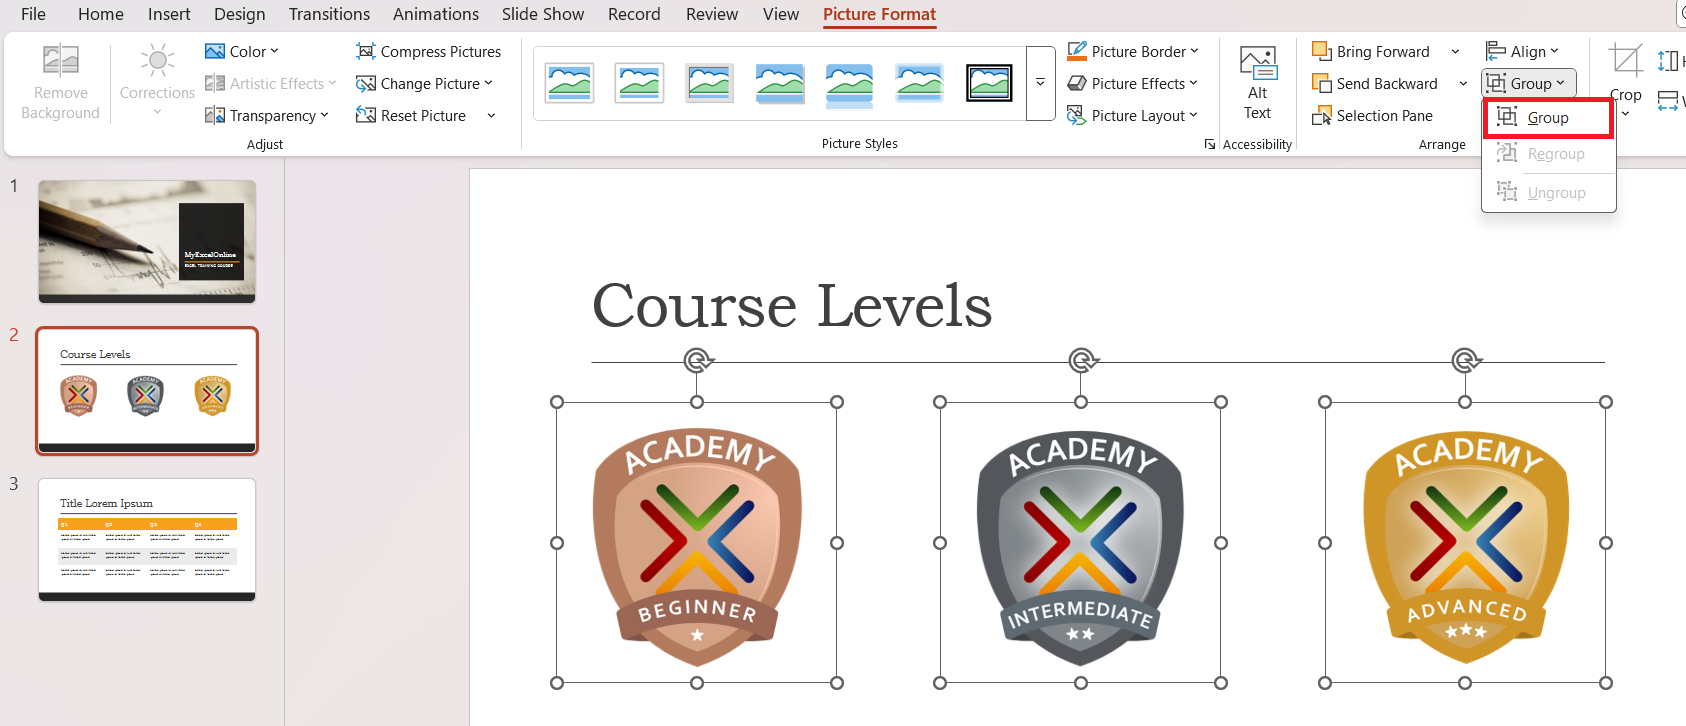
To combine the selection, there are several paths I can follow. The right-click method is as straightforward as it gets. After selecting the images, a quick right-click on one of them, followed by choosing ‘Group’ from the context menu, and voilà, the images are now a single, manipulable unit.
Alternatively, using the Ribbon is just as effective. With the images selected, I navigate to the Home tab, and within the Arrange group, I click on ‘Group’.
This method is visual and intuitive, especially for those who prefer menu navigation over shortcuts.
For the avid keyboard aficionado, shortcuts can be a real timesaver. Simply pressing Ctrl+G after selecting the images groups them in an instant. I cherish this method for its speed and simplicity.
Grouping is not just a practical step; it’s an empowering one, as it allows me to move, resize, and edit multiple images as if they were a single piece of the presentation puzzle.
Enhancing Productivity with Grouped Pictures
Easily Manipulate Multiple Images as One
The art of manipulating multiple images as one unit is the cornerstone of grouping. Once grouped, these images bow to my command in concert—moving, resizing, and rotating them is a symphony of simplicity.
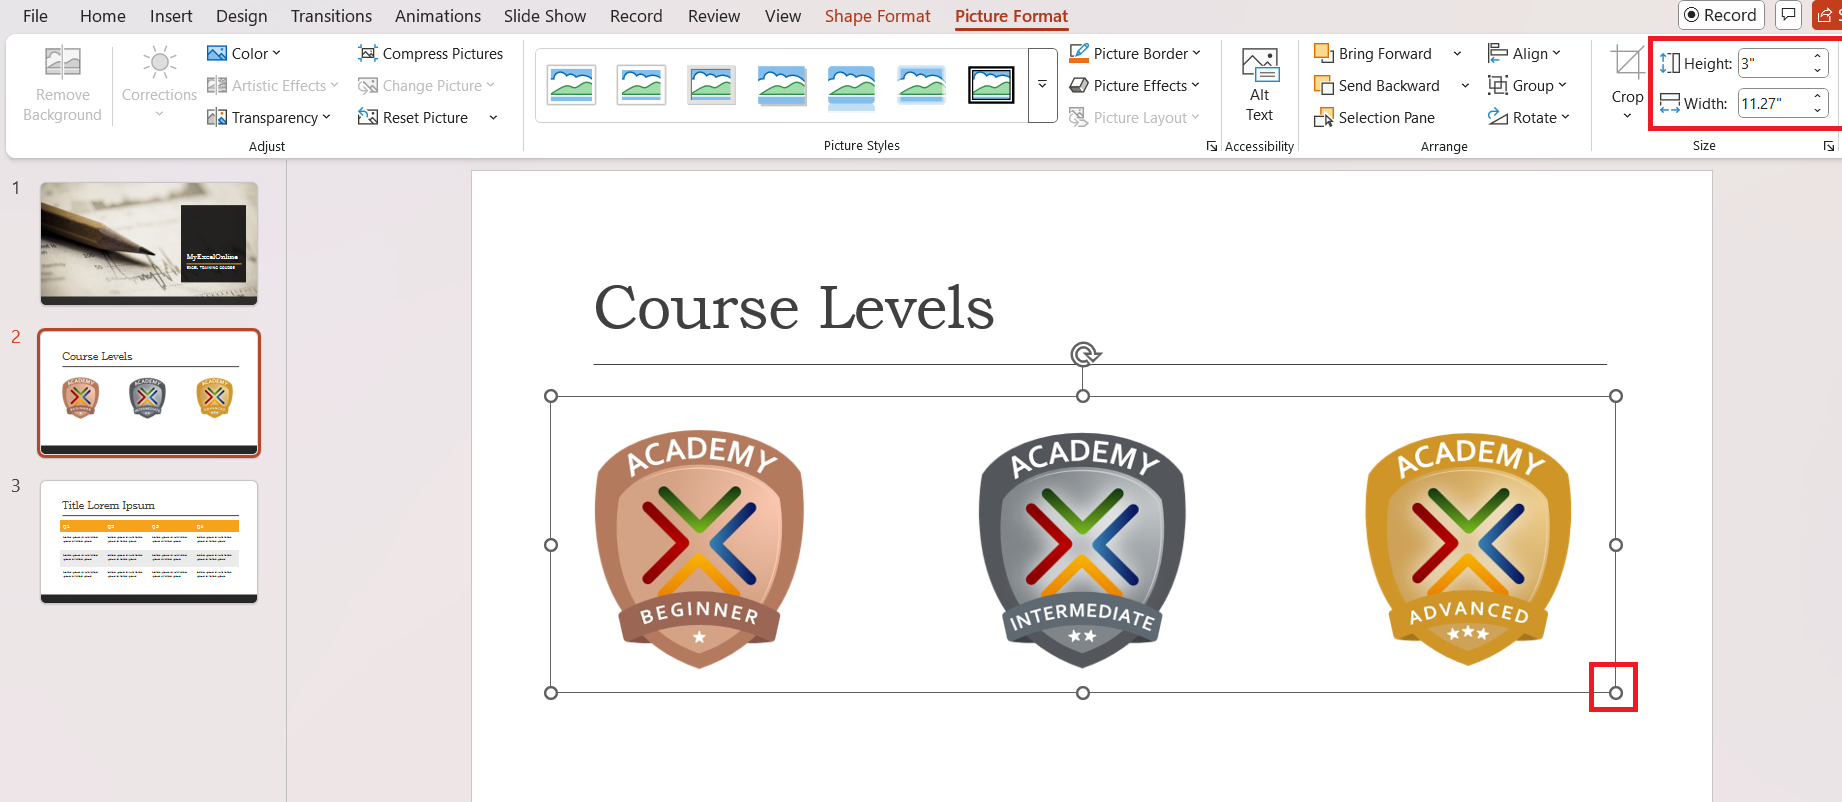
Clicking and dragging the group feels as fluid as repositioning a single image, only it’s far more powerful. The images adhere to their formation, ensuring that the meticulously crafted layout remains undisturbed.
When resizing, the corner handles become the anchor points for transformation. Holding down the Shift key while dragging these ensures that the group maintains proportion, preserving the visual integrity.
Additionally, the rotation handle perched atop the group beckons for creative adjustments, allowing me to spin the entire group to the desired angle with ease. It’s an invaluable tool when creating dynamic presentations that require uniform angle adjustments across several images.
Effectively, these actions consolidate the effort of editing each image individually into a unified task, akin to orchestrating rather than managing each piece by piece—saving time and preserving the esthetic harmony of the slide.
Streamlining the Editing Process
Grouping is an unsung hero when it comes to streamlining the editing process in PowerPoint. Think of it as a consolidating effort; instead of wrangling several images individually, I deal with them in one fell swoop.
This functionality significantly cuts down on the time spent adjusting alignments, sizes, and positions. For example, if I need to ensure that a set of images all grow or shrink in proportion, I simply adjust one corner of the group, and they all respond uniformly. It’s a godsend for maintaining a well-arranged layout without the tediousness of editing image by image.
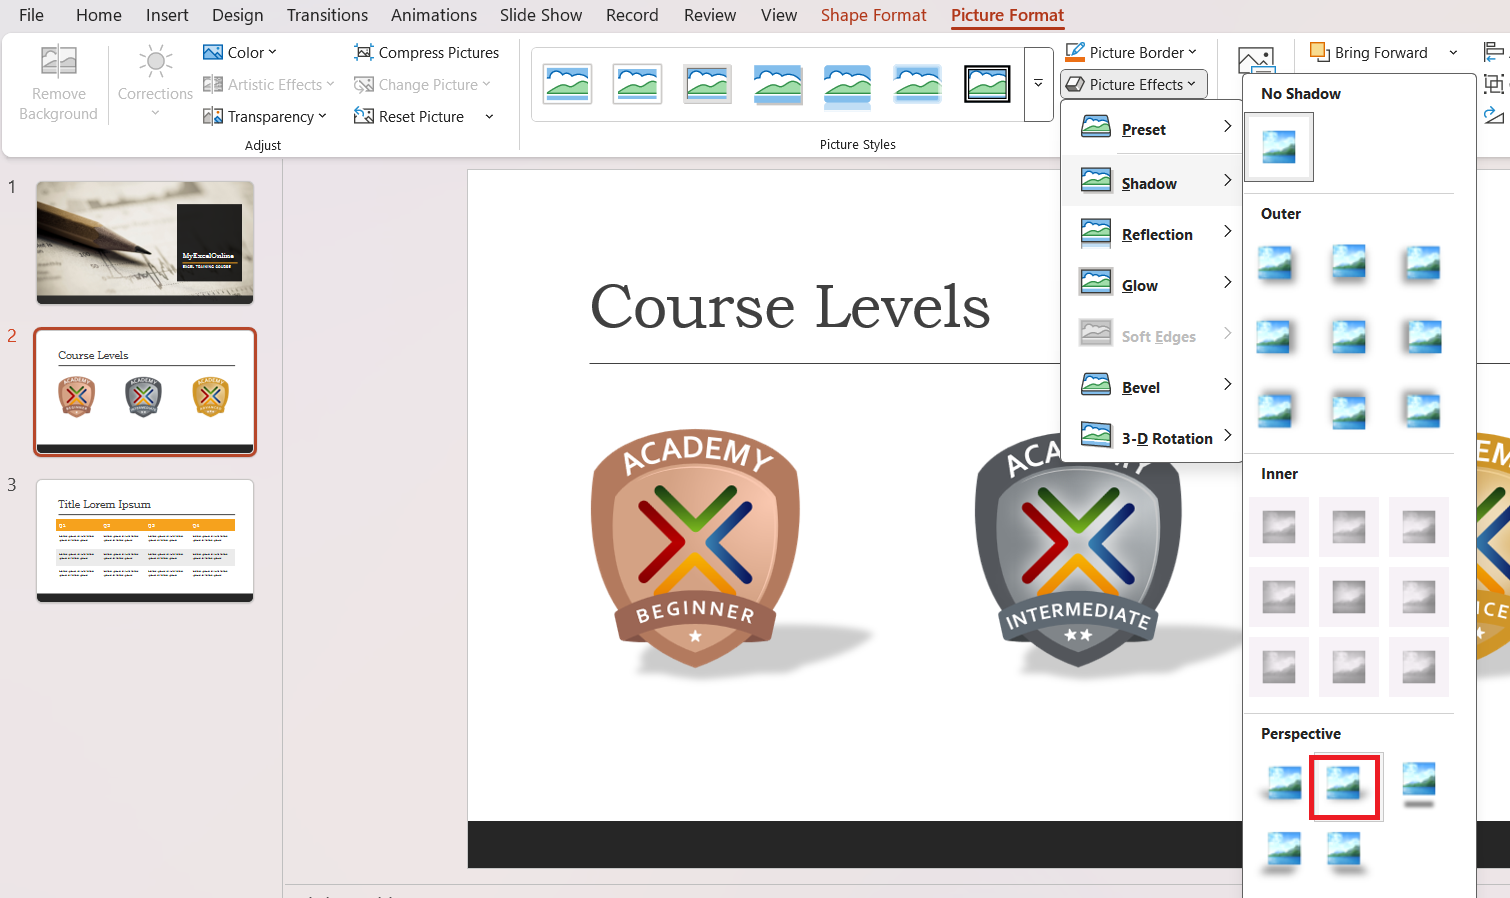
Another aspect where grouping reveals its worth is with styling and effects. Applying a shadow, a glow, or a border to a cadre of images? Rather than laboring through repetitive steps, I apply the desired effect to the group, and it automatically cascades across all the included images.
Moreover, duplicating groups is another time-saving benefit, creating consistent visual elements across slides with minimal effort. In essence, grouping enhances my workflow, allowing me to invest more time into the creative side of the presentation instead of getting bogged down with the mechanics of editing.
Additional Tips and Tricks
Working with Complex Groupings
Working with complex groupings in PowerPoint is like tackling a multifaceted jigsaw puzzle; it requires strategic thinking and dexterity. When I merge a multitude of heterogeneous elements—charts, shapes, text, and images—into one, the potential for complexity skyrockets. Yet, this complexity is manageable with a few savvy maneuvers.
For intricate groupings, patience is my ally as I build the group layer by layer. If I’m crafting a detailed infographic, I may start with the base shapes, group them into sub-groups, and then progressively add text and images. This layered grouping approach simplifies the later ungrouping, should I need to make individual adjustments.
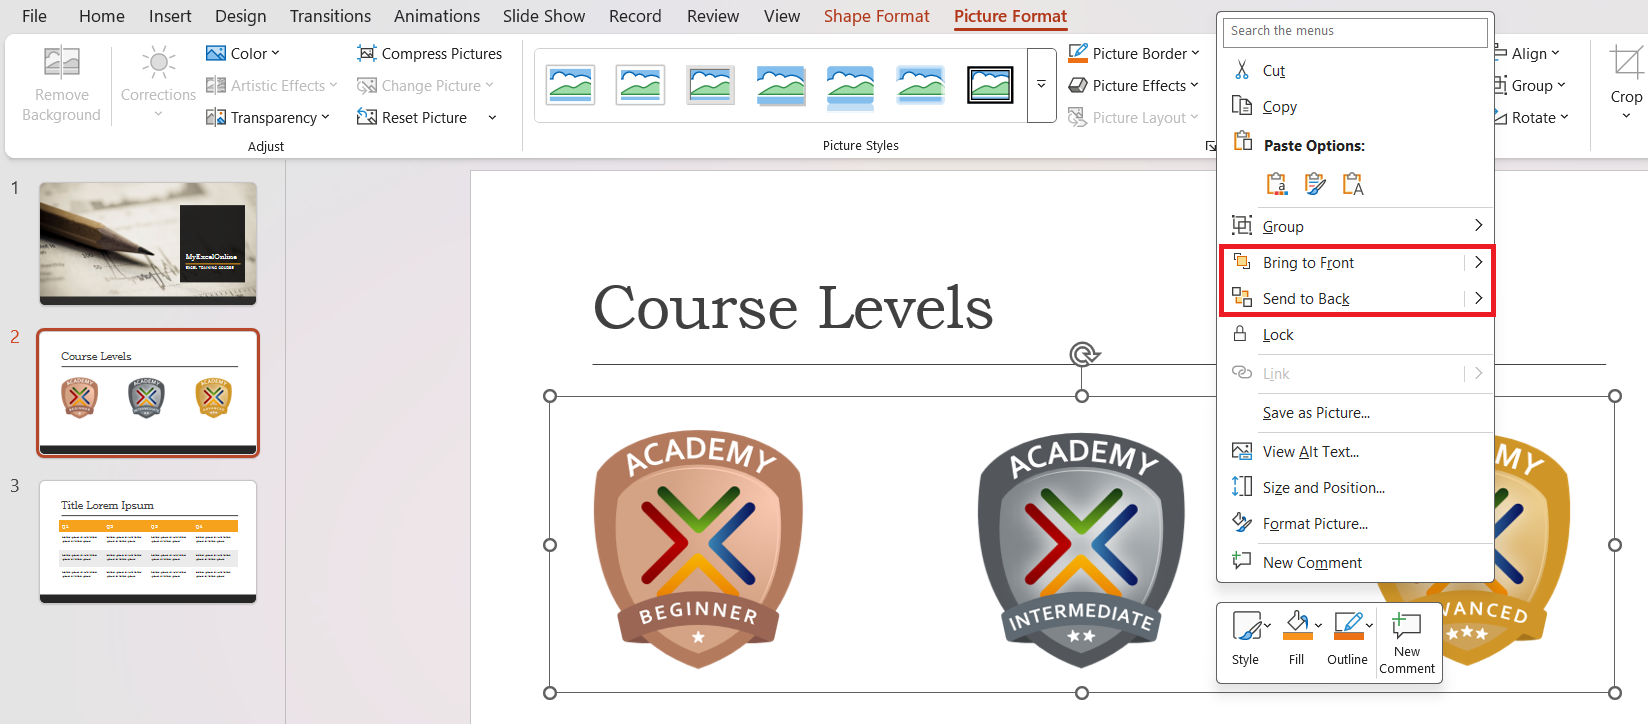
It’s crucial to remember the Z-order — the sequence that determines which objects sit on top of others. To manage this, I use the ‘Send to Back’ and ‘Bring to Front’ commands for finetuning the overlap of grouped elements. It’s like orchestrating the stage for a play, ensuring every actor is perfectly placed.
The Alignment tools become my directors in this process, ensuring that each grouping, no matter how complex, adheres to a grid that guarantees visual harmony.
By capitalizing on these tools, I maintain control over the interplay of elements, resulting in a cohesive and compelling composition that underscores the narrative of my presentation.
Taking Advantage of Shortcuts and Advanced Features
Mastering shortcuts and advanced features in PowerPoint is akin to knowing the secret passageways of a complex labyrinth—it can elevate us from mere wanderers to efficient navigators. Shortcuts, in particular, are the lifeline for speedy editing. Apart from the all-powerful Ctrl + G for grouping and Ctrl + Shift + G for ungrouping, other shortcuts like Ctrl + Shift + → or Ctrl + Shift + ← can do wonders for nimbly navigating the slides.
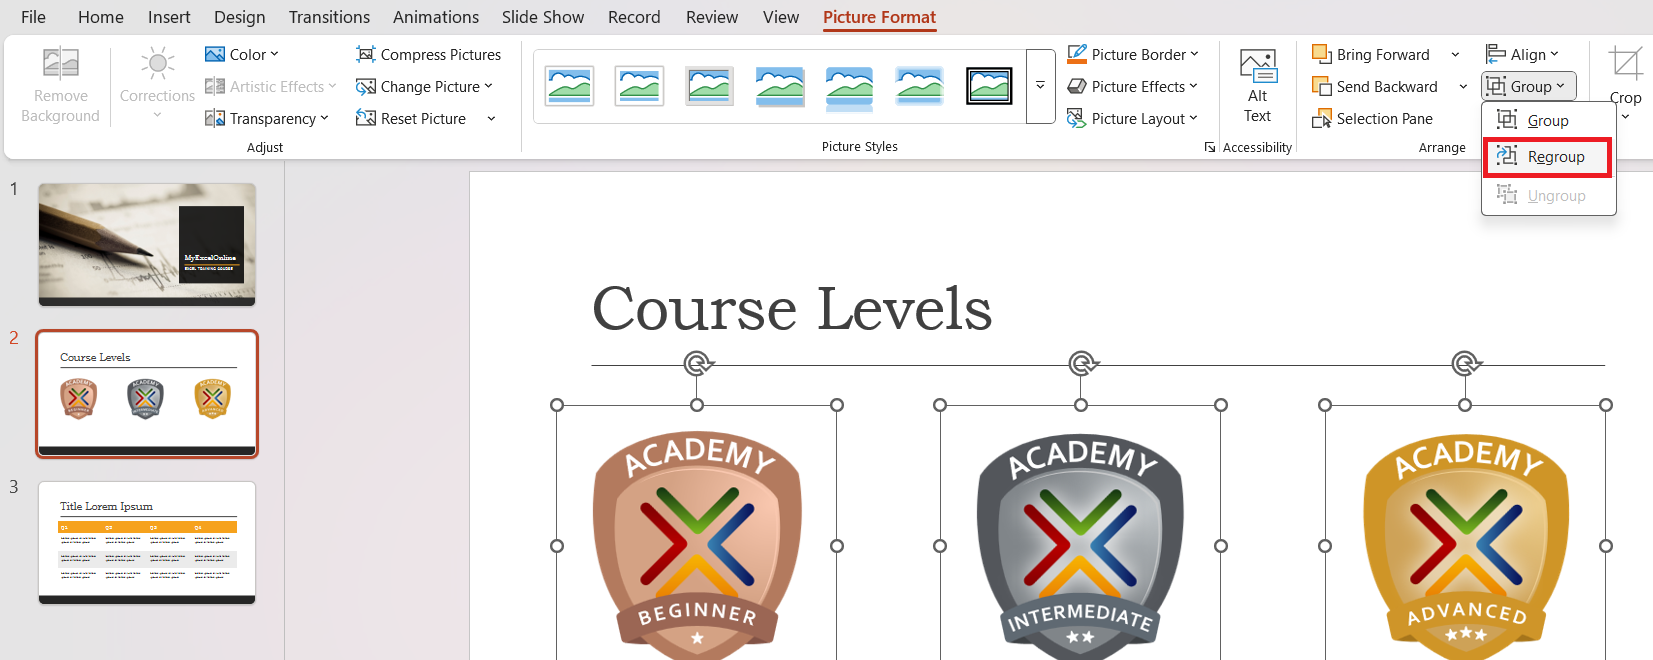
Let’s not forget the advanced group features. Hovering over the ‘Group’ command under the ‘Arrange’ section, a world of options reveals itself, including the submenus for ‘Group’ and ‘Ungroup’. There’s also ‘Regroup’, which remembers past groupings, allowing me to revert to a previous grouping state—a neat feature when experimenting with layouts.
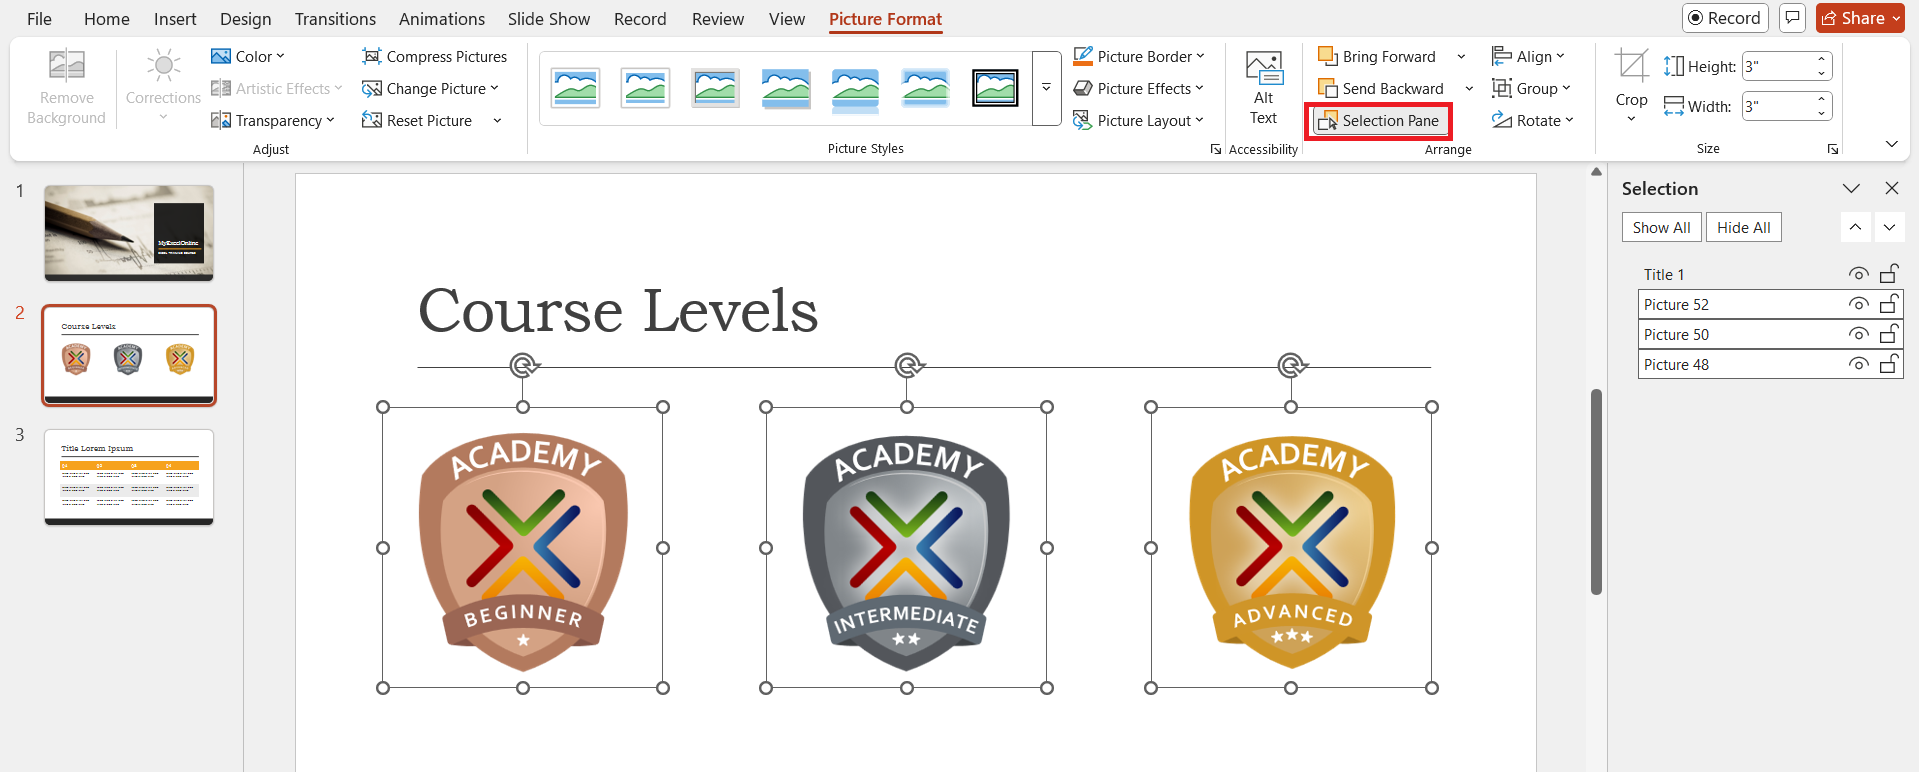
Then there’s ‘Selection Pane’, a hidden gem that lists all objects on the current slide, where I can conveniently toggle their visibility and lock them.
This feature is particularly handy when dealing with multiple layers of complex groupings, as it affords pinpoint control over each object’s visibility and selection.
By leveraging these sophisticated yet user-friendly PowerPoint features, I find myself crafting presentations that aren’t just striking, but also constructed with an almost surgical precision.
FAQ
How do I add a group of pictures to PowerPoint?
To add a group of pictures to PowerPoint, first insert the individual pictures onto the slide. Then, select them by clicking and dragging the cursor across them, or by holding the Shift key and clicking each one. Once selected, right-click and choose ‘Group’ from the context menu, or use the ‘Group’ option in the ‘Picture Tools Format’ tab on the Ribbon. This will combine them into one grouped object that you can manipulate as one entity.
What Are the Benefits of Grouping Pictures in PowerPoint?
Grouping pictures in PowerPoint streamlines the editing process, saving considerable time and effort. With grouped pictures, you can consistently resize, move, and format them as one unit, enhancing the overall aesthetic continuity. Moreover, grouping enables you to apply collective animations, ensuring a unified and impactful presentation flow.
Why Might Some Picture Grouping Options Be Greyed Out?
Picture grouping options may be greyed out in PowerPoint if your selection includes incompatible elements, such as placeholders or tables, which can’t be grouped with other objects. To group successfully, ensure that all elements you wish to combine are neither placeholders nor ungroupable objects.
What is grouping & ungrouping in PowerPoint?
Grouping in PowerPoint is the process of combining several objects into a single collective unit, allowing you to move, resize, and format them simultaneously. Ungrouping reverses this, separating the collective unit back into individual objects for detailed editing or manipulation.
What is the difference between grouping and ungrouping in PowerPoint?
The difference between grouping and ungrouping in PowerPoint lies in the level of control over objects. Grouping merges multiple objects into one for uniform edits and easier management. In contrast, ungrouping breaks this setback into individuals for targeted adjustments or customizations to each separate element.
John Michaloudis is a former accountant and finance analyst at General Electric, a Microsoft MVP since 2020, an Amazon #1 bestselling author of 4 Microsoft Excel books and teacher of Microsoft Excel & Office over at his flagship MyExcelOnline Academy Online Course.

