How to WrapText in Excel Fast
Introduction to Text Wrapping in Excel.
The Essentials of Excel Cell Formatting.
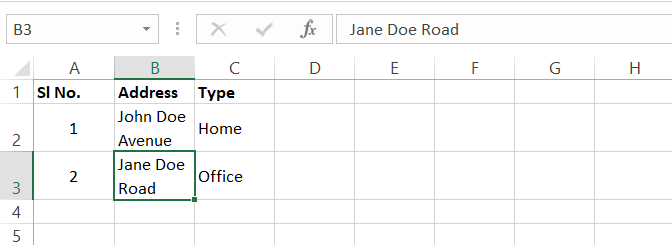
Excel is a powerful tool that goes beyond just crunching numbers — it's about presenting data in a clear and organized manner.Text wrapping in Excel is a fundamental aspect of cell formatting.
It allows content to fit within a cell by breaking up lines of text, ensuring that all the information is visible without altering column width unnecessarily.
Introduction to Text Wrapping in Excel
The Essentials of Excel Cell Formatting
Excel is a powerful tool that goes beyond just crunching numbers — it’s about presenting data in a clear and organized manner. Text wrapping in Excel is a fundamental aspect of cell formatting. It allows content to fit within a cell by breaking up lines of text, ensuring that all the information is visible without altering column width unnecessarily.
Understanding the WrapText Feature
The Wrap Text feature is a nifty tool that can make a significant difference in the aesthetic and functionality of your spreadsheets. Essentially, it works by taking a long string of text that would normally extend beyond the visible cell boundary and wrapping it within the cell so it’s displayed on multiple lines.
This ensures every word is readable and that your data looks tidy and well-organized. Activating Wrap Text can transform a cluttered table into an easily digestible format, which is especially useful for headings or descriptions that require more space.
Key Methods for Wrapping Text
Quick Text Wrap via the Ribbon Toolbar
For those who prefer a straightforward approach, wrapping text via the Ribbon Toolbar is a breeze. Here’s how you do it:
STEP 1: Focusing on the cell that contains more text than what’s visible, select it to make it active.
STEP 2: Navigate to the Home Tab and look for the Alignment Group section.
STEP 3: Click on the Wrap Text button, and the magic happens – your text neatly fits within the cell, expanding vertically as needed.
This quick method is perfect for Excel users of all levels, as it doesn’t require memorization of shortcuts and can be done with just a few clicks.
Adjusting Layout with Format Cells Option
For a more tailored appearance, the Format Cells option serves as your go-to toolbox for detailed adjustments:
STEP 1: First, select the cells you intend to format.
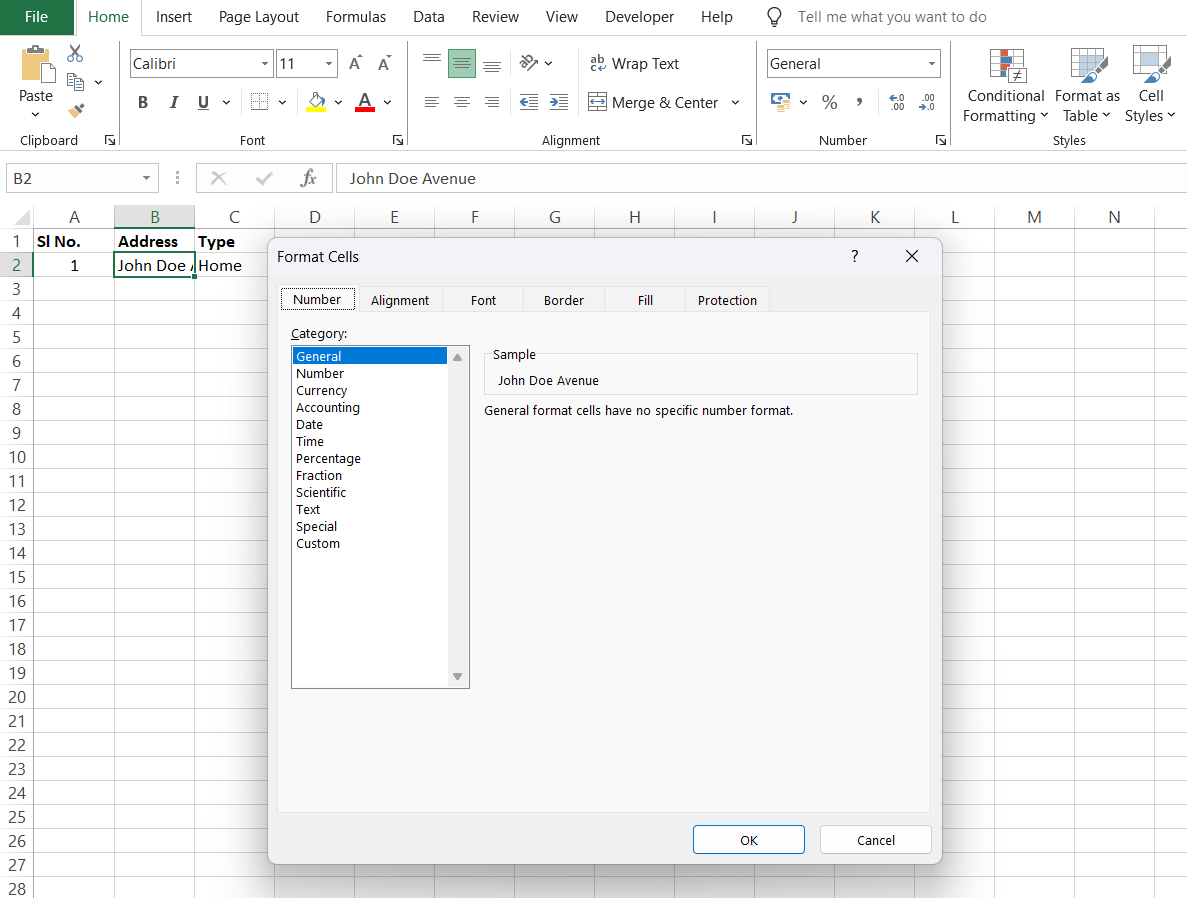
STEP 2: To reveal a range of customization choices, right-click and pick ‘Format Cells,’ or press CTRL + 1 for a shortcut to the same dialog box.
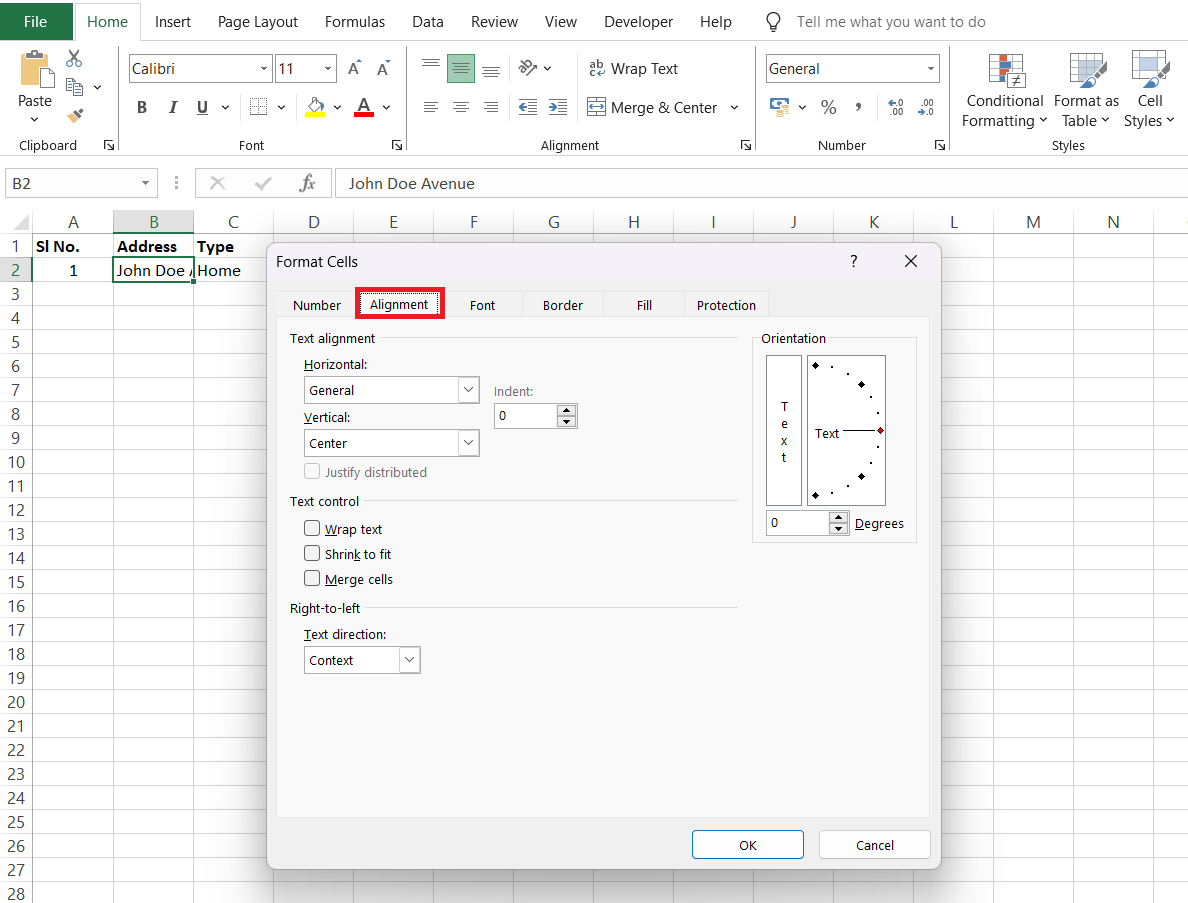
STEP 3: Within the Format Cells dialog, click the Alignment tab.
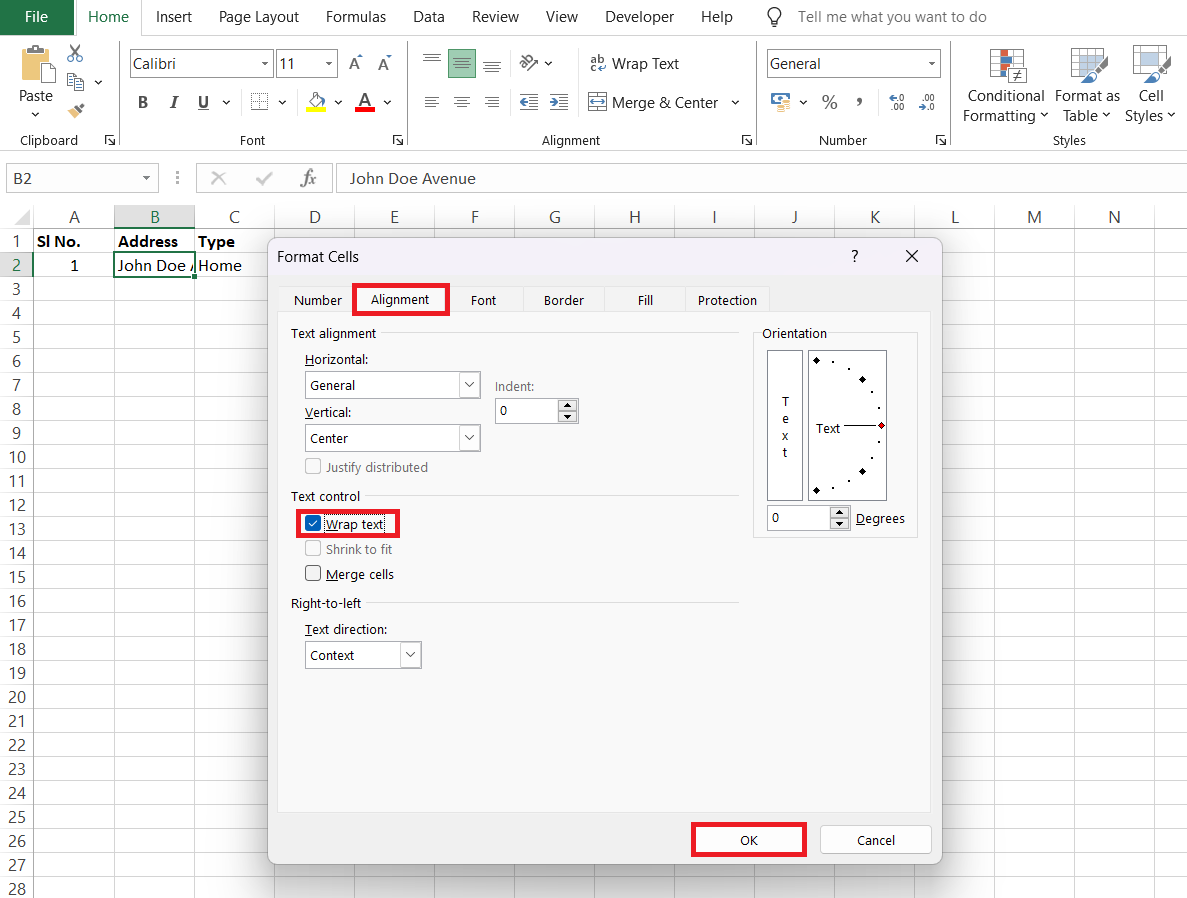
STEP 4: Locate the Text Control section, check the ‘Wrap Text’ checkbox and click on OK.
Enabling text wrap here also grants you access to additional alignment features, letting you vertically or horizontally align the text as well, providing a level of precision to your formatting that enhances readability and design.
Advanced Text Wrapping Techniques
Manually Adding Line Breaks for Precise Control
If you’re aiming for accuracy to the letter, manually adding line breaks lets you designate the exact spot in the text where you wish to begin a new line:
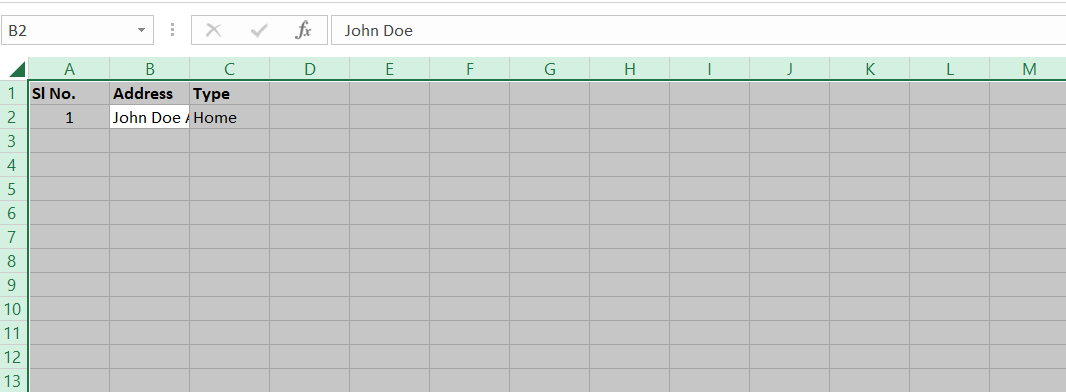
STEP 1: Double-click the cell where your text is located, or select it and press F2 to enter editing mode.
STEP 2: Click at the precise point where you desire a line break.
STEP 3: Press Alt + Enter to enforce the line break. The text will shift, breaking where you’ve specified.
STEP 4: Exit editing mode by pressing Enter, and the text will remain as edited, with lines broken at your command.
This precision is invaluable for tidying up individual cell content, like addresses or lists, where the natural wrap point might not be the most logical for your data’s readability.
Troubleshooting Common Wrap Text Issues
Solving the Mystery of Disabled Wrap Text
Occasionally, you may find the Wrap Text option is greyed out or disabled, which can be quite puzzling. This usually occurs when cells are merged or in Edit mode. Here’s how to resolve this:
- Check if you’re in Edit mode. If you’re typing in a cell or the formula bar is active, you must finish your entry or press ‘Esc’ to exit Edit mode.
- If the cell is merged with adjacent cells, Excel may restrict wrap text functionality. You can unmerge the cells by selecting them, going to the Home tab, and then clicking ‘Merge & Center’ to toggle off the merging.
- Additionally, check your cell format. Some formats, like ‘Text’, do not work well with wrapping. Change the cell format to ‘General’ and try again.
Understanding the underlying cause often leads to a quick resolution, and suddenly, the once-disabled feature is back at your disposal.
Setting Default Wrap Text for Efficient Workflow
For those who frequently deal with cells that require wrapping text, setting a default can be an incredible efficiency hack. Here’s how to have Wrap Text automatically applied to your future cells:
STEP 1: Begin by selecting the cells or range or the whole sheet where you want the Wrap Text feature to be the default setting.
STEP 2: Activate the Wrap Text by using the Ribbon Toolbar, Format Cells dialog box, or keyboard shortcut.
STEP 3: Now, any new text entered in these cells will automatically wrap.
Consider establishing a template if your worksheets consistently use the same layout. Save a workbook with Wrap Text pre-applied to the appropriate cells, and use this as your starting point for new projects.
This proactive approach can result in a smoother, faster formatting process during data entry, ensuring that productivity remains high and worksheets remain clean and readable from the get-go.
Final Tips for Flawless Cell Content Display
When to Use (or Not Use) Wrap Text
Wrap Text serves as a powerful tool but isn’t always the right choice. Use it when dealing with labels or data entries that exceed their cell width, as it makes the complete text visible without altering the overall layout of the spreadsheet. It works wonderfully for enhancing the readability of comments, notes, or descriptions nestled alongside data points.
However, refrain from using it when simplicity is key, such as in large datasets where uniform row heights are needed for cleaner scanning. Moreover, overusing Wrap Text can make a worksheet look bulky and can complicate printing, as it may result in an increased number of pages.
Strike the right balance by considering the context of your data and the needs of those who will be viewing or working with the spreadsheet.
Frequently Asked Questions
What is the wrap text?
WrapText in Excel is a formatting feature that allows text to be displayed across multiple lines within a cell, rather than spilling over into adjacent cells or being hidden. It’s essential for keeping all the information visible and maintaining a tidy worksheet layout.
Why is text not wrapping in Excel?
Text may not wrap in Excel if the feature isn’t activated if the cell is merged, if the row height is not set to auto-adjust, or if the cell format is not compatible with wrapping. Check these settings to troubleshoot the issue.
How do I enable the wrap text option for an entire worksheet?
To enable Wrap Text for an entire worksheet in Excel, click the Select All button at the top-left corner where the row numbers and column letters meet, then go to the Home tab and click Wrap Text.
Can I apply wrap text to multiple cells at once?
Yes, you can apply Wrap Text to multiple cells simultaneously in Excel. Simply select the range of cells you wish to format, then click the Wrap Text button on the Home tab in the Alignment group to toggle wrapping on or off.
How to make text go to the next line in an Excel cell automatically?
To make text automatically go to the next line in an Excel cell, select the cell or range of cells, then activate the Wrap Text feature from the Home tab under Alignment. Excel will break lines based on cell width.
John Michaloudis is a former accountant and finance analyst at General Electric, a Microsoft MVP since 2020, an Amazon #1 bestselling author of 4 Microsoft Excel books and teacher of Microsoft Excel & Office over at his flagship MyExcelOnline Academy Online Course.


