When working with images in Excel, you may need to convert them into JPG format for easier sharing, compatibility, or reducing file size. While Excel doesn’t have a built-in feature to convert images directly to JPG, I’ve found a few simple workarounds that can get the job done efficiently. In this guide, I’ll walk you through the steps to convert an image to JPG using Excel.
Key Takeaways:
Table of Contents
Methods to Convert Image to JPG in Excel
Method 1: Using Copy-Paste and Paint
One of the easiest ways to convert an image to JPG in Excel is by using the Paint application. Here’s how I do it:
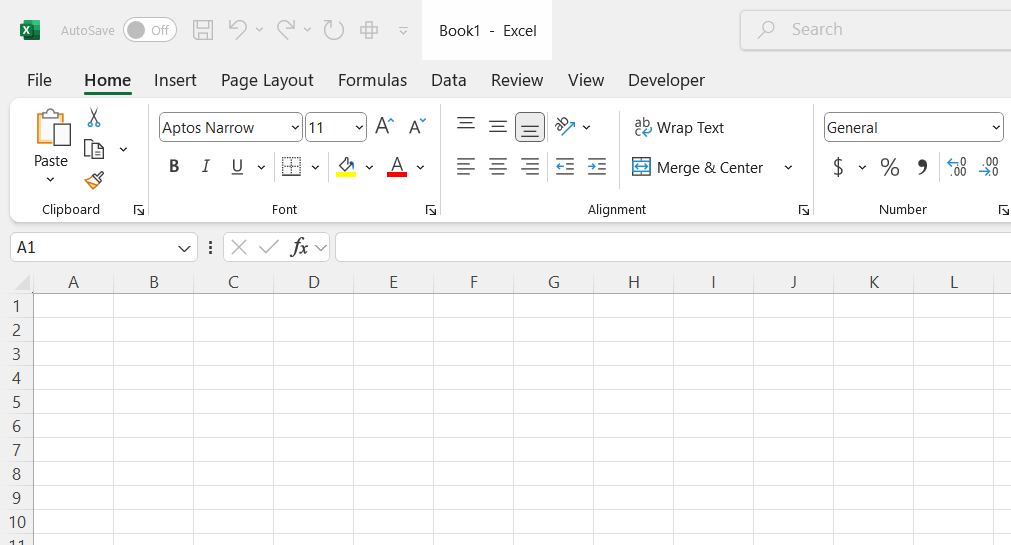
STEP 1: Open Excel and go to the worksheet where you want to insert the image.
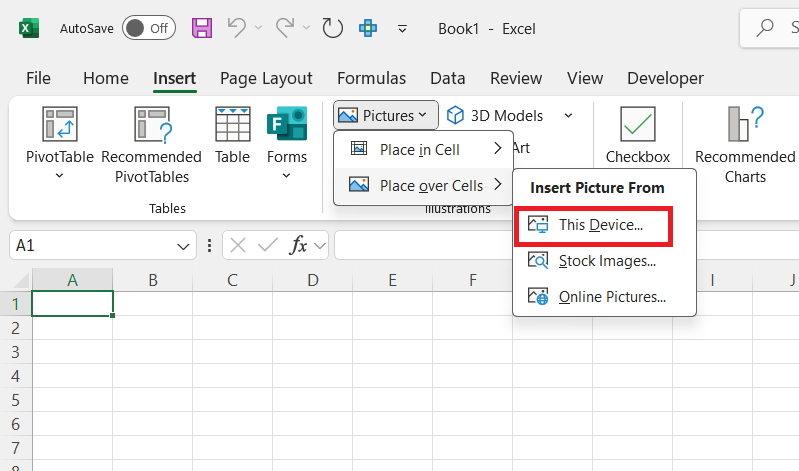
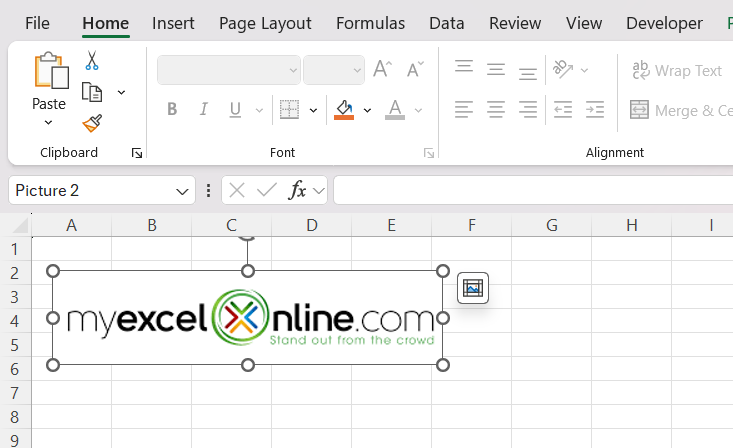
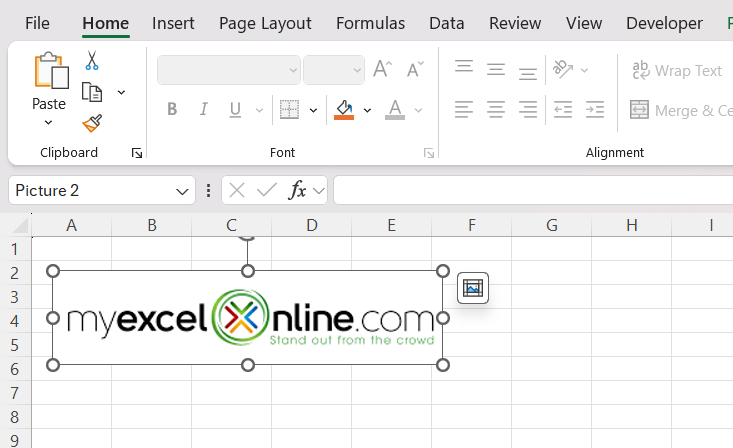
STEP 2: Click on Insert > Pictures and select the image you want to convert.
STEP 3: Click on the image to select it. Press Ctrl + C to copy it.
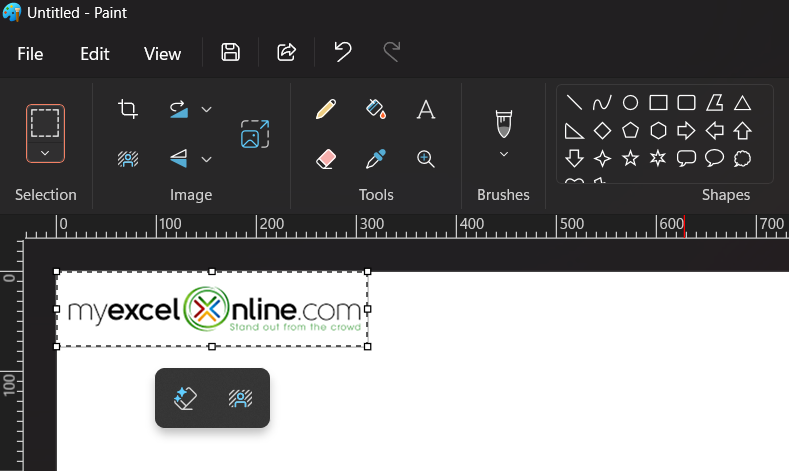
STEP 4: Open Paint on your computer. Press Ctrl + V to paste the copied image.
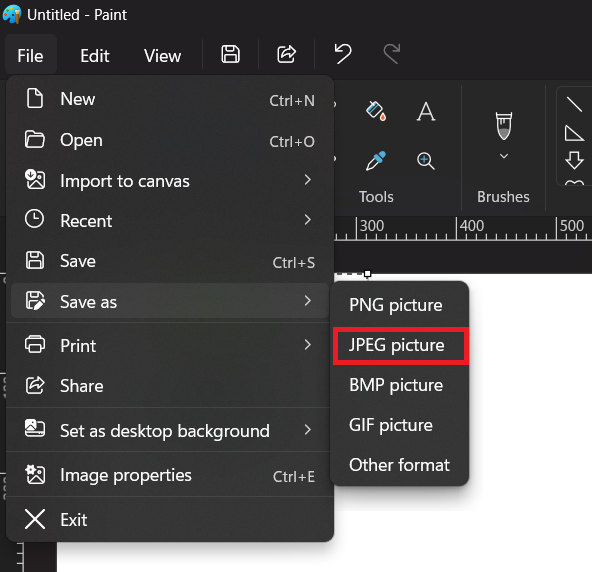
STEP 5: Click on File > Save As. Choose *JPEG picture* from the file type options.
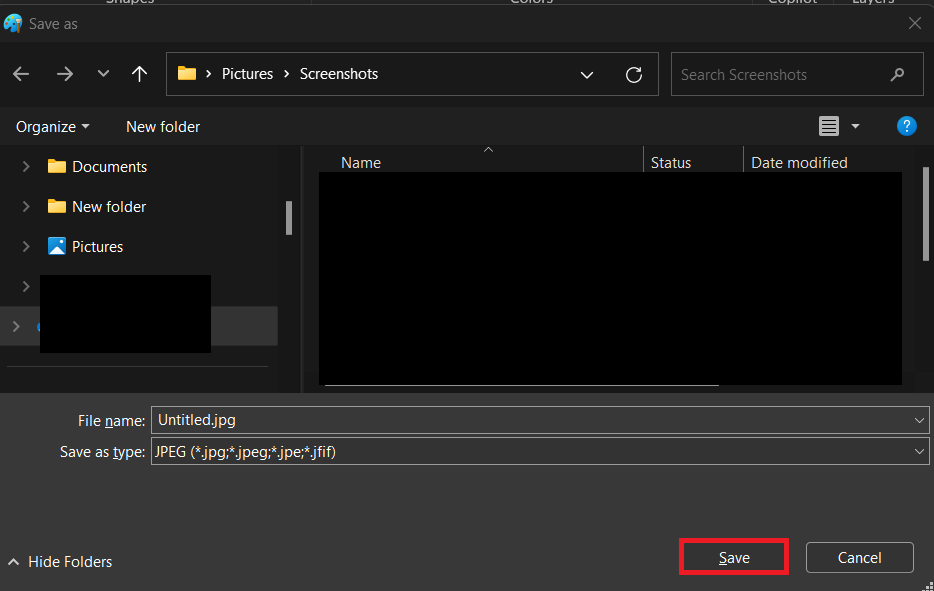
STEP 6: Select a location and click Save.
This method is quick and requires no additional software.
Method 2: Using Snipping Tool or Snip & Sketch
If you prefer a screenshot approach, the Snipping Tool (or Snip & Sketch in Windows 10/11) is another great option.
STEP 1: Just like before, insert the image into an Excel worksheet.
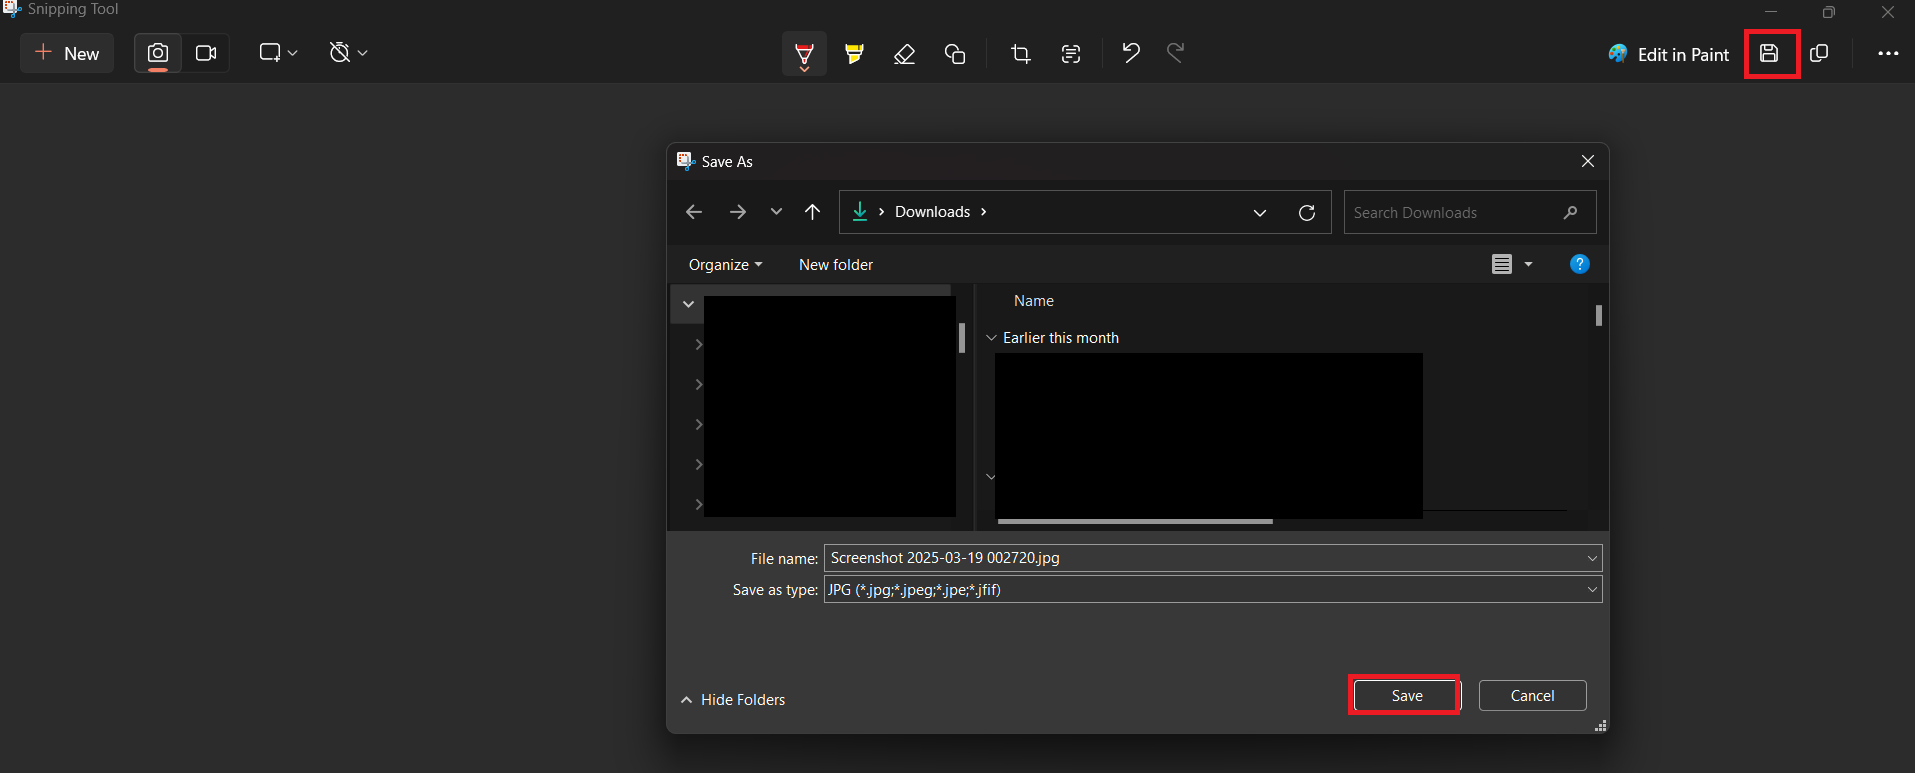
STEP 2: Open the Snipping Tool or Snip & Sketch. Click New and capture the image from Excel.
STEP 3: Click Save. Choose JPEG (.jpg) as the format. Click Save.
Method 3: Exporting as PDF and Converting to JPG
This method is useful if you have multiple images and want an automated conversion.
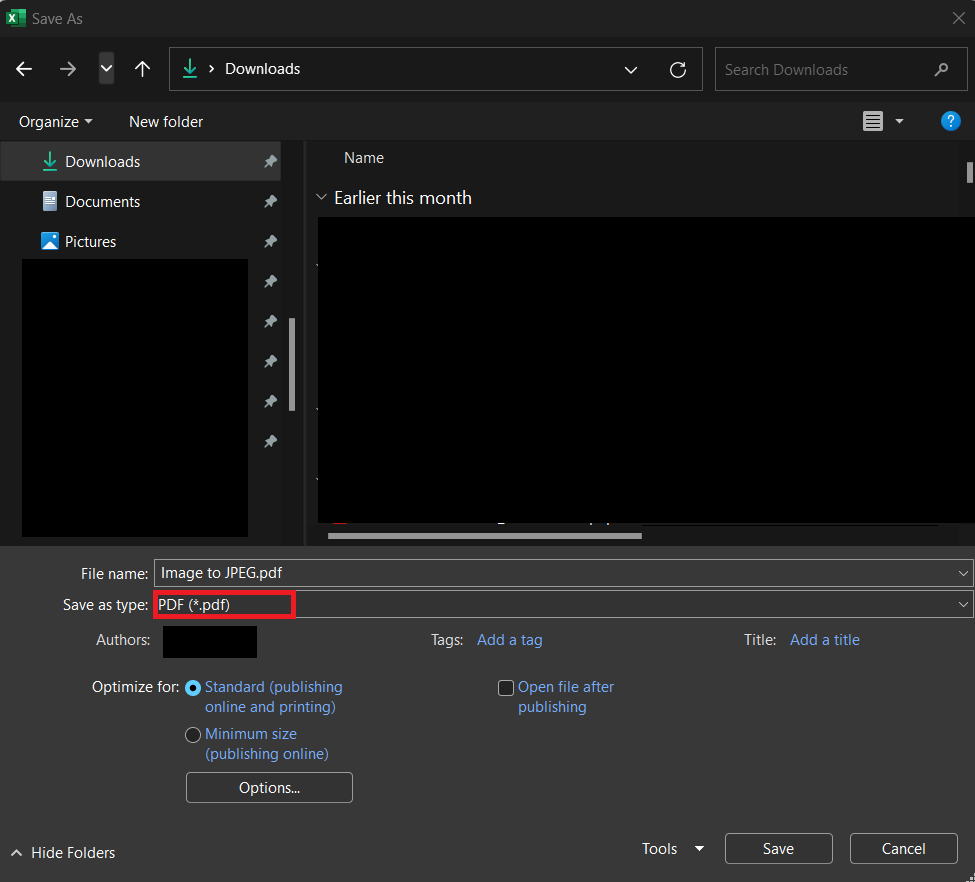
STEP 1: Go to File > Save As.
STEP 2: Choose PDF as the format and click Save.
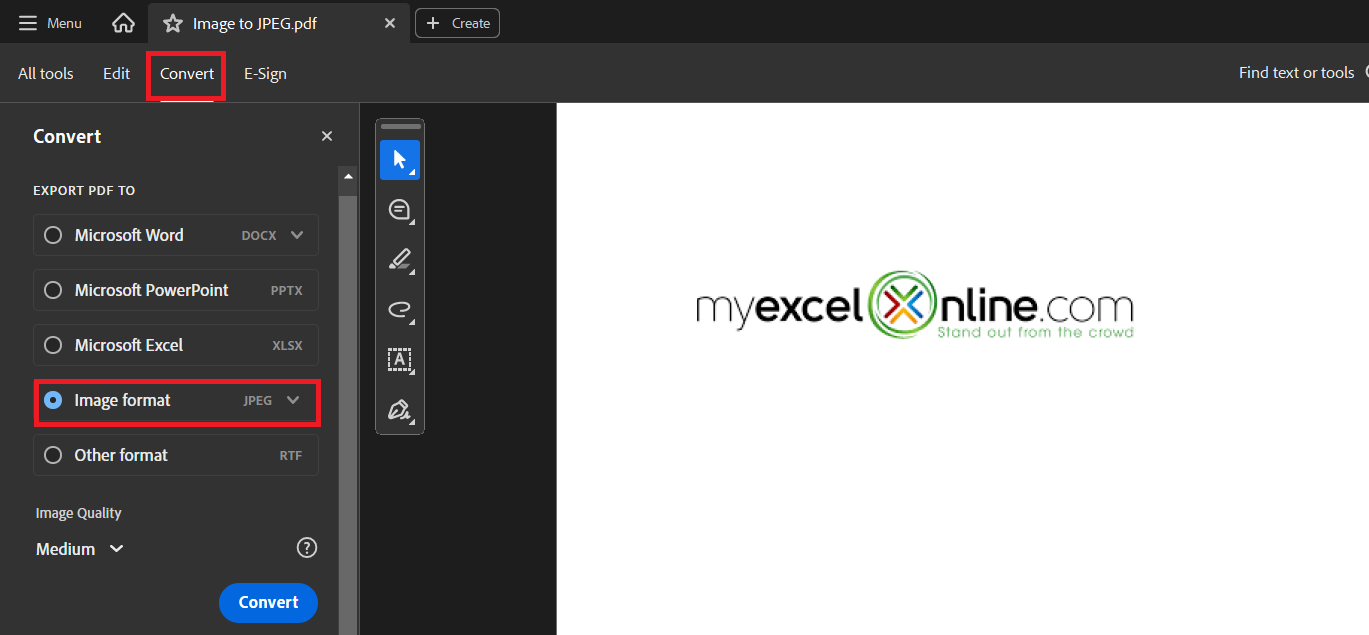
STEP 3: Open the PDF in a tool like Adobe Acrobat. Choose Convert and select JPG.
Benefits of Converting Images to JPG in Excel
Enhancing Data Presentation
Converting images to JPG format within Excel can significantly enhance data presentation by ensuring that visuals align perfectly with numeric data and textual analysis. This synergy allows for more compelling and comprehensible data outputs. JPG images, known for their smaller file size and universal compatibility, make sharing and displaying visuals alongside data easier and more effective.
By integrating images as JPGs, users can embed high-quality visuals into Excel reports and dashboards without compromising performance. This improves the aesthetic appeal and offers more dynamic storytelling through data visuals. The ease with which JPG files can be moved, resized, and incorporated into slideshows or documents also adds to the professional polish of presentations. Consequently, converting images to JPG within Excel helps in creating engaging content that communicates complex information clearly and effectively.
Streamlining Workflow Efficiency
Converting images to JPG format in Excel streamlines workflow efficiency in several impactful ways. By ensuring images are in a widely accepted format like JPG, users can reduce compatibility issues across different software and devices. This seamless integration allows teams to easily share and collaborate on data and visual content.
Additionally, JPG files’ reduced size minimizes storage concerns and speeds up file transfers, contributing to faster data handling and better system performance. The process of converting images within Excel also eliminates the need for separate image processing software, saving time and simplifying the workflow. Ultimately, this efficiency boost helps individuals and teams focus more on analysis and decision-making rather than on technical formatting tasks, facilitating more agile and productive work environments.
Cost and Time Savings
Converting images to JPG format in Excel translates to significant cost and time savings, a crucial consideration for businesses and educational institutions alike. By maintaining all tasks within one platform, you can eliminate the expense of additional image processing software. This reduces overall operational costs, particularly for organizations with limited budgets.
The conversion process itself is quick and straightforward, drastically cutting down the time spent managing and formatting images. By minimizing manual interventions and leveraging automation tools like VBA scripts for repetitive tasks, you can increase productivity. The reduction in time required for image handling allows resources to be allocated to more strategic activities, ultimately driving better outcomes and efficiencies across projects. With these savings, both large and small organizations can optimize their resources efficiently.
Practical Applications and Use-Cases
Business and Professional Scenarios
In business and professional settings, converting images to JPG format within Excel offers numerous advantages that enhance operational efficiency and communication. Here are some scenarios where this capability proves invaluable:
- Financial Reporting: Financial analysts often include charts and graphs in their reports. Converting these visuals to JPG ensures consistent formatting across all documents, enhancing the clarity and professionalism of financial presentations.
- Marketing Materials: Marketers can easily integrate high-quality visuals with data to create compelling presentations and reports. JPG images are perfect for sharing across various platforms and devices, ensuring uniformity in campaigns.
- Project Management: Teams handling projects can use JPGs to embed reference images in Excel sheets, facilitating easier tracking and visualization of project milestones and deliverables.
- Sales Analysis: Converting sales charts into JPG allows for easy distribution via email or incorporation into sales presentations, ensuring that visuals maintain their integrity and aesthetic quality.
- Training and Development: HR and training departments can include charts and diagrams in learning materials. JPG format ensures that these materials are easily viewable on different devices, aiding in seamless training sessions.
These scenarios demonstrate how converting images to JPG in Excel caters to diverse professional needs, improving efficiency and communication within and across organizations.
Educational Purposes
In educational settings, converting images to JPG format within Excel supports a variety of applications that enhance learning and teaching experiences. Here’s how educators and students can benefit:
- Lesson Planning: Teachers can integrate visual aids into spreadsheets, converting them to JPG for easy distribution among students or incorporation into digital lesson plans.
- Student Projects: Students can enrich their presentations and projects by embedding charts and images in Excel, then converting them to JPG for seamless submission and sharing.
- Data Visualization: By converting complex data visuals into JPG, educators can ensure that students access clear and high-quality images in study materials, aiding comprehension and retention.
- Digital Portfolios: By saving student work in JPG format, it becomes easier for educators to compile and review digital portfolios, highlighting student progress over time.
- Remote Learning: In a remote learning environment, converting instructional materials and images to JPG ensures compatibility and easy sharing across multiple platforms and devices.
These educational applications demonstrate the versatility of converting images to JPG within Excel, facilitating improved collaboration and more engaging learning experiences.
FAQs
How can I convert an image in Excel to JPG format?
To convert an image in Excel to JPG format, capture the image using a screenshot tool, save it as a JPG, or export the Excel file as a PDF, then convert it to JPG using an online converter. This method preserves image quality and formatting for easy sharing and presentation.
Can I reverse the conversion from JPG back to Excel?
Yes, you can reverse the conversion from JPG to Excel using OCR (Optical Character Recognition) technology. Upload the JPG image to an online OCR tool or software designed to extract data and convert it back into an editable Excel format.
What is the shortcut key for Excel to JPG?
There isn’t a direct shortcut key in Excel to convert to JPG. However, you can quickly take a screenshot by pressing “Alt + PrtSc” to capture the active window, then paste it into an image editor and save it as a JPG.
What are the limitations of converting images in Excel?
Converting images in Excel has certain limitations, such as the lack of a built-in feature for direct image-to-JPG conversion, which often necessitates external tools or workarounds. Additionally, maintaining image quality during conversion can be challenging, and manual adjustments might be needed to preserve resolution and formatting.
Why convert image to Excel?
Converting an image to Excel is beneficial for extracting and digitizing text or tabular data without manual entry. This approach saves time, reduces errors, and allows for easy editing and analysis of data within a structured spreadsheet format.
John Michaloudis is a former accountant and finance analyst at General Electric, a Microsoft MVP since 2020, an Amazon #1 bestselling author of 4 Microsoft Excel books and teacher of Microsoft Excel & Office over at his flagship MyExcelOnline Academy Online Course.

