Elevate your Microsoft Excel spreadsheets with professional branding by seamlessly incorporating your company logo. From enhancing brand recognition to adding authority, logos in Excel make a statement. In this article, we will cover how to insert logo in Excel using various methods.
Key Takeaways:
- Positioning Your Logo Effectively: Learn how to insert your logo into the header of an Excel spreadsheet for seamless integration.
- Embedding a Logo Inside a Specific Cell: Anchor your logo within a cell for precise placement and sizing.
- Advanced Logo Integration Techniques: Lock your logo with the cell to ensure it moves, resizes, and filters together with the content.
- Practical Tips for Seamless Logo Placement: Ensure your logo stays intact when sharing workbooks by embedding it directly into the document.
- Leveraging Excel Features to Enhance Logo Display: Utilize the IMAGE function for dynamic logo use, ensuring your branding stays fresh and in sync.
Table of Contents
Introducing Logo Placement in Excel
Why Logos Matter in Spreadsheets
Logos carry the identity of your brand and incorporating them into spreadsheets adds a professional touch. Whether it’s a financial report or an inventory list, adding your logo can reinforce brand recognition and make documents more authoritative.
Positioning Your Logo Effectively
Insert Logo into an Excel Header
To seamlessly integrate your company’s visual identity, inserting a logo into the header of an Excel spreadsheet is a smart move. Do the following steps:
STEP 1: Start by selecting the Insert tab, then look for the ‘Header & Footer’ option in the Text group.
STEP 2: Clicking here switches your view to page layout, where you can choose the header’s area to place the logo.

STEP 3: Click on the picture element in the “Header & Footer Elements” tab. And select a picture.
STEP 4: Once you insert the picture, it will become visible.
Embedding a Logo Inside a Specific Cell
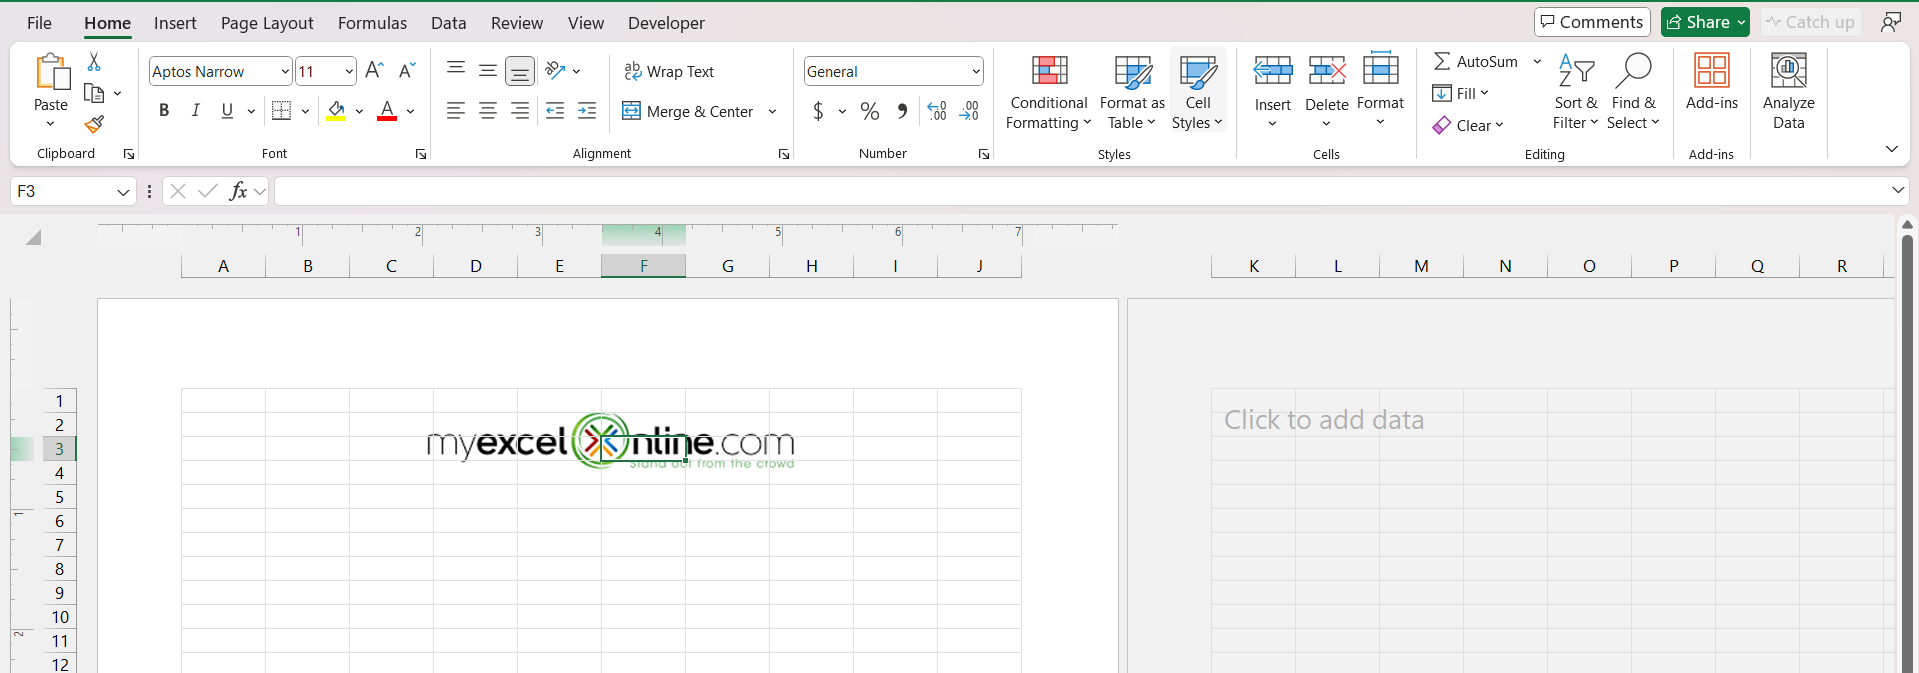
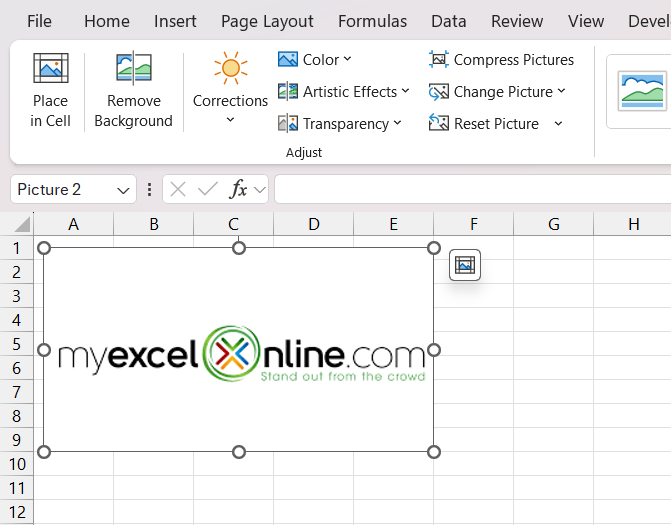
The feature of Microsoft Excel helping in adding the logo inside the cells will anchor your logo within the cell and can be used on many occasions. To use this feature check the following steps:-
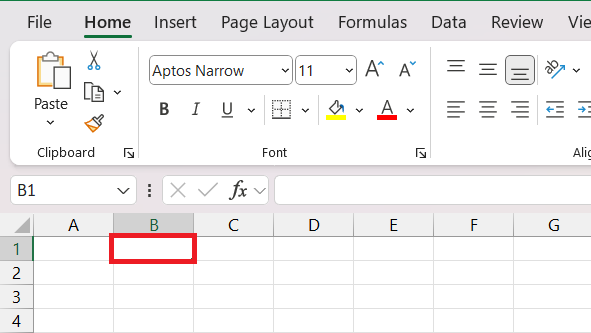
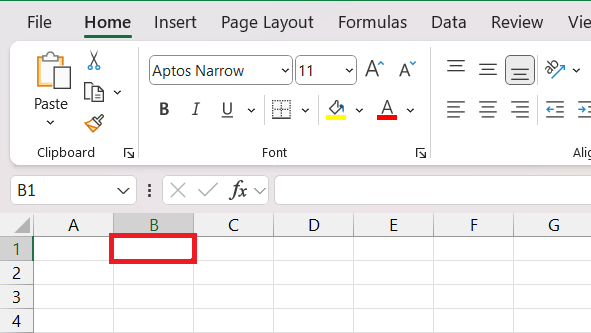
STEP 1: Select the cell where you want to add the logo.
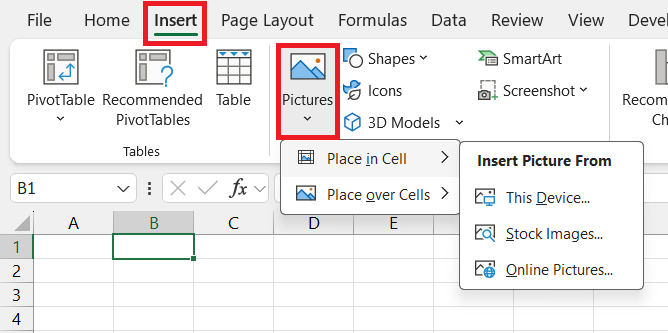
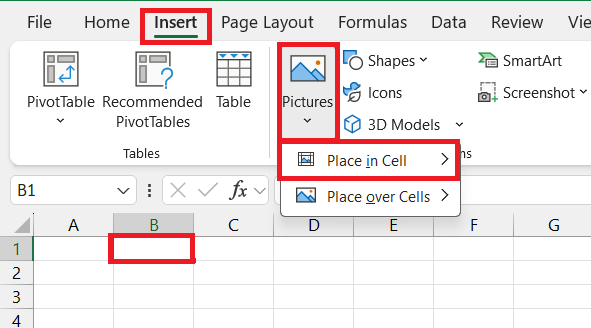
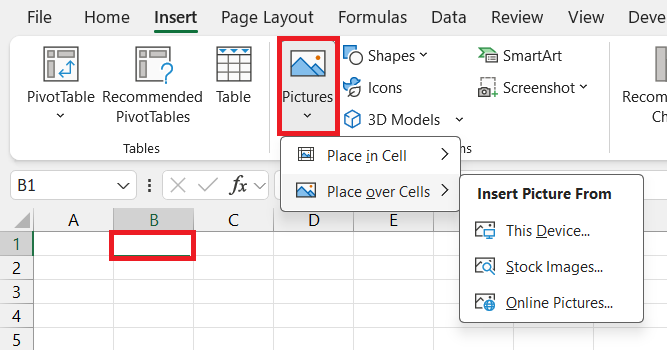
STEP 2: Click on the Pictures icon on the “Illustrations” tab.
STEP 3: Select the option “Place in cell”.
STEP 4: Choose one among the three options from “This Device”, “Stock Images” or “Online Pictures” and insert the logo.
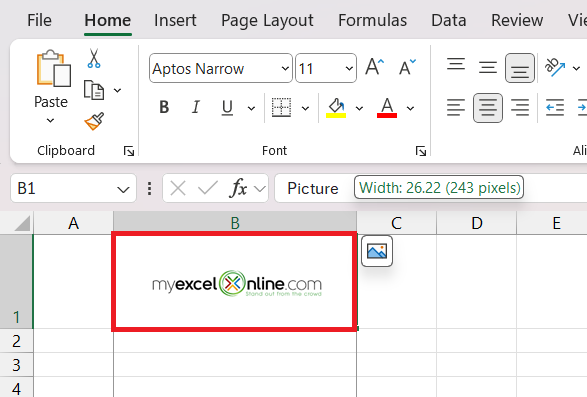
STEP 5: Drag and increase or decrease the size of the cell to modify the size of the logo.
Logo over Cells
In similar to the previous method of inserting the logo, with this method the inserted logo will be locked and bounded inside the cell, but it can be easily added over the cells. The following steps can be used for this trick:-
STEP 1: Select the cell where you want to add the logo.
STEP 2: Click on the Pictures icon on the “Illustrations” tab. Select the option “Place over cells”.
STEP 3: Choose one among the three options from “This Device”, “Stock Images” or “Online Pictures” and insert the logo.
Advanced Logo Integration Techniques
Locking the Logo with the Cell in Excel
Once you’ve placed your logo exactly where you want it, it’s important to make sure it stays put. In Excel, you can lock the logo with the cell, ensuring that it moves, resizes, and filters together with the cell content. To do the following:-
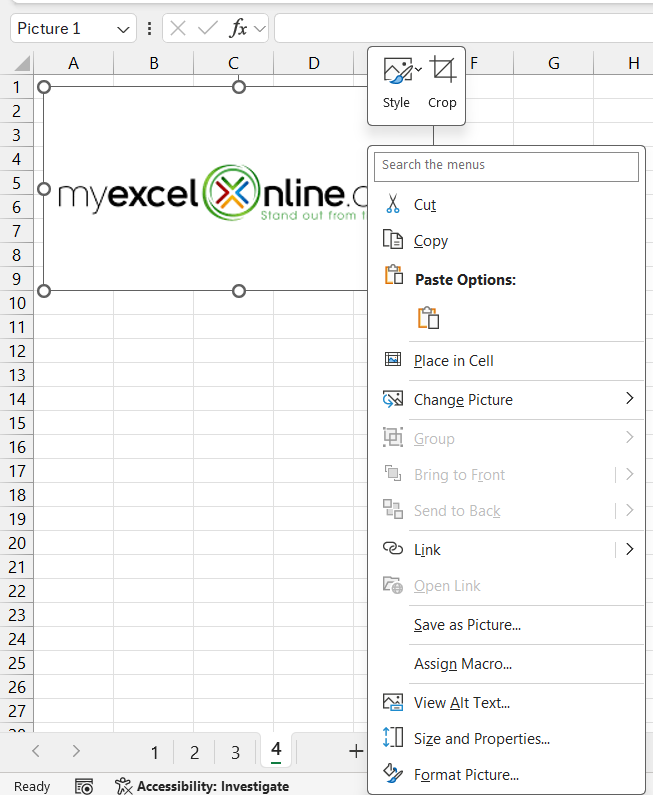
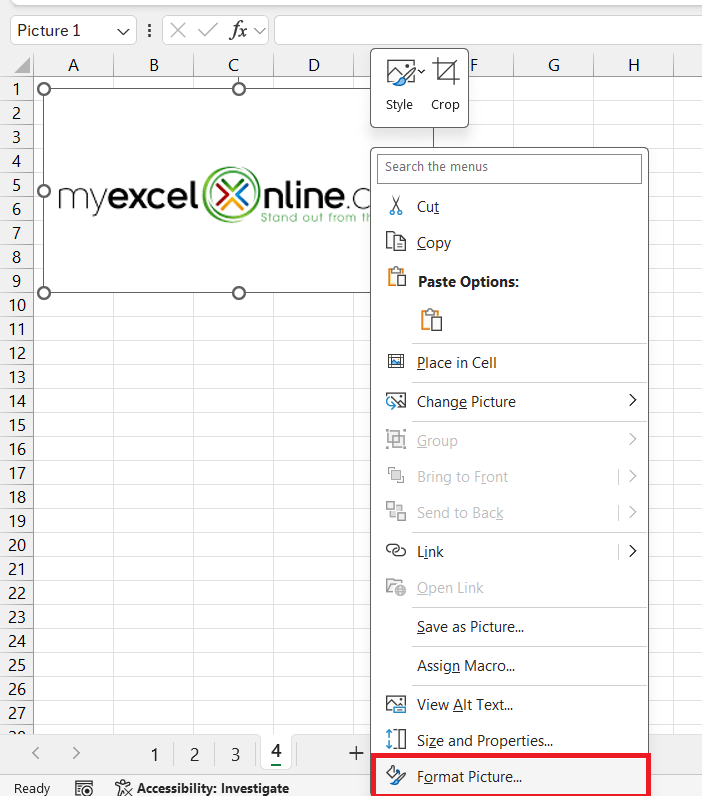
STEP 1: Right-click on the logo.
STEP 2: Select ‘Format Picture’
STEP 3: Then go to the ‘Size & Properties’ tab.
STEP 4: Within the Properties section, choose ‘Move and size with cells.’
Voilà! Your logo is now tethered to the cell’s fate—whether you move, resize, or filter the cell, the logo follows suit.
Practical Tips for Seamless Logo Placement
Keeping Your Logo Intact When Sharing Workbooks
When you share your Excel workbook, you want your branding to stay intact. To keep your logo from being distorted or lost, consider embedding it directly into the document. Before sharing, check the ‘Compress Pictures’ option in the Picture Format tab to optimize for document resolution, which can prevent quality loss.
Also, save your workbook in a format that maintains image fidelity, such as .xlsx or .xlsm. Remember to inform recipients if macros are involved!
Lastly, consider protecting your workbook to prevent unauthorized edits to your logo and content.
Considering Compatibility across Different Excel Versions
When branding spreadsheets, you’ll want to ensure that your logo appears correctly regardless of where or how the document is opened. Compatibility is crucial, as features can vary between different versions of Excel. To ensure broad compatibility, use standard image formats like JPEG or PNG for your logos, and avoid over-reliance on advanced features that may not be supported in older versions or Excel Online. If using newer Excel functions for your logo—like the IMAGE function—test your workbook in various versions to confirm the logo displays as intended.
Leveraging Excel Features to Enhance Logo Display
Using IMAGE Function for Dynamic Logo Use
The IMAGE function in Excel is a game-changer for dynamic logo use. This feature allows you to insert logos that update automatically when the source file changes—handy for rebranding or when using different logos for different reports. Simply input =IMAGE("URL", [alternative text], [size], [height], [width]) in a cell, and your image will appear. The alt text enhances accessibility, while the size parameters let you control how your logo fits into your spreadsheet. Use this function to keep your branding fresh and in sync without manually updating each spreadsheet.
Troubleshooting Common Logo Placement Issues
Dealing with Data Overlap and Image Displacement
Data overlap and image displacement can disrupt the readability of your spreadsheets. To prevent these issues, ensure your logo is correctly sized before placing it into the sheet, and use Excel’s alignment features to position it away from essential data. If your logo is within a cell, use the ‘Format Cells’ dialog to adjust cell padding, which provides breathing room for the text. Lock the aspect ratio of images to maintain proportions when resizing. In case of unintentional image movement, ‘Undo’ is a handy feature, or the ‘Lock’ feature can be utilized to anchor images.
Addressing Logo Visibility in Printed Documents
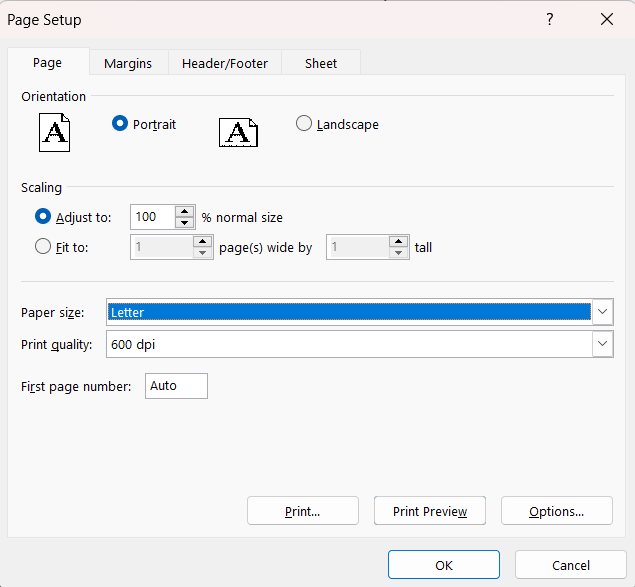
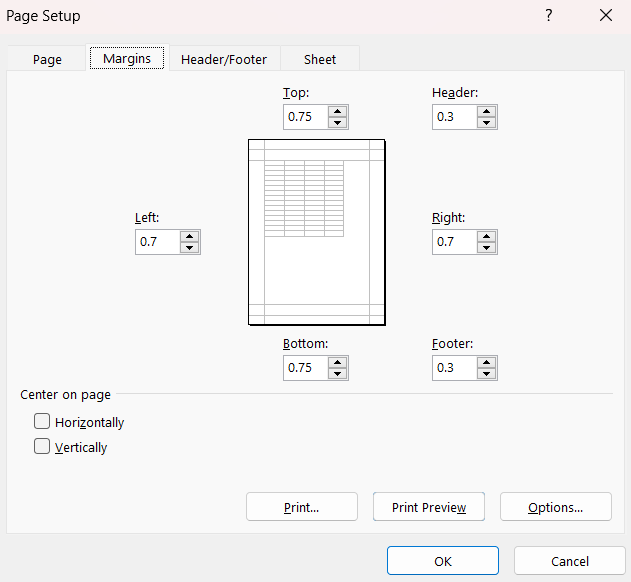
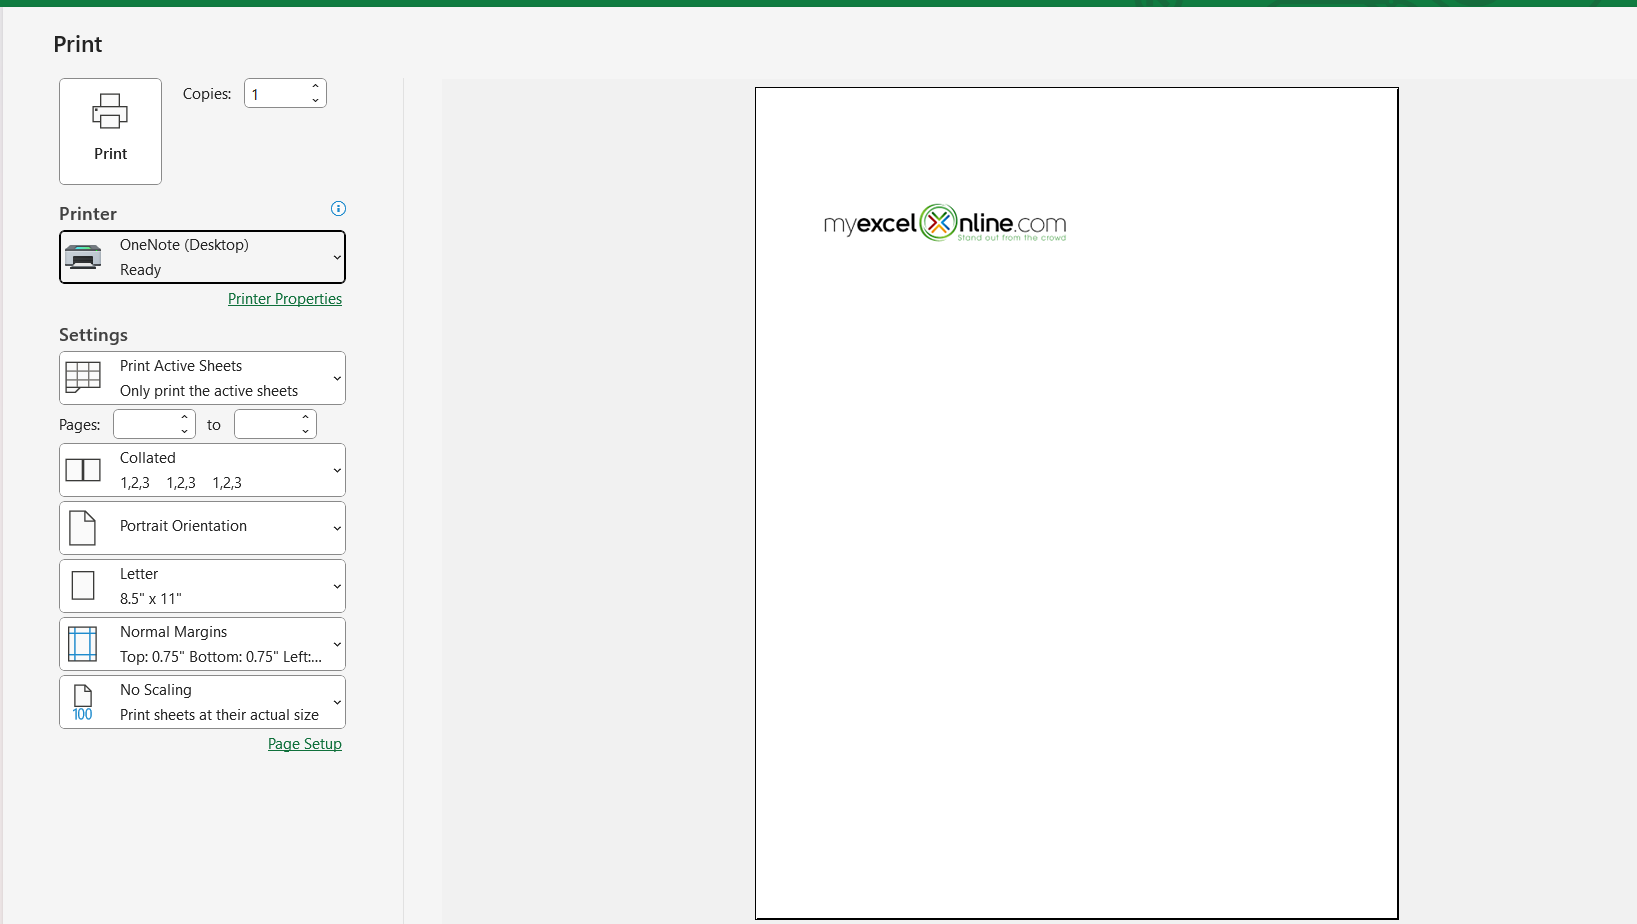
Ensuring that logos are visible in printed Excel documents requires some extra steps. First, visit ‘Page Setup’ to adjust the scaling of your printout to ensure the logo isn’t too small or large on the page.
You might need to modify the header/footer margins to allocate space for your logo.
Use ‘Print Preview‘ to check the layout before printing. If the logo is a watermark, increase its contrast to make sure it’s discernible on paper. Finally, always print a test page—it can save you from wasting ink and paper on large print jobs.
FAQs on Logo Placement in Excel
How do I add a logo to a sheet?
To add a logo to an Excel sheet, go to the ‘Insert’ tab, select ‘Picture,’ and then choose your logo file. Once inserted, you can move and resize it as needed. For a header, use the ‘Header & Footer’ tools under the ‘Insert’ tab to place the logo in the spreadsheet’s header area.
How can I insert a logo into my Excel sheet that moves with the cell?
Insert the logo by going to the ‘Insert’ tab and selecting ‘Picture.’ Once in place, right-click the image, choose ‘Size and Properties,’ and under the ‘Properties’ tab, select ‘Move and size with cells.’ This ensures your logo moves with the cell if it is resized or relocated.
Can I make my company logo transparent in Excel?
Absolutely, you can adjust your logo’s transparency in Excel. After inserting the logo, click on it to activate the ‘Picture Format’ tab, then find ‘Color’ in the adjust group. Click on ‘Set Transparent Color’ and click on a part of your logo. Voila! The selected color becomes transparent.
What are the limitations of using images in Excel Online?
One limitation of Excel Online is that it doesn’t support all features available in the desktop app. You might experience constraints with image formatting, such as a limited ability to adjust picture styles or create custom watermarks. Additionally, it may not allow the insertion of images into headers and footers.
How do I insert a logo from Word into Excel?
To insert a logo from Word into Excel, first, copy the logo in your Word document by right-clicking and selecting ‘Copy’ or pressing Ctrl+C. Then, in Excel, go to the cell where you want the logo and paste it using Ctrl+V or by clicking ‘Paste’ in the Home tab.
John Michaloudis is a former accountant and finance analyst at General Electric, a Microsoft MVP since 2020, an Amazon #1 bestselling author of 4 Microsoft Excel books and teacher of Microsoft Excel & Office over at his flagship MyExcelOnline Academy Online Course.


