Slideshows can be utilized in a number of ways. You can make a slideshow presentation for somebody’s birthday, a wedding, or even for a business! In this article, we will learn how to make a picture slideshow in Microsoft PowerPoint. We will cover how to select pictures for a slideshow, how to reorder pictures, how to edit or change the layout of pictures, how to view the slideshow, how to edit a specific slide in the slideshow, how to add transitions between pictures, and how to export a picture slideshow from Microsoft PowerPoint to other formats.
Here are the steps to How to Make A Microsoft PowerPoint Picture Slideshow –
- Selecting Images for a Slide Show
- Microsoft PowerPoint Slide Show Options: Order, Editing, Layout
- Viewing the Microsoft PowerPoint Slide Show
- Changing a Specific Slide
- Slide Transition Options
- Exporting a Slide Show
Let’s look at each of these ways thoroughly!
Watch this video on How to Make A Microsoft PowerPoint Picture Slideshow on YouTube and give it a thumbs-up!
Table of Contents
Selecting Images for a Slide Show
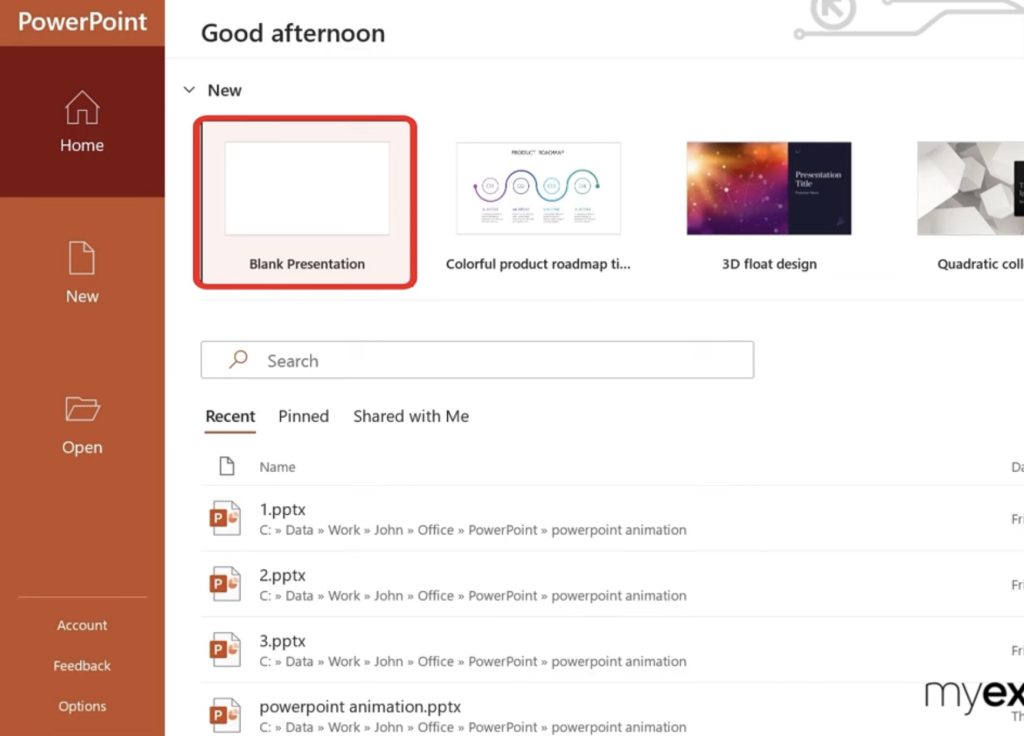
Open Microsoft PowerPoint, go to Home, and choose Blank Presentation.
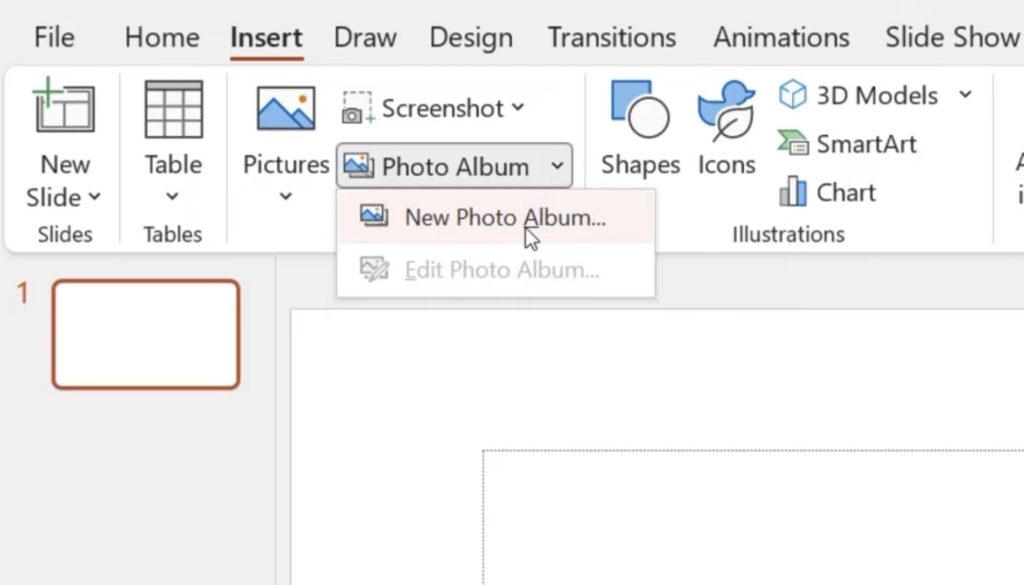
Go to Insert, then New Photo Album.
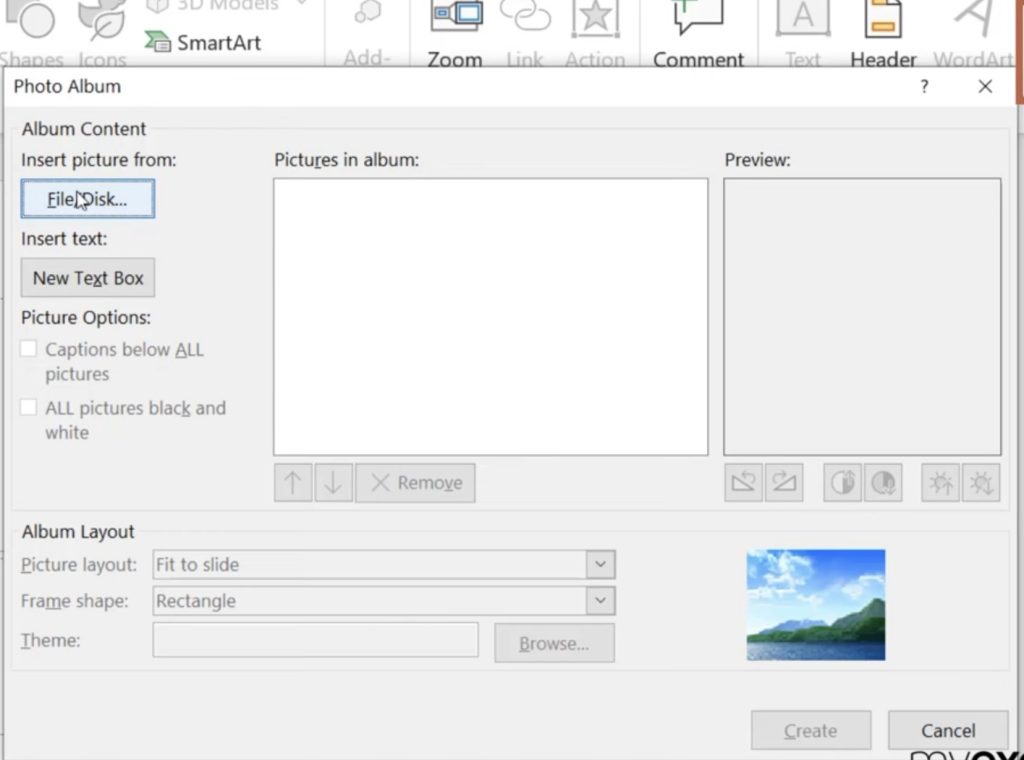
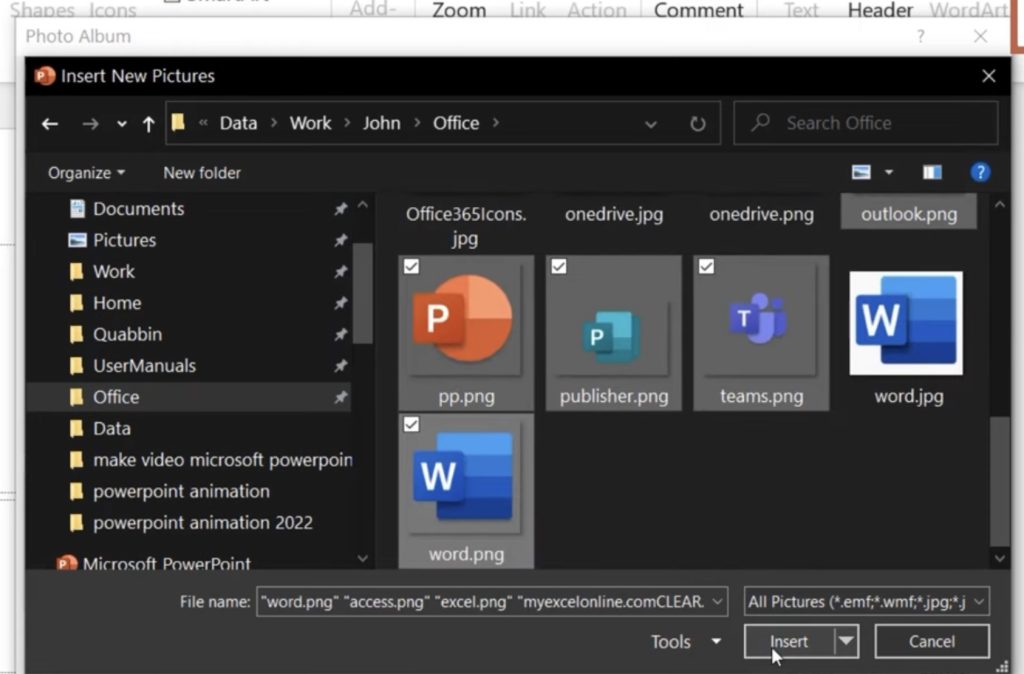
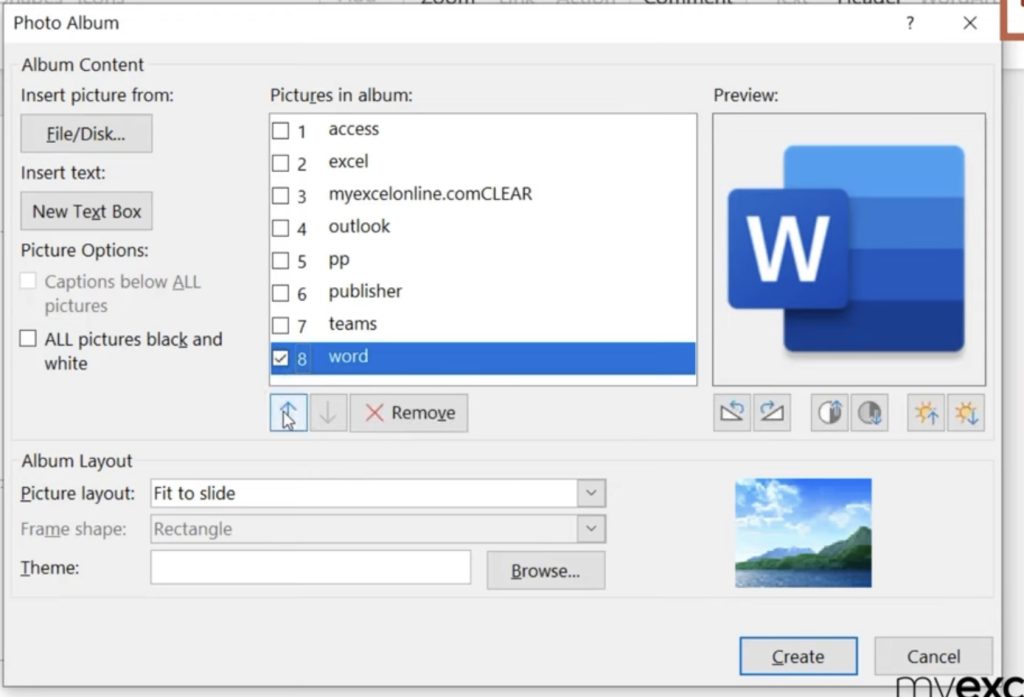
Insert a picture from File/Disk.
In this case, we will insert Microsoft icons into the presentation.
Microsoft PowerPoint Slide Show Options: Order, Editing, Layout
Right here, you will see the list of photos. If you wanted the photos to appear in a different order, click the Checkbox and press the Up or Down arrow. Make sure you Deselect the previous one before selecting a new one to move.
You will also have some editing options for image itself. You can rotate, adjust the highlights and shadows, or the brightness of the image.
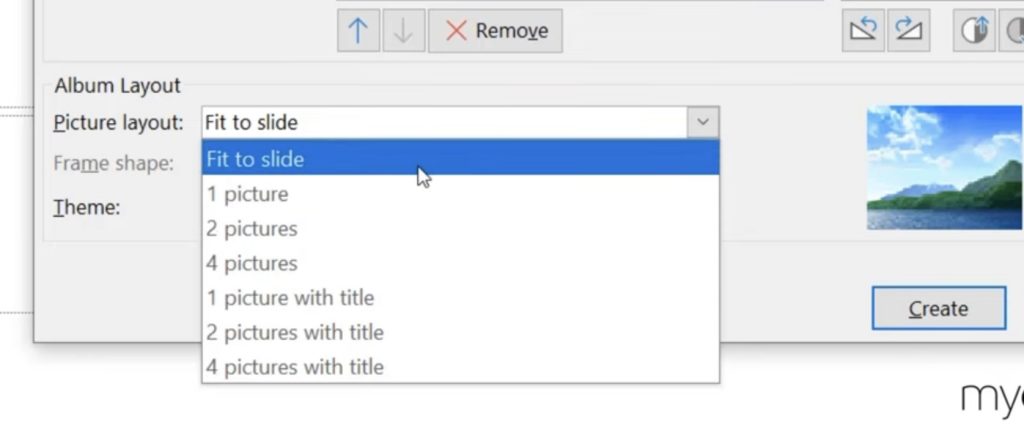
For the album layout, you can choose how the pictures will be fitted into the slide.
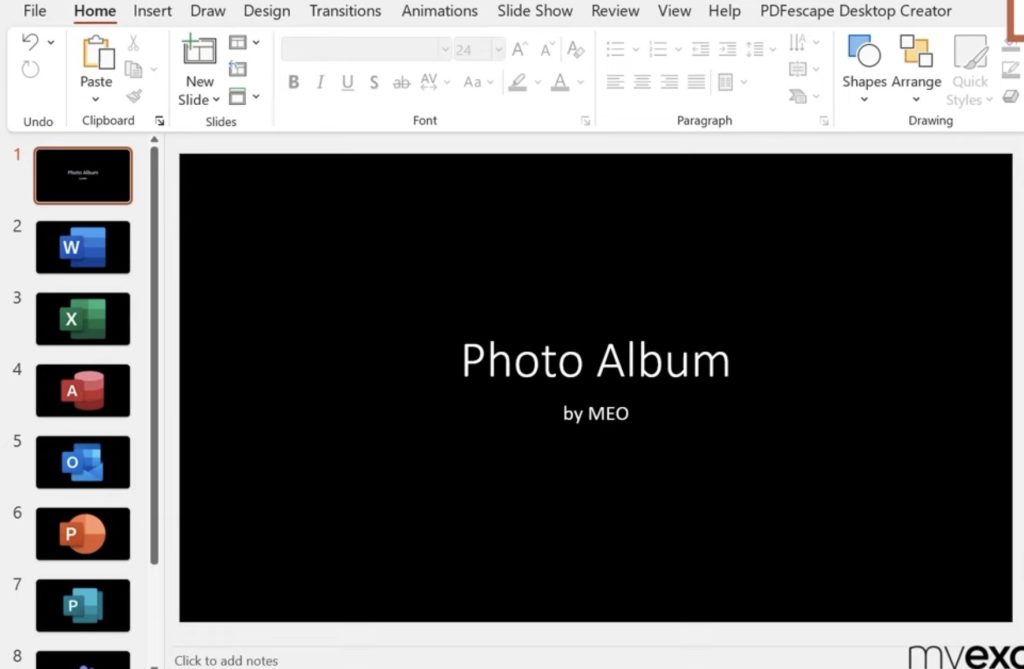
As you can see, PowerPoint will automatically format the slides using the options we chose.
Viewing the Microsoft PowerPoint Slide Show
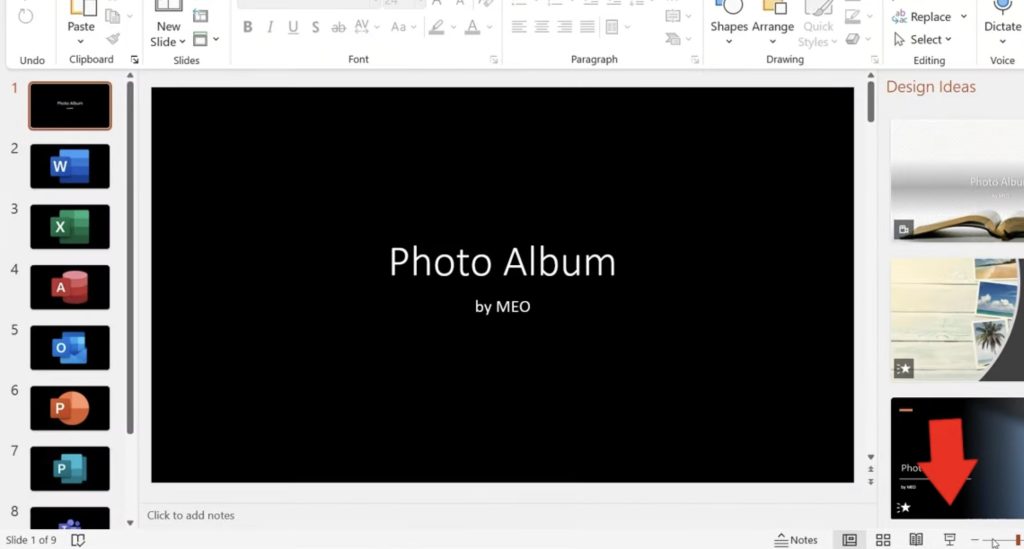
Click the Slideshow icon on the bottom right of the screen to view the presentation.
Changing a Specific Slide
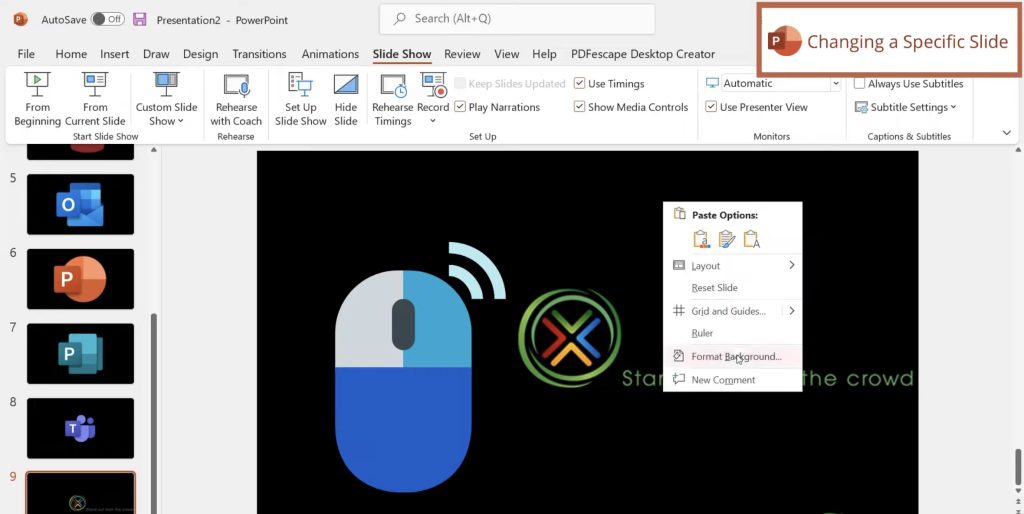
If you want to edit a slide’s background, Right Click on it, and hit Format Background.
Go to Color, and choose a more appropriate background color.
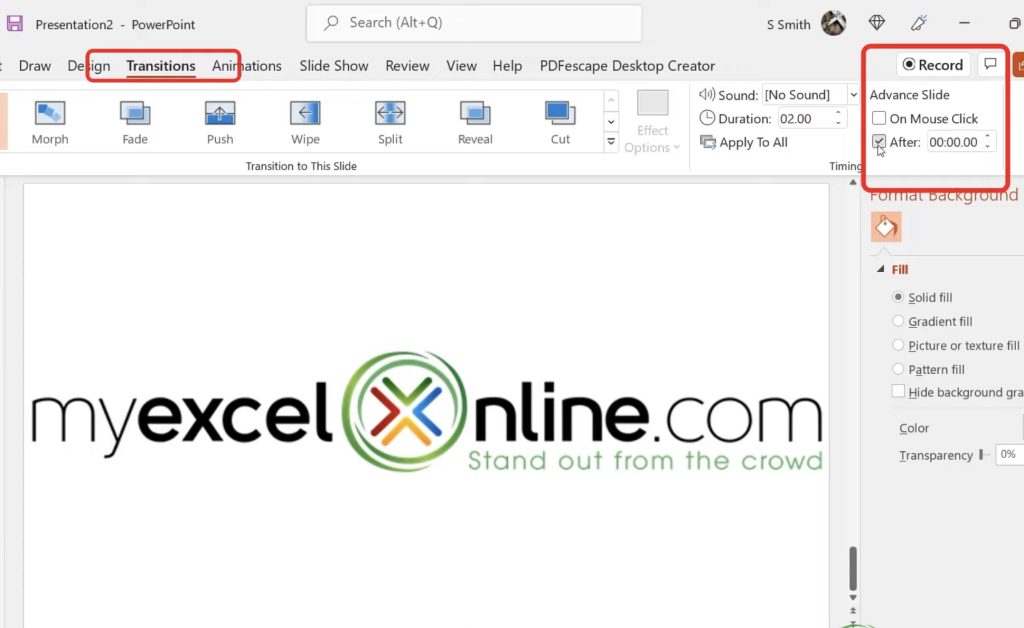
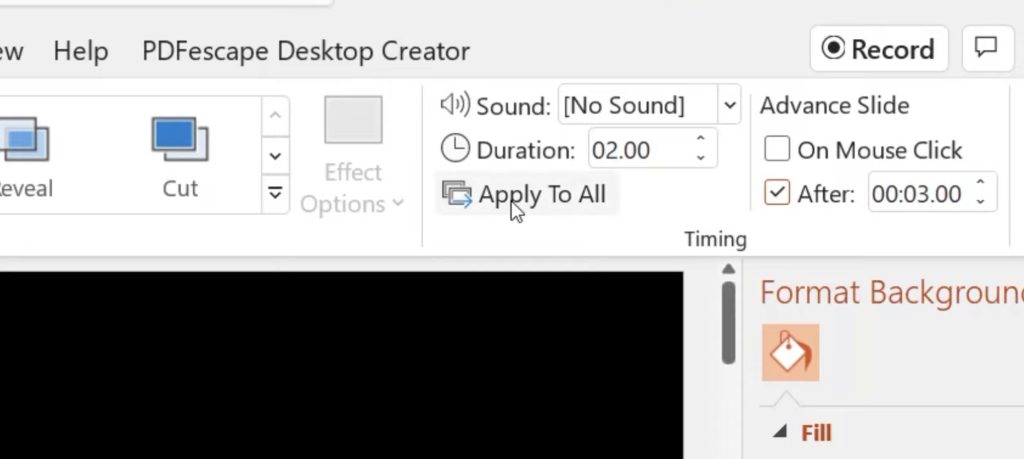
If you preview the slideshow, you would have to keep pushing the Down Arrow on the keyboard in order to advance to the next slide. But if you go up to Transitions, deselect the On Mouse Click and select After. You can select how often you would like the slides to advance automatically. In this case, we will select a 3 second interval.
Make sure to click Apply To All.
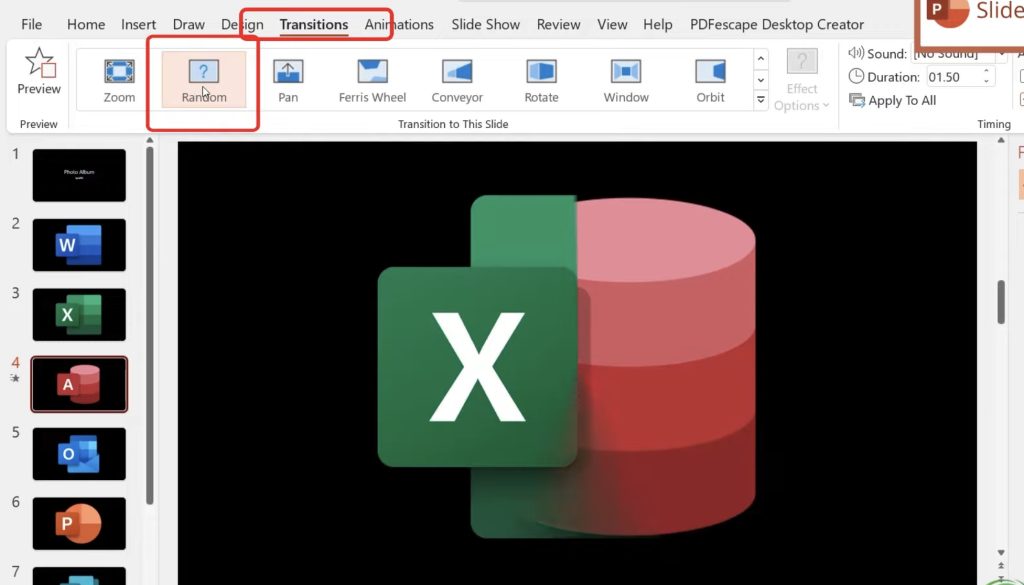
Another thing to add is the transitions between slides. Go up to Transitions, and select Random. Click Apply To All.
Exporting a Slide Show
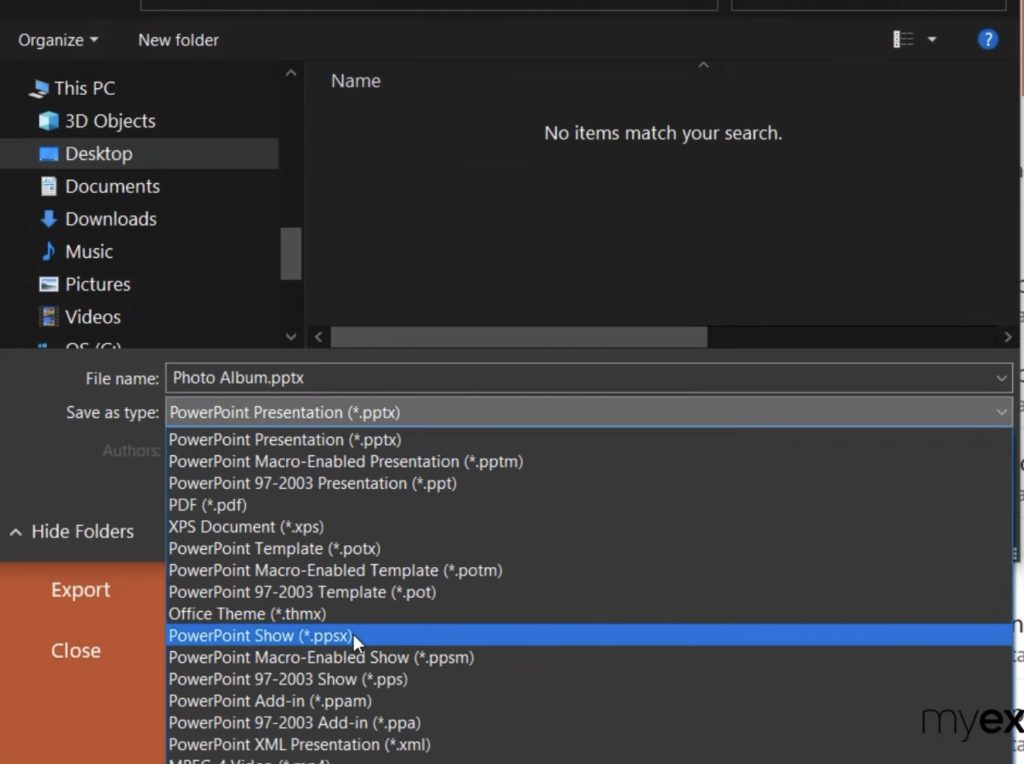
When you are ready to share your slideshow, go to File, Save As, Browse, Desktop, and choose the PowerPoint Show file type. Hit Save.
Conclusion
Now, if you Exit out of the PowerPoint application, and Open the file from the Desktop, the presentation will automatically show without opening the PowerPoint application.
Alternatively, you can save the presentation as an MP4 file. Go to File, Save As, Browse, Desktop, and choose theMP4 file type. Hit Save. You may ask, what are the practical uses of saving a PowerPoint presentation as an MP4 file? With an MP4 file, you can easily upload the presentation to Youtube, and other social media platforms. Moreover, it can be accessed and played even without the PowerPoint application.
It’s as simple as that! In this article, we have covered how to make a picture slideshow in Microsoft PowerPoint, as well as its’ viewing and sharing options.
John Michaloudis is a former accountant and finance analyst at General Electric, a Microsoft MVP since 2020, an Amazon #1 bestselling author of 4 Microsoft Excel books and teacher of Microsoft Excel & Office over at his flagship MyExcelOnline Academy Online Course.

