Timestamps in Microsoft Excel are indispensable tools for data analysis, acting as digital markers that record when data was entered, modified, or updated. They help establish a timeline, sort or filter information by time, and ensure accurate record-keeping. Understanding how to use both static and dynamic quick timestamps enhances your ability to manage and analyze data efficiently.
Key Takeaways:
- Static vs. Dynamic Timestamps: Static timestamps are fixed and ideal for historical records, while dynamic timestamps update automatically, perfect for tracking ongoing changes.
- Keyboard Shortcuts for Efficiency: Use Ctrl + ; for a static date and Ctrl + Shift + ; for a static time, enabling quick and easy entry of the current date and time.
- NOW and TODAY Functions: The =NOW() function provides real-time updates of date and time, while =TODAY() inserts only the current date, both essential for dynamic tracking.
- Advanced Timestamp Techniques with VBA: Custom VBA scripts can automate timestamp entries, offering greater flexibility and efficiency in data management.
Table of Contents
Mastering Excel Timestamps: An Introduction
The Role of Timestamps in Data Analysis
Timestamps are crucial in data analysis as they serve as digital breadcrumbs, helping you to track and record when data was entered, modified, or updated. They enable you to establish a timeline, sort or filter information based on time criteria, and pinpoint exact moments of data entry for accurate record-keeping.
Understanding Static vs. Dynamic Timestamps
A static timestamp in Excel is a fixed record of a specific date and time that doesn’t change once it’s entered, acting like a snapshot of a moment. These are great for keeping a historical record of when data was added. On the other hand, dynamic timestamp updates automatically to reflect the current date and time, essentially acting as a live clock within your spreadsheet—perfect for tracking ongoing activities or changes.
Time-Saving Keyboard Shortcuts for Dates and Times
Insert a Static Date with a Simple Keystroke
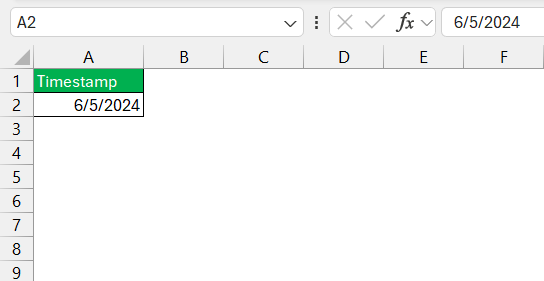
You’ll be delighted to know that inserting a static date into your Excel sheet can be done in a flash. Select the cell where the date is needed and press Ctrl + ;.
Voilà, the current date is inserted and remains unchanged—no matter how many times you reopen the workbook. This method empowers you with speed and simplicity every time you need to pin a date down.
Quick Access to Current Time: Keyboard Shortcut Insights
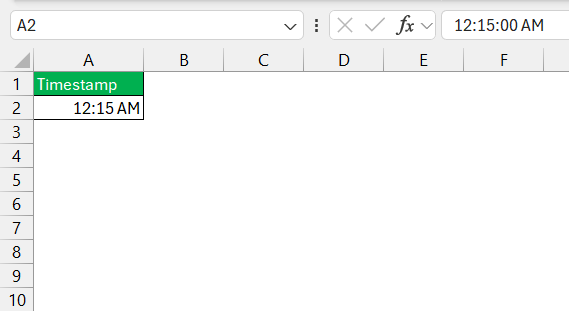
Need the current time in your Excel cell? No problem! By using Ctrl + Shift + ;, the present moment is captured and displayed in your chosen cell at lightning speed.
Remember that just like the date, this time is static—the clock may keep ticking, but this timestamp won’t be ticking with it. Apply this step whenever you need to quick timestamp an event or action down to the minute.
Formulas for Efficiency: Insert Dates and Timestamps
The NOW Function: Your Go-To for Real-Time Data
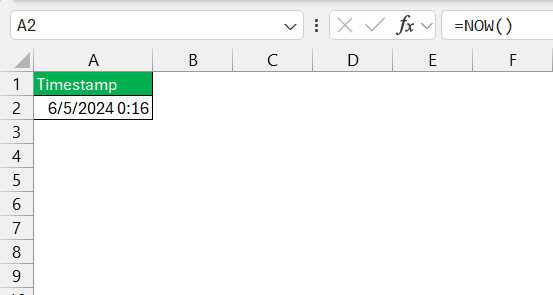
The NOW function is your quintessential tool for real-time data insertion in Excel. With a simple entry of =NOW() into any cell, you instantly get the current date and time, reflecting your system’s settings.
This function is dynamic, updating itself every time there are changes in the worksheet. Press Shift + F9 for the active sheet, or F9 to update all open workbooks. It’s an invaluable function for projects demanding the most up-to-date time records.
TODAY Function Tricks: Date Insertion Made Easy
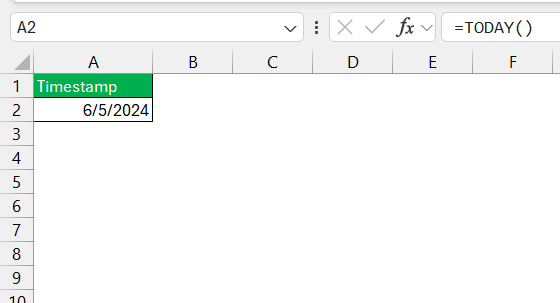
For a fuss-free date insertion, turn to the TODAY function. Just type =TODAY() into the desired cell and you’ll see today’s date appear before your eyes—always current, always updated.
It’s dynamic, much like the NOW function, but it exclusively focuses on the date, leaving the time out of the equation. An excellent choice if you need to track dates for deadlines, reminders, or milestones without the distraction of time.
VBA and Custom Functions: Advanced Timestamp Techniques
Write Your Own Timestamp Script with VBA
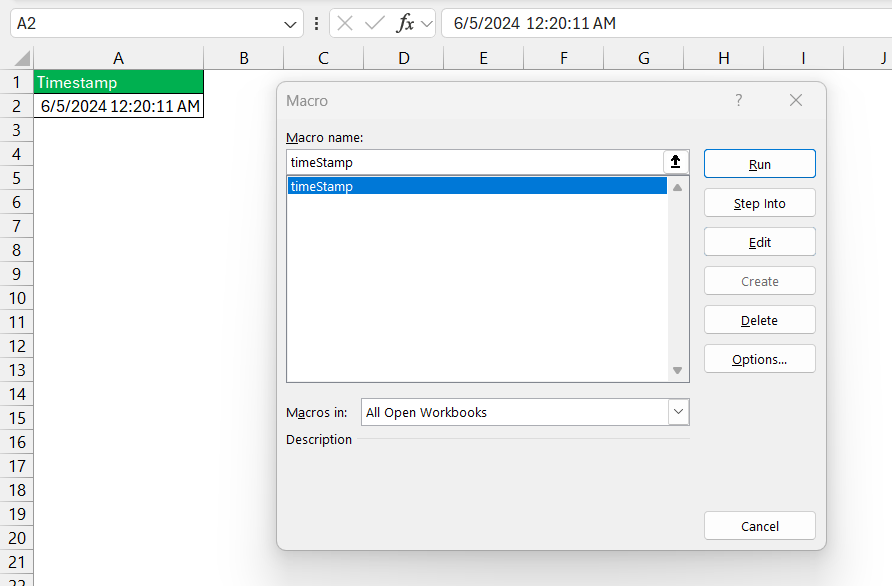
Getting a grip on how to craft your own timestamp with VBA code can elevate your data management in Excel. Here’s a nifty script you might find irresistible:
Sub timeStamp()
Dim ts As Date
With Selection
.Value = Now
.NumberFormat = "m/d/yyyy h:mm:ss AM/PM"
End With
End Sub
This VBA macro enables you to choose a cell, run the macro, and instantly fill it with a timestamp formatted to your liking. With this script, you’re bypassing formulas and shortcut keys, streamlining your workflow considerably.
Additional Tips for Working with Excel Timestamps
Formatting Best Practices for Clarity and Consistency
When it comes to timestamps, clarity and consistency are paramount. Always stick with a uniform format throughout your dataset to avoid confusion. For instance, choose whether to display the date as DD/MM/YYYY or MM/DD/YYYY and keep to it.
Excel’s built-in formatting options let you customize the appearance of timestamps right down to their color and font-weight—handy for making them stand out. Use custom number formats to include or exclude time, depending on requirements, and consider conditional formatting to highlight timestamps based on certain conditions like past due dates or upcoming deadlines.
Converting and Extracting Components from Timestamps
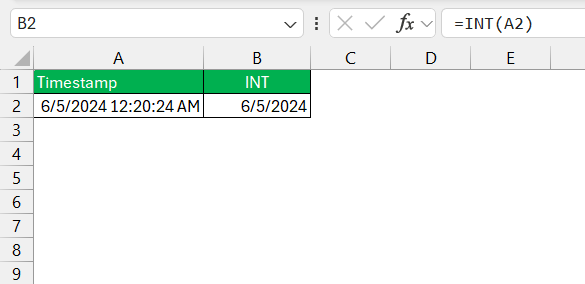
To convert and extract specific components from timestamps, Excel’s arsenal of functions is at your service. Say you have a timestamp combining date and time, and you’d like to separate them. To keep only the date part, you can use the INT function, which effectively strips off the time portion since it’s represented as the decimal part of Excel’s date-time code.
Convert a timestamp to show just the time by subtracting the integer representation of the date. And if you’re after specific bits of time, like hours, minutes, or seconds, use the HOUR, MINUTE, and SECOND functions, respectively. Each of these functions extracts the component you need, neatly packaging it for analysis or display purposes.
Excel Timestamp FAQs
What is the timestamp format in Excel?
The timestamp format in Excel typically combines date and time, represented as MM/DD/YYYY HH:MM:SS. However, Excel allows for customization, so you can also format timestamps to display milliseconds or to reflect different regional date and time settings using the Format Cells dialogue.
What is NOW() function?
The NOW function in Excel is a volatile function designed to insert the current date and time into a cell. When the NOW() formula is used, it continuously updates to reflect the moment’s date and time whenever the worksheet recalculates, drawing from the system clock of the user’s computer. This function requires no arguments and will present the information based on the computer’s regional settings.
How Can I Remove Time from an Excel Timestamp?
To remove time from a timestamp in Excel, utilize the INT function, which separates the date from the time. Insert a formula like =INT(cell_reference), targeting the cell with your timestamp. This formula will extract and display only the date portion.
Is There a Way to Insert a Timestamp Without Using VBA?
Absolutely! Without using VBA, you can insert a timestamp by using the Ctrl + ; shortcut for the current date and Ctrl + Shift + ; for the current time. For an automatic solution, employ circular references with iterative calculations on the Excel options menu, or use the NOW function to insert a dynamic timestamp.
How do you automatically enter date and time when data entered in Excel?
To automatically enter the date and time when data is entered in Excel, enable iterative calculations under File > Options > Formulas. Then in an adjacent column, use the formula =IF(A1<>"",IF(B1<>"",B1,NOW()),"") where A1 is the data entry cell, and B1 receives the automatic timestamp.
John Michaloudis is a former accountant and finance analyst at General Electric, a Microsoft MVP since 2020, an Amazon #1 bestselling author of 4 Microsoft Excel books and teacher of Microsoft Excel & Office over at his flagship MyExcelOnline Academy Online Course.

