When working with data in Excel, understanding the magnitude of change between two values is crucial for effective analysis. The relative change formula is a powerful tool that allows us to measure this change as a percentage, providing deeper insights than absolute differences alone. In this article, I’ll share how I use the relative change formula in Excel to track and analyze trends, making it an essential part of my data analysis toolkit.
Key Takeaways:
- Relative change measures the percentage difference between two values, offering deeper insights than absolute differences.
- It normalizes changes, making it easier to compare data across different scales and contexts.
- The relative change formula in Excel is simple:
((New Value - Old Value) / Old Value) * 100. - Handling edge cases, such as when the initial value is zero, prevents errors in your analysis.
- Visual aids and percentage formatting in Excel enhance the clarity and precision of relative change analysis.
Table of Contents
Unveiling the Secrets of Relative Change in Excel
Understanding the Concept of Relative Change
Relative change is a fundamental concept in many fields, particularly in data analysis. It helps us understand the proportionate change of a variable over time or in comparison to another variable. In simple terms, it’s the ratio of the absolute change to the reference value.
For example, if a company’s profit rose from $1 million to $1.5 million, the absolute increase is $500,000, but the relative change is 50%, indicating a significant proportional growth.
The Importance of Mastering Relative Formulas in Data Analysis
Mastering relative change formulas is crucial in data analysis as it provides insights that go beyond mere numbers. Understanding the percentage change allows us to grasp the scale of an alteration within its context.
This perspective is vital because changes of equal numerical value can have vastly different implications depending on the size of the entities involved. Proficiency in relative change can thus lead to more informed decisions in business, finance, science, and various other domains where comparing data is important.
Navigating Relative Change Calculations
Step-by-Step Guide to Using the Relative Change Formula
To use the relative change formula effectively in Excel, follow these steps:
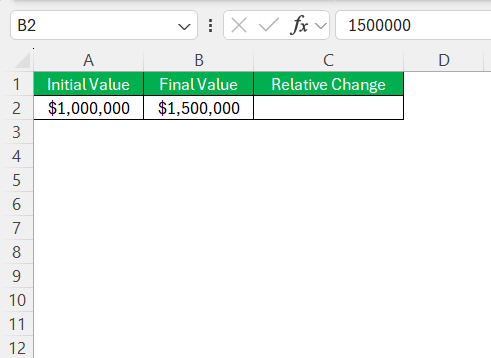
STEP 1: Input your initial value in one cell (A2) and your final value in the cell next to it (B2).
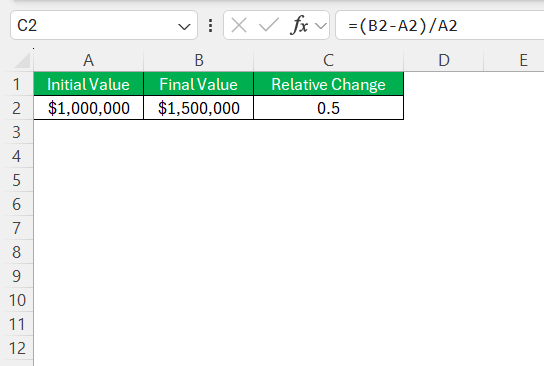
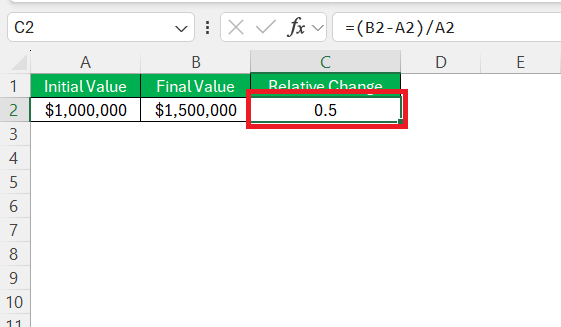
STEP 2: Next, click on an empty cell where you want your relative change result to appear. Enter the formula =(B2-A2)/A2 to calculate the relative change.
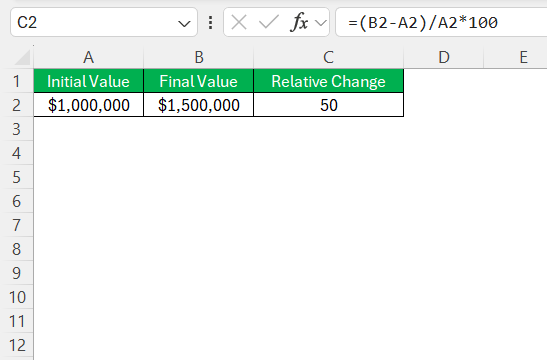
STEP 3: Multiply the result by 100 to express it as a percentage, modifying the formula to =((B2-A2)/A2)*100. Press Enter, and Excel will display the relative change as a percentage.
Remember, the result will tell you the percent increase or decrease from the initial value to the final value.
Visual Examples for Clarity and Precision
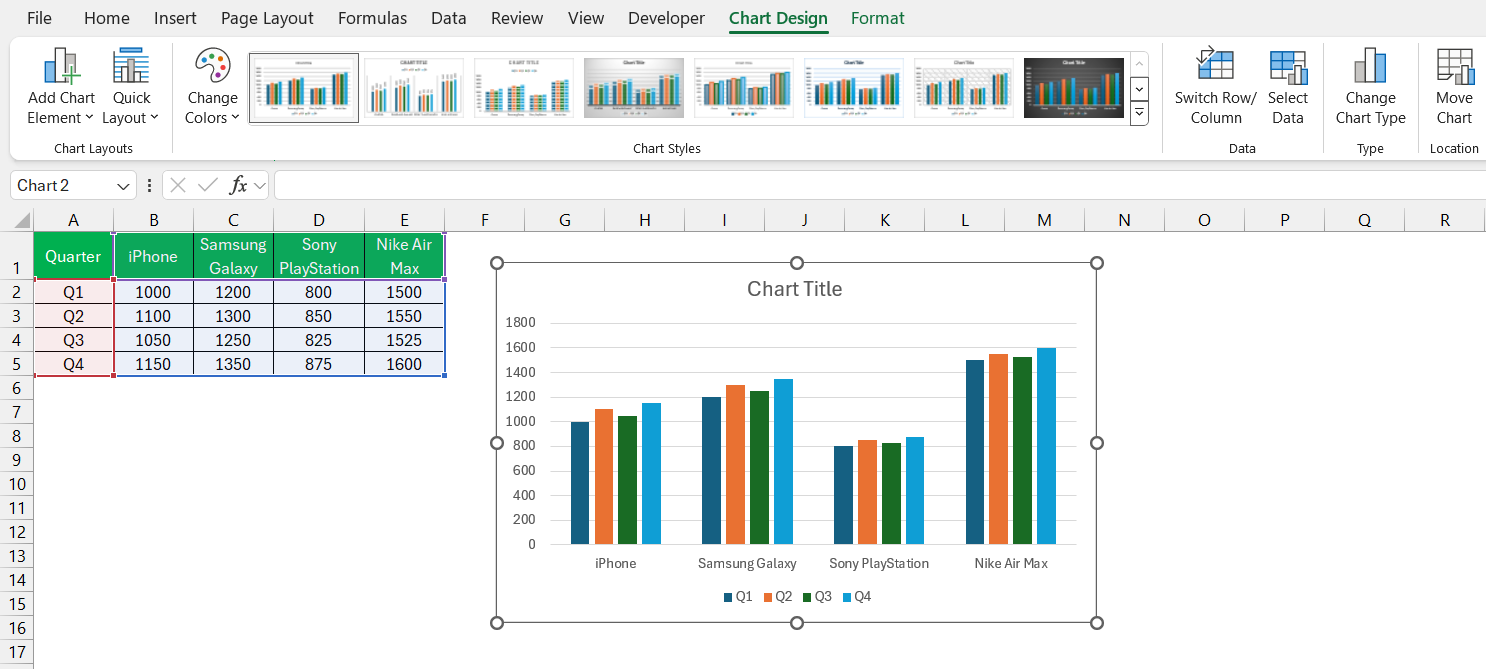
Visual examples, such as charts and graphs, are effective tools for conveying the concept and impact of relative change. Here’s how to create visual aids:
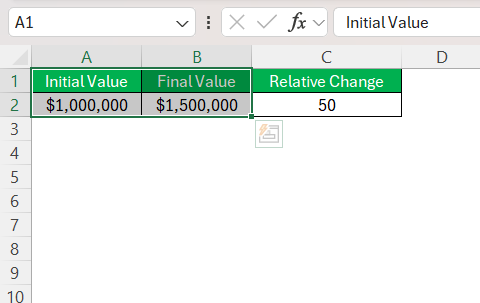
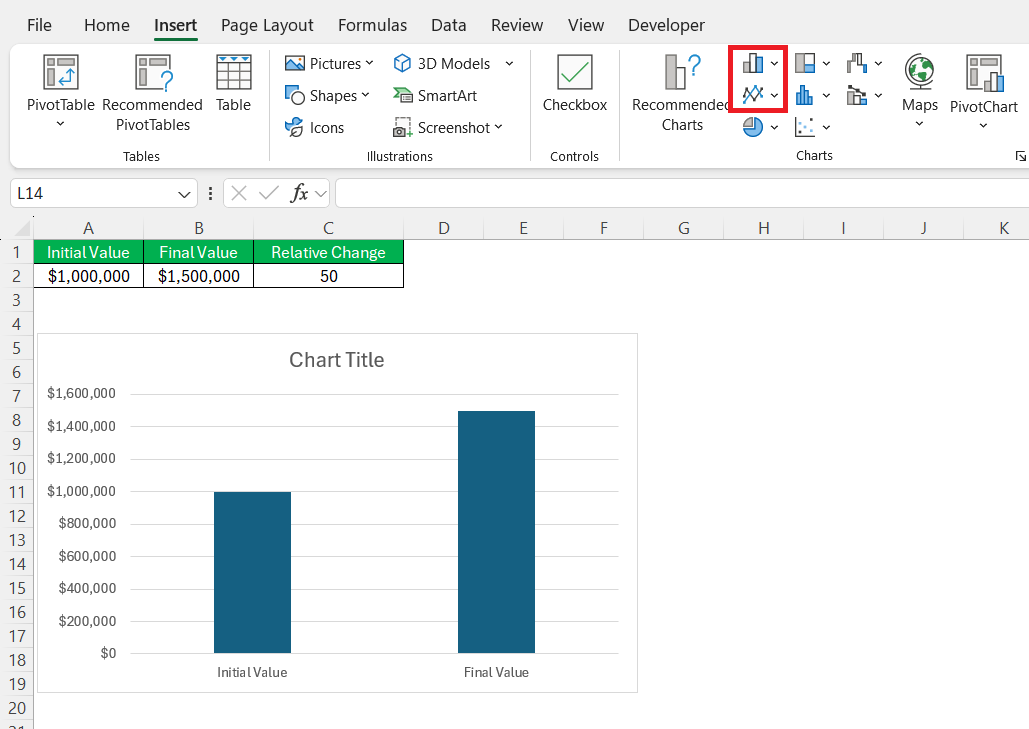
STEP 1: After calculating the relative change, select the cells containing the original data and the final value.
STEP 2: Go to the ‘Insert’ tab in Excel.
STEP 3: Choose a chart type that best represents your data, like a line or column chart.
Visual aids serve as compelling storytelling tools, making complex data more digestible and highlighting trends that might not be immediately evident in raw numbers.
Enhancing Your Skills with Excel Tips and Tricks
Formatting Data as Percentages with Ease
In Excel, formatting data as percentages is straightforward, enhancing not only the readability but also the precision of your analysis. To do this:
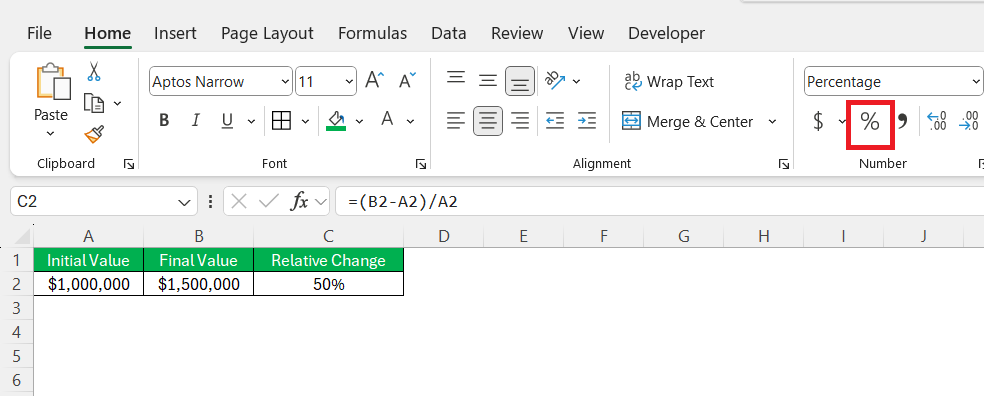
STEP 1: Select the cells that contain your calculated relative change.
STEP 2: Navigate to the ‘Home’ tab.
STEP 3: Find the ‘Number’ group where you’ll see the percentage symbol (%), click it to apply the percentage format.
This approach automatically multiplies your decimal by 100 and adds the percentage sign, tidying up the presentation.
Customizing Decimal Places for Detailed Reporting
Customizing the number of decimal places in your reports allows for the level of detail needed for thorough analysis. Here’s how you can adjust decimal places without touching your mouse:
STEP 1: Select the cell or range of cells that contain your percentage values.
STEP 2: To increase the decimal places, press Alt + H + 0. Each press will add one more decimal place.
STEP 3: Conversely, to decrease the decimal places, press Alt + H + 9. Each keystroke will remove one decimal place.
Applying these keyboard shortcuts can make your reporting both quicker and more precise, ensuring your percentages are displayed consistently throughout your data set.
Tips & Tricks
Why Relative Change Matters
I’ve found that relative change is particularly useful because it normalizes the change, making it easier to compare across different scales. For instance, a $500 increase might be huge for a small business but negligible for a large corporation. By using the relative change formula, I can easily compare the growth rates between businesses of different sizes or between different time periods.
Handling Edge Cases
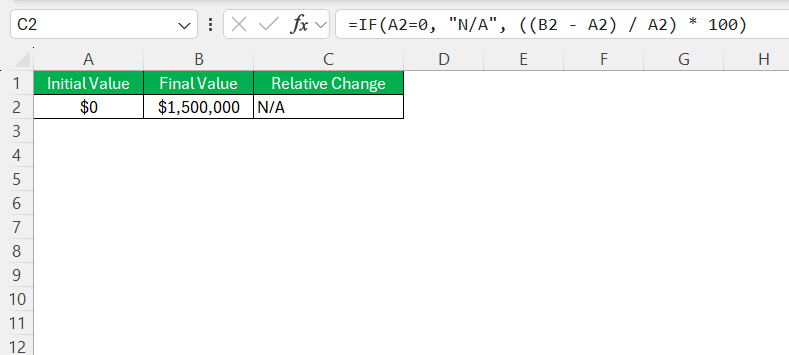
One thing to be aware of is when the old value (denominator) is zero. Excel will return an error (#DIV/0!) because you can’t divide by zero. In such cases, I usually add a condition to check if the old value is zero before applying the formula. Here’s how I handle it:
=IF(A2=0, “N/A”, ((B2 – A2) / A2) * 100)
This way, if there’s no previous value to compare against, Excel will return “N/A” instead of an error.
Practical Applications and Examples in Excel
Visualizing Percent Change: Creating Impactful Charts
Visualizing percent change doesn’t have to be like deciphering ancient hieroglyphs; it can be as clear and engaging as your favorite infographic. The secret lies in choosing the right chart to tell your data’s story. Excel offers a smorgasbord of chart options, but when it comes to percent change, column charts stand tall as a popular choice. They’re like bar charts rotated 90 degrees, providing a clear, vertical comparison of values over time.
But why stop at simple column charts when you can elevate your data display? Brainstorm with Excel’s stacked column charts where you can break down each bar into segments, offering a deeper dive into the components contributing to the total percent change.
Best Practices for Presenting Percent Change Data
Choosing the Right Visuals for Percent Data Representation
Think of your percent data as a block of marble and choosing the right visual, the chisel with which you sculpt understanding from it. Line charts, with their unassuming elegance, are perfect for showing trends over time. With a glance, your audience can follow the rise and fall of percentages much like a hiker tracking the contours of a path.
But perhaps your narrative calls for a bit more drama—a comparison of different categories or time periods. Here, the bar chart shines, displaying each category’s changes side by side, forming a skyline of data ready for interpretation.
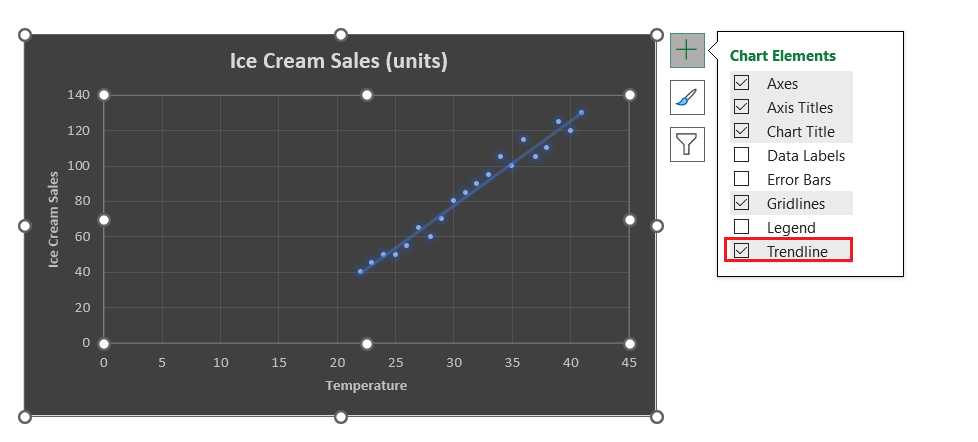
And then there’s the scatter plot, a minimalist’s dream, each point a beacon of data scattered across the expanse of your graph. It’s perfect for highlighting correlations or dispersions, revealing the subtle dance between variables in a dataset.
FAQ Section
What is the formula for the relative rate of change?
The formula for the relative rate of change is ((New Value - Old Value) / Old Value) * 100%, which gives us the percentage increase or decrease from the old value to the new one.
What Is Relative Change and Why Is It Useful?
Relative change measures how much a quantity has changed relative to its original value. It’s expressed as a percentage, providing a clear view of the proportionate change, which is useful for comparing changes across different scales and magnitudes.
Can You Provide a Simple Explanation on How to Calculate Relative Change in Excel?
Certainly! To calculate relative change in Excel, subtract the initial value from the final value, divide the result by the initial value, and then multiply by 100 to get the percentage change. The formula looks like this: ((Final Value - Initial Value) / Initial Value) * 100.
How to do a relative formula in Excel?
A relative formula in Excel automatically adjusts cell references when copied to another cell. For example, if I have a formula in cell A1 as =B1+C1 and copy it to A2, it changes to =B2+C2. This is because Excel adjusts the formula relative to its new location.
What is the formula for absolute and relative change?
The formula for absolute change is Final Value - Initial Value. The formula for relative change is (Absolute Change / Initial Value) * 100%, which converts the change into a percentage of the initial value to provide a relative comparison.
John Michaloudis is a former accountant and finance analyst at General Electric, a Microsoft MVP since 2020, an Amazon #1 bestselling author of 4 Microsoft Excel books and teacher of Microsoft Excel & Office over at his flagship MyExcelOnline Academy Online Course.

