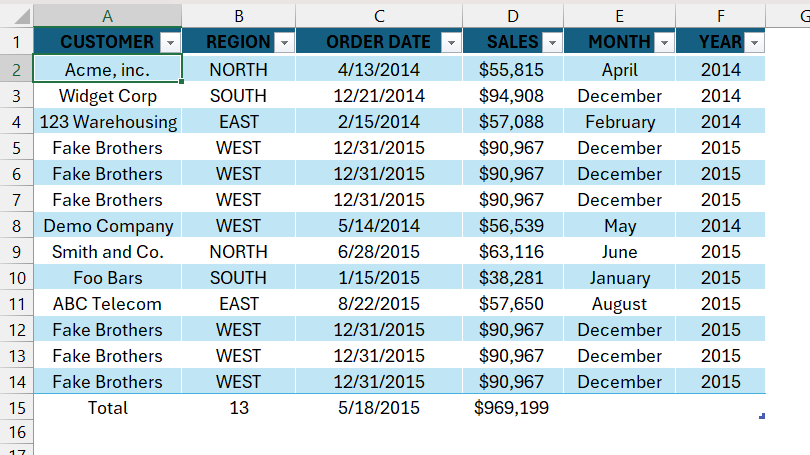
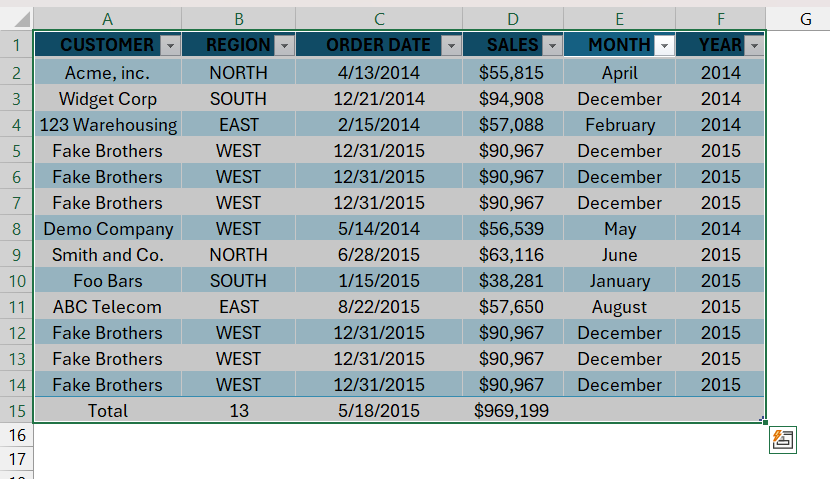
However, many users do not require the default formatting applied when you convert a range into a table. Sometimes you need to clear, modify, or remove table formatting in Excel to suit your needs. In this guide, we’ll explore the following topics in detail –
Let us look at each of these methods in detail.
Download the Excel Workbook below to follow along and understand How to Remove Table Formatting in Excel –
download excel workbookRemove-Table-Formatting.xlsx
Method 1 – Remove Table Formatting
To remove the default formatting in the Excel table, follow the steps below –
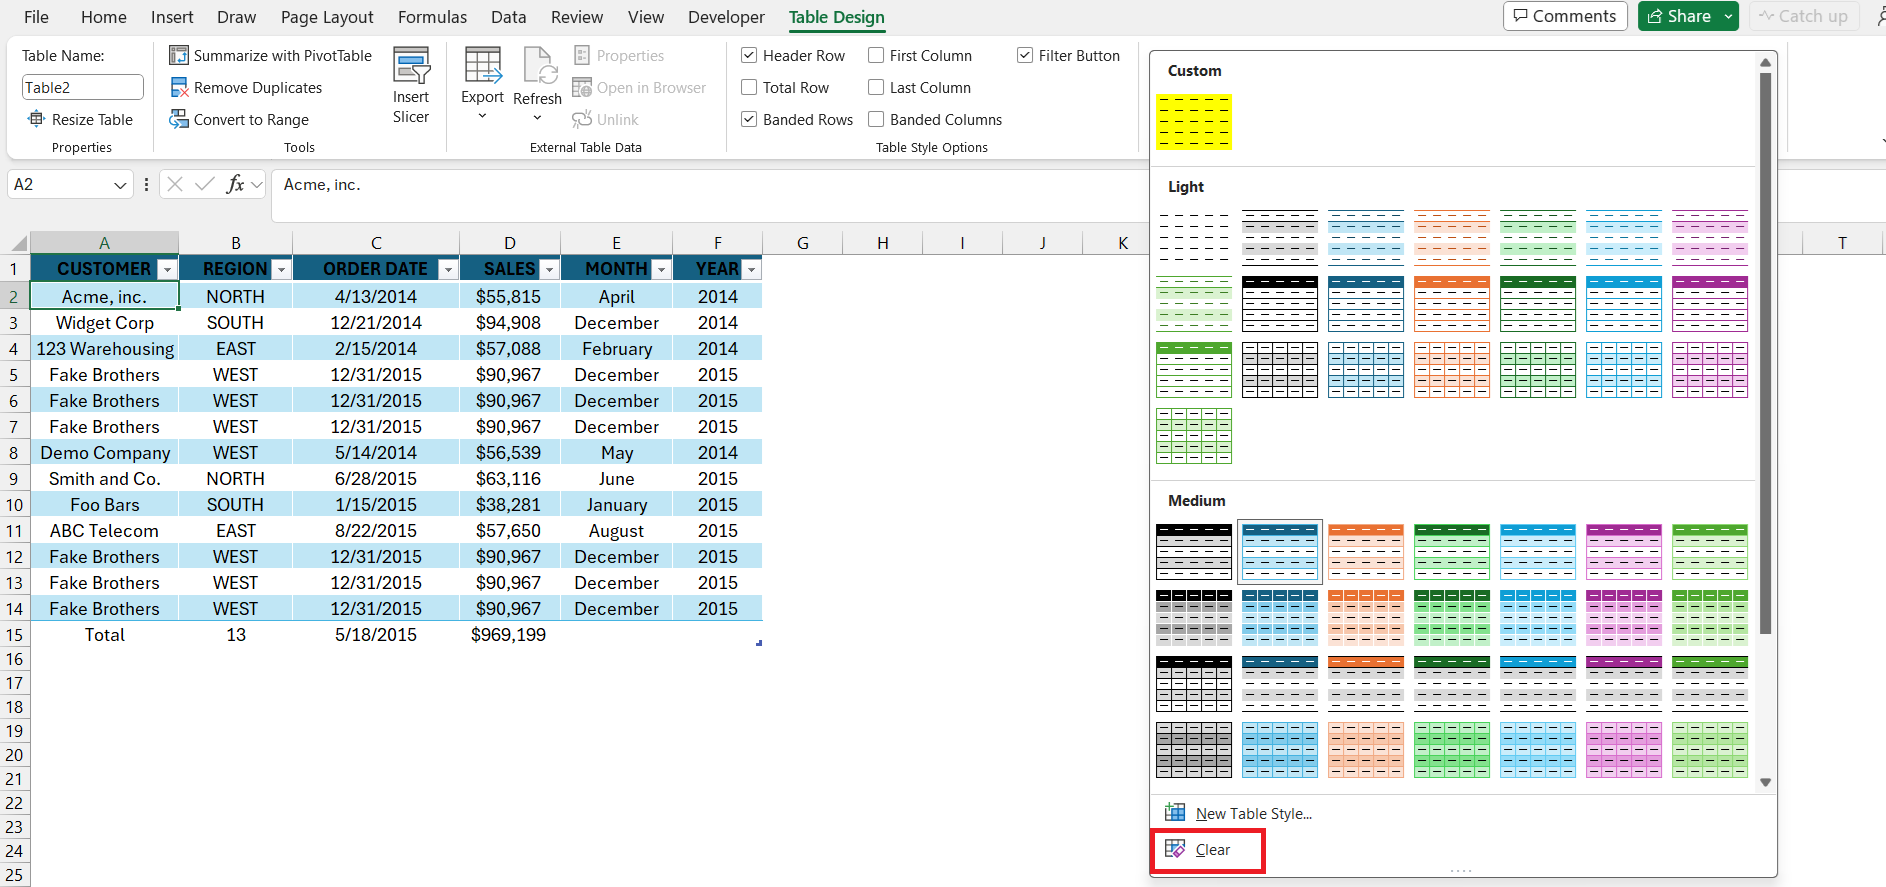
STEP 1: Select any cell inside the table.
STEP 2: Go to the Table Design tab and in the Table Styles group, locate the More button.
STEP 3: Within the dropdown menu, click on Clear to remove table formatting.
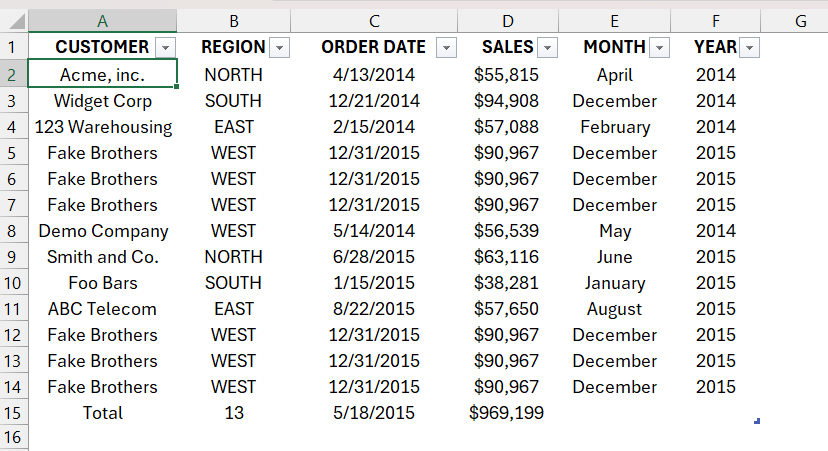
This action will eliminate the default formatting, including banded rows, column headers, and any other applied styles from the table. When you remove table formatting in Excel, you are essentially resetting only the appearance of the range; all other features of an Excel table remain unaffected.
Method 2 – Modify Table Formatting
This method is useful when you want to change the visual appearance and styling of a table to make it more visually appealing, enhance readability, meet company standards, or match specific design preferences. Follow the steps below to modify table formatting in Excel –
STEP 1: Select any cell inside the table.
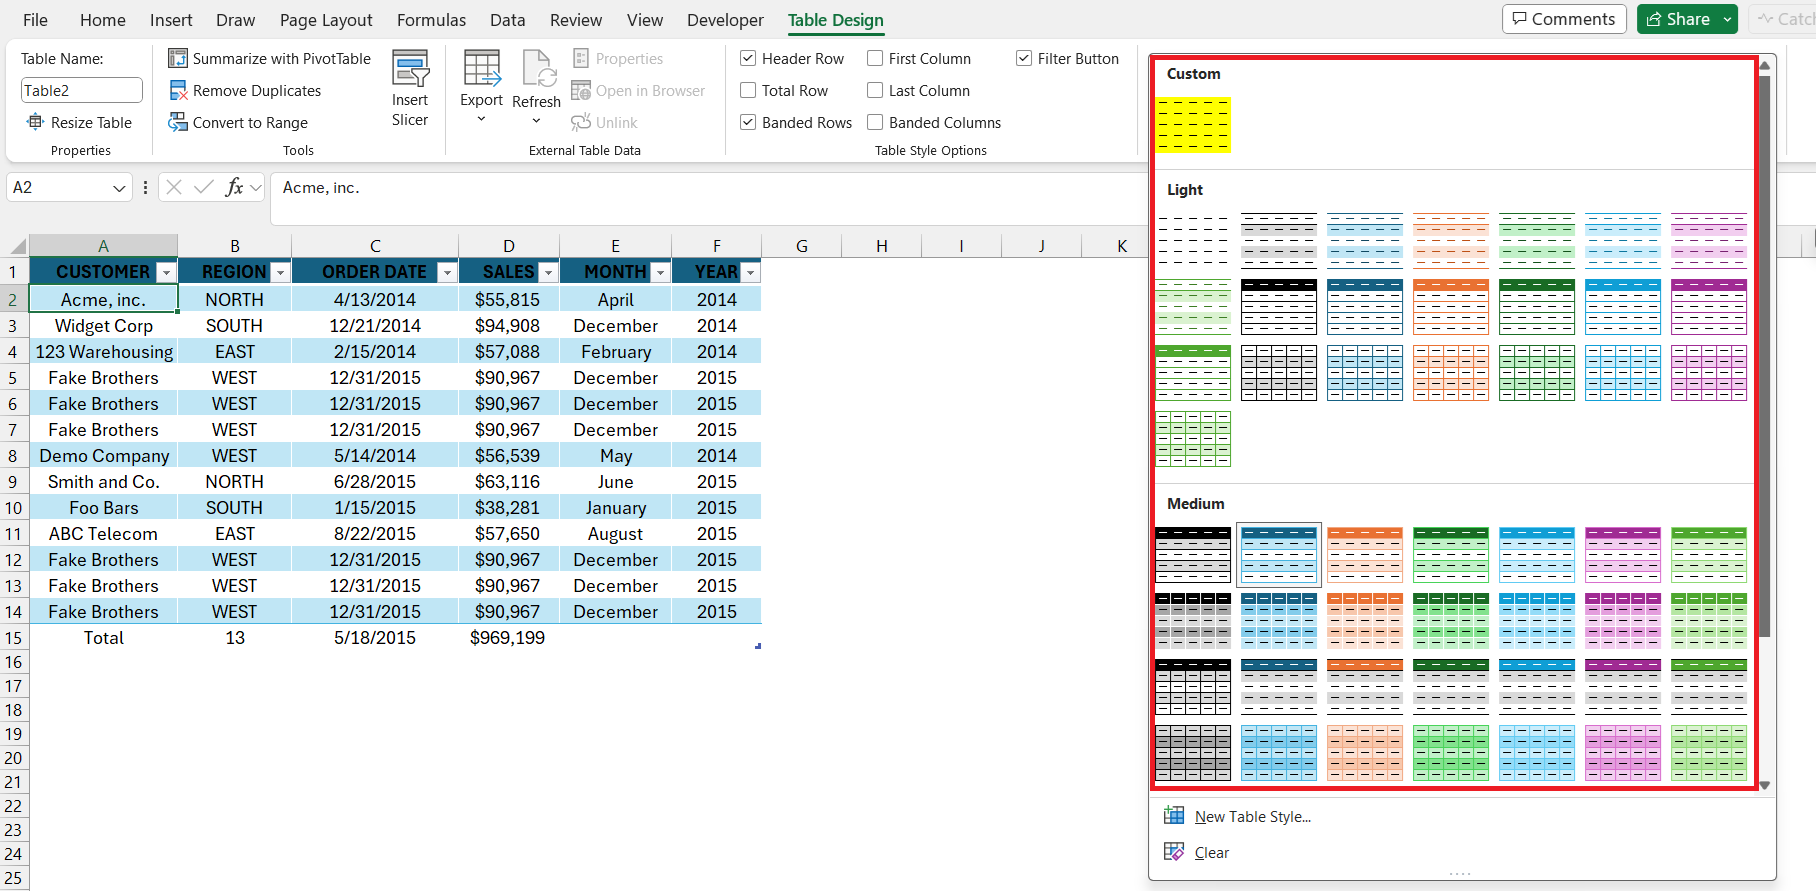
STEP 2: Go to the Table Design tab and in the Table Styles group, locate the More button.
STEP 3: Within the dropdown menu, select the design and color that meets your expectations.
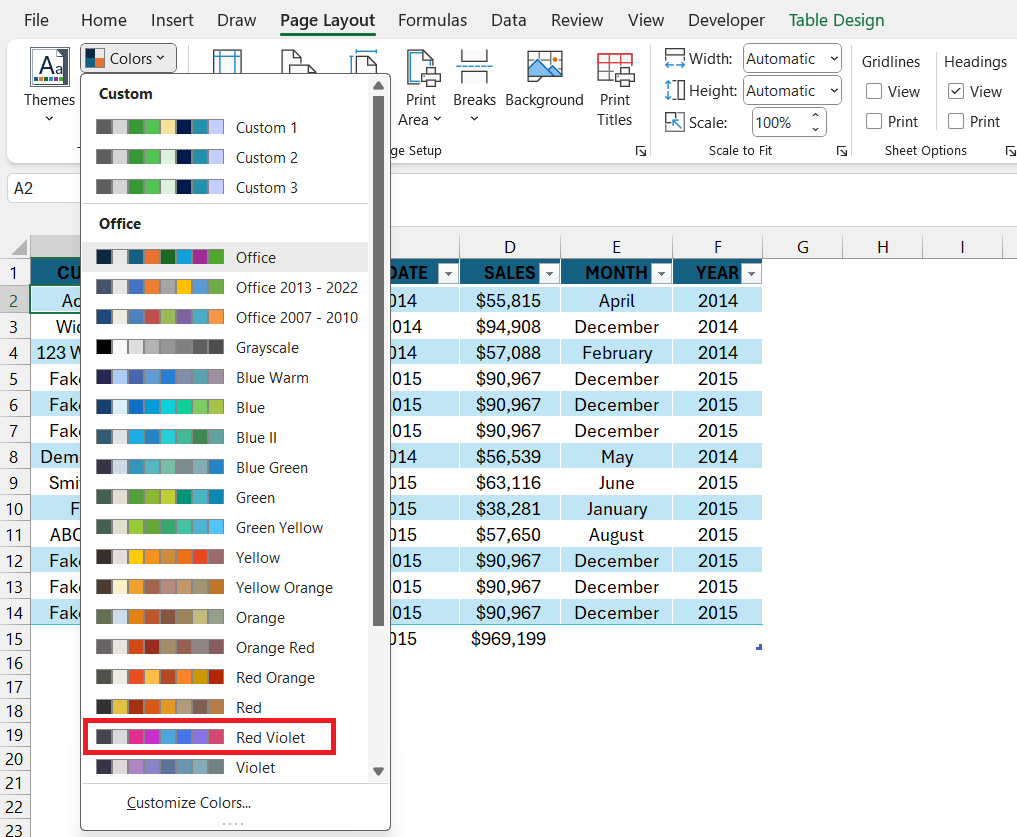
STEP 4: If you need more colors, go to Page Layout > Colors and there are even more combinations! Select the color you like.
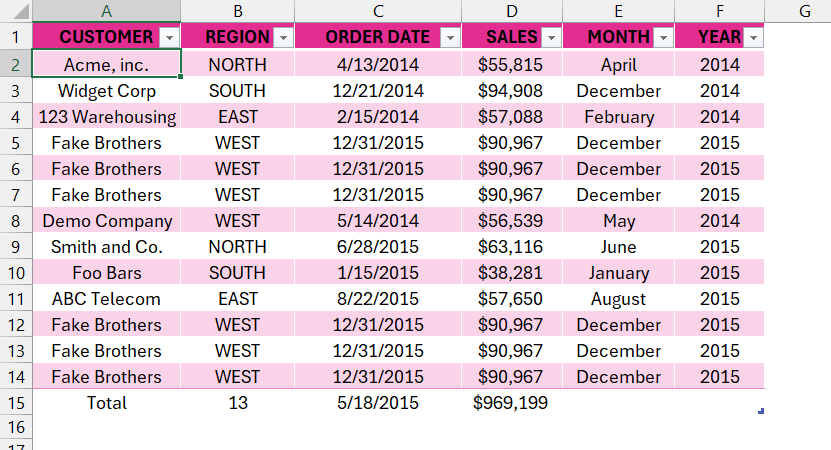
After picking one, here is the final result for the Excel Table.
Method 3 – Convert to Range
This method is useful when you want to remove all formatting and features applied to the cells and use the range for data entry and calculation. Converting a table to a range in Excel may be desirable for several reasons –
- When you have a huge set of data, converting a table to a range reduces the size of the file.
- Some Excel functions may not work seamlessly with table structures.
- When you need to export the data to a platform that does not support Excel tables.
Follow the steps below to convert the table back into a standard range of cells –
STEP 1: Select any cell inside the table.
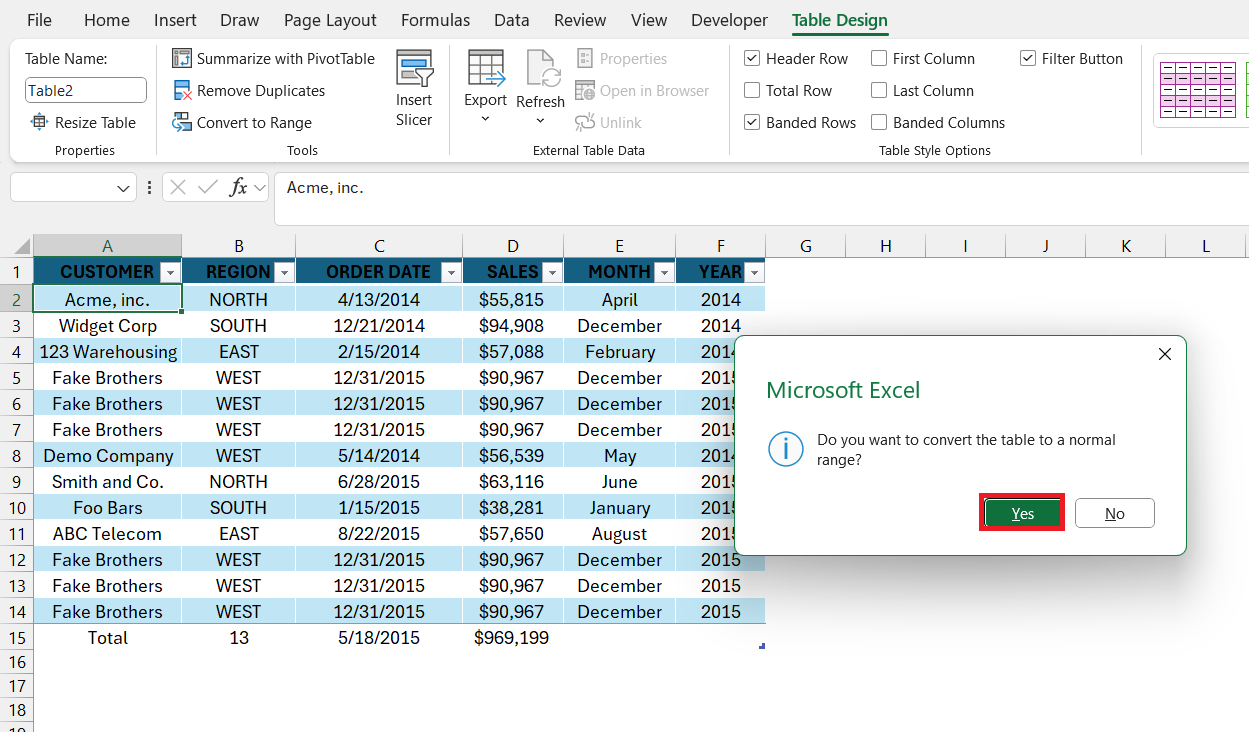
STEP 2: Go to the Table Design tab and in the Tools group, select Convert to Range.
STEP 3: Select Yes when Excel prompts you to confirm the conversion of the table to a range.
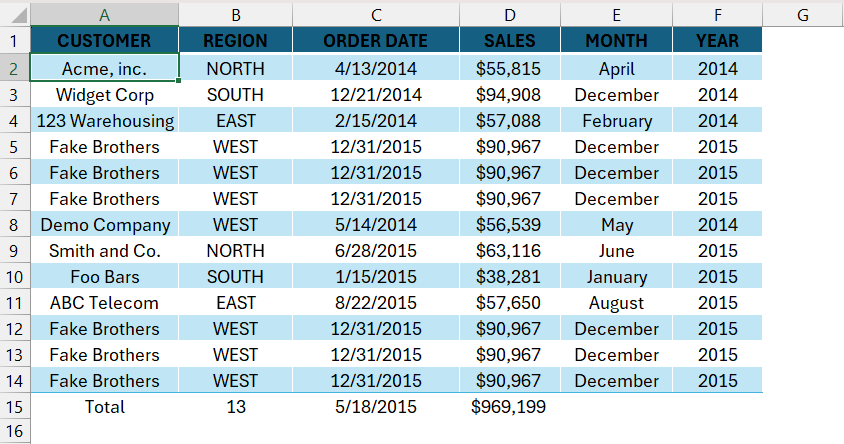
Here is the final result.
While the table may appear unchanged, you will no longer have access to its specialized features, such as sorting, filtering, and structured references.
Method 4 – Clear Table
This method can be used when you no longer want the data and its formatting. Follow the steps below to remove the table along with its data and format –
STEP 1: Select any cell inside the table.
STEP 2: Press Ctrl + A to highlight all cells within the table.
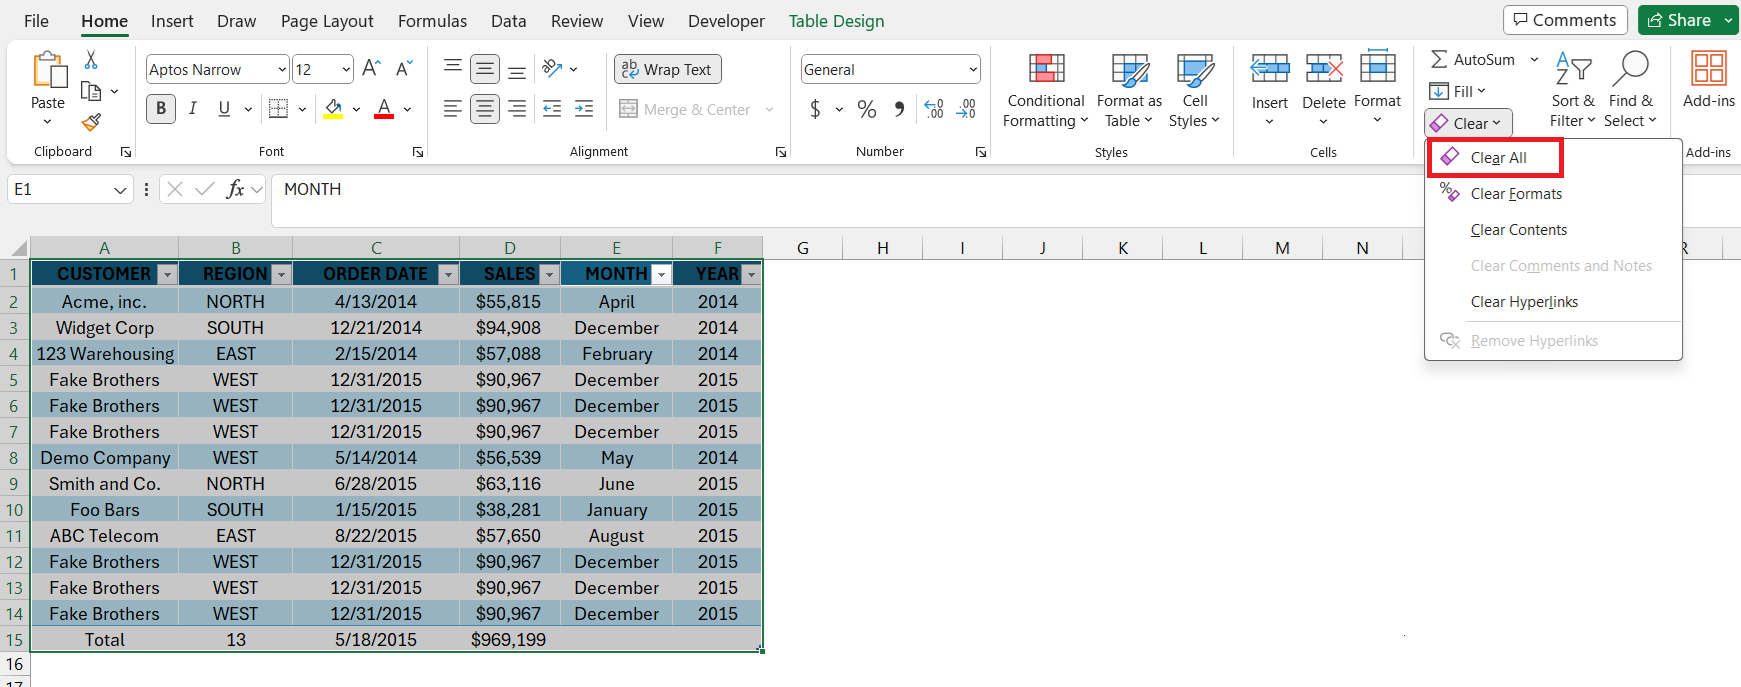
STEP 3: Go to Home > Clear > Clear All.
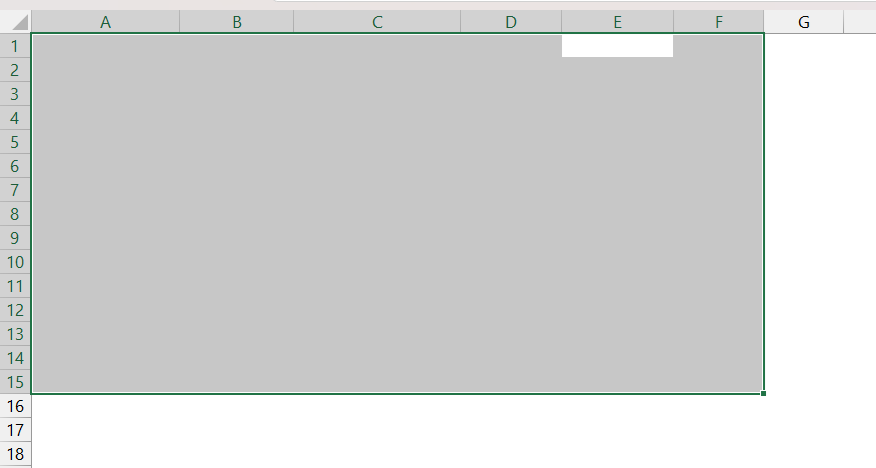
Here is the final result – All data is gone.
Conclusion
Microsoft Excel Tables provide a robust solution for organizing and analyzing data, offering benefits such as automatic range expansion and simplified sorting and filtering. Despite their advantages, there are instances where users may need to remove or modify default table formatting.
This guide has explored four methods in detail – remove table formatting, modify table formatting, convert to a range, and clear the entire table.
John Michaloudis is a former accountant and finance analyst at General Electric, a Microsoft MVP since 2020, an Amazon #1 bestselling author of 4 Microsoft Excel books and teacher of Microsoft Excel & Office over at his flagship MyExcelOnline Academy Online Course.

