You might encounter a situation where you must add a list, make key points, highlight milestones, or provide a step-by-step guide. In all such situations, you must add bullet points in Excel to enhance the readability and organization of information.
There are no in-built features in Microsoft Excel to add bullet points. But in this comprehensive guide, we’ll explore and understand 7 different methods on how to add bullet points in Excel –
Let us look at each of these points in detail.
Download the Excel Workbook below to follow along and understand How to Add Bullet Points in Excel – download excel workbookAdd-Bullet-Points-in-Excel.xlsx
Method 1 – Keyboard Shortcut
The quickest way to add bullet points in Excel is to use keyboard shortcuts. Follow these steps –
STEP 1: Click on the cell where you want to insert the bullet point.
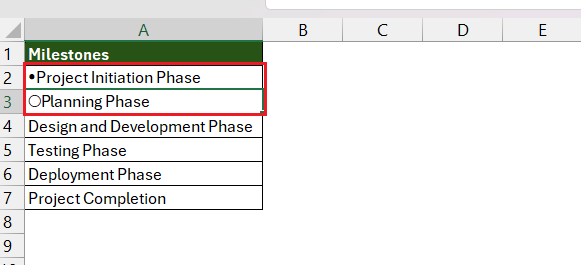
STEP 2: Press Alt + 7 to insert a solid bullet or press Alt + 9 to insert an empty bullet.
You need to keep in mind the following points –
- To insert bullets in other cells, press Ctrl + C to copy it and press Ctrl + V to paste the copied bullet in other cells.
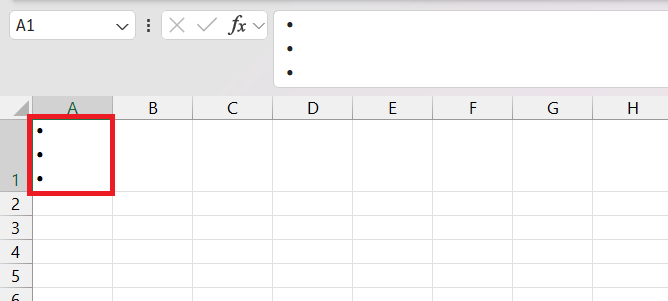
- To insert multiple bullets in the same cell –
- Press Alt + 7 to insert a bullet.
- Press Alt + Enter to insert a line break.
- Press Alt + 7 to insert another bullet; and so on.
This straightforward method is efficient for quickly adding bullet points without delving into complex methods.
Method 2 – Insert Symbol
Excel provides an Insert Symbol dialog box that allows you to insert various symbols, including bullet points. Here’s how –
STEP 1: Select the cell where you want to insert a bullet point.
STEP 2: Go to Insert > Symbol.
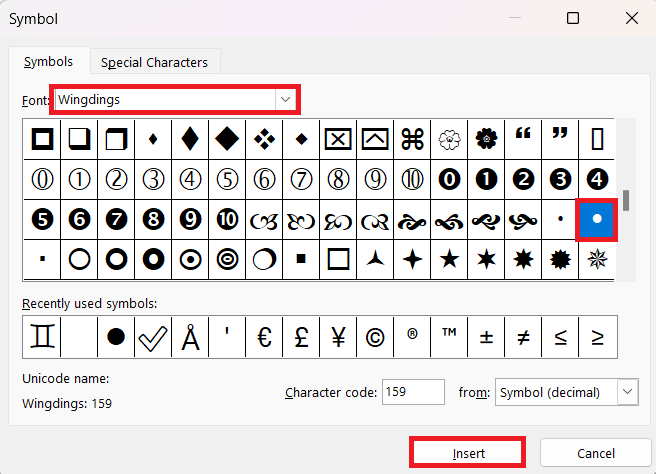
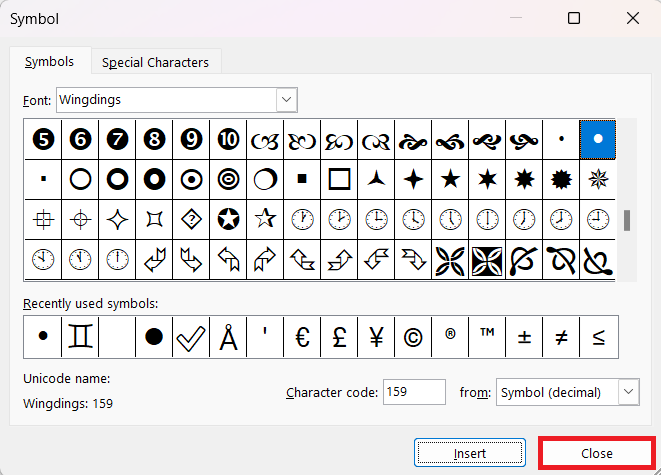
STEP 3: Select the Wingding font and then click on the small black bullet icon. Press Insert.
STEP 4: Close the Symbol dialog box
The bullet point will appear in the cell.
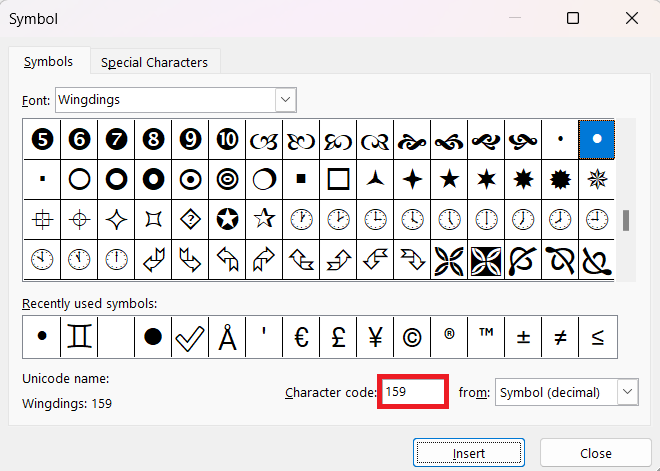
If you are unable to find the symbol in the list, you can type the character code – 159.
This method provides flexibility in choosing different bullet point styles from various fonts.
Method 3 – CHAR Function
The CHAR function returns a character based on a specified number ranging from 1 to 255. For instance, if you input CHAR(149), it will produce a bullet point; CHAR(10) will yield a line break, and CHAR(64) will result in @, and so forth.
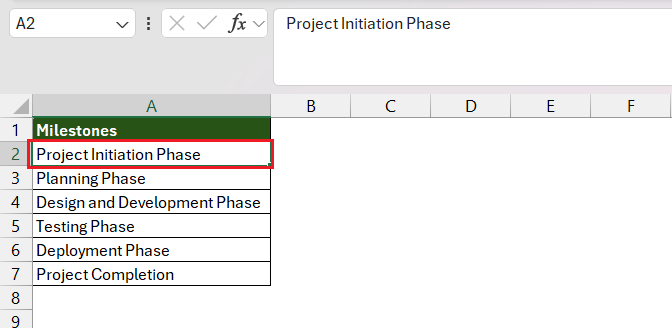
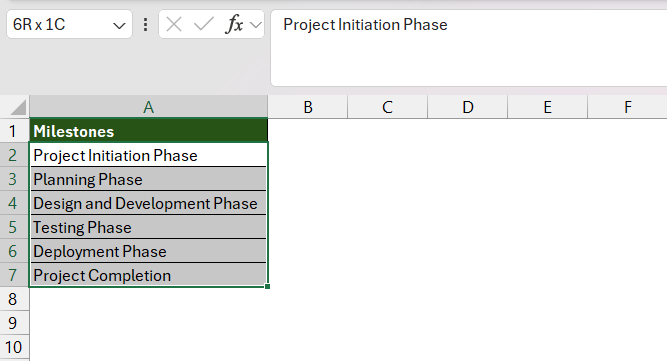
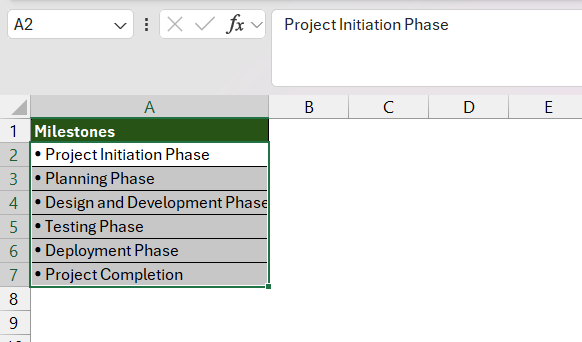
In this example, the milestones of a project are mentioned in column A and you want to add bullet points in front of each milestone. Follow these steps to understand how to insert bullet points in Excel using the CHAR function –
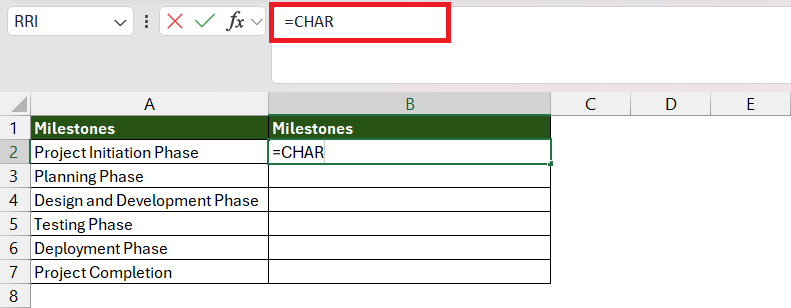
STEP 1: Enter the CHAR Function.
=CHAR
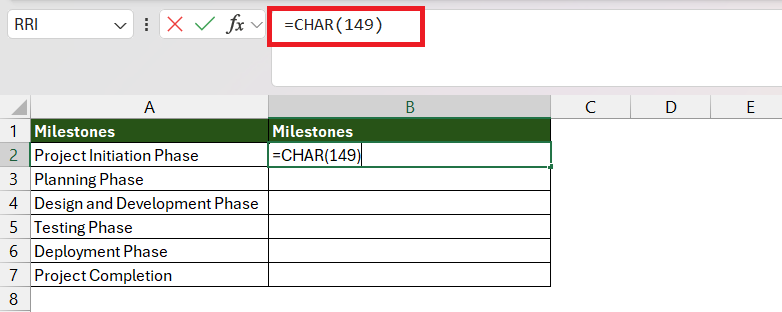
STEP 2: Enter the number that will return a bullet point i.e. 149. The number 149 represents the ASCII code for a bullet point character.
=CHAR(149)
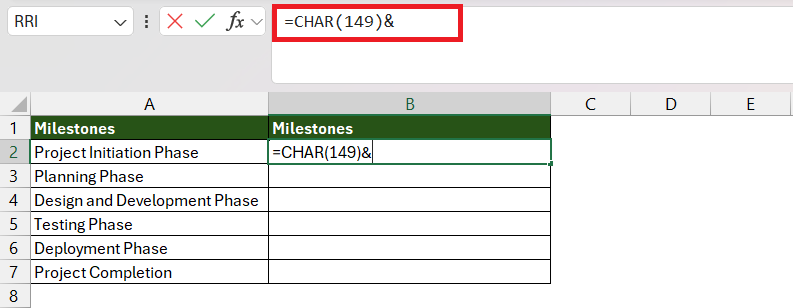
STEP 3: Enter the Ampersand (&) sign to combine this bullet point with the milestone mentioned in column A.
=CHAR(149)&
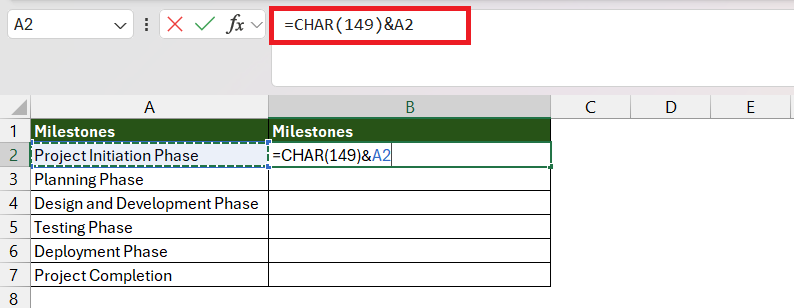
STEP 4: Select the cell containing the milestone i.e. A2.
=CHAR(149)&A2
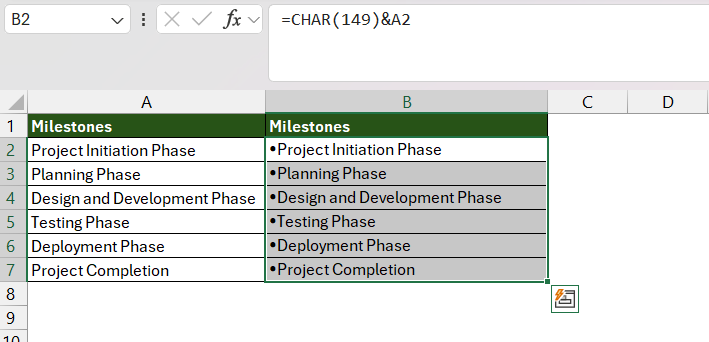
STEP 5: Select the range and press Ctrl + D to copy the formula down.
Your bulleted list is now ready. You can also experiment with different ASCII codes for alternative bullet point styles.
Method 4 – Special Font
Certain default fonts within Microsoft Excel come with built-in bullet symbols. Using those fonts, you can directly add bullet points in the cell. Here is how you can do it –
STEP 1: Select the cell where you want to insert a bullet point.
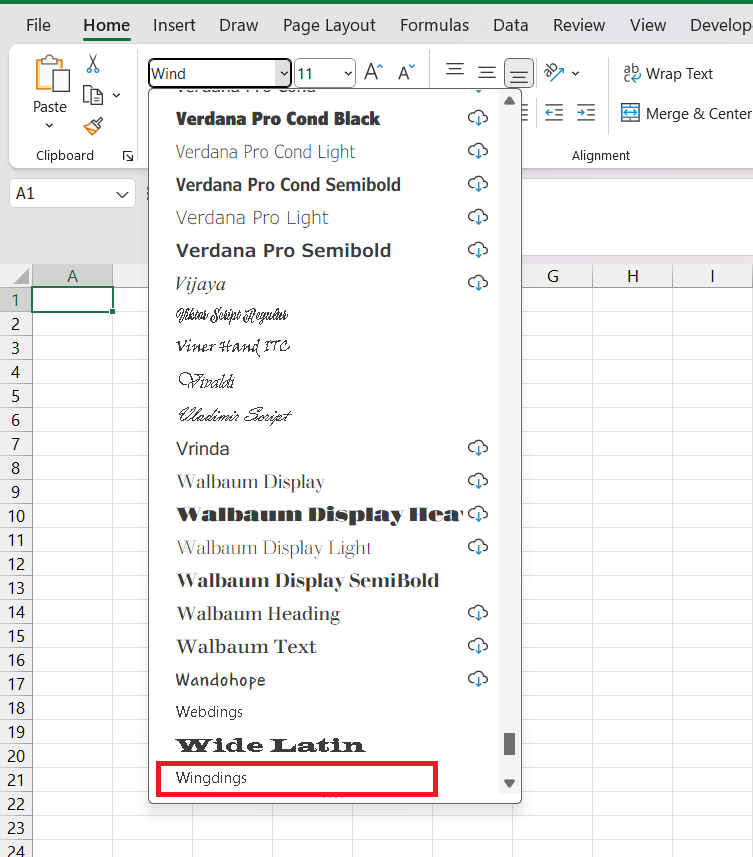
STEP 2: Go to the Home tab and select Wingdings font.
STEP 3: Type l (small l) to insert a solid circle bullet.
You can type o to get an empty square bullet, n for a solid square bullet, m for an empty circle bullet, etc.
Method 5 – Custom Format
If you wish to include bullet points in every cell, you can modify the cell format to automatically insert them. Follow the steps below –
STEP 1: Select the cell range where you want to insert bullet points.
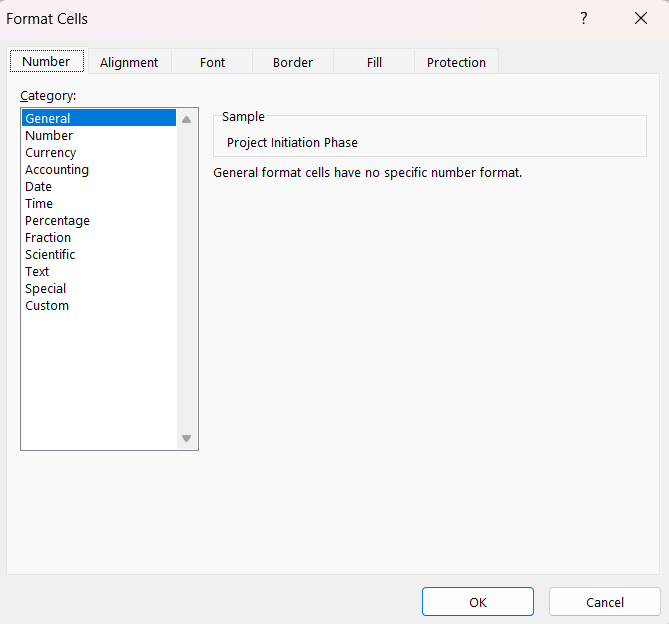
STEP 2: Press Ctrl + 1 to open the Format Cells dialog box.
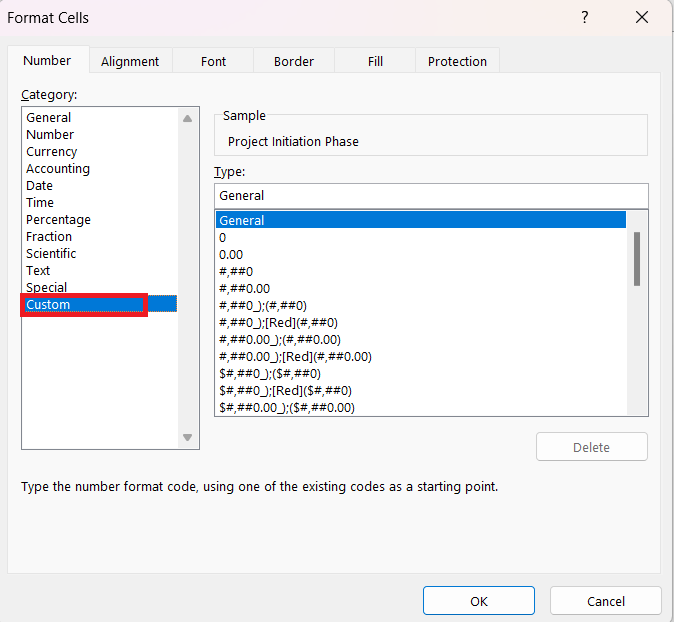
STEP 3: Go to the Number tab and under category, select Custom.
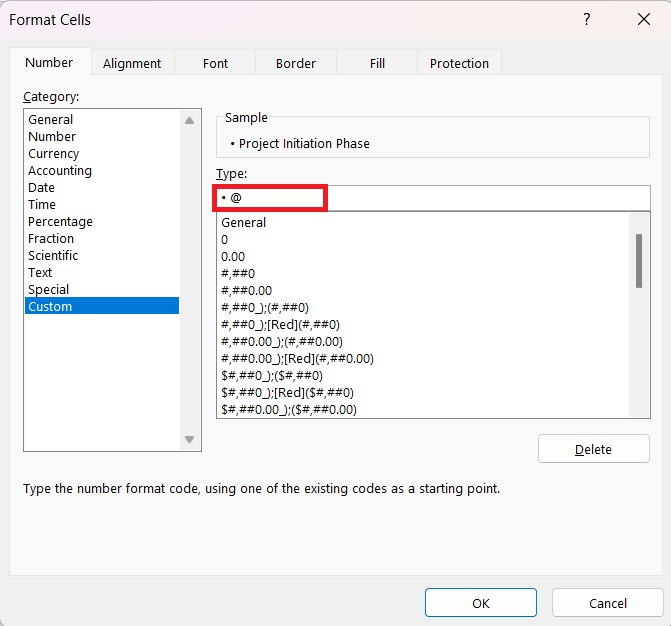
STEP 4: In the type box, enter – “● @”. Press Alt + 7, then type space, and then type @.
STEP 5: Click OK.
Now, when you type any text in the selected range, a bullet point will be added automatically.
You can press Alt + 9, then type space, and then type @ to insert empty bullet points.
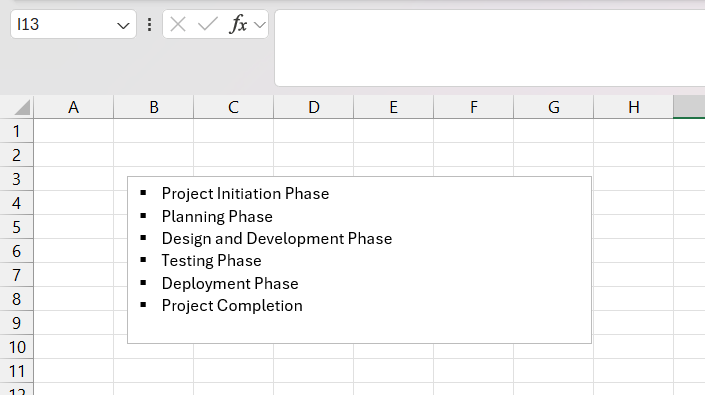
Method 6 – Text Box
If you want more control over the placement of your bullet points, you can use text boxes. Here’s how –
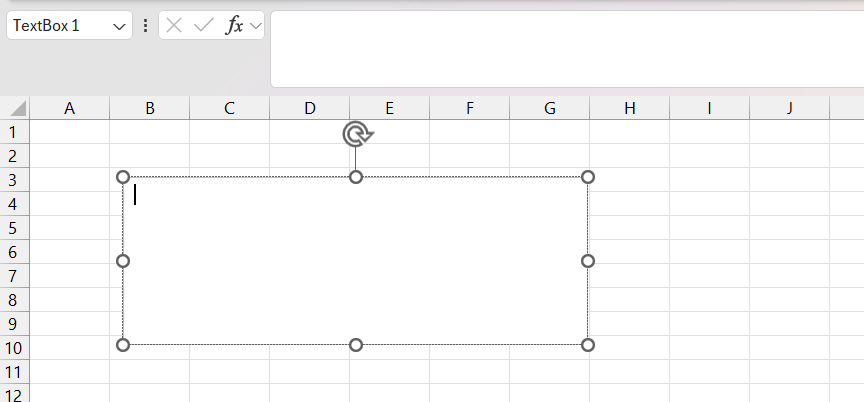
STEP 1: Go to Insert > Text Box.
STEP 2: Click where you want to place the text box and then drag to resize it.
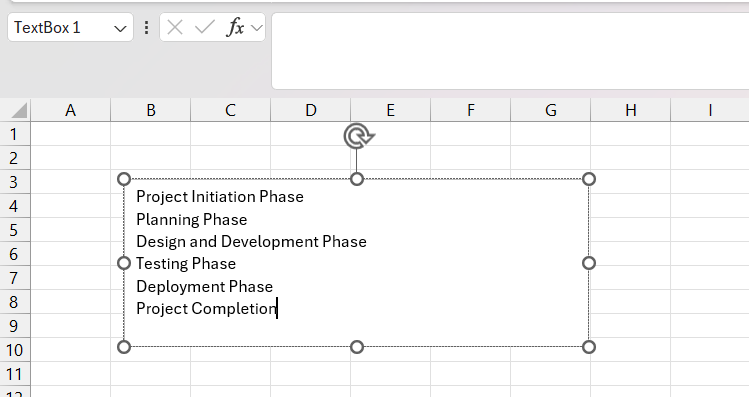
STEP 3: Type the list.
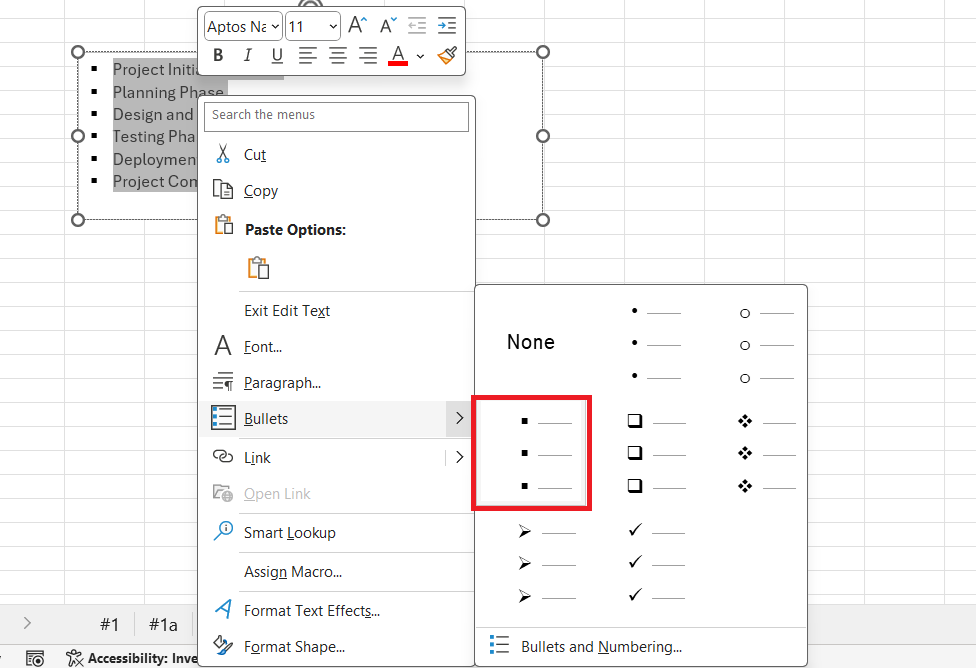
STEP 4: Right-click on the list and select Bullet. You can select any of the pre-designed bullets from the list.
Your bullet list is now ready.
Text boxes allow for precise positioning and formatting but this method is useful only if you are comfortable with presenting the data within a text box instead of a cell in the worksheet.
Method 7 – SmartArt
For a more visually appealing presentation, you can use SmartArt to create structured lists with bullet points. Follow these steps –
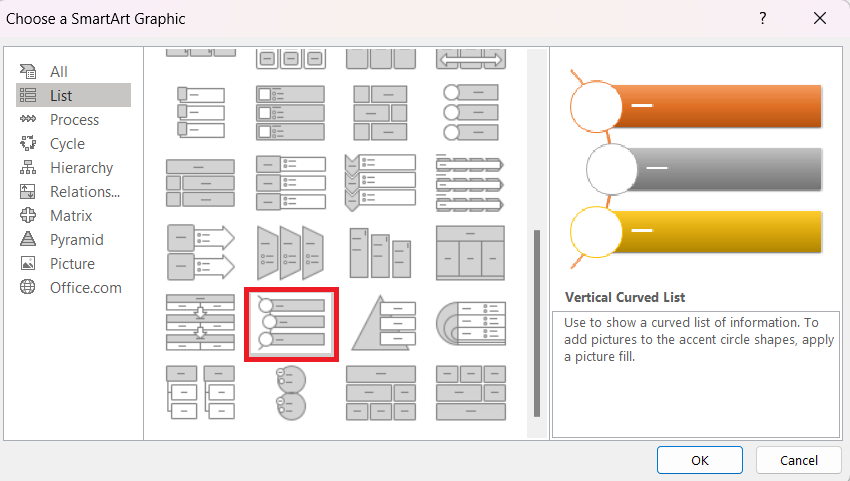
STEP 1: Go to Insert > SmartArt.
STEP 2: In the Choose a SmartArt Graphic dialog box, click on List and select the Vertical Curved List.
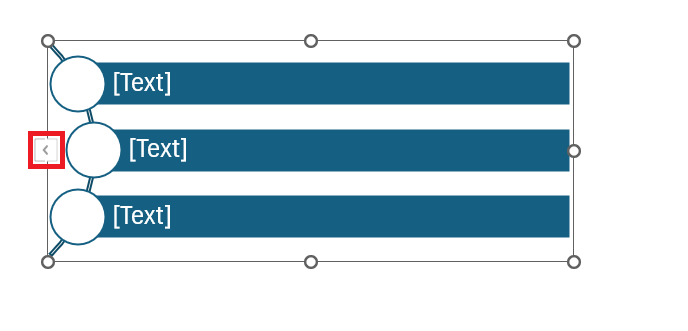
STEP 3: Click on the small arrow on the left.
STEP 4: Type the list in the panel.
SmartArt is excellent for creating dynamic and visually appealing bullet point lists.
Conclusion
In conclusion, adding bullet points in Microsoft Excel can be accomplished through various methods, each offering unique advantages.
Whether you prefer the simplicity of keyboard shortcuts, the flexibility of inserting symbols, the ease of CHAR function, the utilization of text boxes, the application of special font or custom format, or the visual appeal of SmartArt, Excel provides the tools to enhance the presentation and readability of your data.
Experiment with these methods to discover which ones best suit your specific needs and preferences.
Learn more about Formulas with our 101 Advanced Excel Formulas & Functions Examples.
John Michaloudis is a former accountant and finance analyst at General Electric, a Microsoft MVP since 2020, an Amazon #1 bestselling author of 4 Microsoft Excel books and teacher of Microsoft Excel & Office over at his flagship Academy Online Course.
