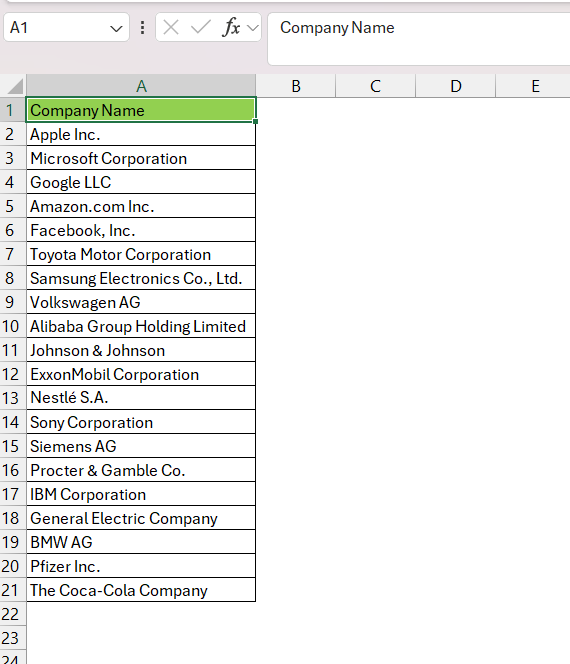
Whether you’re dealing with a list of names, companies, or any other data set, Excel provides several methods for sorting data alphabetically. Sorting data enables you to quickly comprehend and visually interpret your information. It also helps users make decisions more efficiently.
In this article, we will explore 3 different ways to alphabetize in Excel –
Let us look at each of these methods in detail.
Download the Excel Workbook below to follow along and understand how to Alphabetize in Excel –
download excel workbook Alphabetize-in-Excel.xlsx
Sort A to Z
If you want to alphabetize in Excel, meaning you want to sort a column in ascending order (A to Z), you can achieve this by following the steps below –
STEP 1: Select the entire column.
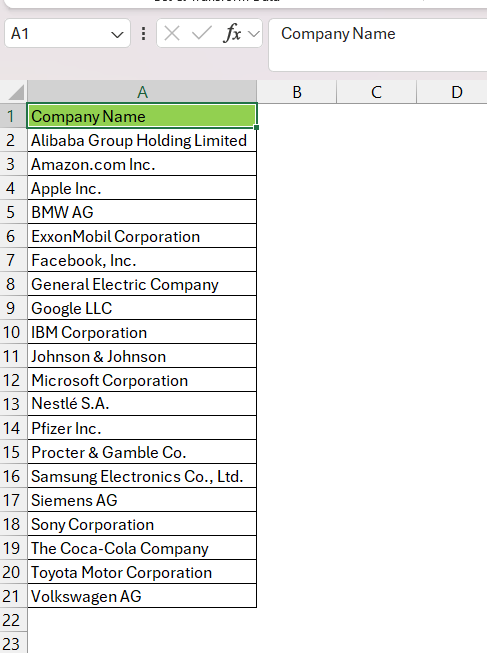
STEP 2: On the Data tab, in the Sort & Filter group, click on the A to Z button to sort in ascending order.
This is what the data appears like when sorted in ascending order –
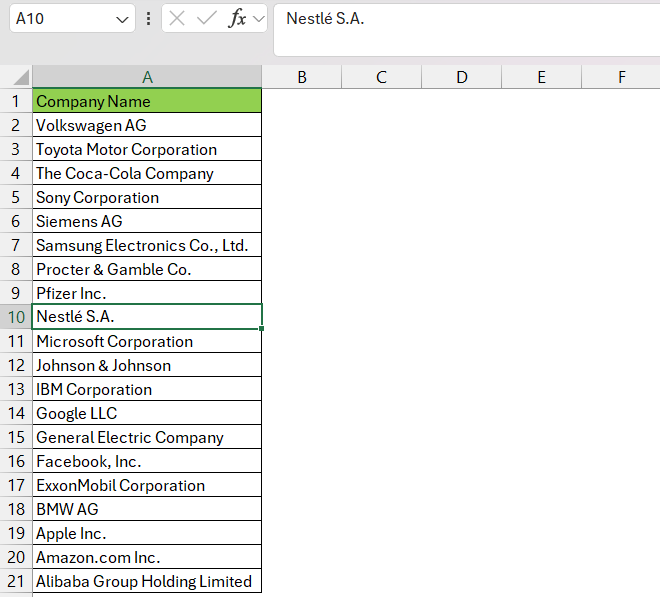
STEP 3: You can also select Z to A to sort data in descending order.
Excel will rearrange the data in descending order.
Excel users have the option to select either A to Z or Z to A to arrange the data in ascending or descending order, providing flexibility in data presentation.
Sort Multiple Columns
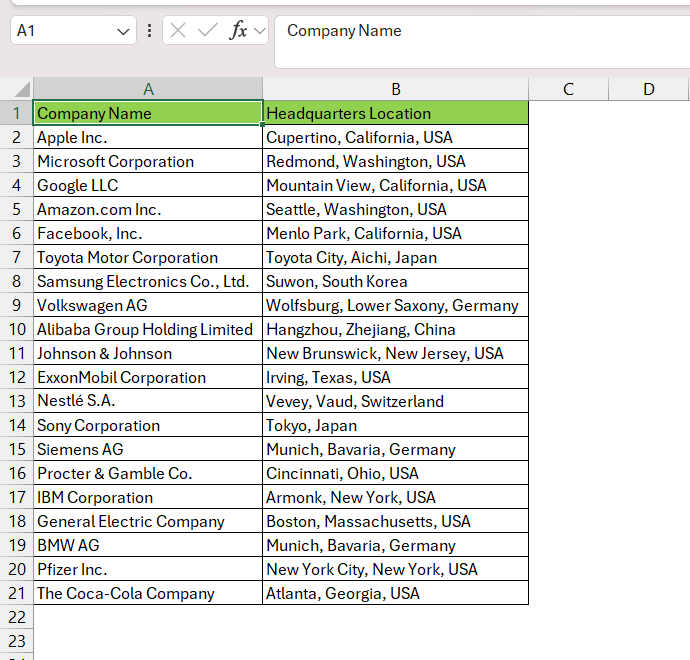
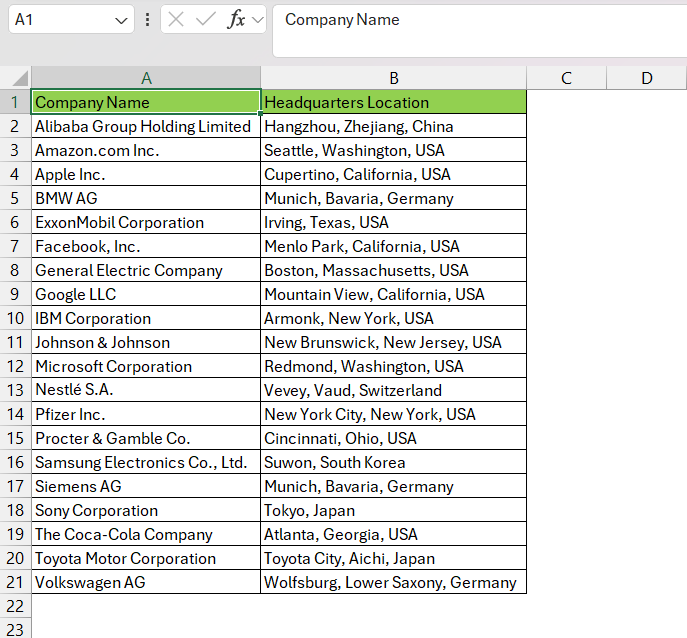
If you want to alphabetize multiple columns in Excel, you can easily use the Sort dialog box and set a multi-level sort. For example, you might want to alphabetize a list of companies first and then sort their headquarters location.
Follow the steps below to achieve the same –
STEP 1: Highlight the entire range of data you want to sort.
STEP 2: Go to the Data tab and select Sort.
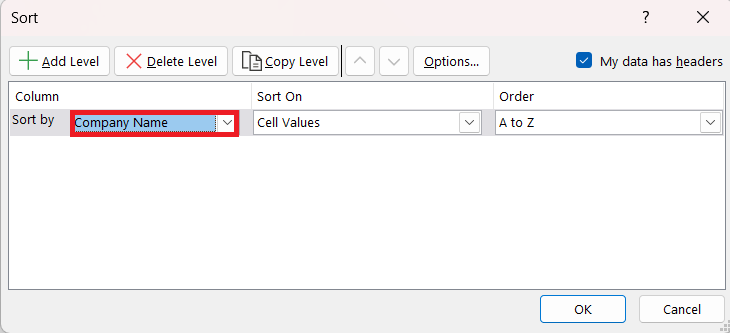
STEP 3: In the Sort dialog box, select Company Name from the Sort By dropdown menu.
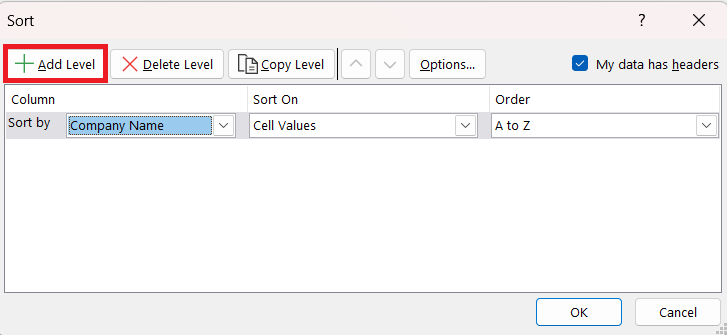
STEP 4: Select Add Level.
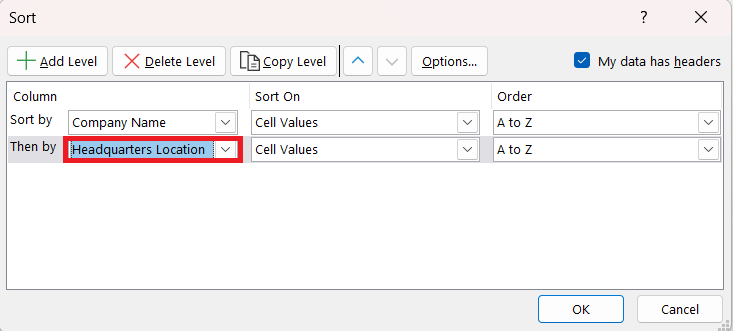
STEP 5: Now, select Headquarter Location from the Then By dropdown menu.
STEP 6: Click OK.
This method ensures a hierarchical sort, where companies are initially ordered, and within each company, the headquarters locations are then arranged alphabetically.
Sort Multiple Rows
If you have data organized in rows and want to alphabetize across multiple rows, you can use a similar approach –
STEP 1: Highlight the entire range of data you want to sort.
STEP 2: Go to the Data tab and select Sort.
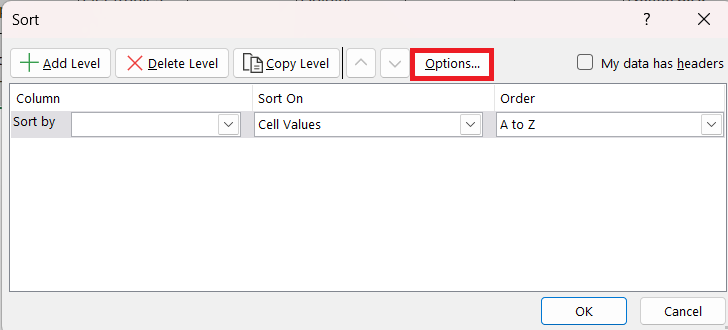
STEP 3: In the Sort dialog box, select Options button.
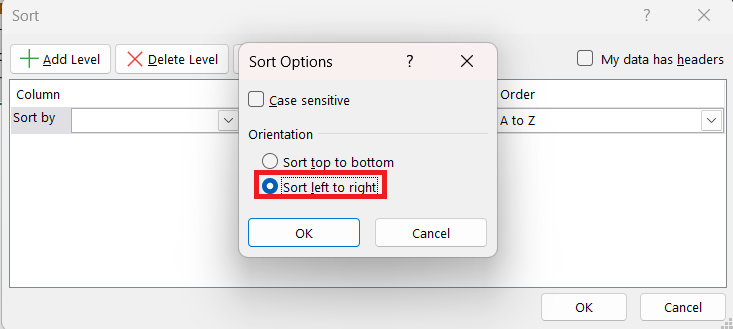
STEP 4: In the Sort Options dialog box, select Sort Left to Right.
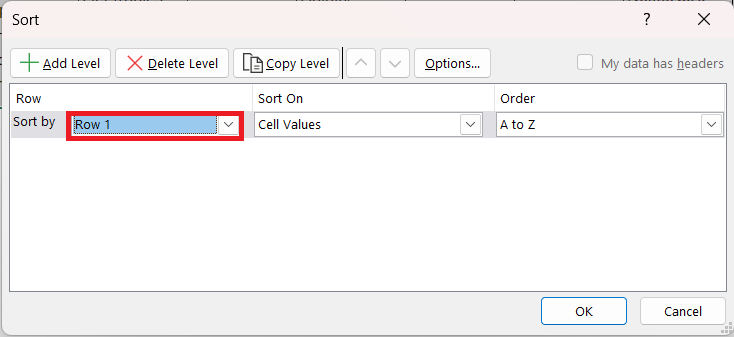
STEP 5: Select Row 1 from the Sort By dropdown menu.
Upon completion of these steps, Excel will rearrange the data based on the selected row, providing a comprehensive sorting approach for row-oriented datasets.
Conclusion
Mastering the art of alphabetizing in Excel is crucial for efficiently managing data. Whether you’re sorting a single column, multiple columns, or multiple rows, these three methods empower you to organize your data with precision, making Excel a versatile tool for data manipulation and analysis.
John Michaloudis is a former accountant and finance analyst at General Electric, a Microsoft MVP since 2020, an Amazon #1 bestselling author of 4 Microsoft Excel books and teacher of Microsoft Excel & Office over at his flagship Academy Online Course.
