Did you know you could insert multiple rows using Macros in Excel?
With just a loop and providing a number, you can do this in a single click!
Make sure your Excel has the Developer Tab enabled following this tutorial.
I explain how you can do this below step by step!
What does it do?
Asks for a number of rows, then inserts it to the bottom of your selected cell
Copy Source Code:
Sub InsertMultipleRows()

Dim numRows As Integer
Dim counter As Integer

'Select the current row
ActiveCell.EntireRow.Select
On Error GoTo Last
numRows  = InputBox("Enter number of rows to insert", "Insert Rows")

'Keep on inserting rows until we reach the desired number
For counter = 1 To numRows
Selection.Insert Shift:=xlToDown, CopyOrigin:=xlFormatFromRightorAbove
Next counter
Last:Exit Sub
End Sub
Final Result:
Exercise Workbook:
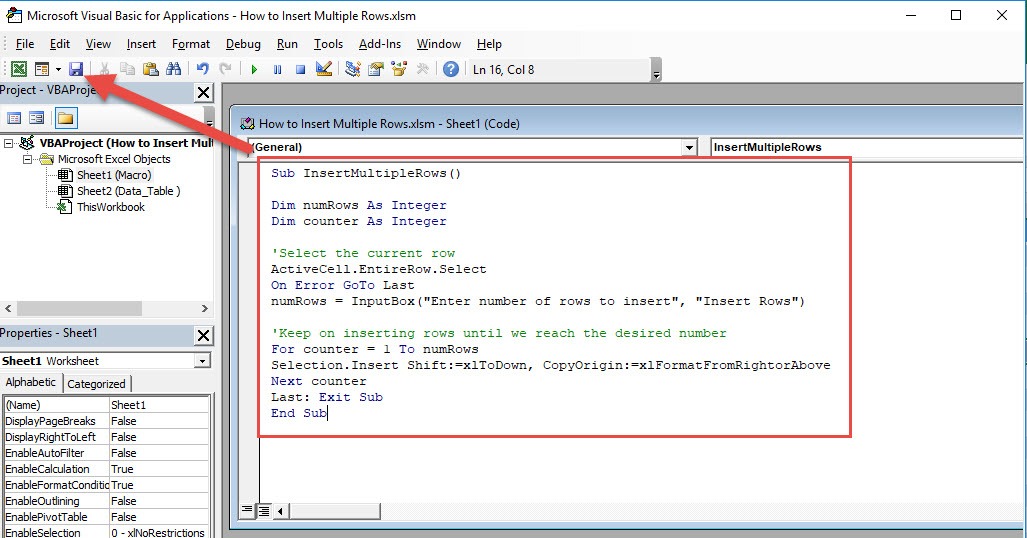
STEP 1: Go to Developer > Code > Visual Basic
STEP 2: Make sure Sheet1 is selected, paste in your code and Select Save. Close the window afterwards.
STEP 3: Let us test it out!
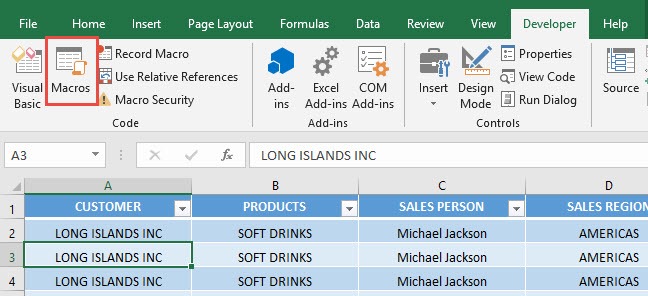
Select any cell that you want to insert rows on. Go to Developer > Code > Macros
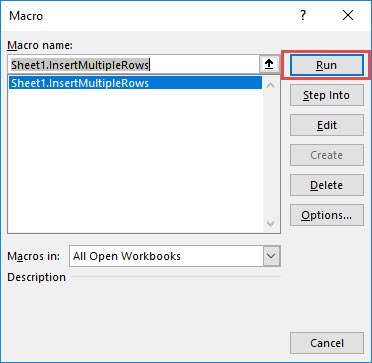
Make sure your macro is selected. Click Run.
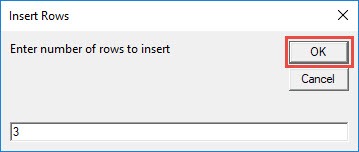
We want to insert 3 rows. Type in 3.
With that, you are now able to insert multiple rows using macros!
How to Insert Multiple Rows Using Macros in Excel
Bryan
Bryan is a best-selling book author of the 101 Excel Series paperback books.


