Learn about Excel with our Free Microsoft Excel Online Course!
Key Takeaways
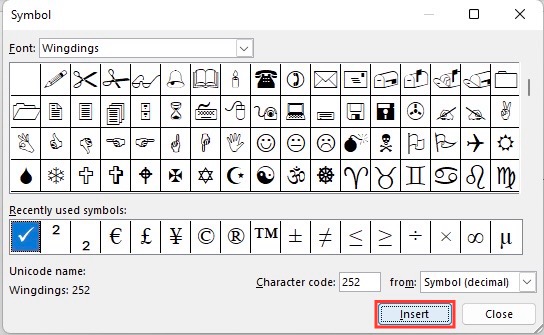
- To insert check marks in PowerPoint using the Wingdings font, go to the “Insert” tab, click “Symbol,” choose “Wingdings” from the “Font” menu, select the check mark symbol, and click “Insert.”
- You can quickly insert a check mark in PowerPoint by placing your cursor where you want the check mark and pressing Alt + 9744 on the numeric keypad, followed by releasing the keys.
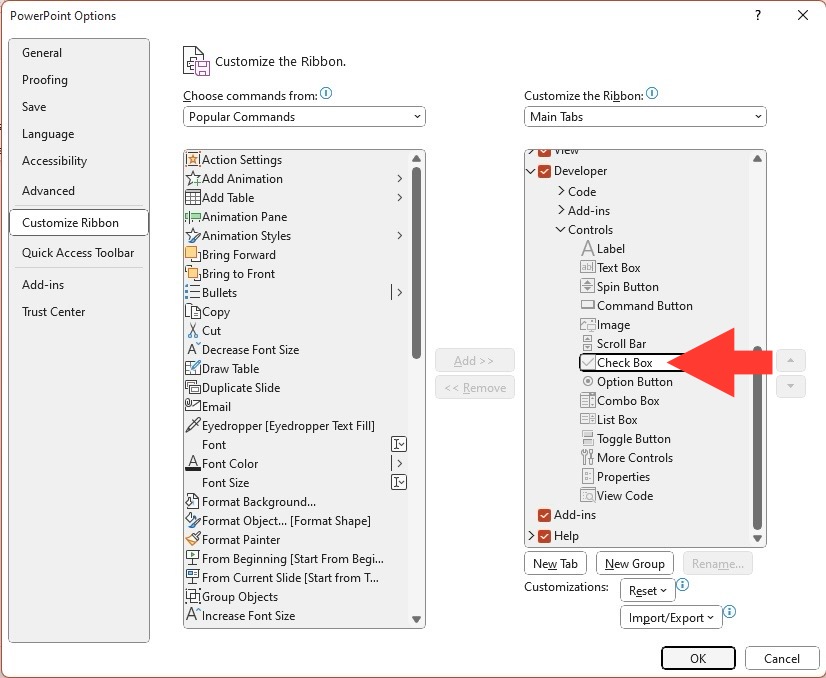
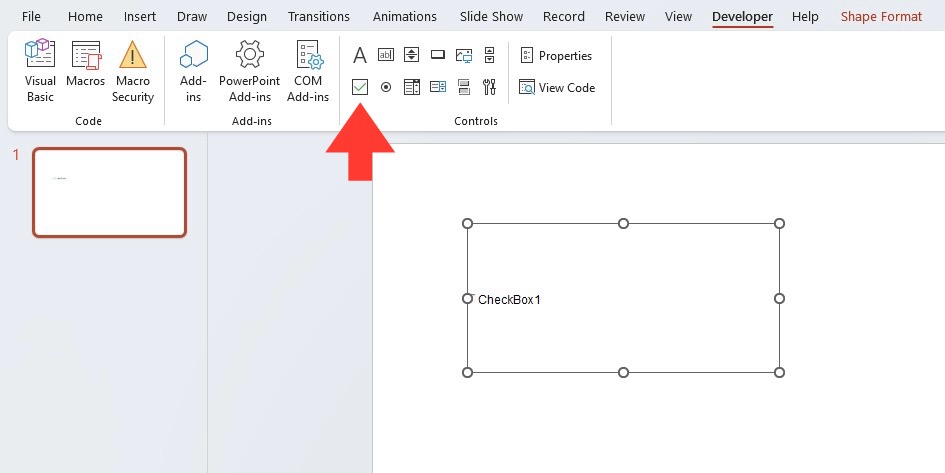
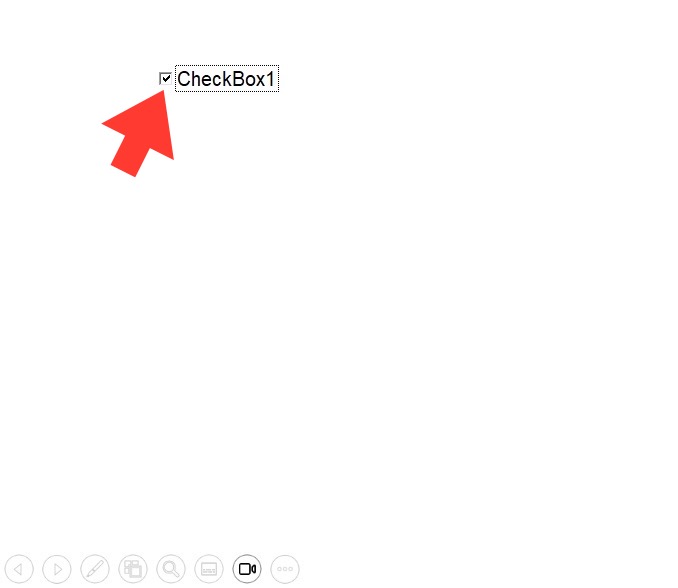
- For interactive presentations, add a clickable checkbox by accessing PowerPoint’s Developer tab and selecting the “Check Box” option.
Why Check Marks Make an Impact in Presentations
Check marks pack a punch when it comes to presentations; they’re not just symbols, they’re visual affirmations. Their presence on the screen can signify achievement, agreement, or correctness, resonating with the audience on a fundamental level. By showcasing what’s been accomplished or what’s valid, you create a narrative of progress and certainty.
With check marks, you also provide structure to your content. They act as visual cues guiding your audience through the material, neatly distinguishing between done and pending, or right and wrong. It’s these subtle reinforcements that enhance the audience’s understanding and make your presentations memorable.
Table of Contents
Quick Methods to Insert Check Marks
Using the Wingdings Font for Check Marks
Diving into the world of Wingdings, you discover an entire font dedicated to symbols, perfect for inserting check marks into your PowerPoint slides. You can access this font directly from the application, eliminating the need for external graphics.
Here are the steps to create that perfect check mark:
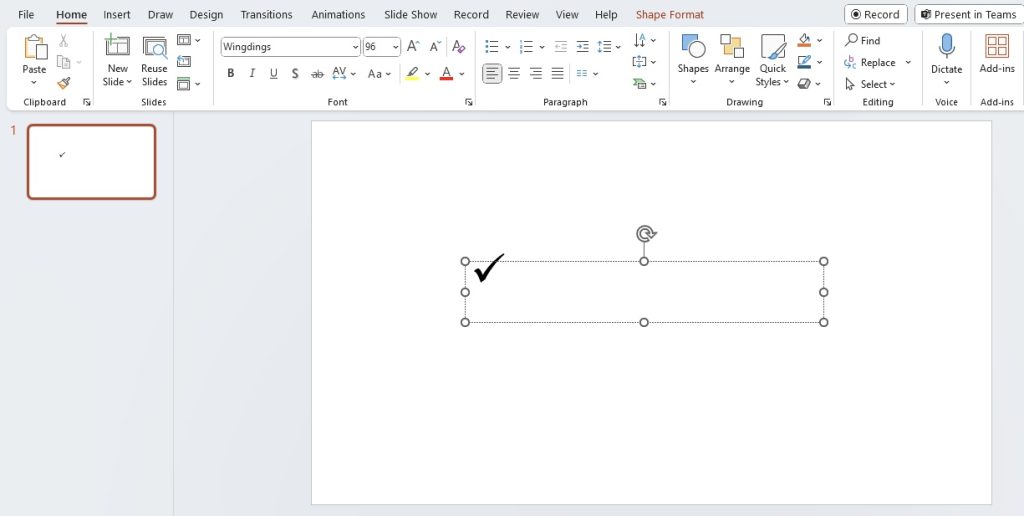
STEP 1: Open your PowerPoint slide and select the text box or area where you want the check mark.
STEP 2: Navigate to the Home tab, explore the Font section, and pick Wingdings from the dropdown list.
STEP 3: Now, all set to insert the symbol, hold Alt and type 252 on your numeric keypad.
Voilà! Your check mark appears. Remember to switch back to your standard font afterward.
Alternatively, you can use the Symbols route:
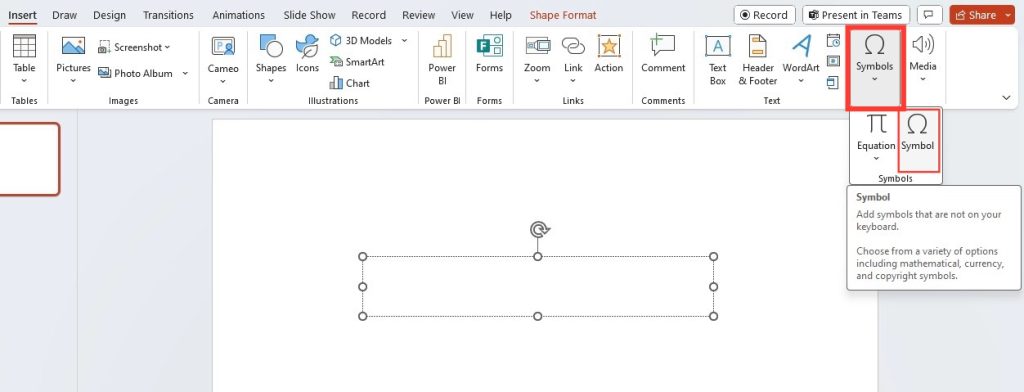
STEP 1: Go to the Insert tab > Symbols dropdown > Symbols.
STEP 2: Select the checkmark symbol, then click Insert.
Shortcut Keys to Speed Up Your Workflow
Have you ever found yourself repeatedly lifting your fingers from the keyboard to reach for the mouse, just to insert a common symbol like a check mark? Learning a few nifty shortcut keys can immensely speed up your PowerPoint workflow, not to mention impress colleagues with your efficiency.
For quickly adding a check mark symbol, try this:
STEP 1: Position your cursor where you wish to add the symbol.
STEP 2: Hold down the ‘Alt’ key and type ‘9745’ on your numeric keypad, which is the Unicode value for a check mark.
Upon releasing, a check mark appears instantaneously.
Another quick shortcut is the Copy and Paste method:
STEP 1: Upon inserting a checkmark to your textbox, highlight it and press CTRL+C to copy the symbol.
STEP 2: Now, press CTRL+V to paste the copied checkmark anywhere you choose.
Incorporating shortcut keys doesn’t just shave seconds off your work; it can add up to significant time saved in the long run. They are a gateway to becoming not just a PowerPoint user but a PowerPoint master.
Creative Approaches to Using Check Marks
Incorporating Check Marks into Custom Designs
Creative flair in PowerPoint often translates to memorable presentations. If the standard check mark feels too bland for your taste, why not create a custom design? This is an excellent opportunity to have check marks not only reflect your message but also complement your brand or the theme of your presentation.
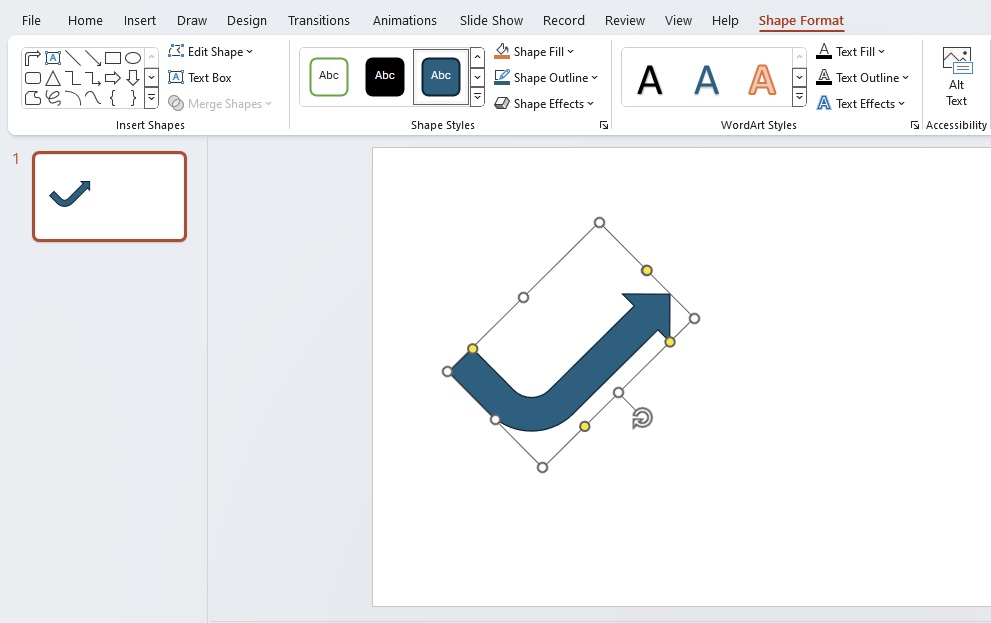
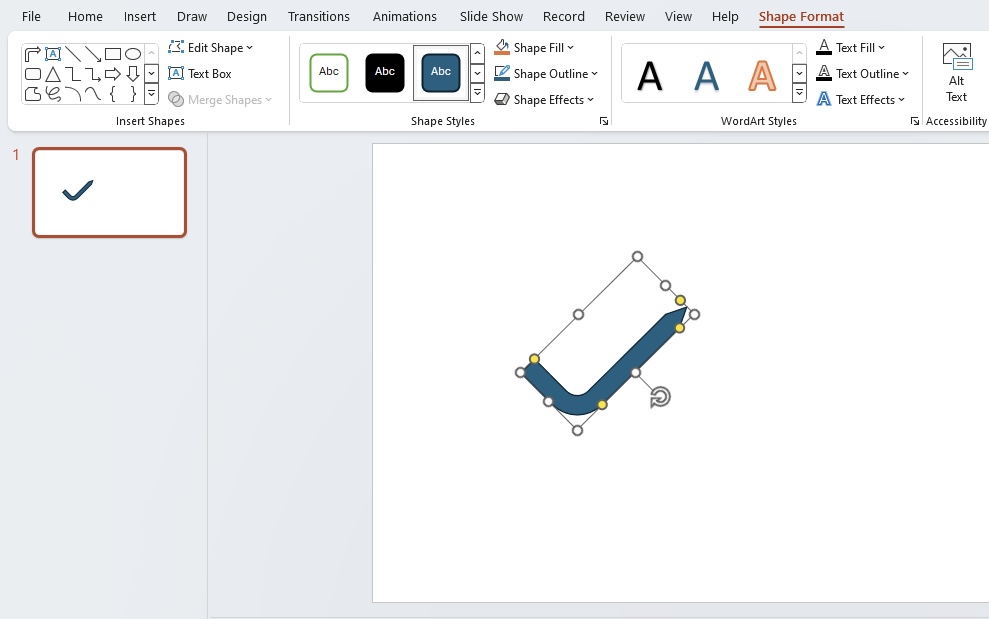
Here’s a sneak peek at how you can craft your own custom check marks:
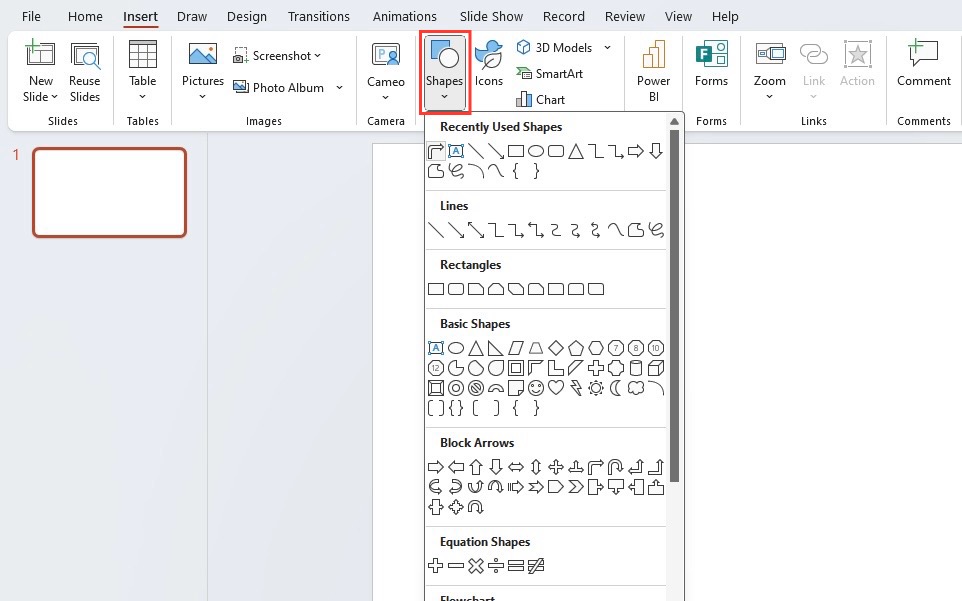
STEP 1: Begin by clicking on the “Insert” tab, then delve into the “Shapes” menu to pick elements that resemble parts of a check mark.
STEP 2: Experiment with combining different shapes like lines and angles to form your unique check mark.
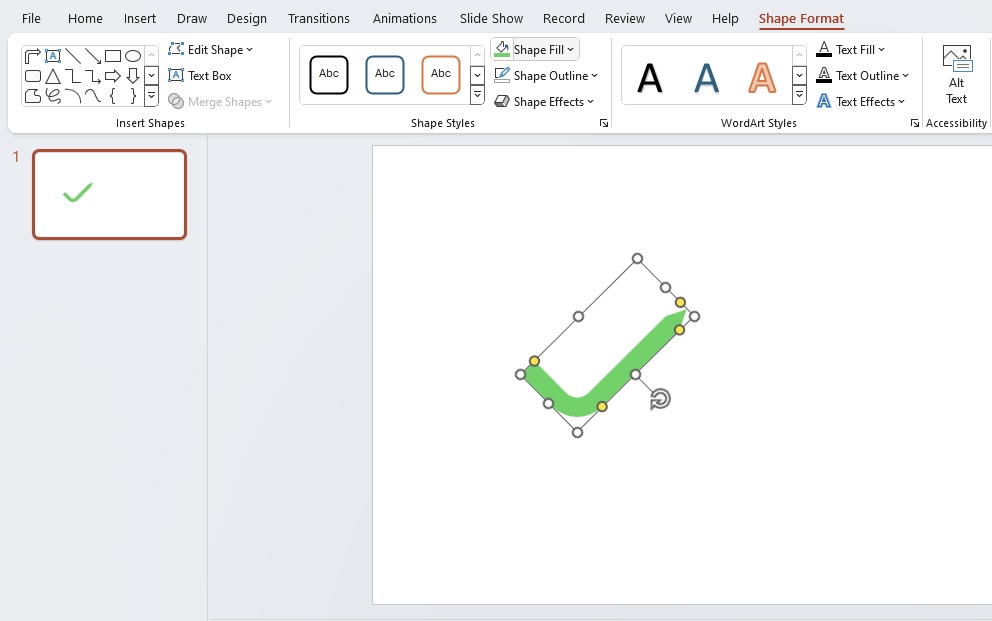
STEP 3: Once you have the basic structure, use the “Shape Format” tab to finesse your design with color fills, line styles, and effects.
As you consistently incorporate your custom check marks across slides, you reinforce your brand and command visual attention. They are more than just ticks on a page; they become a part of your visual identity.
Leveraging Animated Check Marks for Engagement
Animated check marks aren’t just for show—they’re a strategy to captivate your audience and make your message stick. By introducing motion to check marks, you can direct your viewers’ attention, signify progression, and inject a dose of energy into your slides.
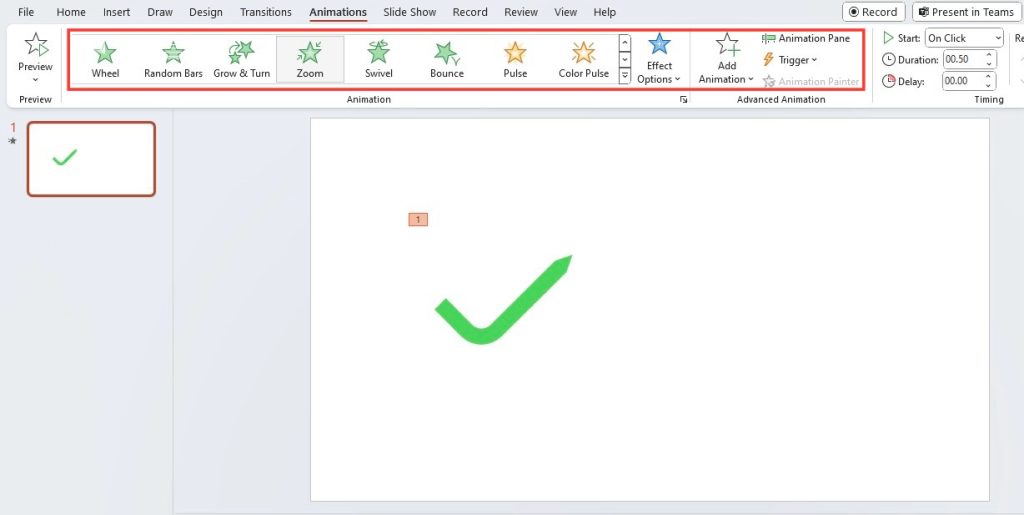
Here’s how to animate your check marks:
STEP 1: Insert the check mark using your preferred method.
STEP 2: Click on the “Animations” tab, and from there, choose an entrance effect like “Zoom” or “Bounce”.
STEP 3: Fine-tune the effect with options such as “Start On Click” or “After Previous” to control when the check mark appears.
STEP 4: For added flair, adjust the “Effect Options” to change how the check mark enters the scene.
Animating check marks can guide the viewer’s eye to key points at the right moment, making your facts and statements more impactful. Moreover, they add an element of surprise and delight, transforming a static presentation into an interactive experience.
Tips and Tricks for PowerPoint Check Mark Mastery
Formatting and Color Adjustments for Visibility and Design
To ensure that your check marks not only fit the aesthetic of your presentation but are also easily visible to your entire audience, consider some formatting finessing:
- Adjust the size: A check mark that’s too small is easy to overlook. Make sure it’s large enough by dragging its handles, but stay mindful of your slide’s overall balance.
- Modify the color: To make your check mark pop, select a color that stands apart from the background while being mindful of those with color vision deficiencies. The “Fill” options on the “Shape Format” tab have you covered.
- Experiment with line styles: Add a unique touch by altering the thickness and style of the check mark’s borders through the “Line” options on the “Shape Format” tab.
- Get creative with fills: A solid color might be classic, but why not try a gradient or texture fill for a more dynamic look?
Remember, it’s not just about making your check mark look good—it’s crucial to maintain accessibility. Combine color with text labels or other indicators for people who may not perceive color in the typical range.
Foreground and background contrast is paramount, so your check marks clearly stand out. And in case you’re presenting across different platforms, it’s always wise to verify that your formatting choices translate well regardless of the screen they’re viewed on.
Choosing the Correct Check Mark Style for Your Presentation
Choosing the correct check mark for your presentation hinges on gauging the atmosphere you wish to instill and how the symbol will integrate with your existing design. Here’s what to consider:
- Font vs. Shape: If simplicity speaks to you, leveraging the Wingdings font or Unicode characters gets the job done with minimal fuss. For flexibility and creativity, crafting custom shapes might spark joy.
- Color scheme coordination: Aligning check mark colors with your presentation’s palette ensures visual harmony. A mismatch could cause dissonance that distracts from your core message.
- Tone reflection: A more formal affair? Classic black or green check marks are timeless and professional. Going for a relaxed vibe? Feel free to play with vibrant hues or unconventional designs.
Have a game plan for your check marks. Perhaps [insert screenshot of check marks varying in style dependent on the type of presentation] could inspire the right choice. Whether you opt for a basic tick or an elaborate illustration, ensuring it syncs with the theme, tone, and color scheme of your slideshow will bolster the strength of your visuals. Choose wisely, and your check marks will not just mark tasks but also impress upon your audience.
FAQs
How Do I Quickly Add a Check Mark in PowerPoint?
To swiftly add a check mark in PowerPoint, use the Alt code shortcut. Place your cursor where you want the check mark, hold the ‘Alt’ key, and type ‘0252’ or ‘0254’ on your numeric keypad. This inserts a check mark symbol instantly into your slide. For a clickable check box, you’ll need to utilize the ‘Developer’ tab. Simple and quick, right?
Can I Create a Clickable Checkbox in PowerPoint?
Absolutely! Creating a clickable checkbox in PowerPoint is straightforward. Enable the ‘Developer’ tab by selecting ‘File > Options > Customize Ribbon’, then check the ‘Developer’ box. In the ‘Developer’ tab under ‘Controls’, click the checkbox icon, then click and drag on the slide to place it. Right-click to edit its text and properties, ensuring interaction is a breeze.
John Michaloudis is a former accountant and finance analyst at General Electric, a Microsoft MVP since 2020, an Amazon #1 bestselling author of 4 Microsoft Excel books and teacher of Microsoft Excel & Office over at his flagship Academy Online Course.
