Microsoft PowerPoint is a presentation software that is part of Office 365 or any other Microsoft bundle. It allows users to create, edit, present, and share slide in order to present information to others.
You can either create a presentation from scratch or use an existing template to add professionalism and save time. You can add text, shapes, images, audio, animation, narration, and much more to a slide. Once your presentation is ready, you can either save, export, or share files with others.
Let’s dive into this article to understand the following topics in detail –
- Starting Microsoft PowerPoint
- File Menu – Open and New
- Tabs, Ribbons, and Groups
- Slides – Adding, Designing, Arranging, and Pictures
- Slideshows
- Slide Transitions
- Slide Animations
- File Menu – Save, Print, and Export
Watch this video on Beginners Guide for Microsoft PowerPoint on YouTube and give it a thumbs-up!
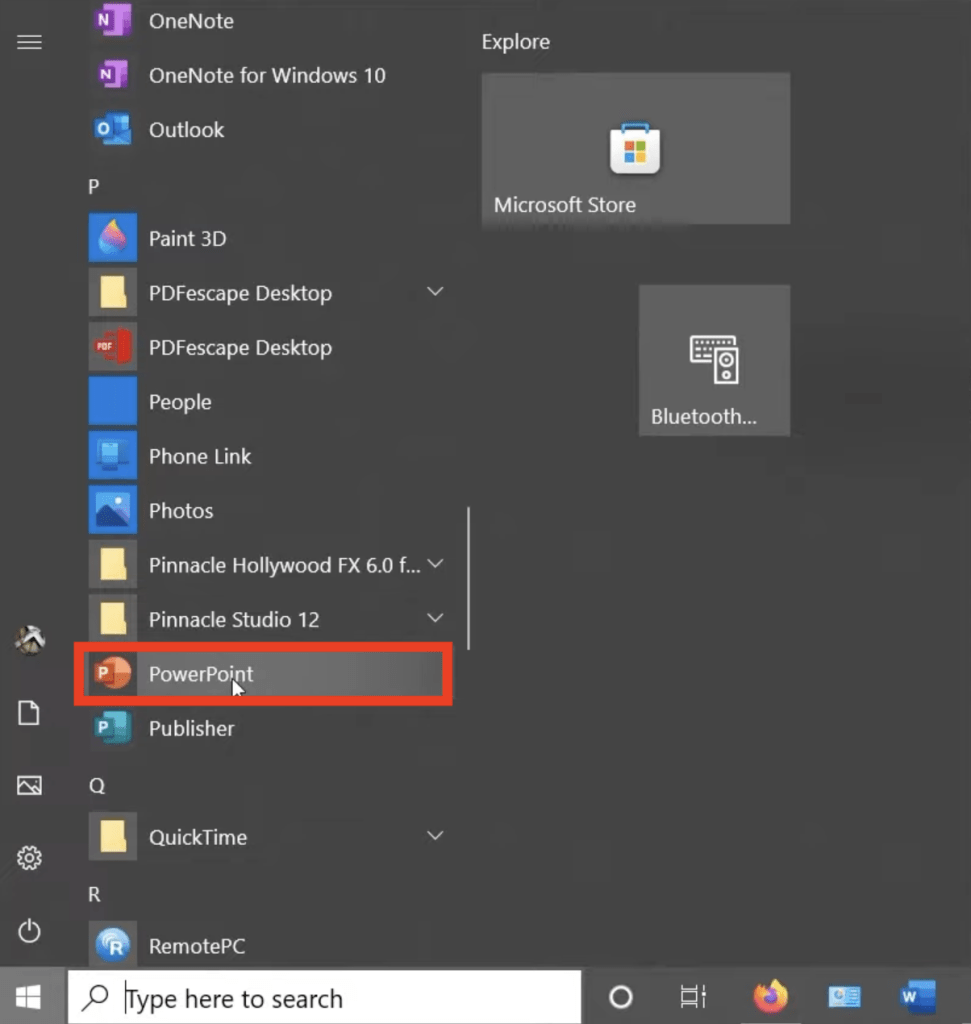
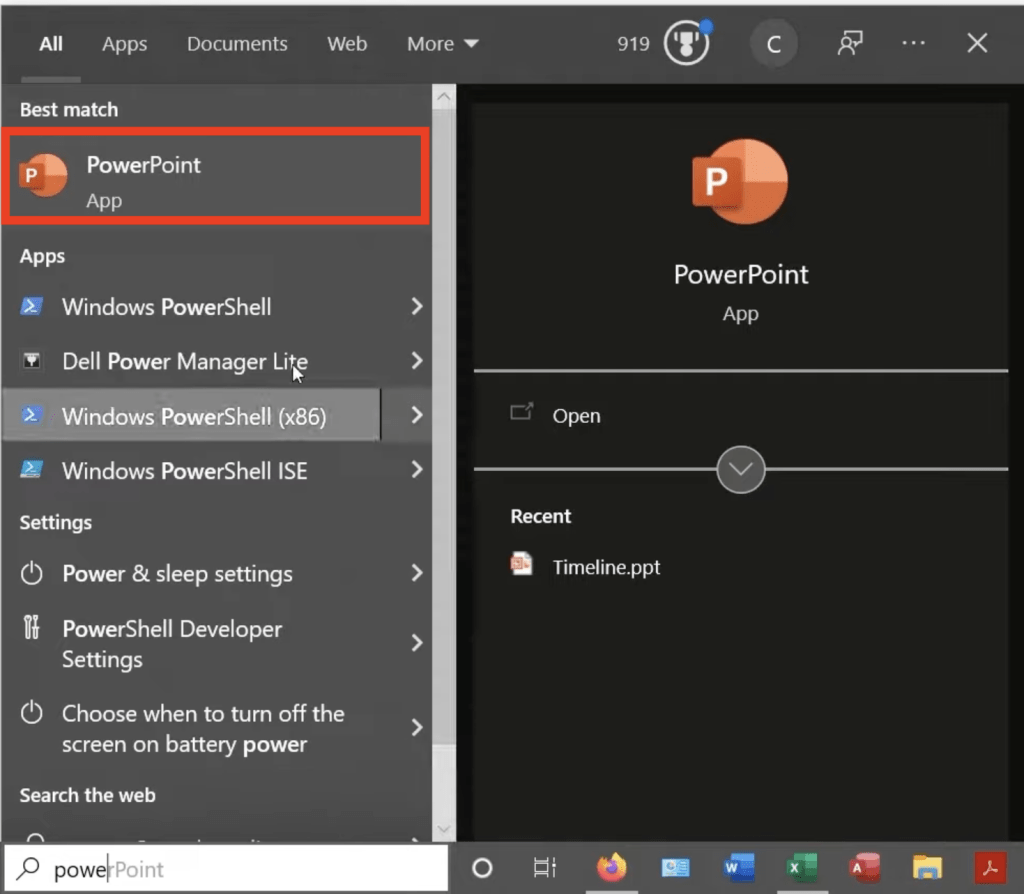
Once you have installed Microsoft Office on your computer, you can either –
- Go to the Start Menu > Scroll down and select Microsoft PowerPoint
- Select the Microsoft PowerPoint icon on your taskbar
- Go to Search Bar > Type Microsoft PowerPoint
File Menu – Home, Open and New
Home
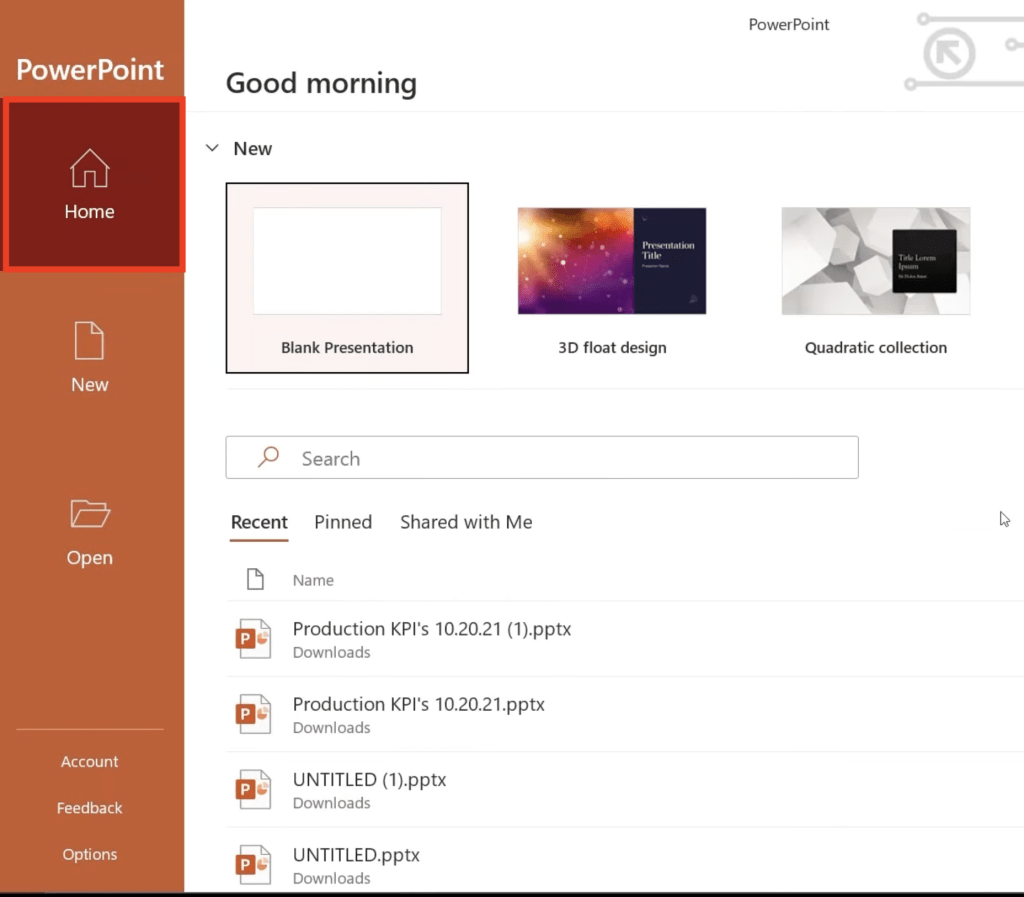
Once your open Microsoft PowerPoint, you will be taken to the Home screen. There are a few options available on the home screen –
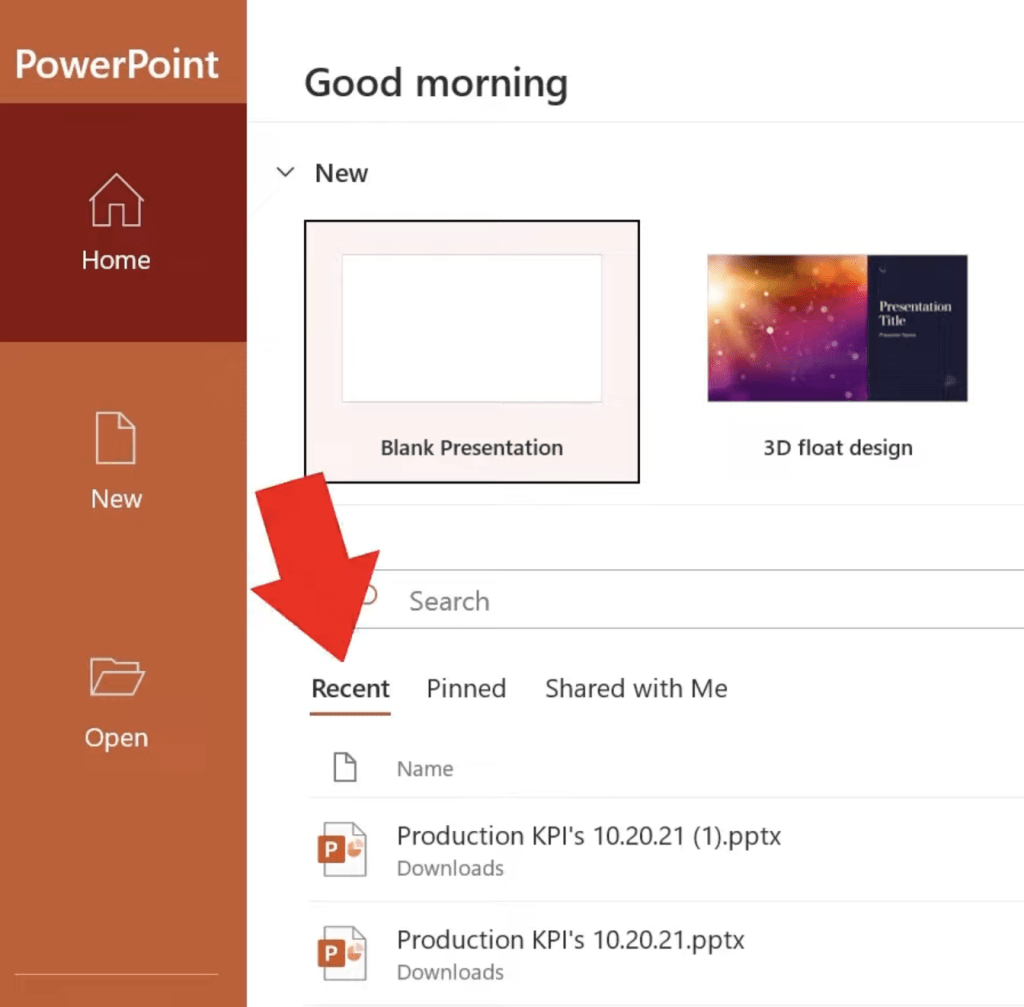
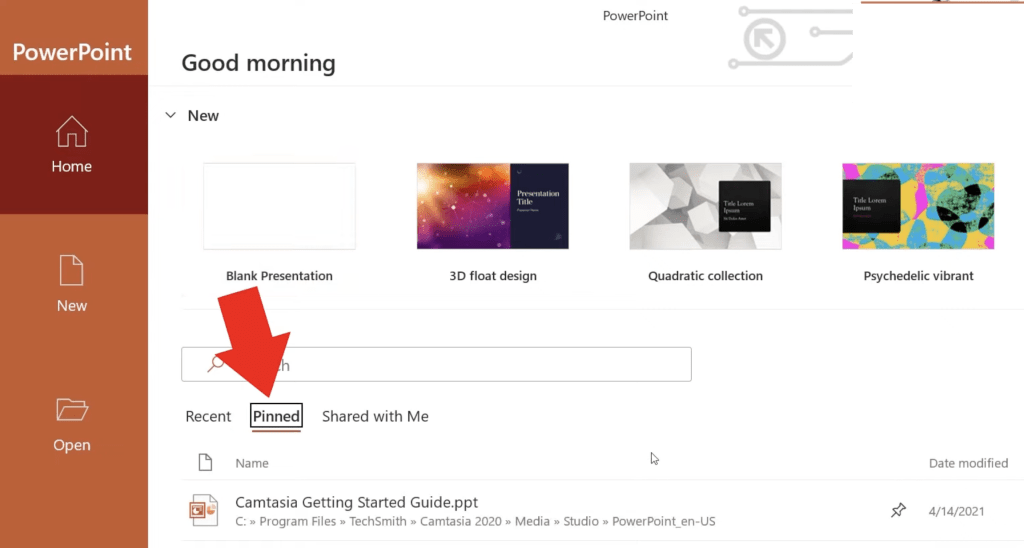
- Recent – You will find some of the files that you have recently worked on in this tab.
- Pinned – You will find all the files that you have pinned for quicker access.
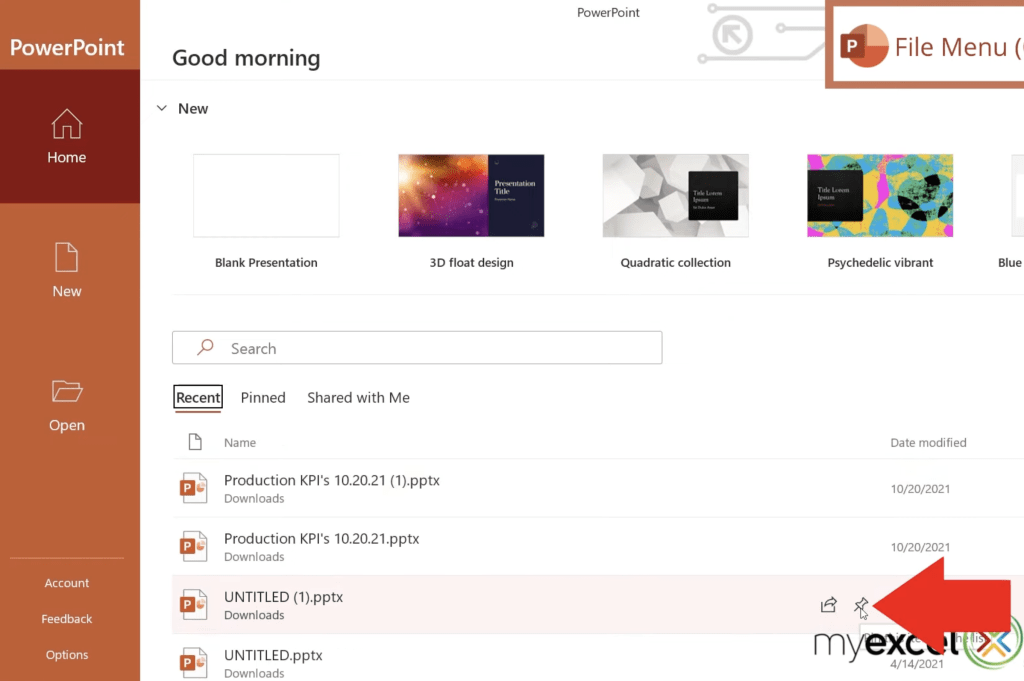
To pin a particular file, simply click on the pin icon next to the file. Once you pin a file, you can find it under the pinned tab on the home screen.
Open
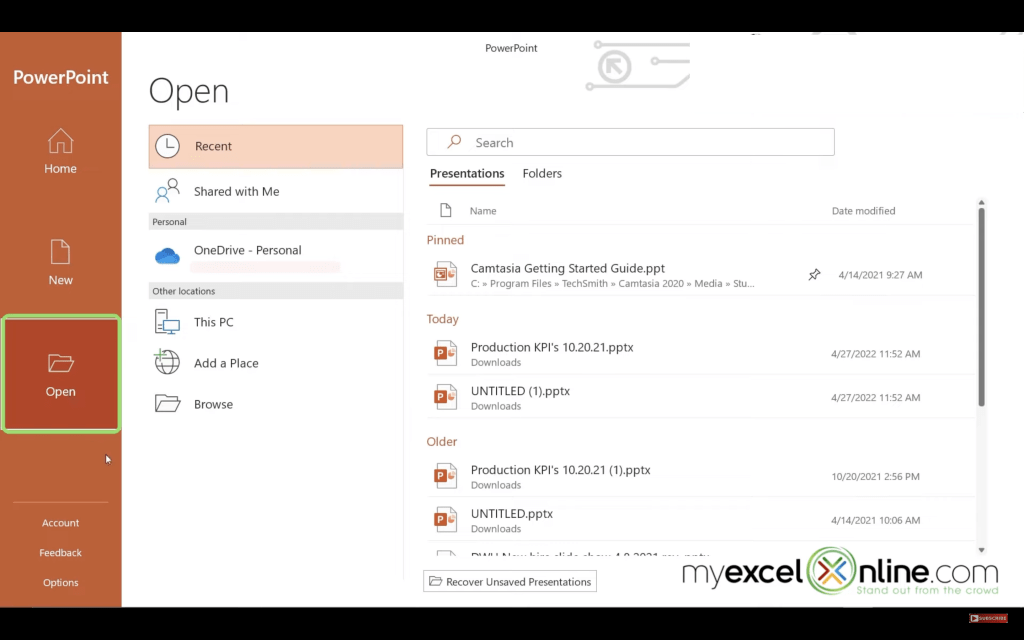
You can also click on Open in the left panel. In this section, you have the following options –
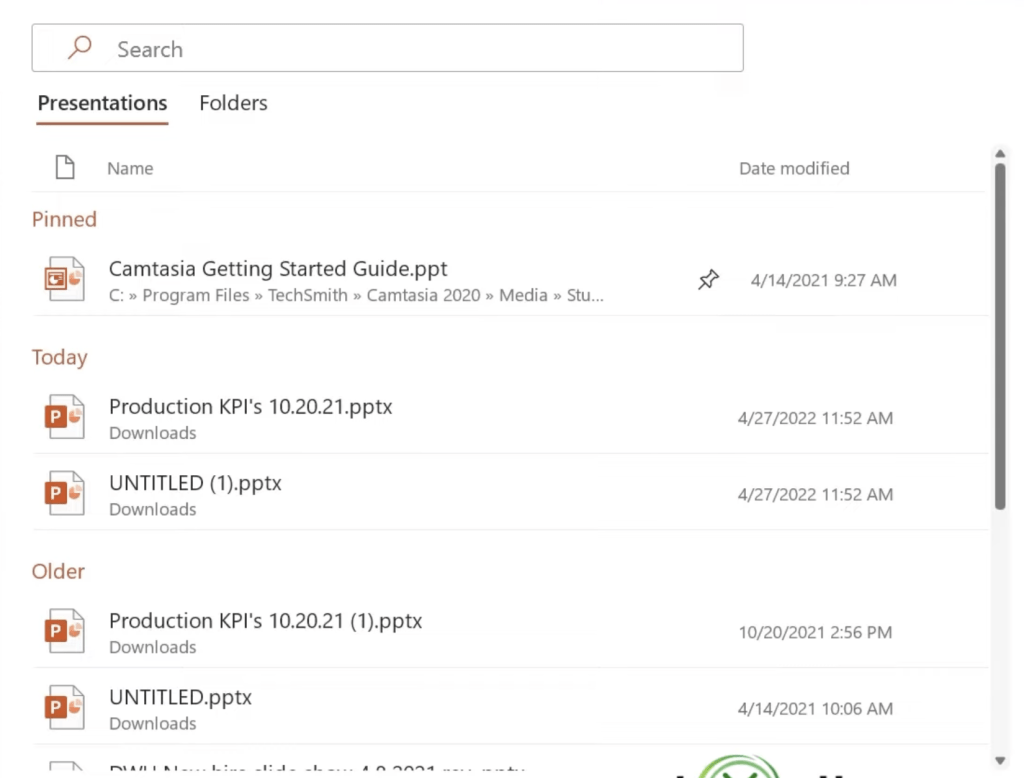
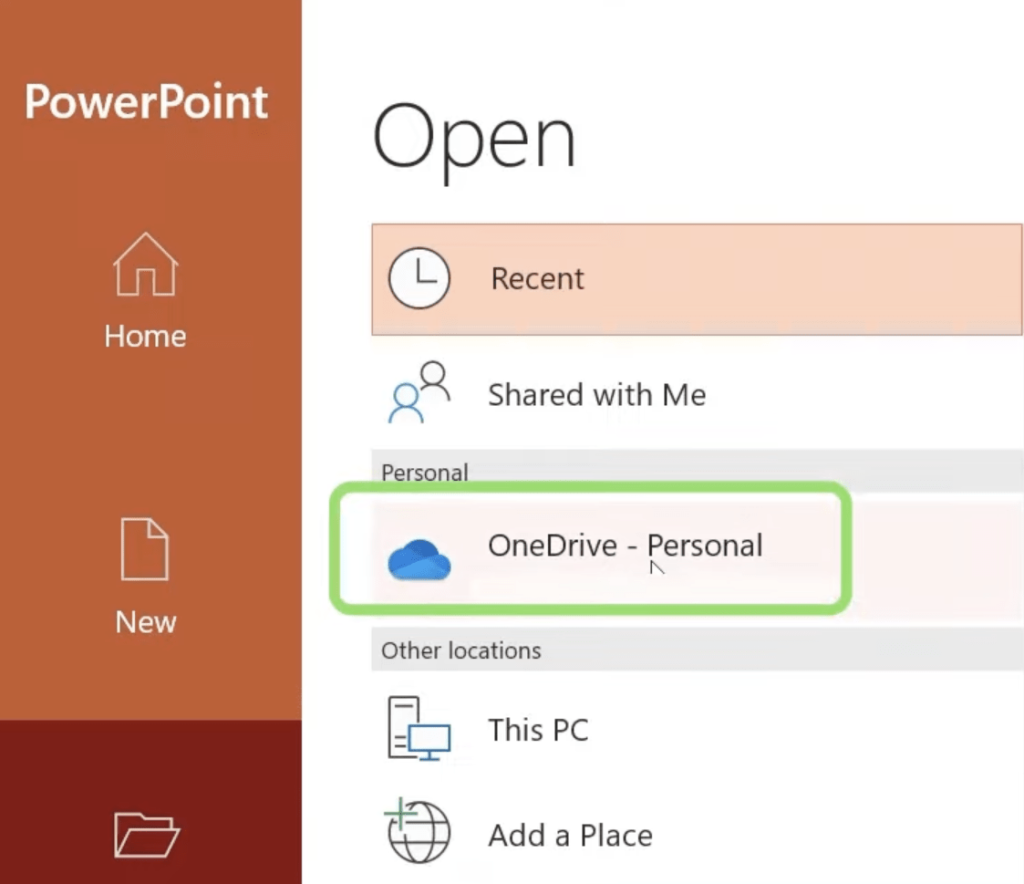
- Recent – You can use this option to open a relatively recent file that you have worked on.
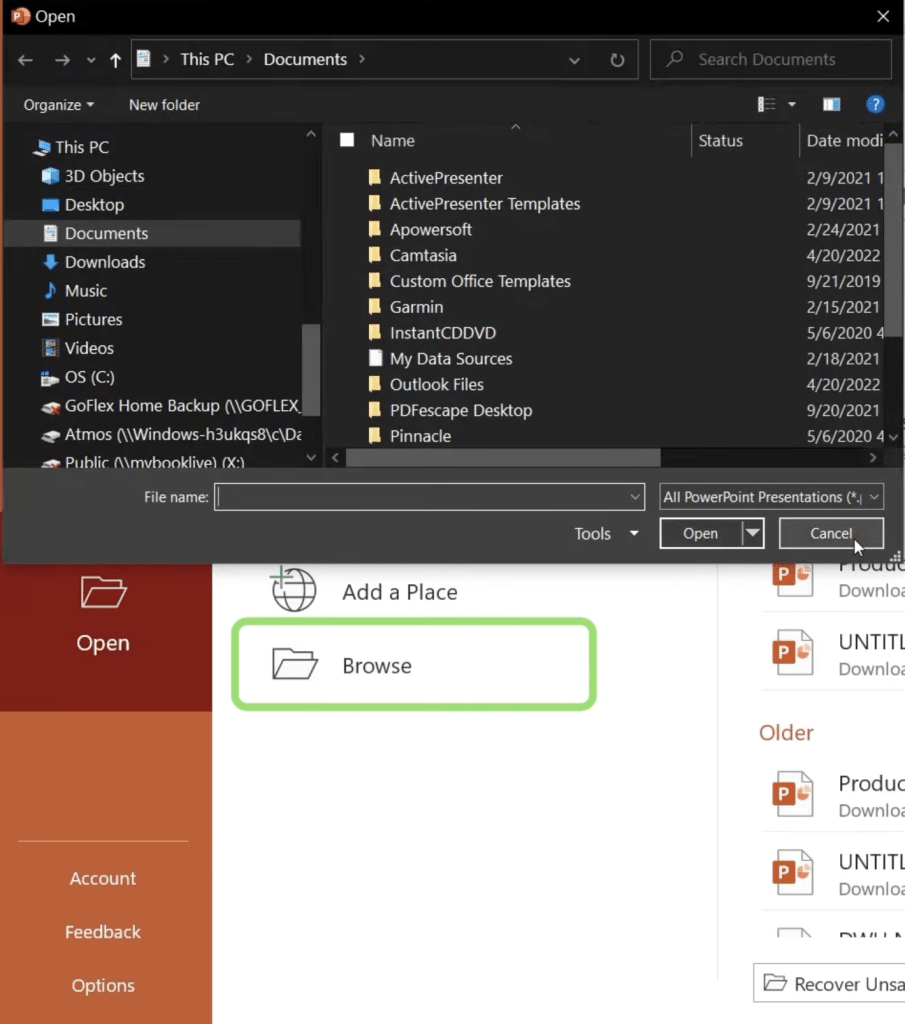
- Browse – You can use this option to open a file saved on your computer.
- OneDrive – You can use this option to open any file saved in your OneDrive account.
New
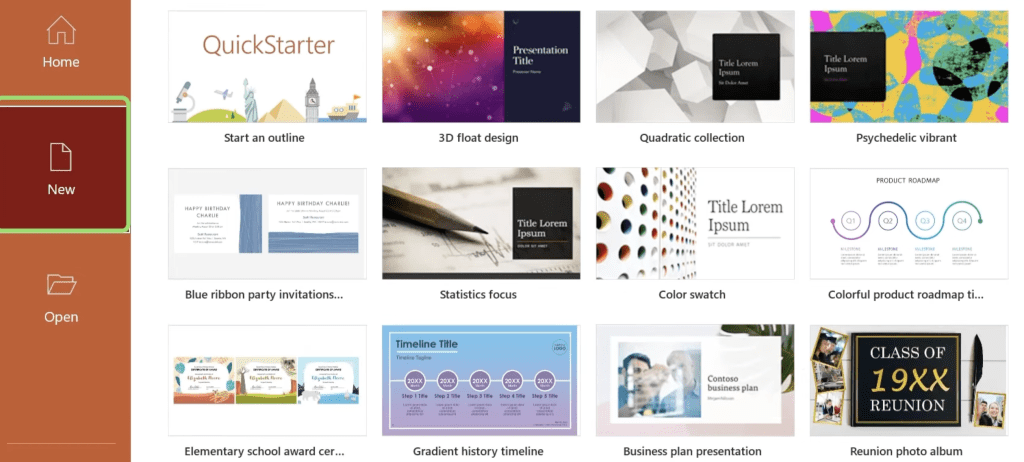
In the left panel, click on the New button –
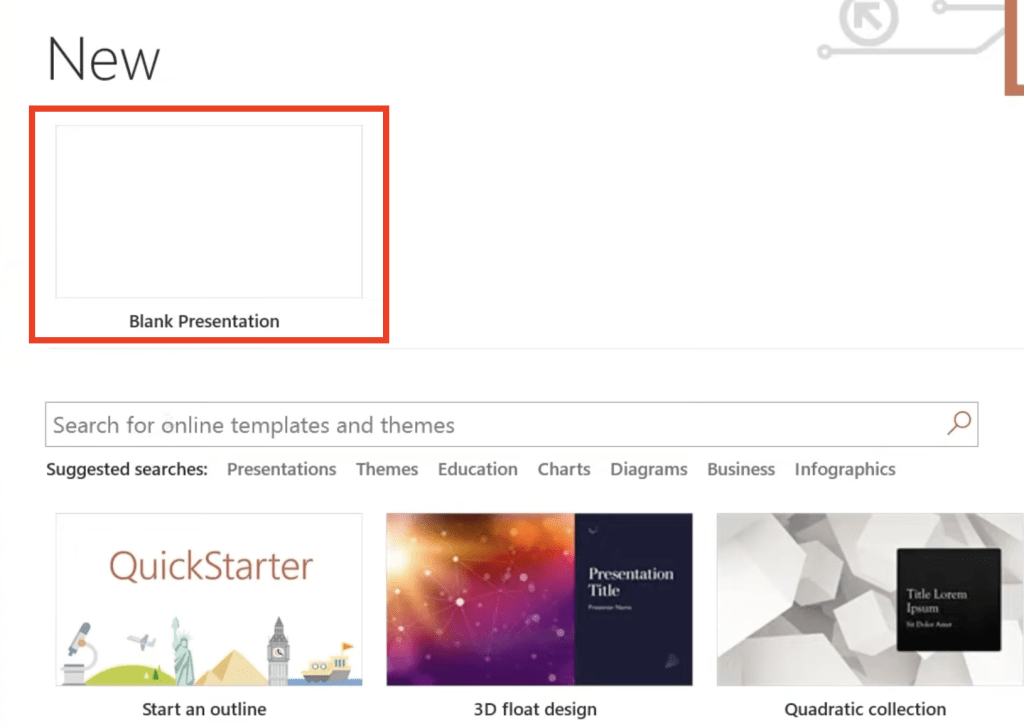
- You can either click on a Blank presentation and start working on it from scratch.
- If you wish to save time and work on a template, you can select that from the plethora of options available in Microsoft Powerpoint. You can simply replace the sample text with your own text and your presentation will be ready.
The Ribbon is located at the top of the screen, just below the title bar.
The ribbon consists of several tabs – Home, Insert, Design, Animation, Slide Show, Review, View, etc.
Each tab is made of several groups where like functionality is clubbed together. For example – The clipboard group under the Home tab contains functions like – copy, cut, paste, and other paste options.
You can also click on the small arrow at the bottom right of the group to find more options.
Slides – Adding, Designing, Arranging, and Pictures
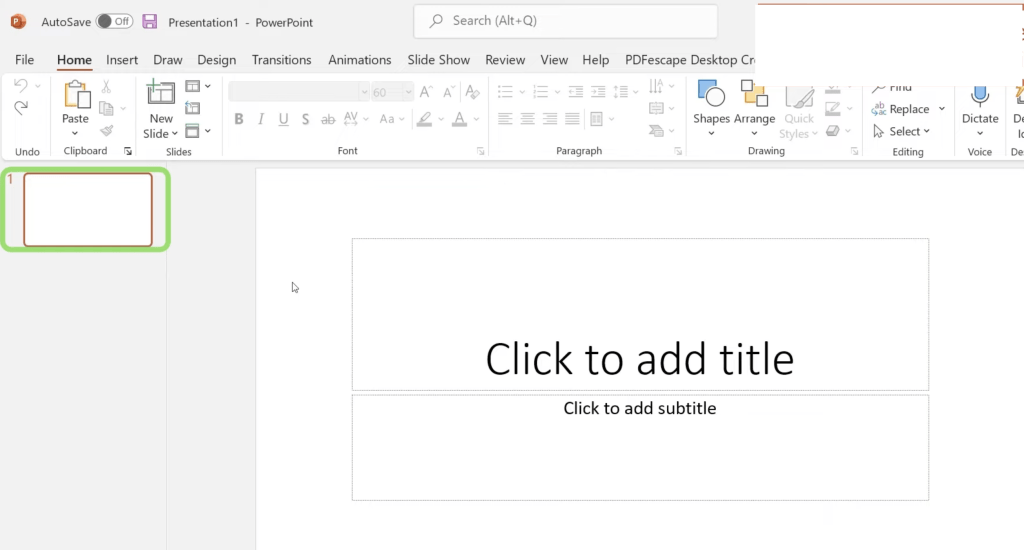
In the slide navigation panel on the left, you can see the number of slides in the presentation. Currently, we have only 1 slide. You can click on the placeholders and type what you want to display as a title and subtitle.
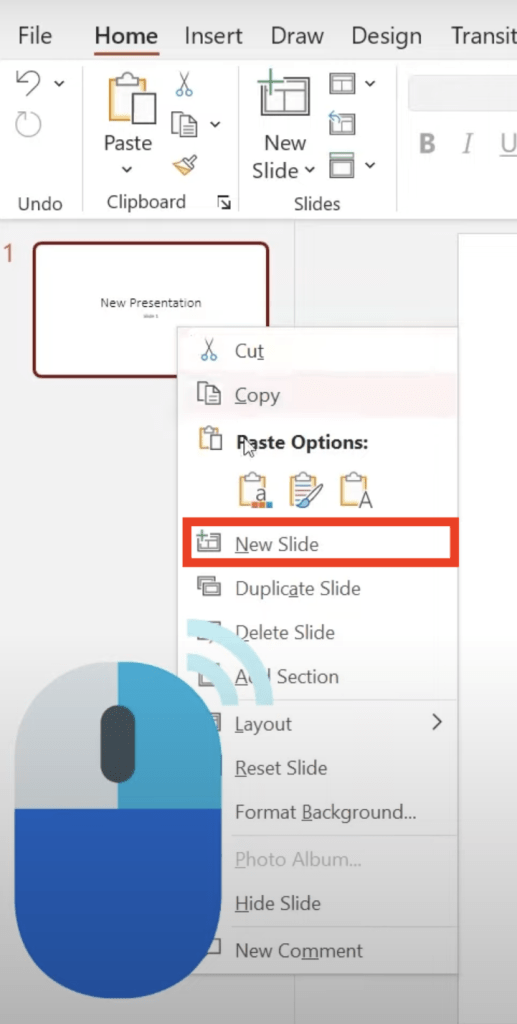
To add a new slide, simply right-click on the slide and click on New Slide.
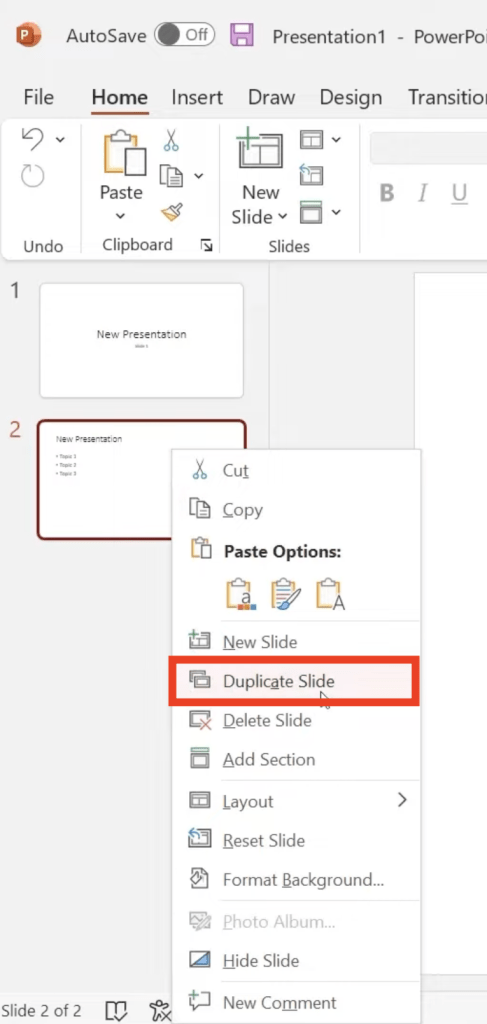
You can add a tile and content to this slide. If you want the next slide to have the same layout, you can right-click and select Duplicate Slide. The duplicate slide will be inserted after the original slide.
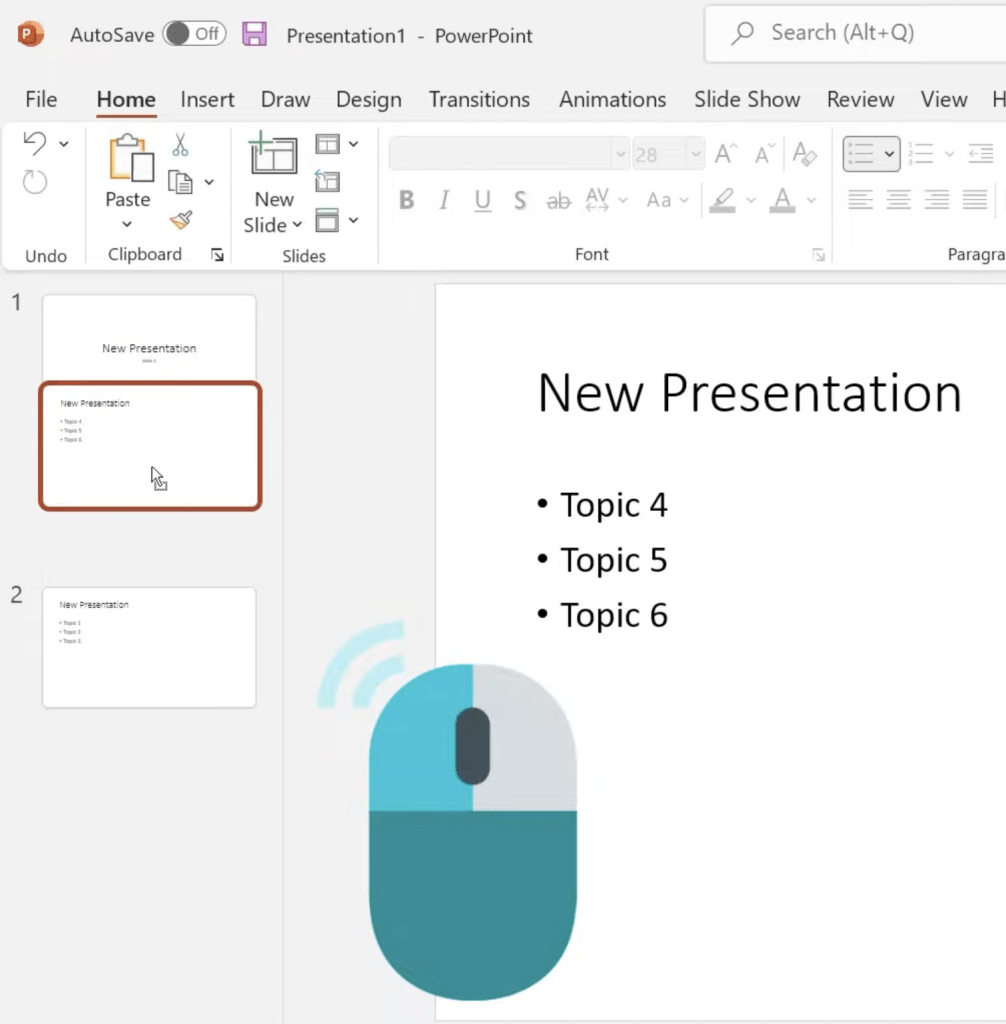
To change the order of the slide, click on the slide and drag it up or down to the new location.
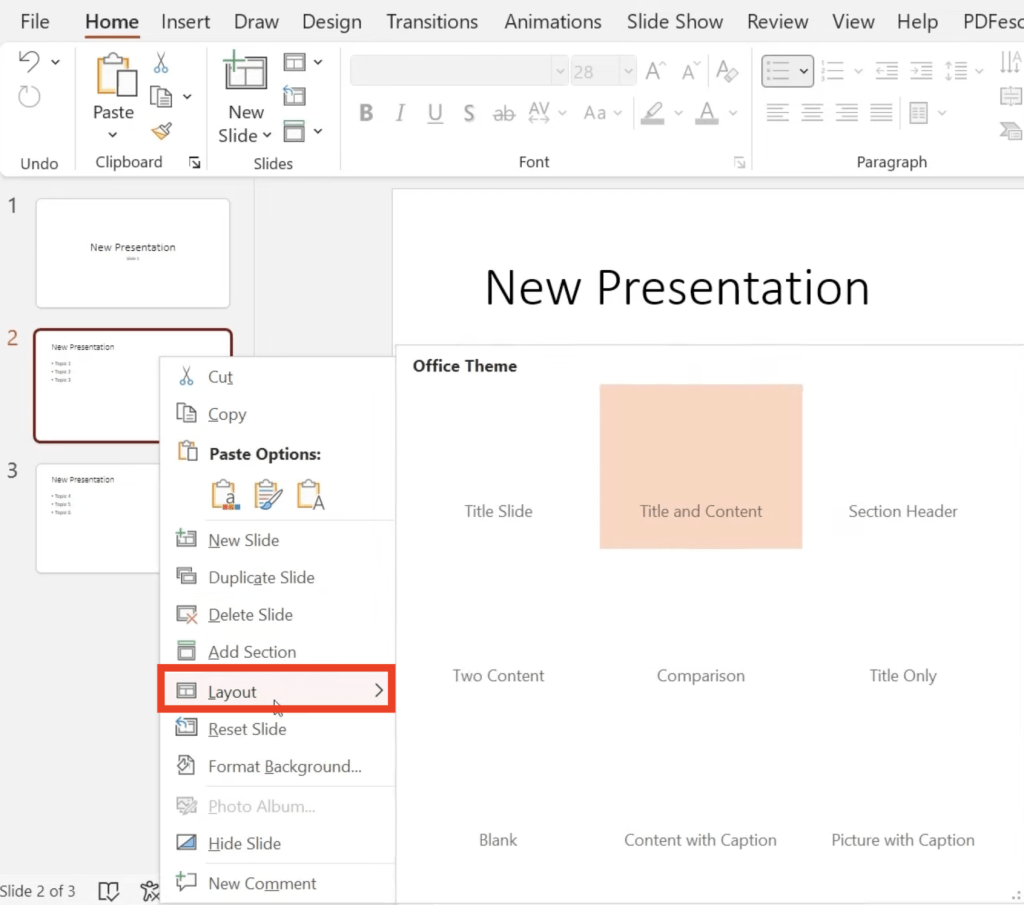
To change the layout of a particular slide, right-click and select Layout. Then, click on the name of the desired slide layout in the drop-down menu.
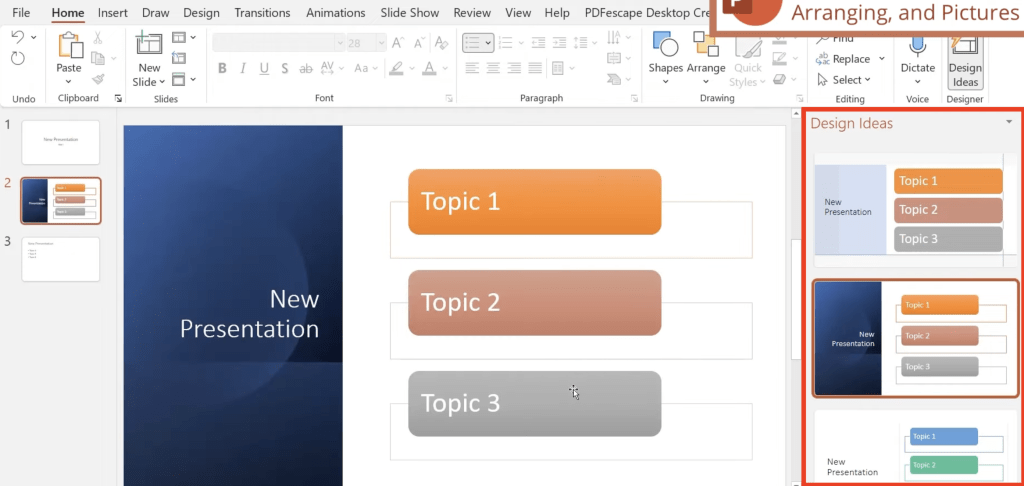
You can make your slides look more professional and aesthetically pleasing by using the Design Ideas option present in PowerPoint. Go to the Home tab and select Design Ideas.
A list of designs will be displayed on the right-side panel matching the content of the slide. Once you select a list, your slide will be changed automatically.
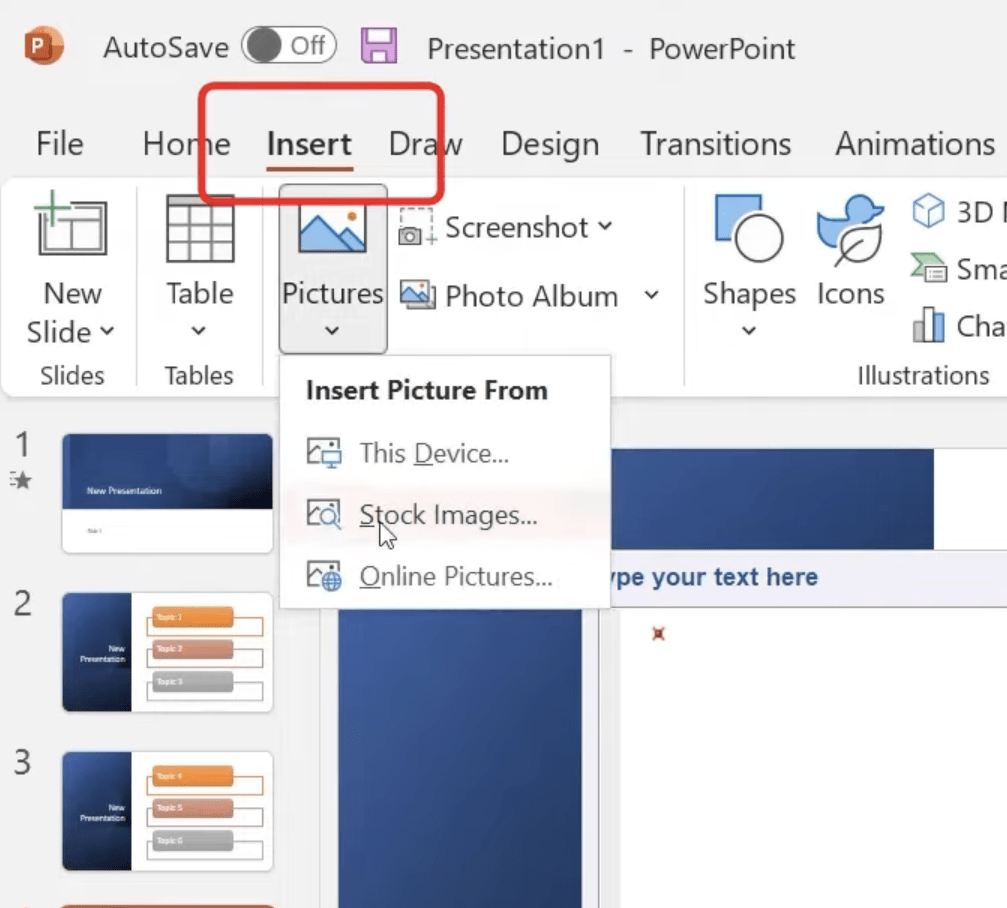
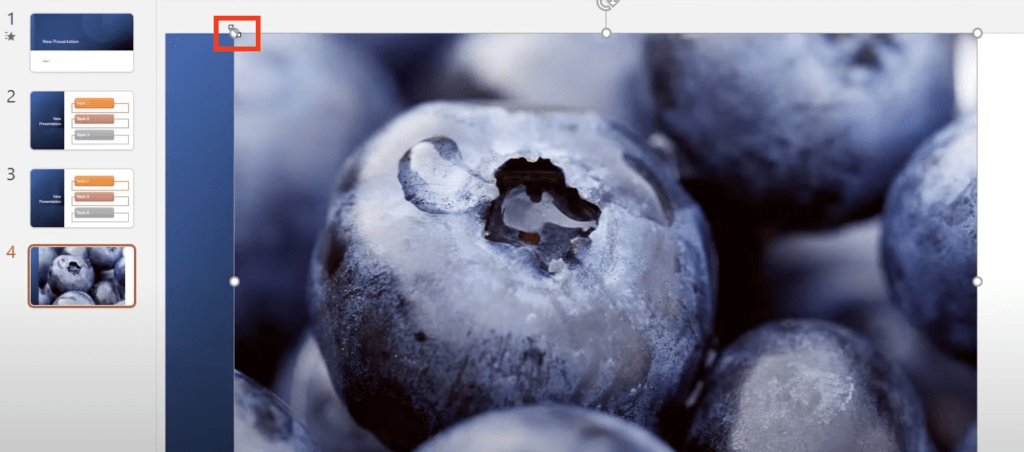
To insert images into your slide, click on Insert > Stock Image.
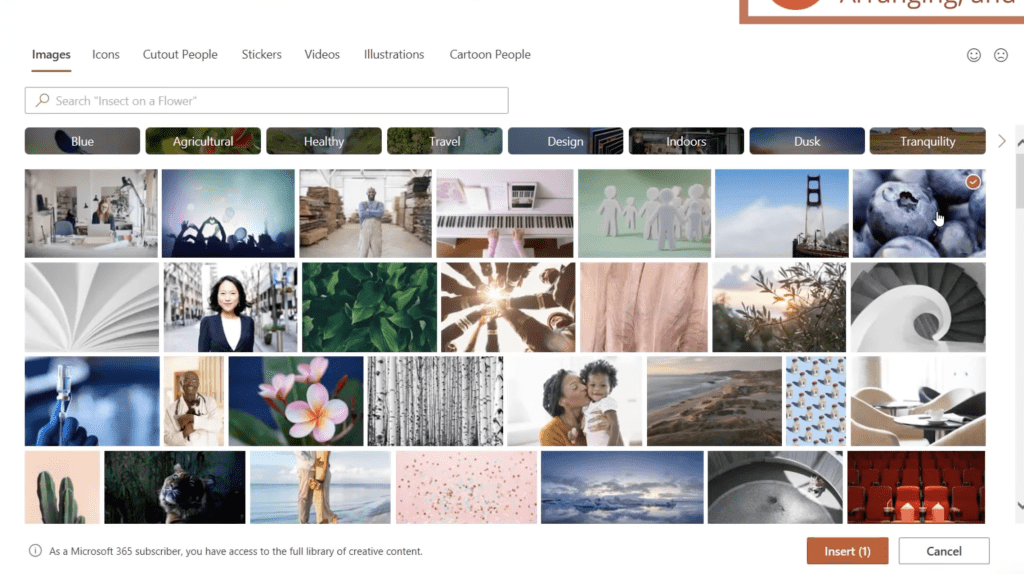
You can select a relevant image and click on Insert.
The image will show up on the slide. Click on the double-sided arrows to resize the image
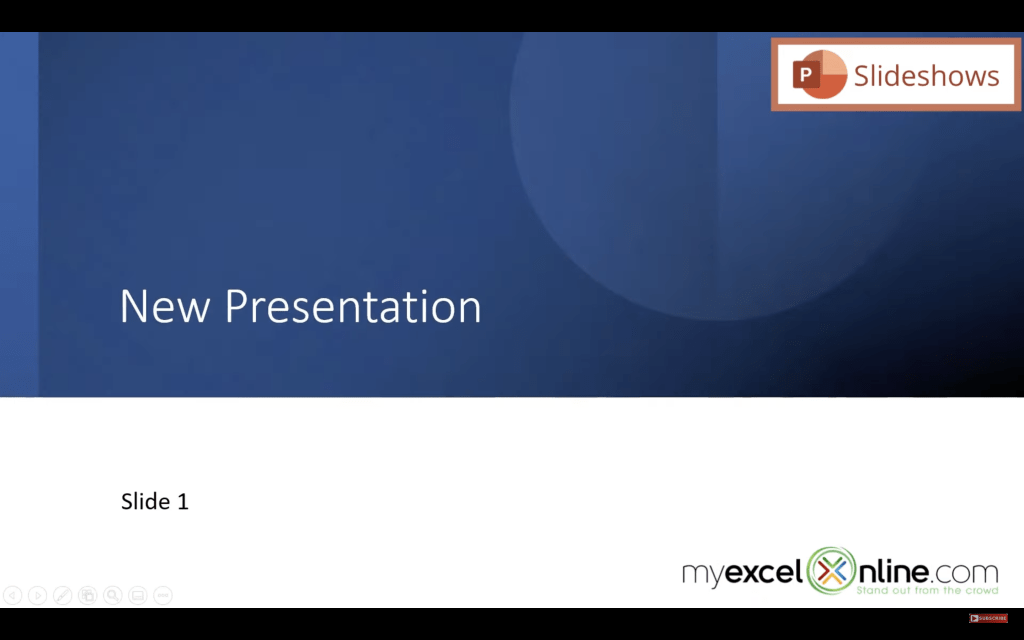
To view the slides that you have created to review or to present to the audience, you can start a slideshow –
Go to the Slide Show tab and select From Beginning.
The first slide will appear on the screen.
To view the next slide –
- Hit Enter
- Hit Down Arrow key
- Click on the screen
When you are at the end of the slide show, you can either hit the Esc button or the down arrow key again.
To make the slideshow interesting and visually appealing, you can add transitions to your slides. This will add an animation effect when you move from one slide to another during a slide show.
- Select the slide you want to add the effect to
- Go to Transitions
- Select an effect and click on Preview
- Click on Effect Options to select the direction and nature of the transition
You can go to the Transitions tab and select None to remove any transition already added.
You can even add animation effects to a single element present on a slide such as a text box, image, etc. Go to Animations > Choose an animation.
Click on Preview
You can select transition when you want to add a special effect to an entire slide and select animation when you want to special effect to a particular element on a slide.
File Menu – Save, Print, and Export
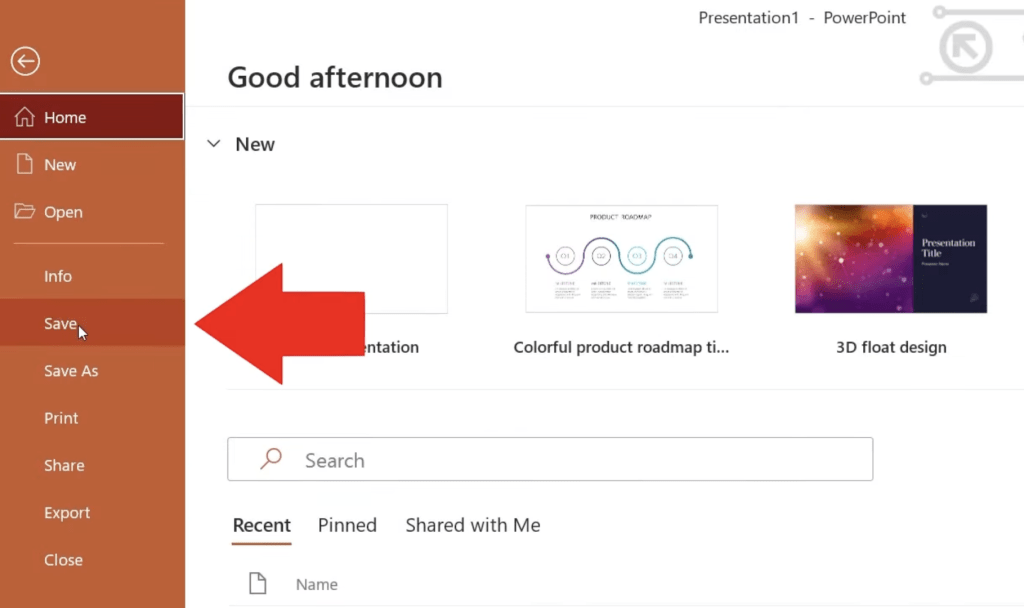
To save a presentation to either your OneDrive account or to your desktop, go to File > Save.
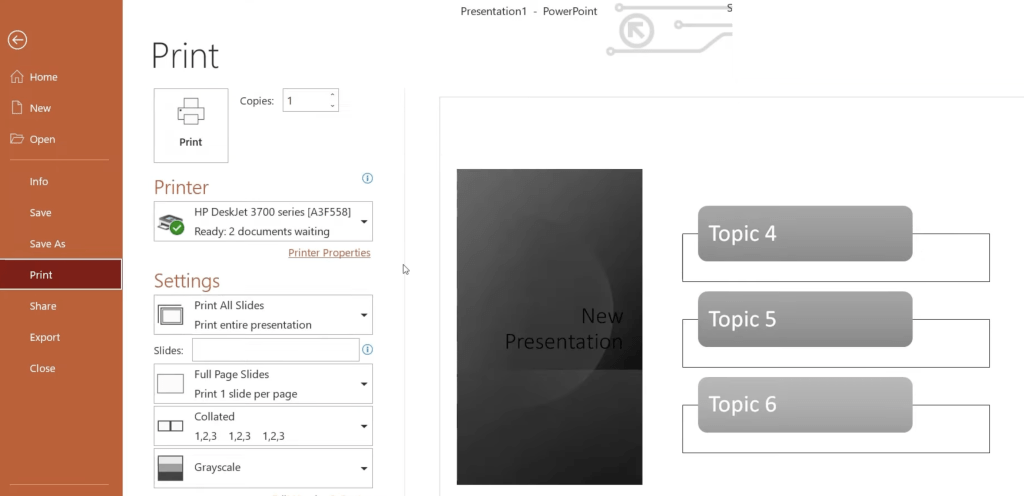
You can even print all or some of the slides by clicking on the Print button.
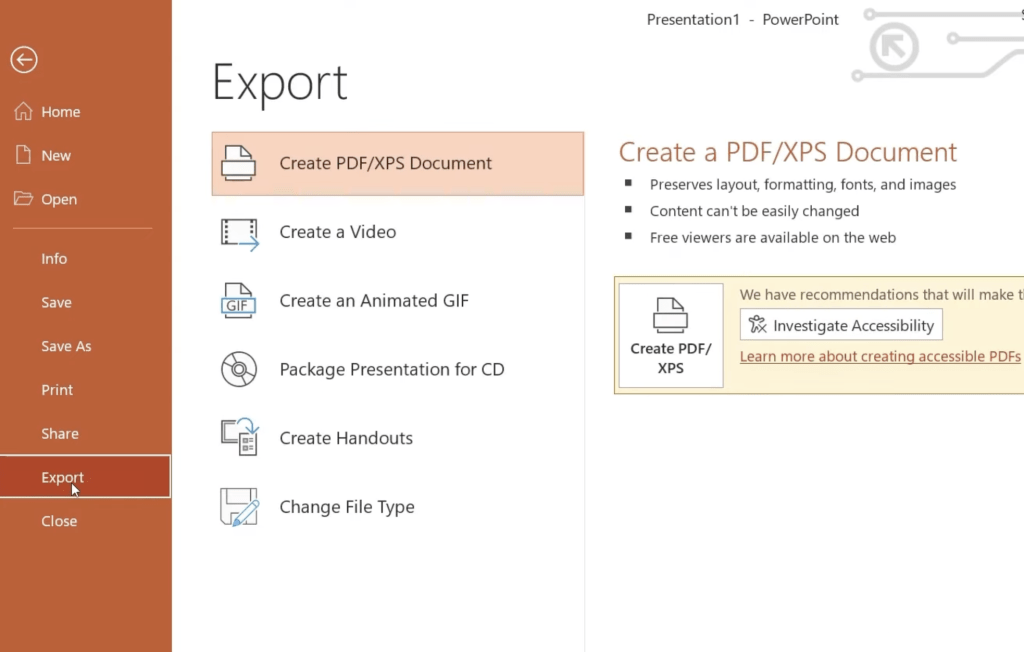
You can export the presentation as PDF, make a video or create a handout by clicking on the Export button.
John Michaloudis is a former accountant and finance analyst at General Electric, a Microsoft MVP since 2020, an Amazon #1 bestselling author of 4 Microsoft Excel books and teacher of Microsoft Excel & Office over at his flagship Academy Online Course.
