In this article, we will cover how to use the morph animation in Microsoft PowerPoint. We will go over 3 different examples to help your slides look more professional. Included are tips for creating a zoom effect animation, a black and white to color animation, and a shape morphing animation. These 3 tips should help you be able to create more professional slideshows.
Here are the steps to Make Morph Animation in Microsoft PowerPoint – 3 Examples –
- Zoom Morph Animation in Microsoft PowerPoint
- Black and White to Color Highlight Morph Animation in Microsoft PowerPoint
- Shape Morph Animation in Microsoft PowerPoint
Let’s look at each of these ways thoroughly!
Watch this video on how to make Morph Animation in Microsoft PowerPoint on YouTube and give it a thumbs-up!
Zoom Morph Animation in Microsoft PowerPoint
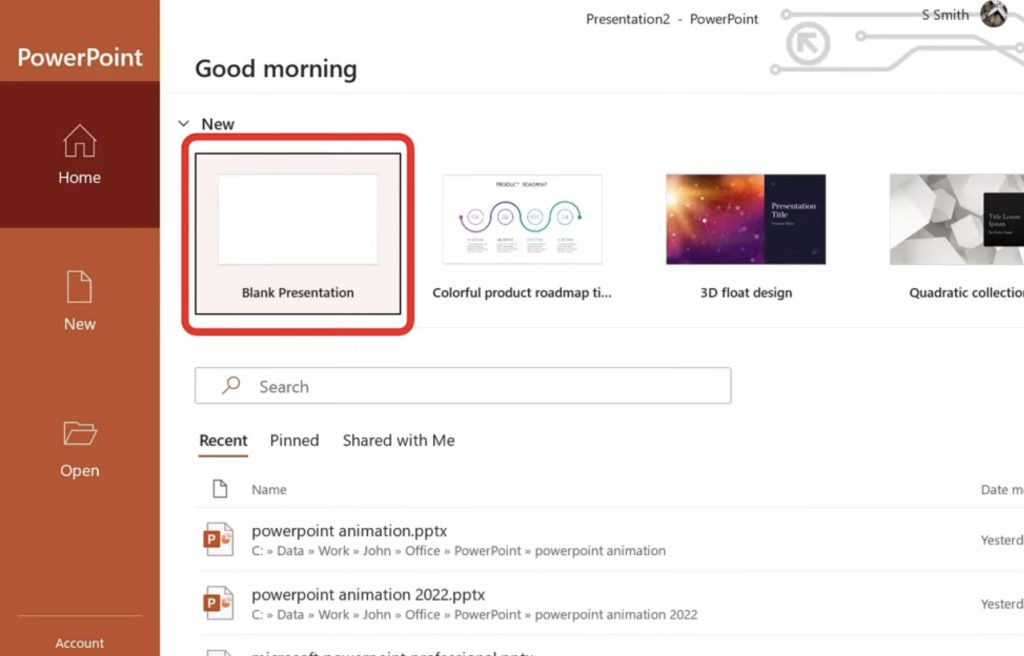
First, create a Blank Presentation.
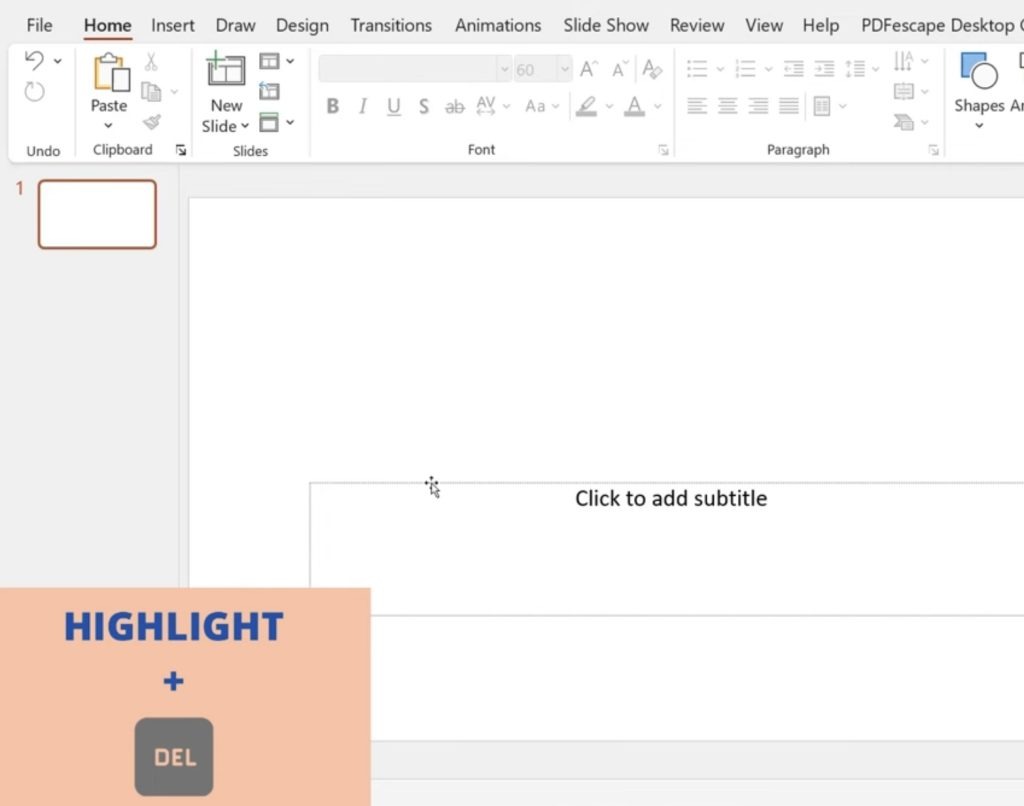
Remove the default boxes by Highlighting them and pressing Delete.
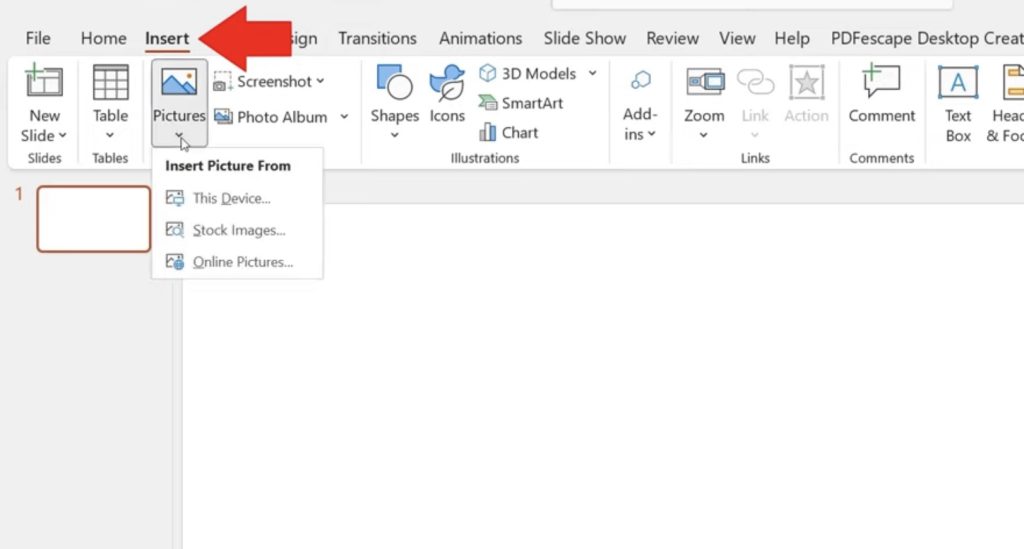
Next, go to Insert, Pictures, and choose This Device.
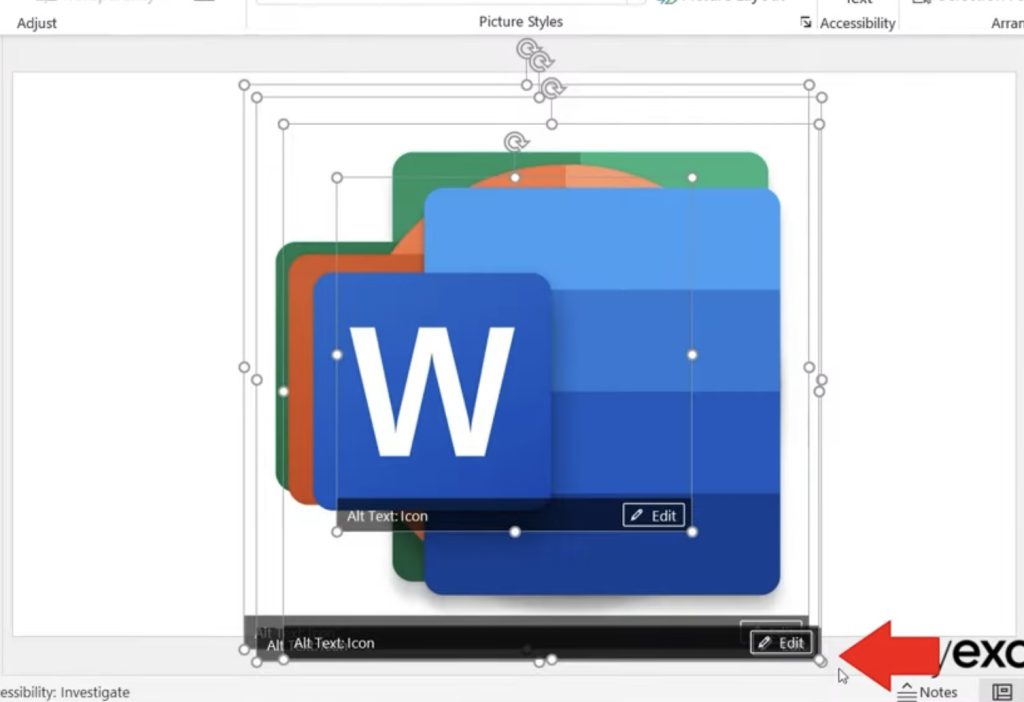
Select and Insert the files you want to use. To resize the images, Click and Drag the double-headed arrow on the corner of the image. Line up the images in the order you want them to appear.
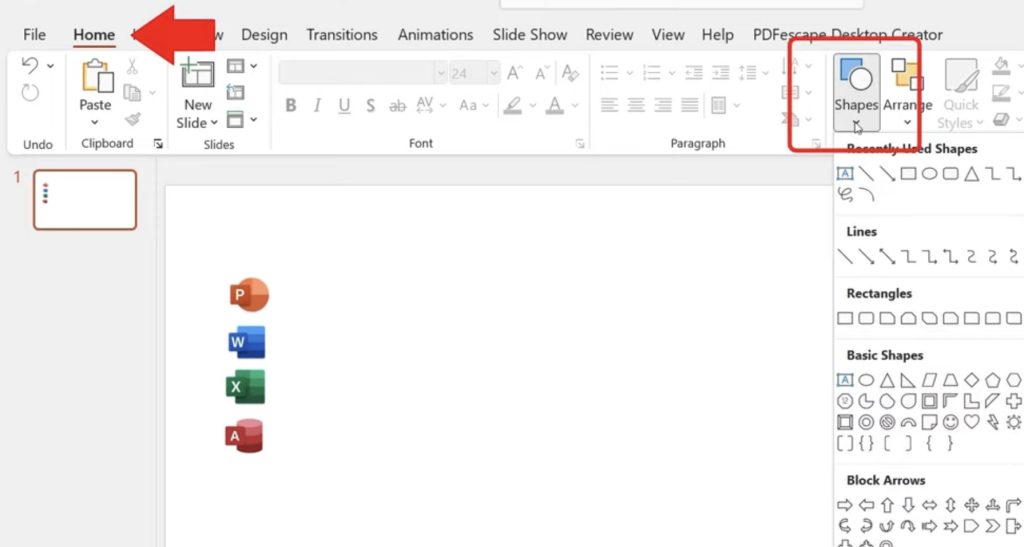
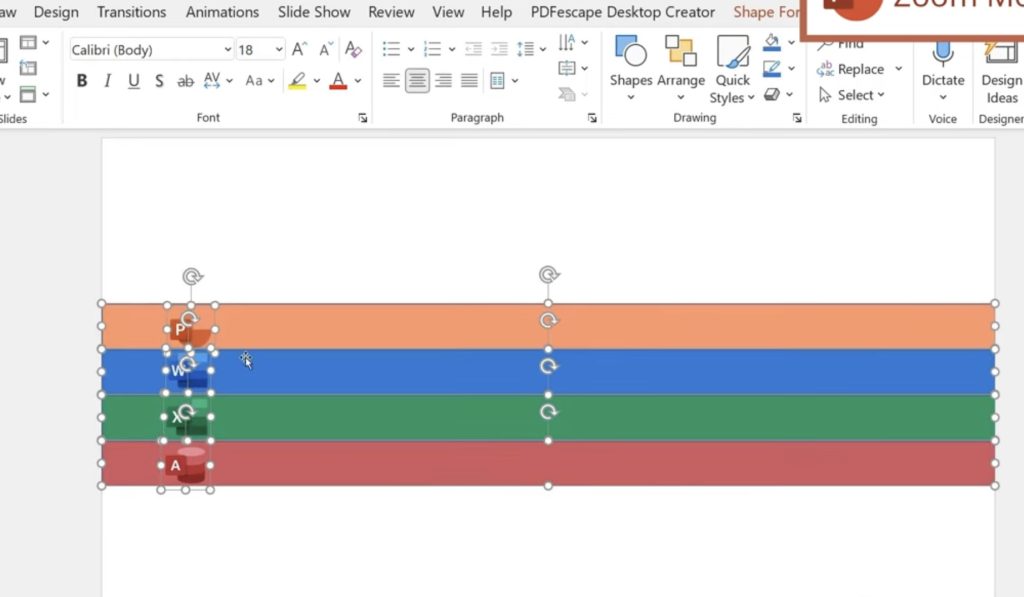
Next, we will incorporate some shapes by going to Home, then choose Shape. In this case we will choose the Rectangle shape.
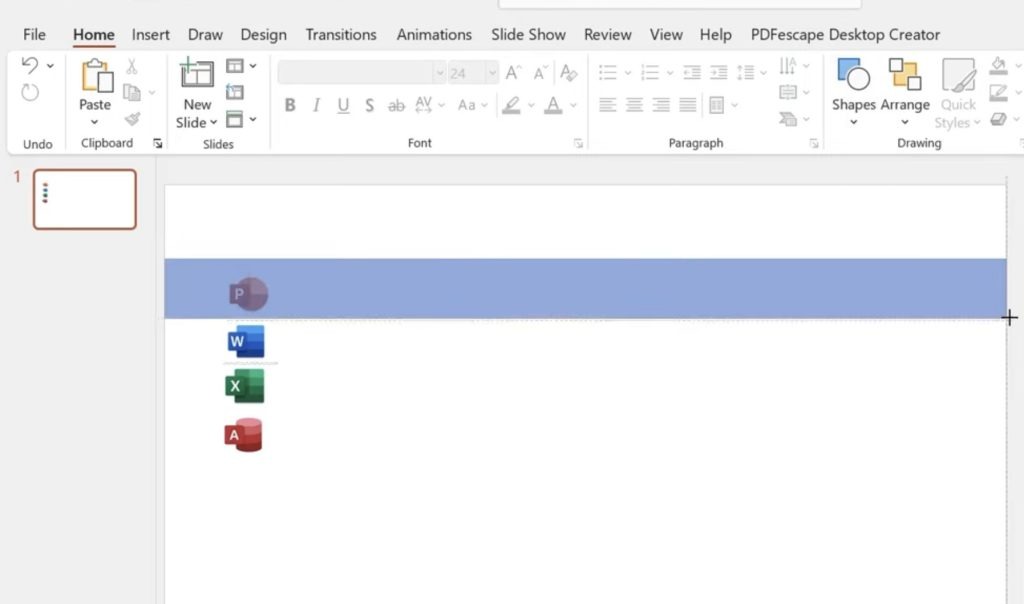
Draw the shape by dragging the corner.
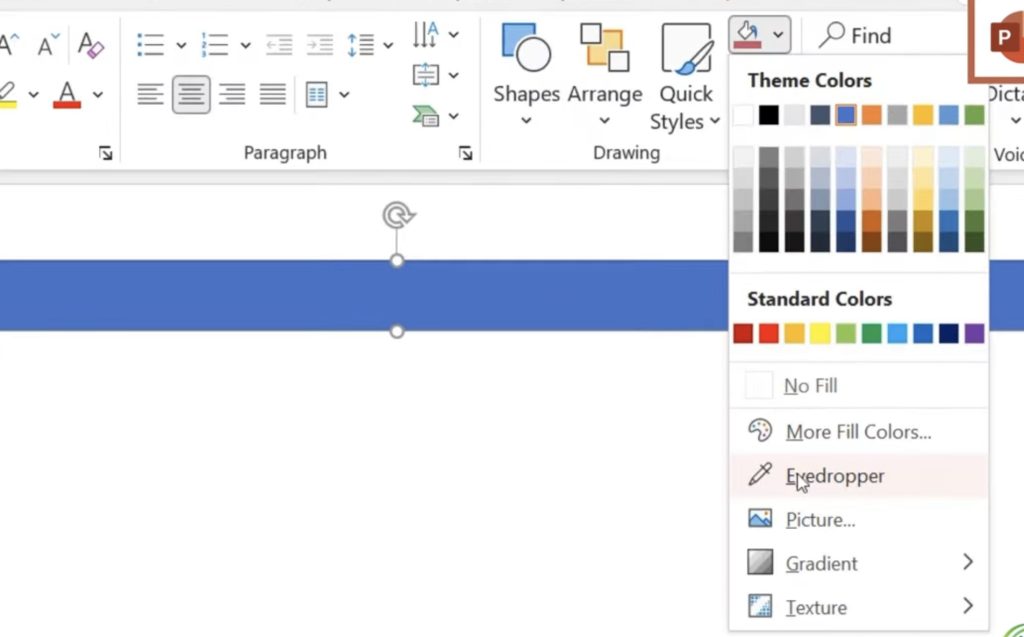
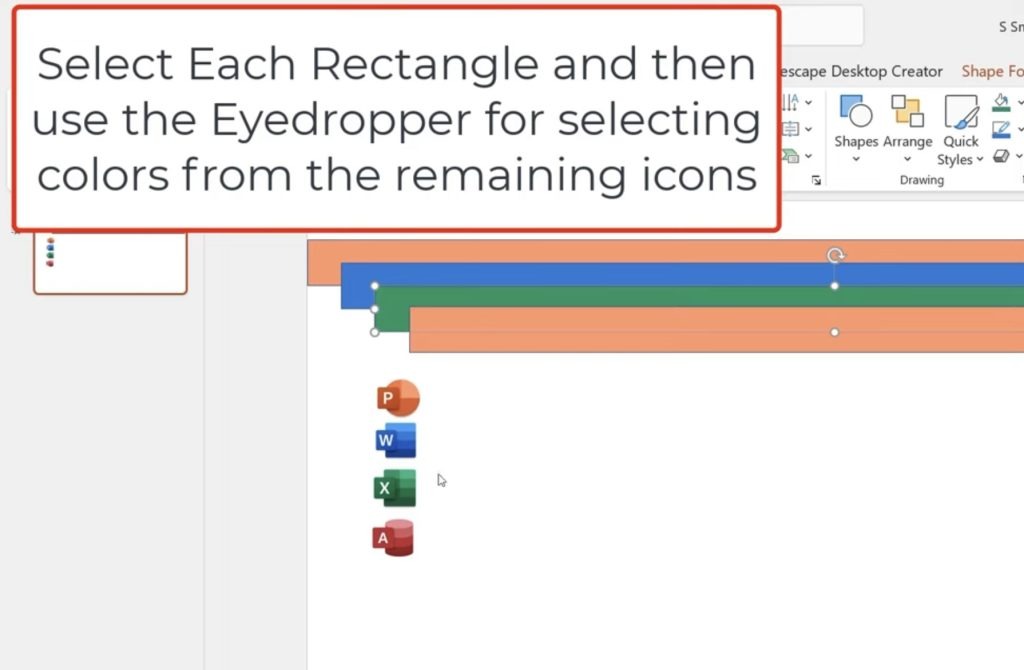
Go to the Fill Color, and select the Eyedropper tool.
Pick a color from the image itself.
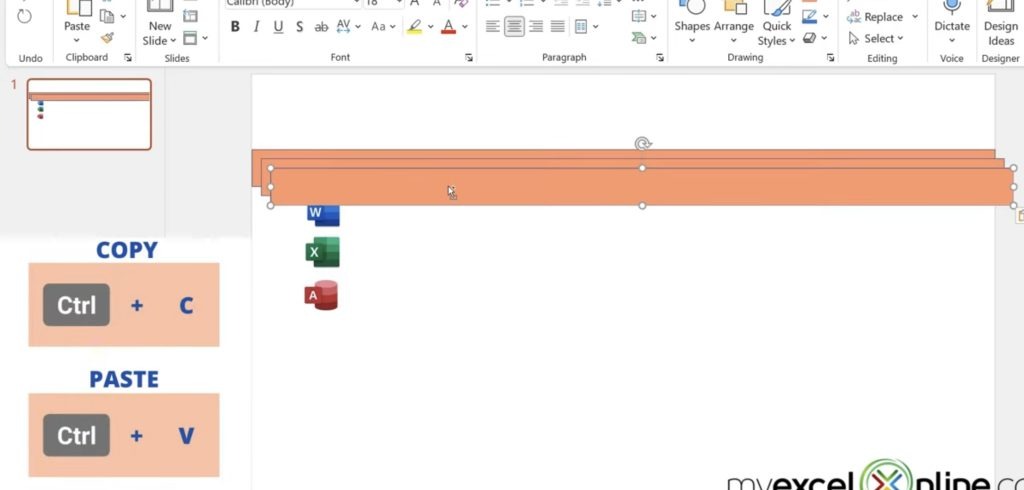
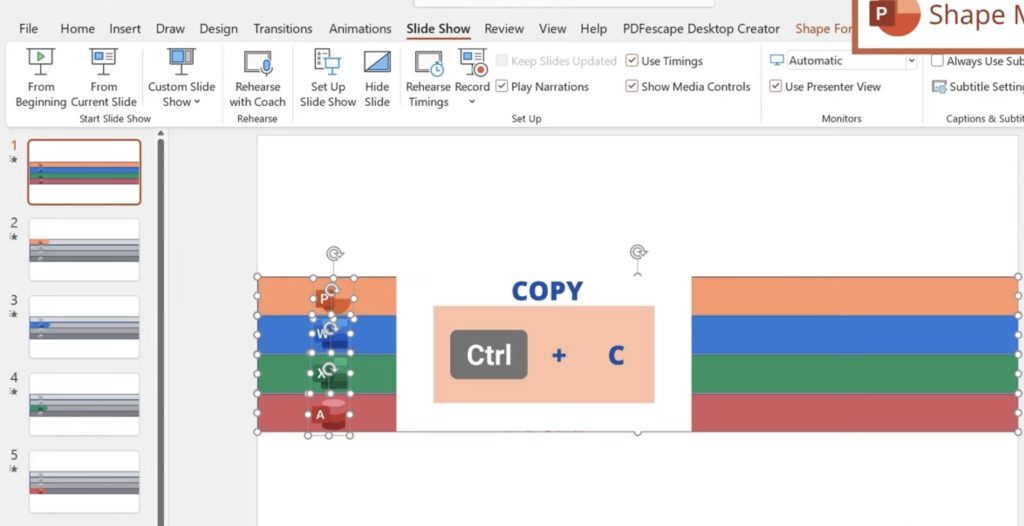
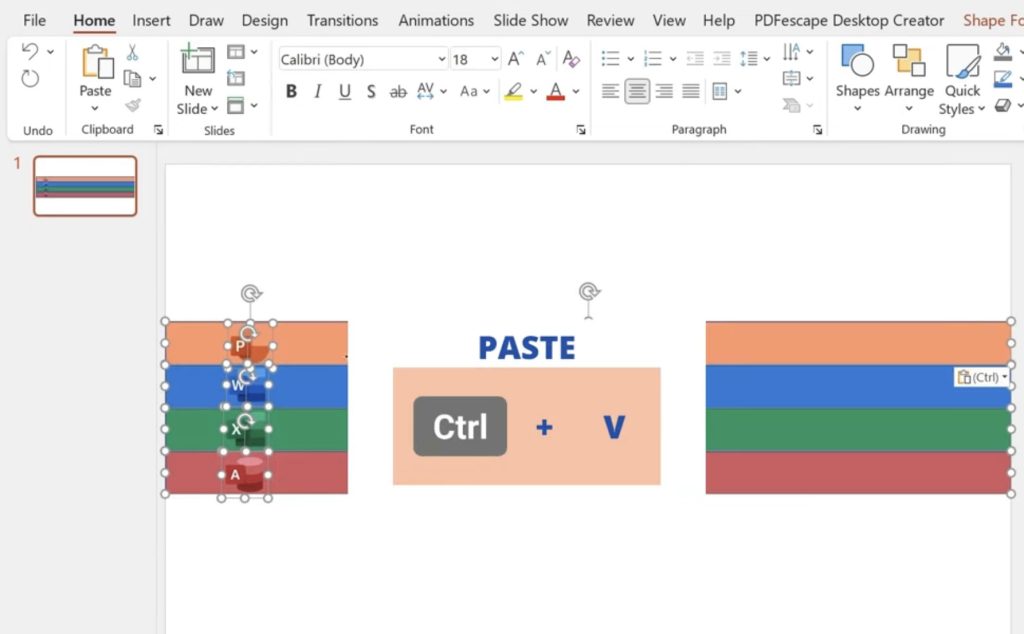
Hit CTRL-C and CTRL-V to multiply the shapes.
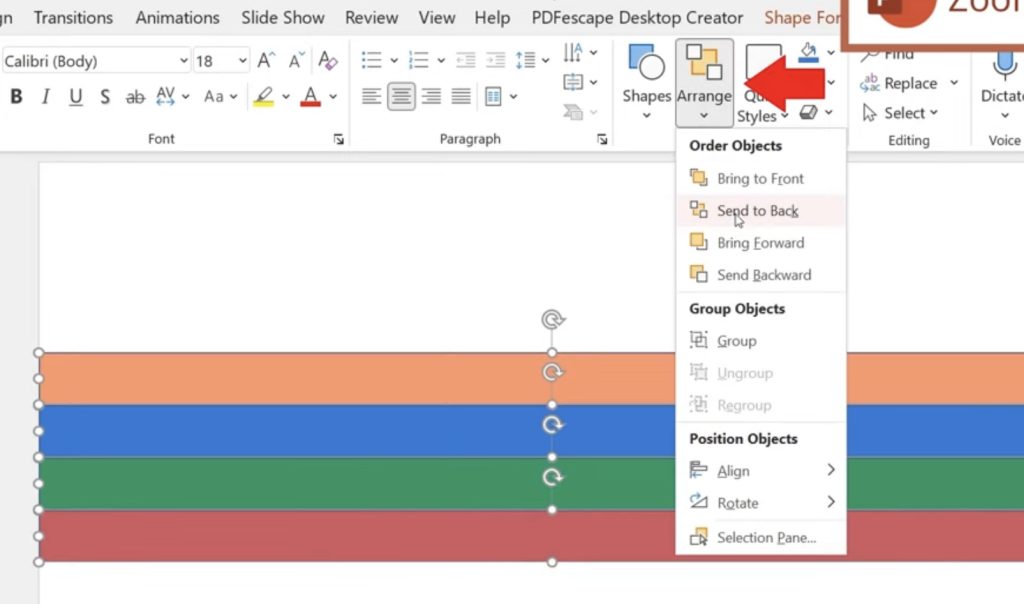
Hold down the Shift button on the keyboard and Select All Shapes. Go to Arrange, then Send to Back.
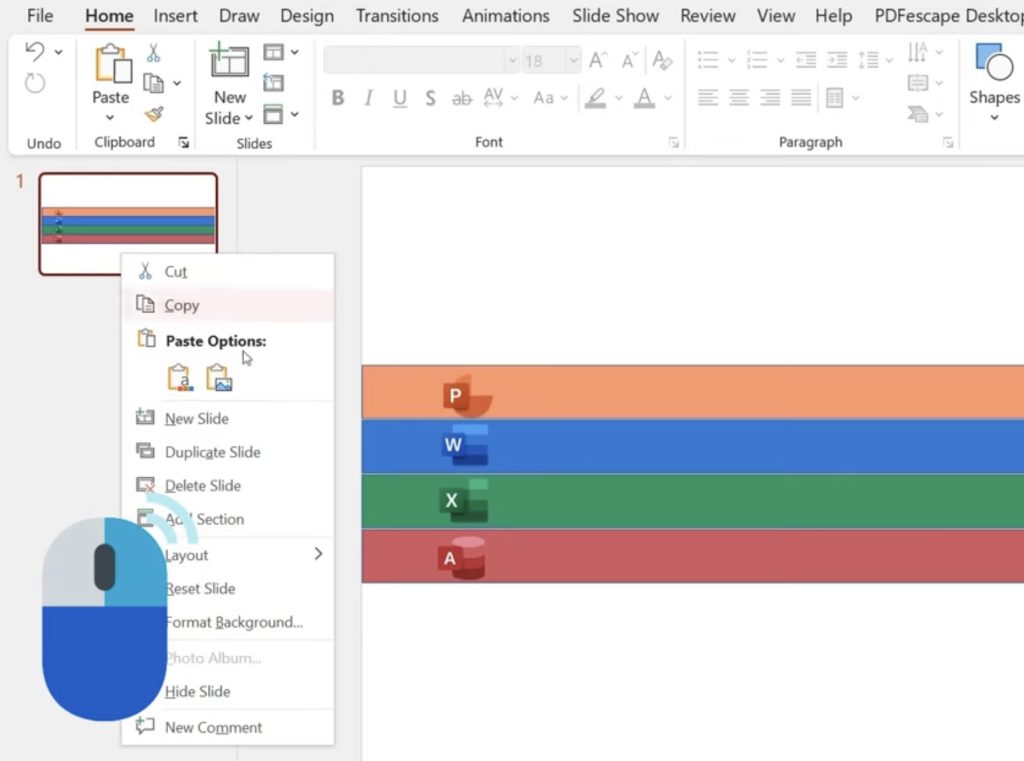
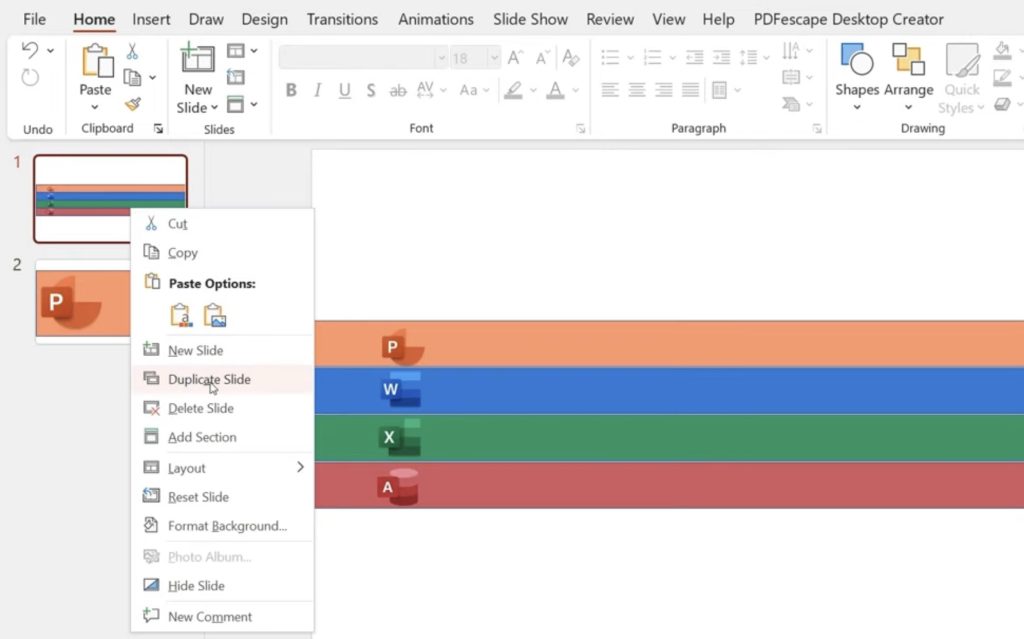
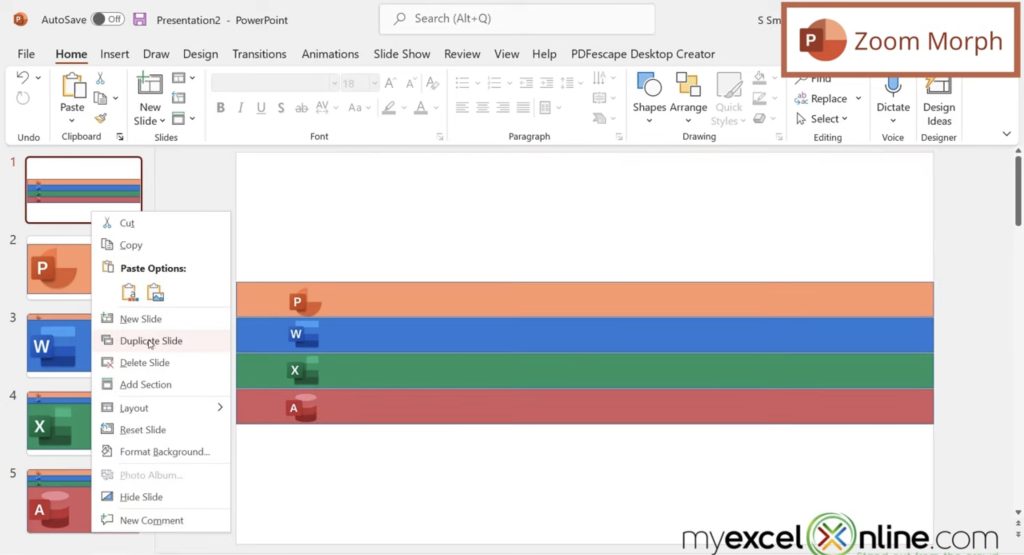
Right Click on the Slide and select Duplicate Slide.
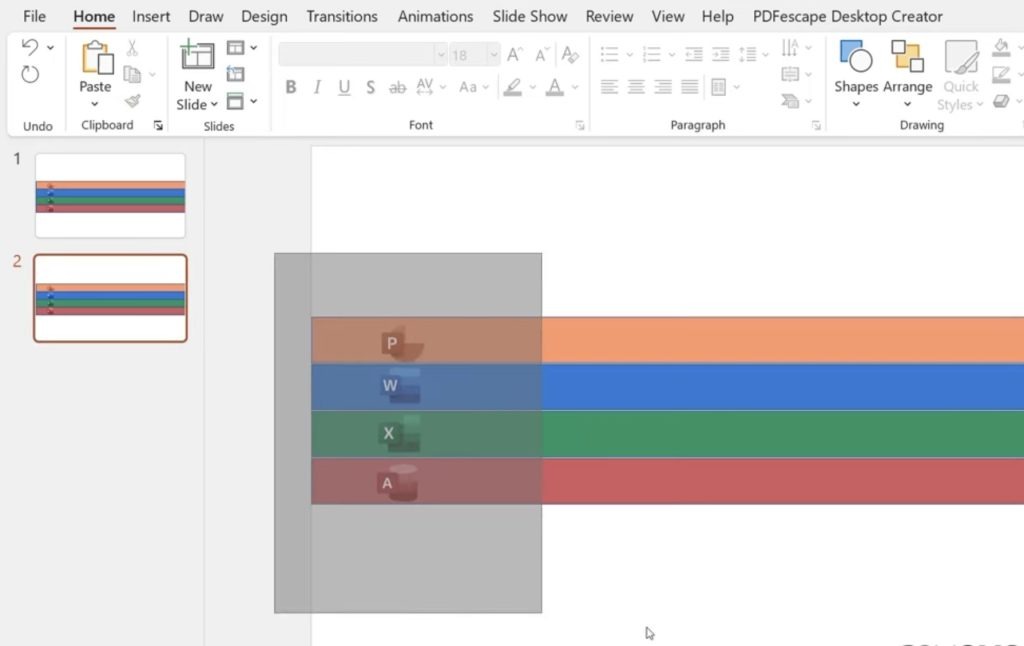
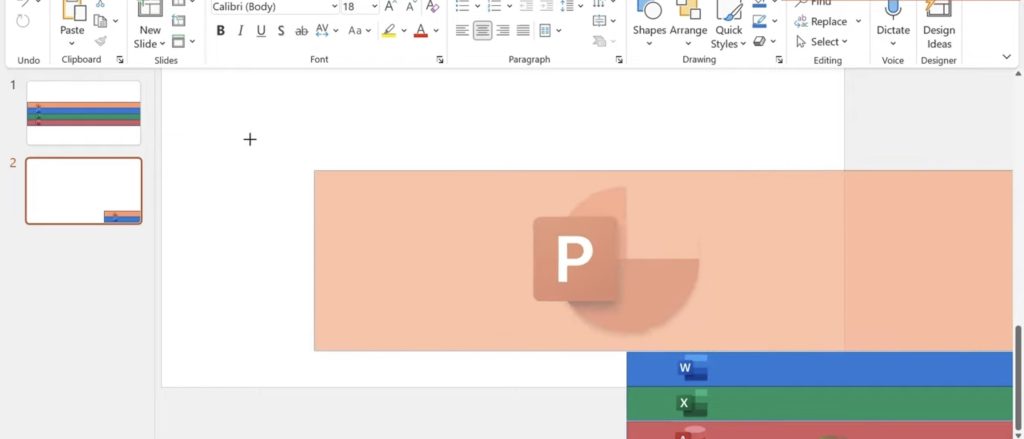
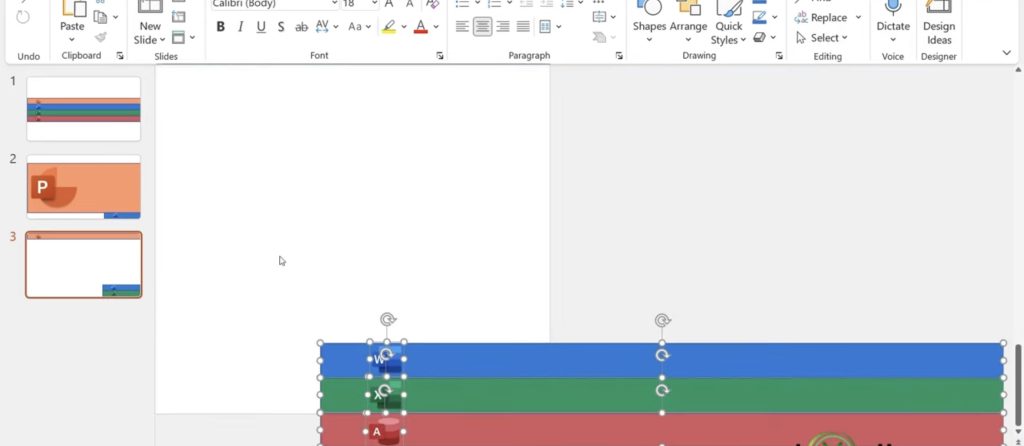
Select the second slide. Click and Drag from the grey area to select all the elements in the slide.
Once all the elements are selected, Drag them all the way down to the lower right-hand side.
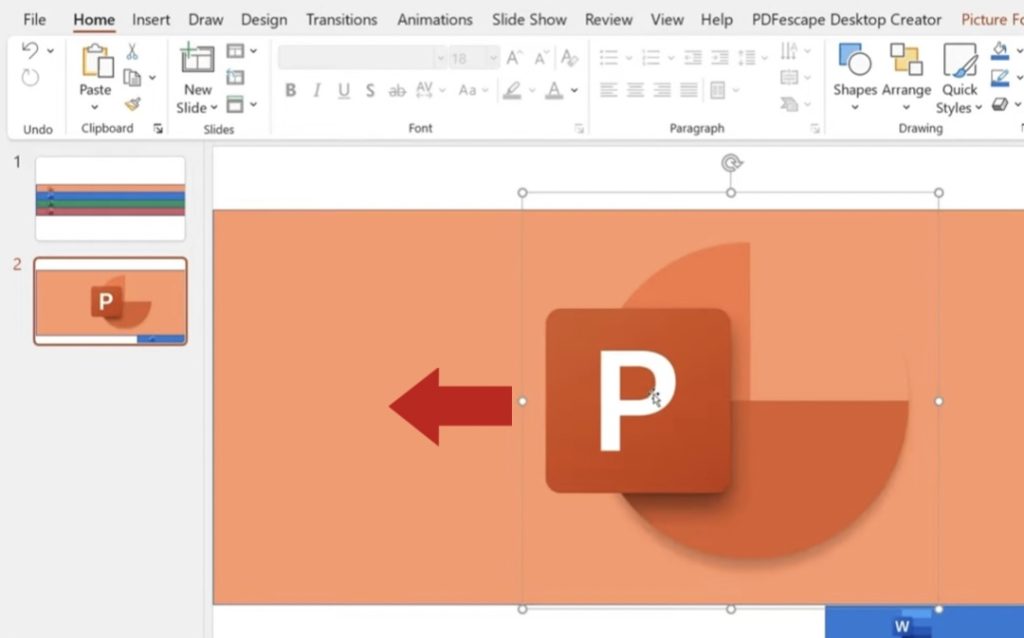
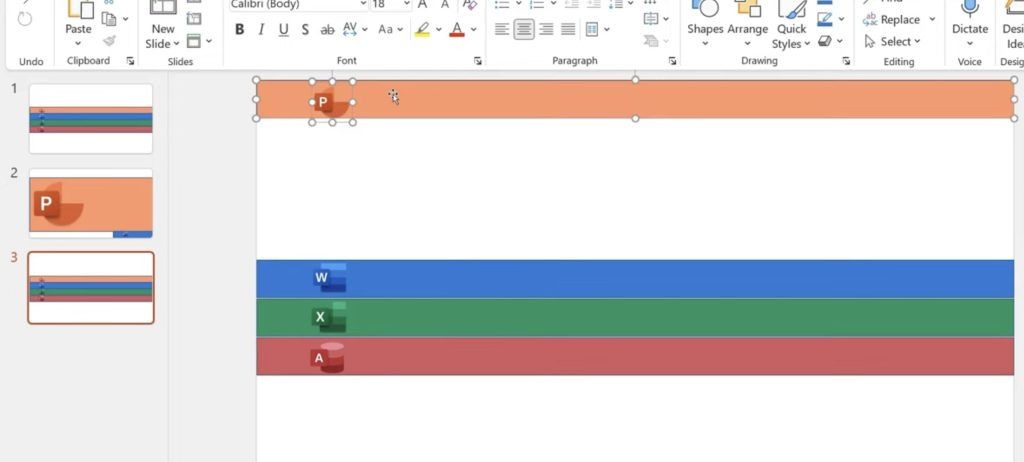
Next, select the PowerPoint rectangle and icon, and Resize it up to the left so that it’s very large.
Select the PowerPoint icon and Drag it a little bit to the Right.
The second slide will serve as the “Zoom View.”
Right Click and Duplicate the first slide. Move the duplicated slide to the third position.
We are going to do the same thing for all the icons. Select and Move the PowerPoint icon and rectangle to the top.
Highlight the rest of the elements and bring them down to the corner again.
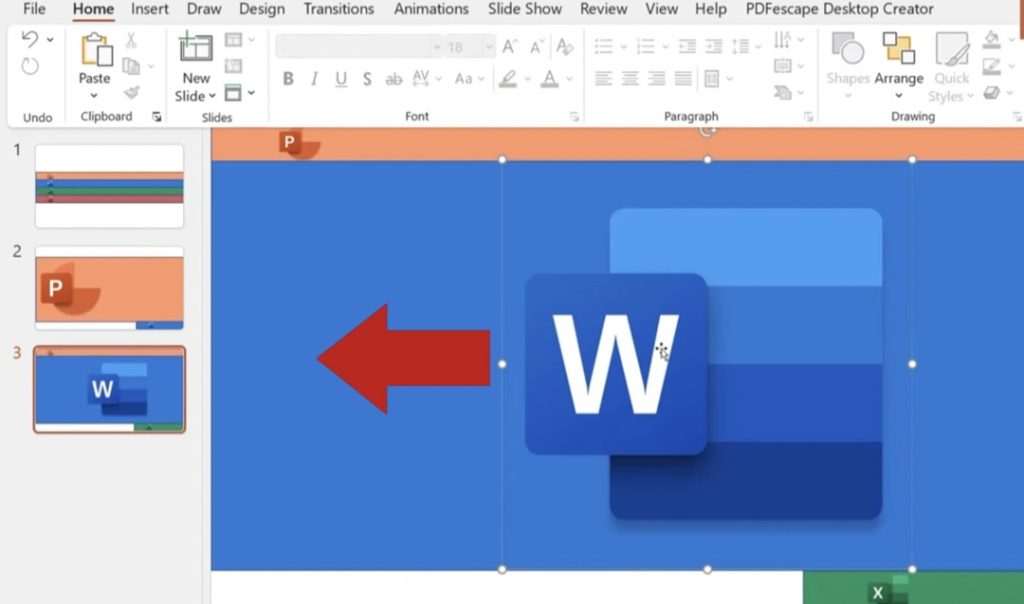
Highlight the Word icon and rectangle to its’ zoomed form.
Move the Word icon to the left like we did with the PowerPoint icon.
Repeat the process with the rest of the icons. For the last slide, Duplicate the first slide and Drag it to the end of the presentation.
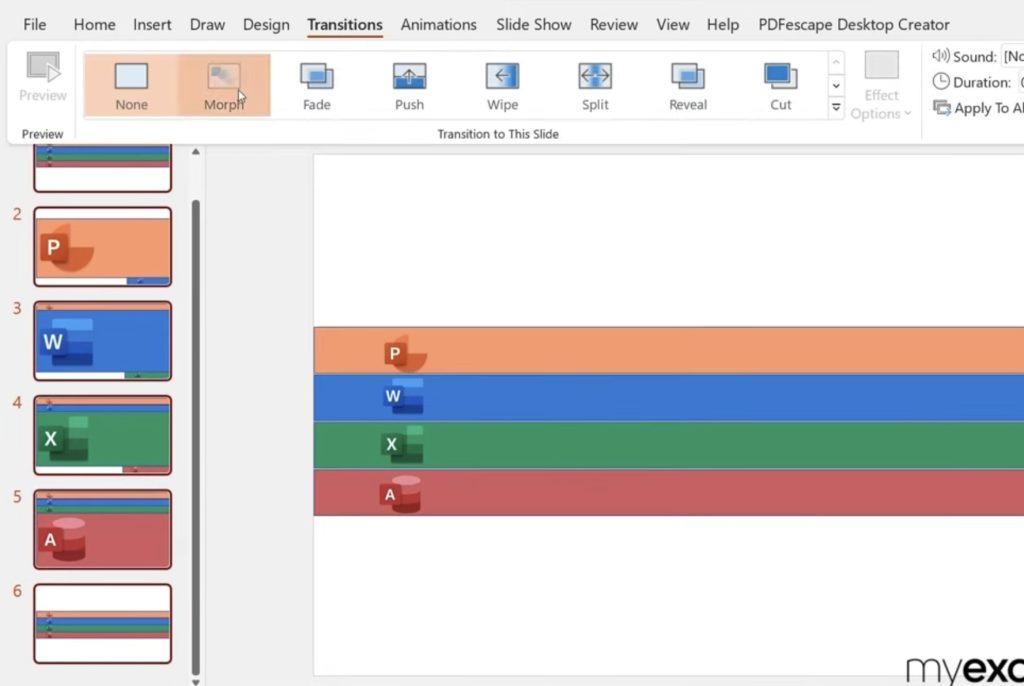
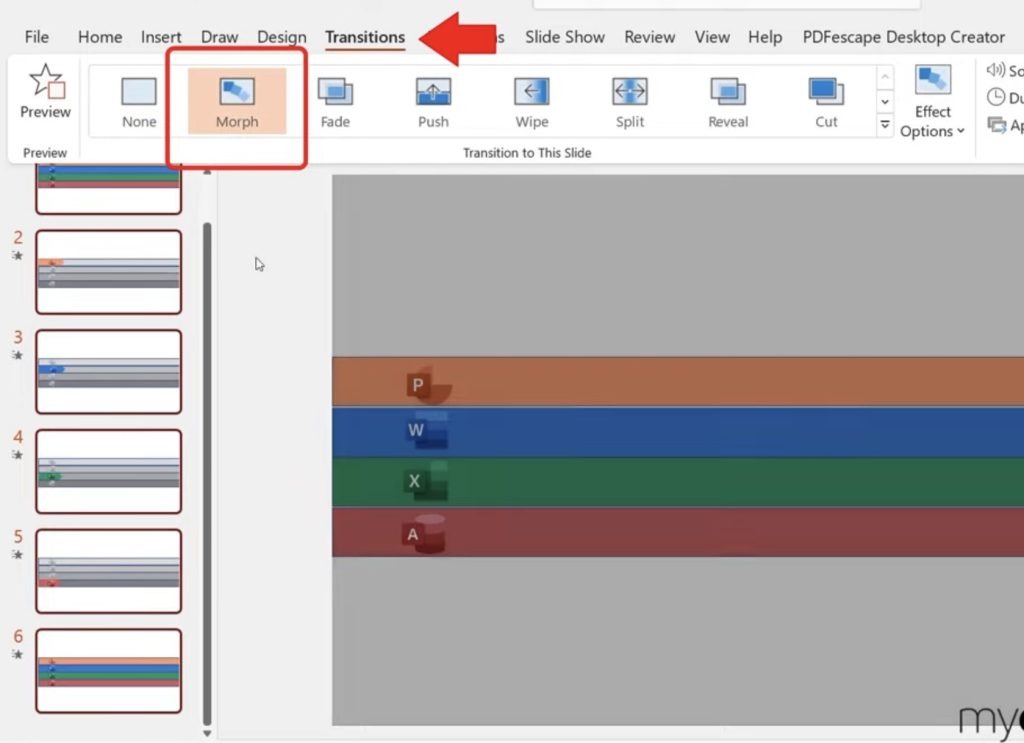
Hold down Shift on your keyboard to select all the slides. Go up to Transitions and select Morph.
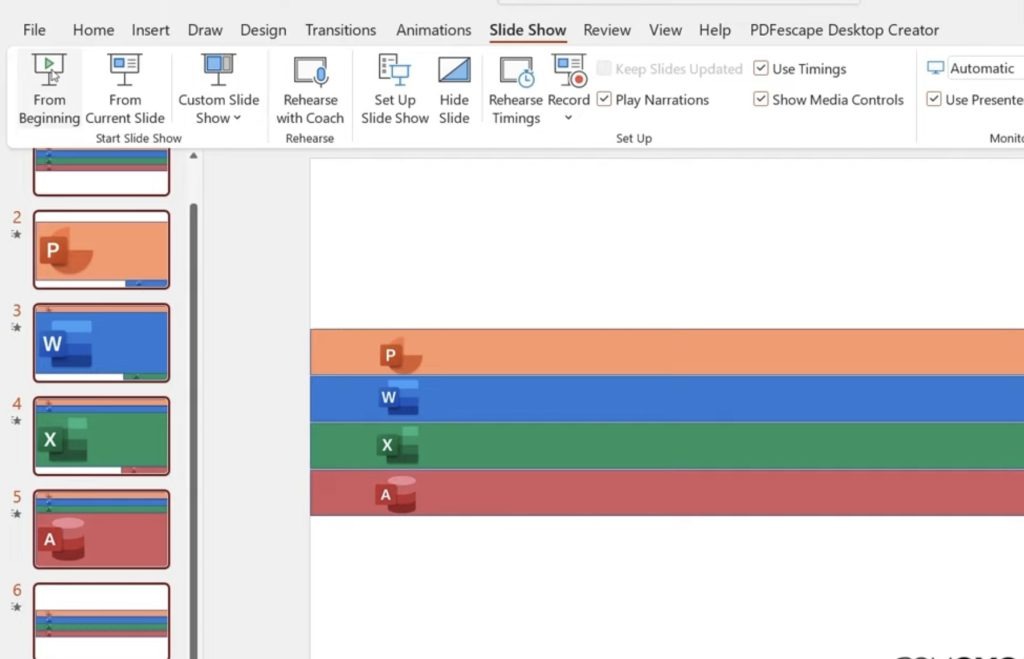
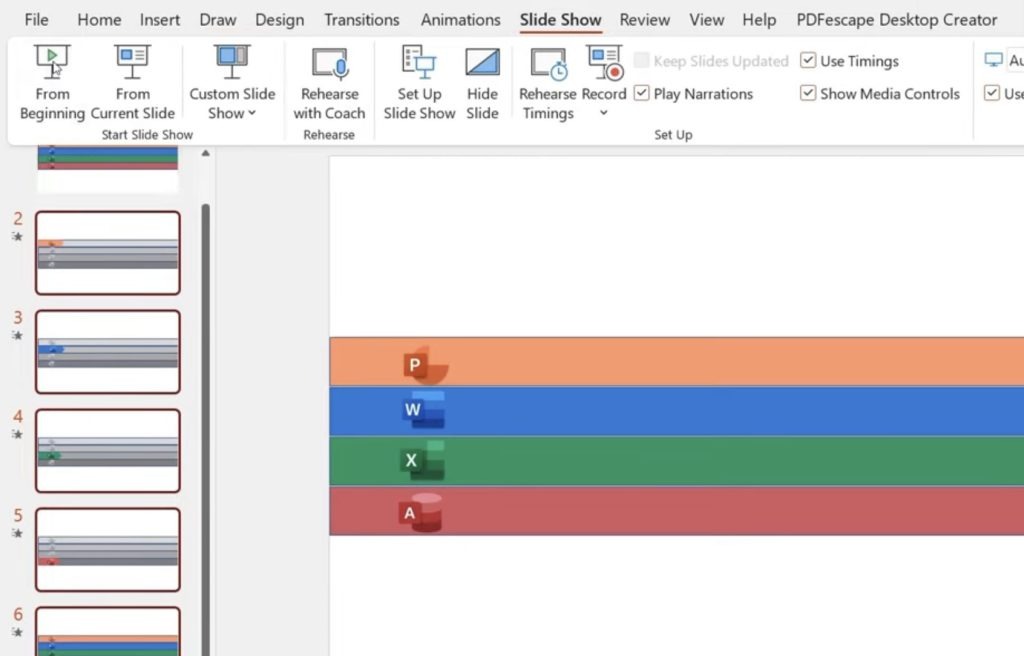
To view the presentation, go up to Slide Show and select From Beginning.
As you can see, the Morph feature will give the presentation a zooming effect.
Black and White to Color Highlight Morph Animation in Microsoft PowerPoint
Next, we are going to create a black and white version of the presentation we just made. The colors will change and morph based on the topic being presented.
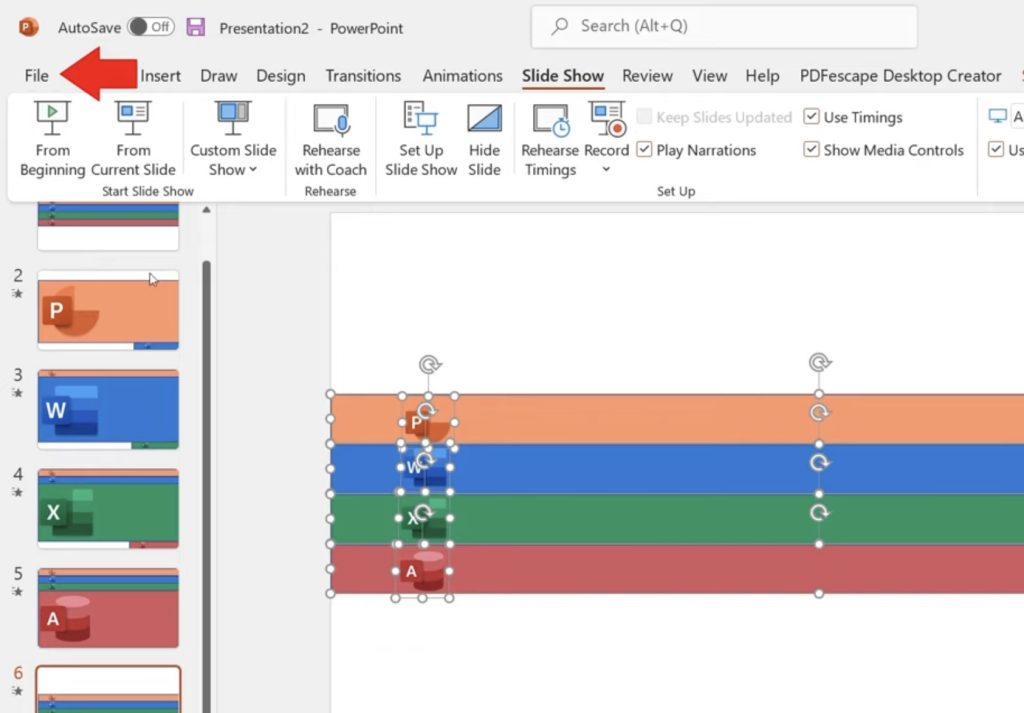
Highlight everything in the presentation and press CTRL+C. Go to File and select Blank Presentation.
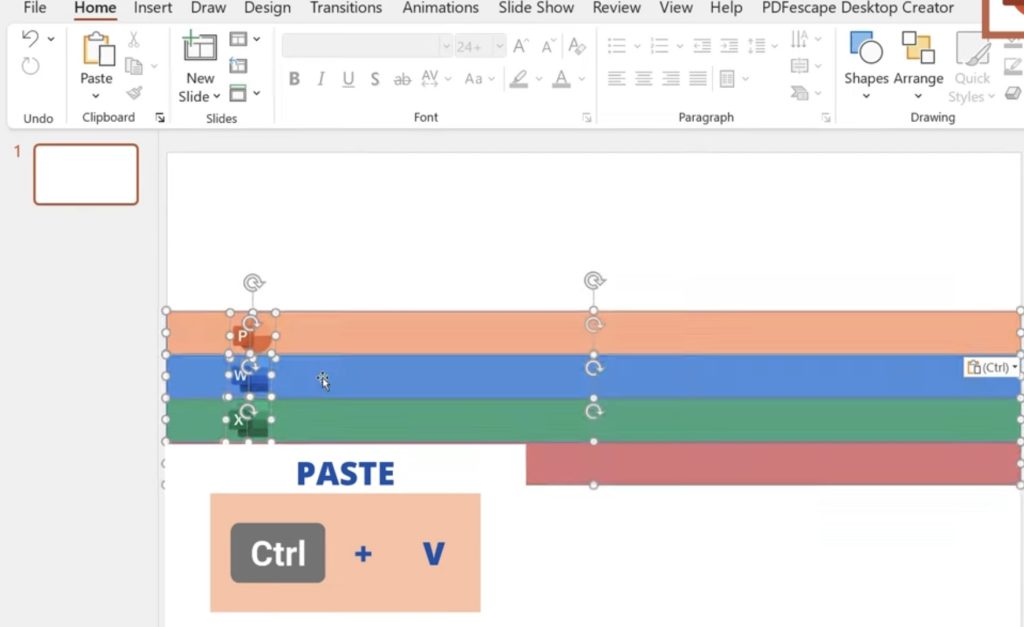
Highlight the 2 default boxes and hit Delete. Hit CTRL+V to paste the elements into the new file.
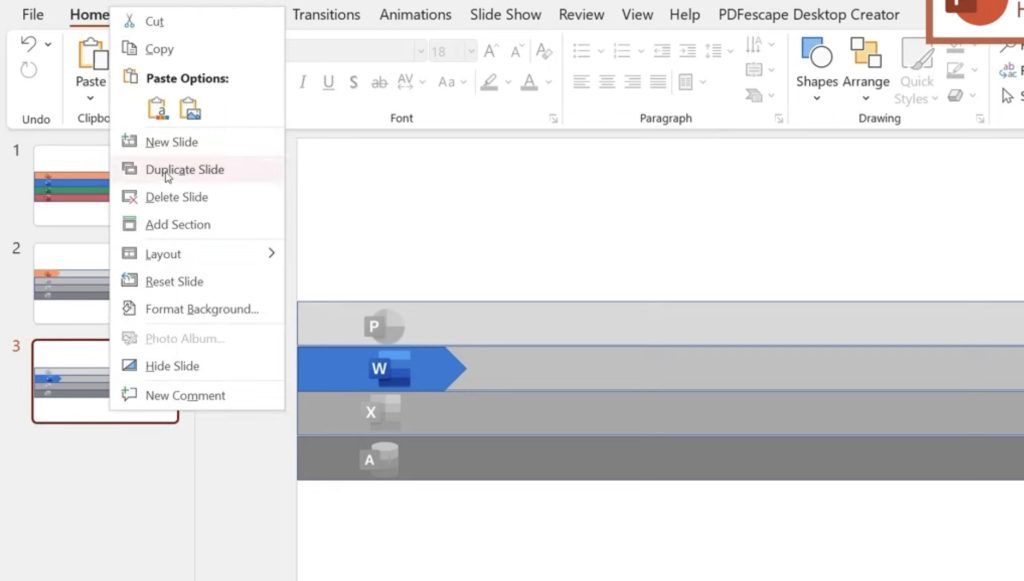
Right Click the first slide and go to Duplicate Slide.
The second slide will serve as the black and white base of the presentation. Select all the elements, and hit CTRL+C to copy, then CTRL+V to paste. Move the pasted elements out of the way.
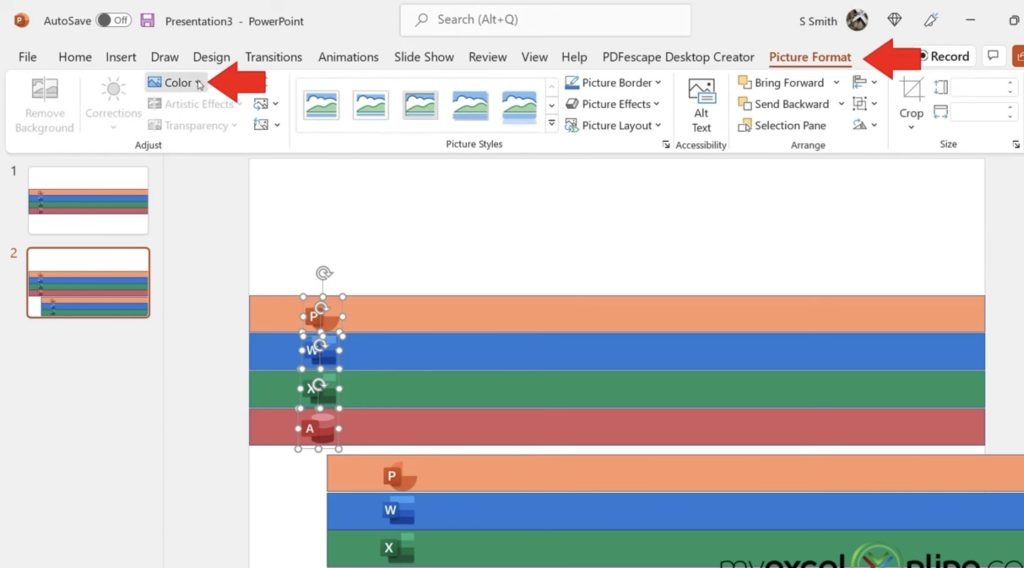
Next, select the icons from the original by holding down the Shift button and clicking each icon. Go to Picture Format, then Color. Select a black and white shade.
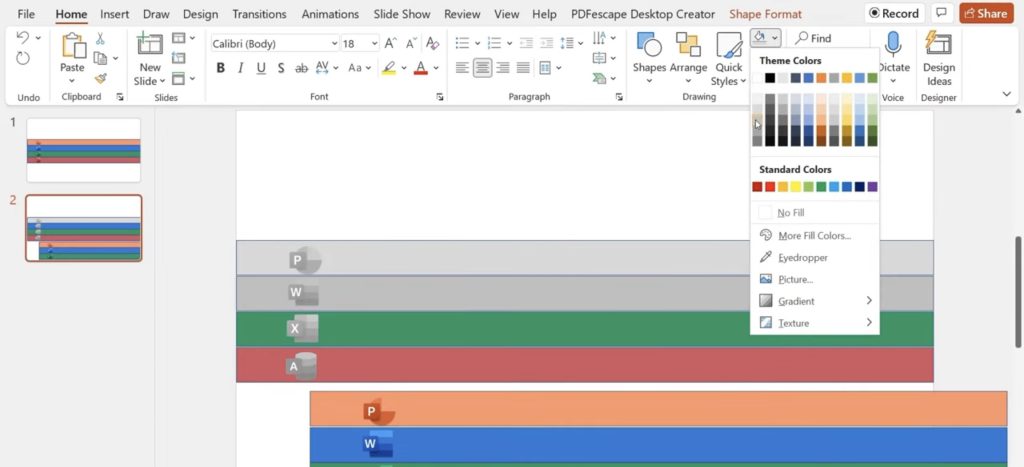
Now, change the color of the rectangles by selecting each rectangle and going to Fill Color. Choose a grey color.
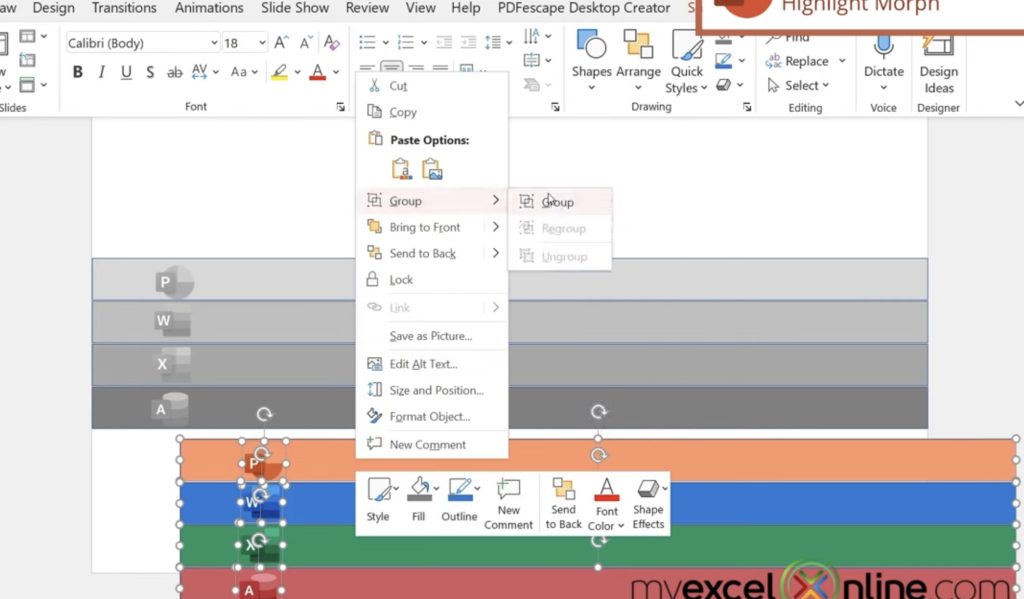
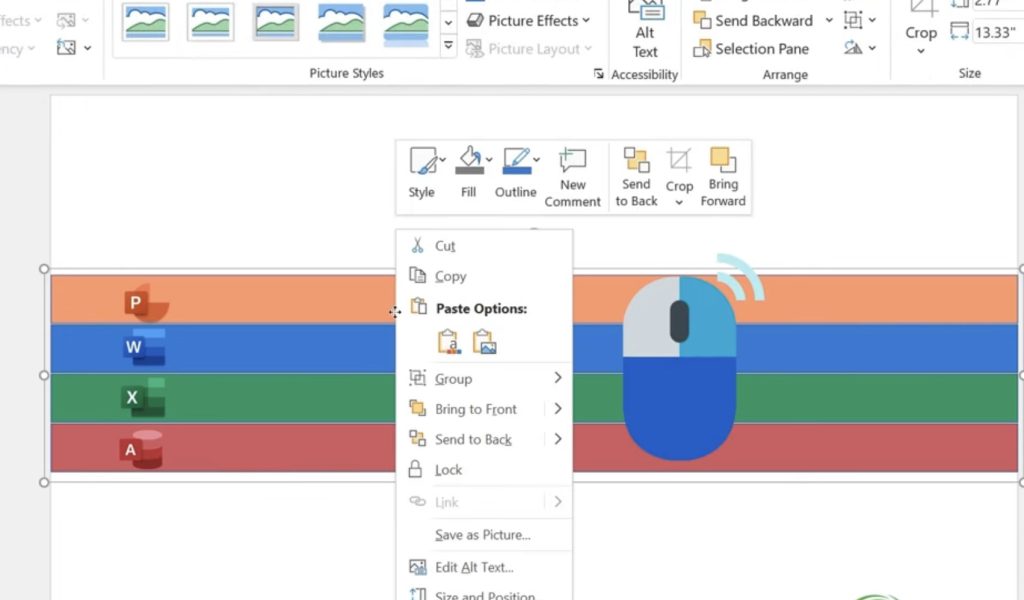
Select All of the colored elements and Right Click. Select Group to make them appear as one image.
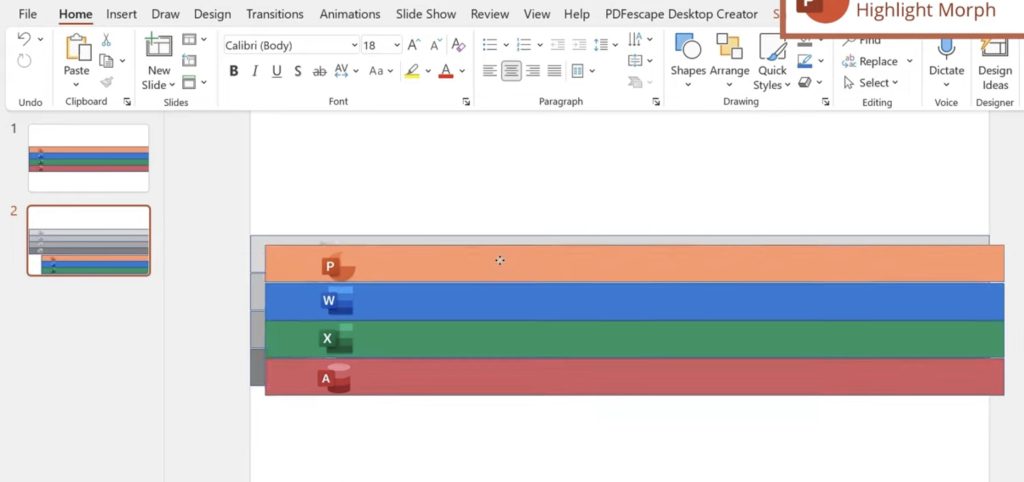
Carefully Drag and Drop the colored image on top of the black and white elements.
Next, Right Click on the image and go to Save as Picture. Hit Save. Delete the grouped image that you just saved.
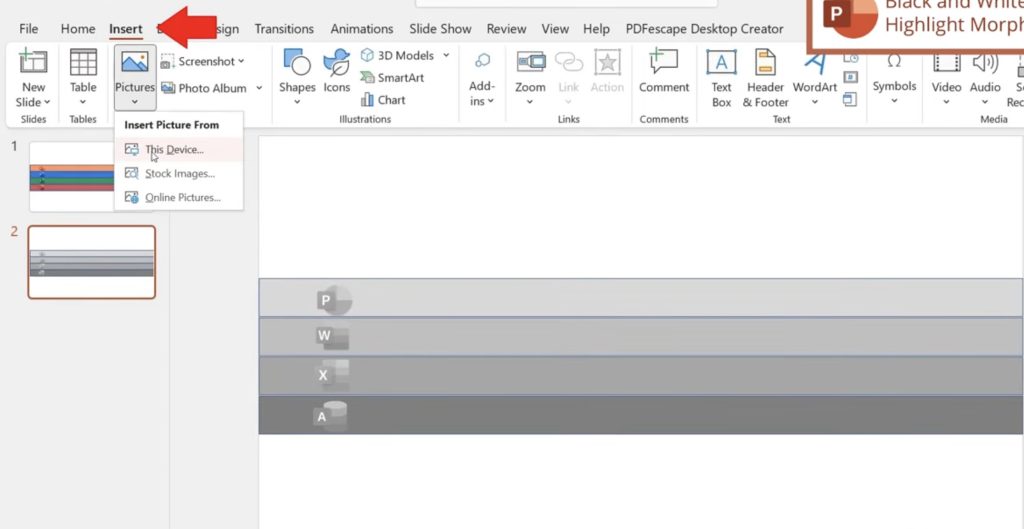
Go up to Insert, Pictures, Insert Picture From This Device.
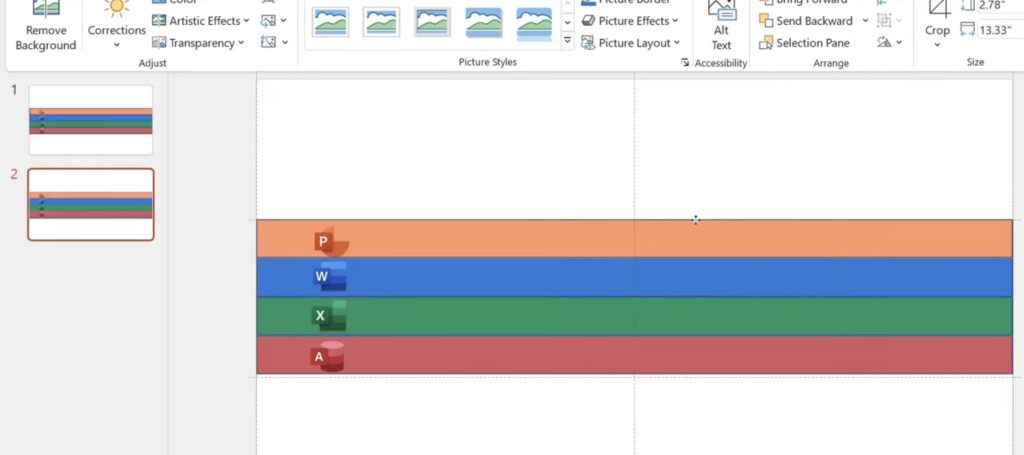
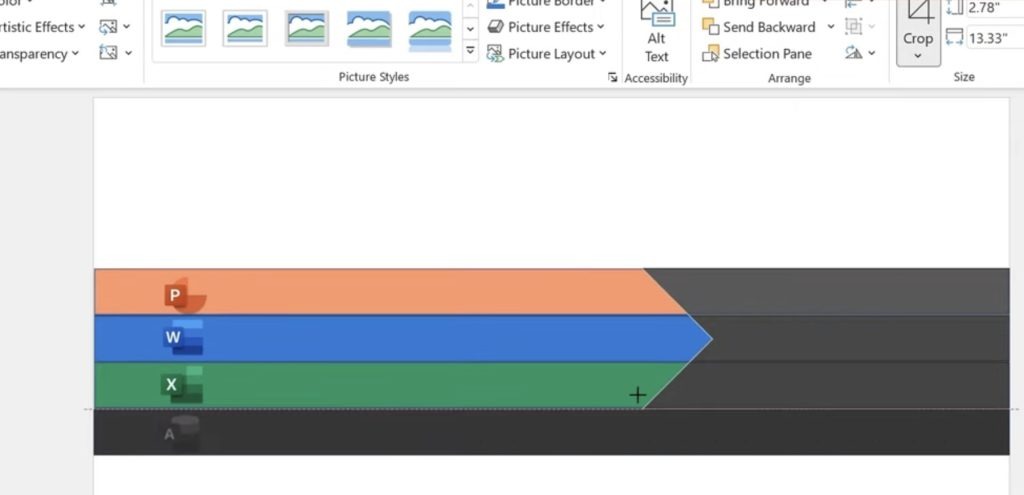
The reason we need this to be in the form of a picture is because the Crop tool is only available for pictures. Align the picture exactly on top of the grey elements.
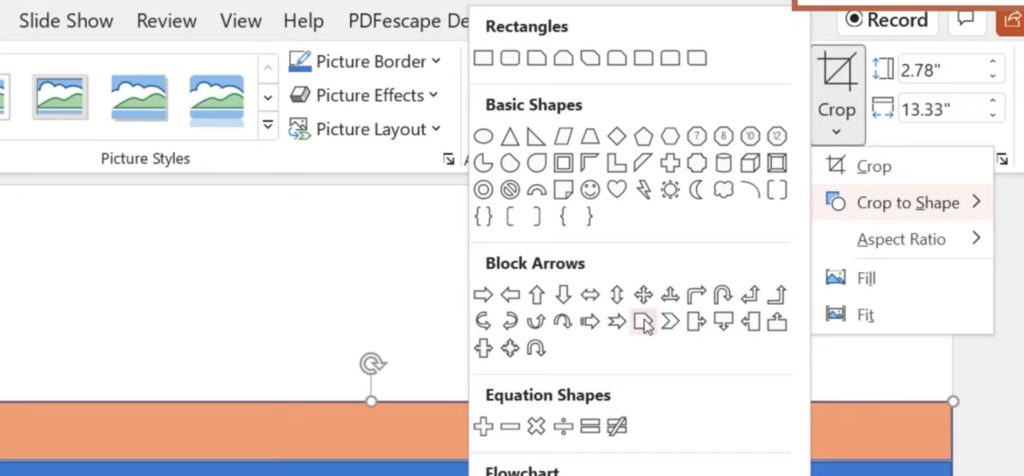
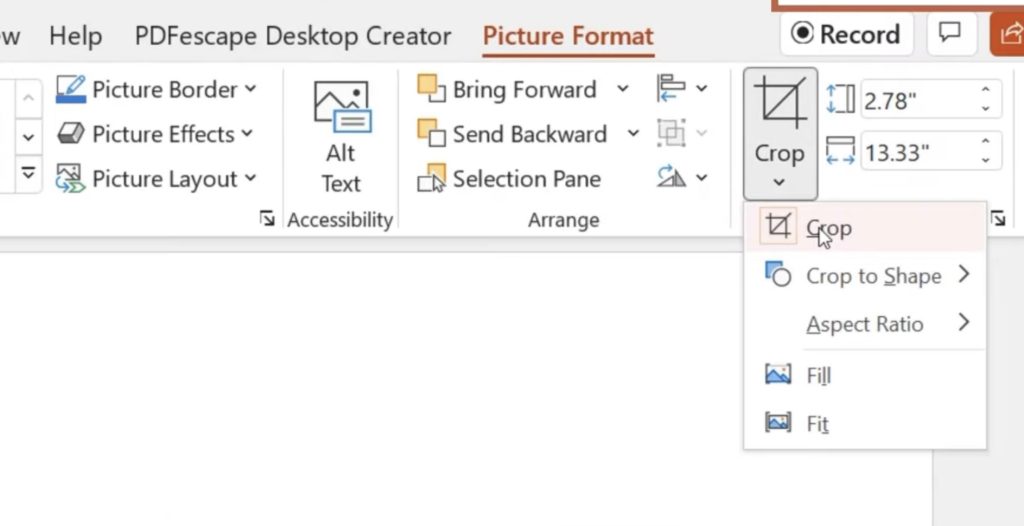
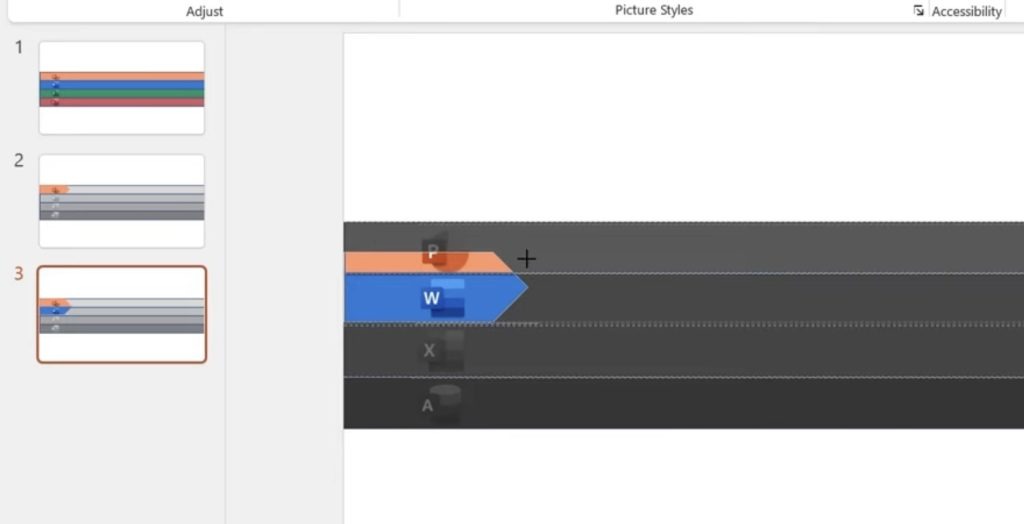
Go up to the Crop tool, Crop to Shape, and Select the arrow shape.
Go back to the Crop Tool and select Crop.
Once applied, you can Resize the arrow to Highlight the icons.
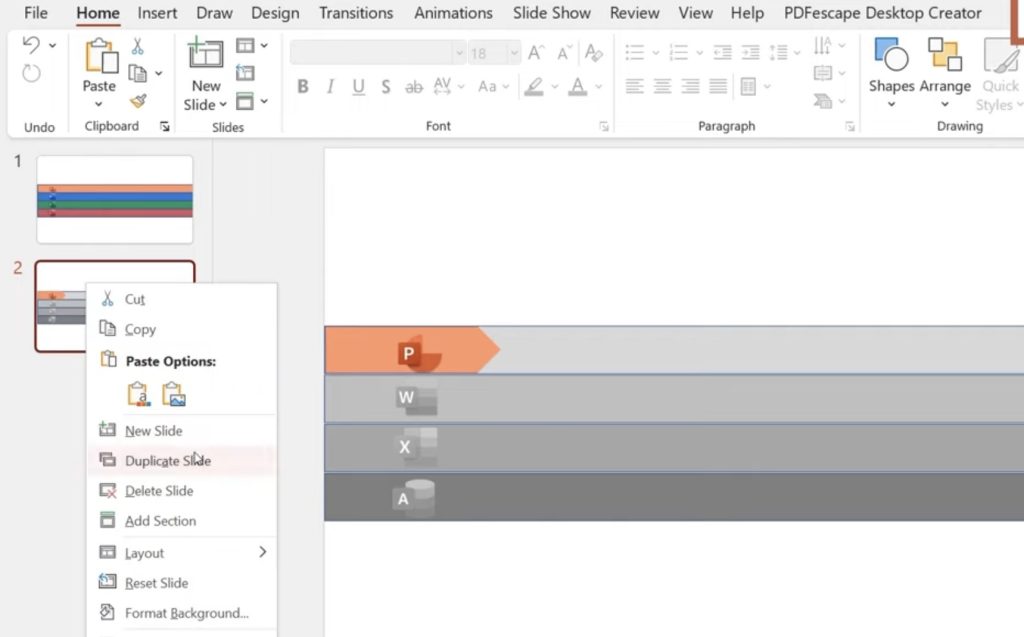
Right Click on the second slide and go to Duplicate Slide.
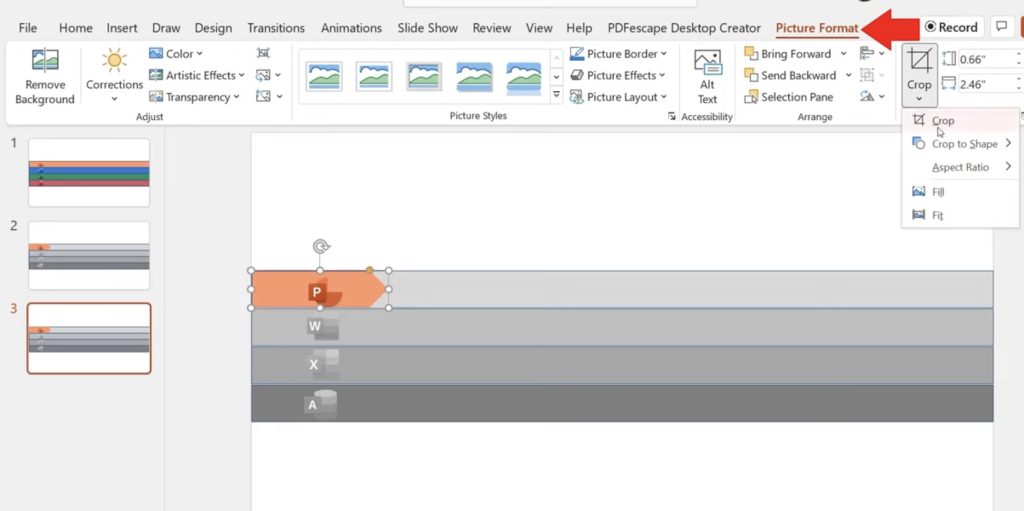
On the third slide, Select the cropped image, go up to Picture Format, then Crop.
This time, you can Re-crop the picture to Highlight the Word icon.
Right Click on the third slide and go to Duplicate Slide and do the same process for the last two icons.
Once done, Duplicate the first slide and Drag it down to the last slide.
Lastly, hold down the Shift button and Select All slides. Go up to Transitions, and click Morph.
To watch the finished product, go up to Slideshow and select From Beginning.
As you can see, the colors will be morphing and changing based on the topic you are talking about.
Shape Morph Animation in Microsoft PowerPoint
Highlight All the elements on the first slide and hit CTRL+C on the keyboard to copy.
Go up to File, select Blank Presentation, and hit CTRL+V to paste the elements onto the new presentation.
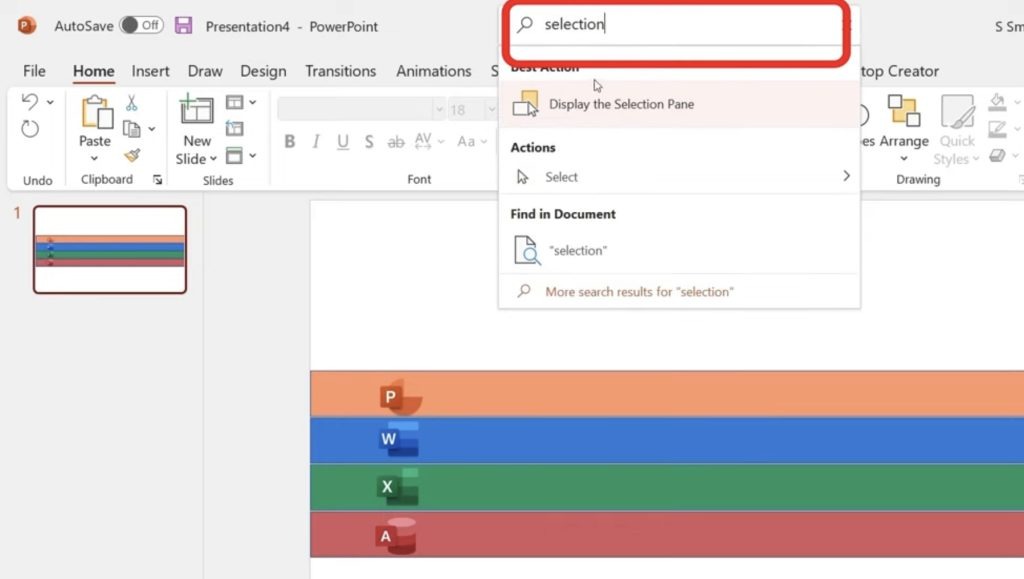
Go up to the Search Bar above and search for Selection Pane.
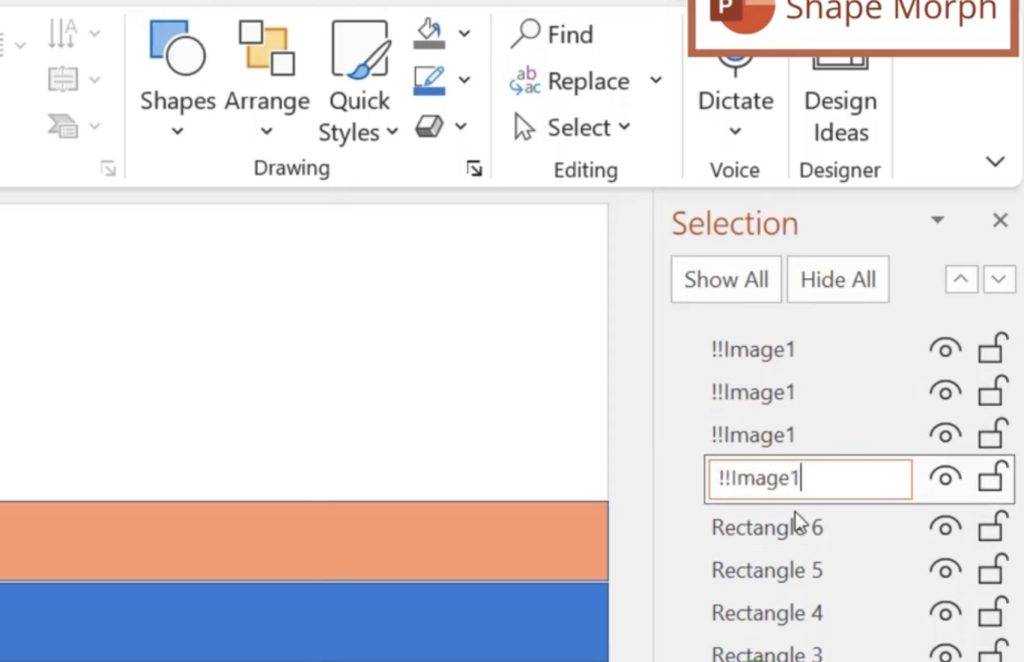
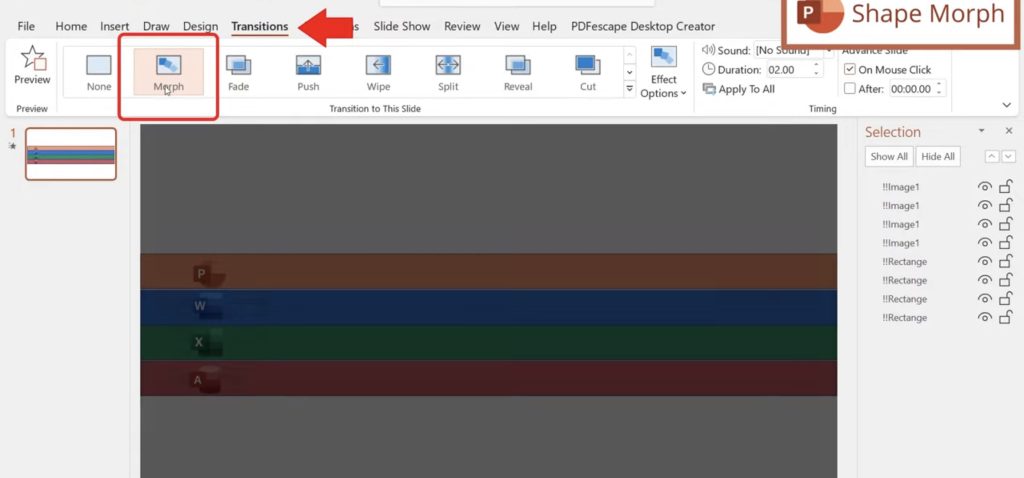
You will see that all the elements on the slide will be represented by a name in the pane. In order to morph one image to another, it needs to have the same name on different slides. That name also needs to start with two exclamation points (!!) Double-click on the first image name and change its’ name to !!Image1. Copy the name and Paste it to all the other image names.
Now, change the names of the rectangles to !!Rectangle. Then, set the Transition to Morph to retain that transition for every slide.
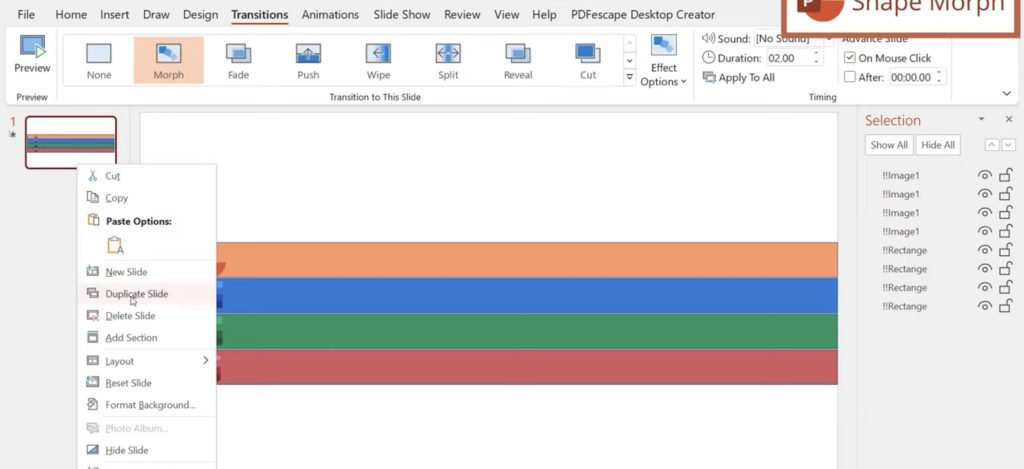
Right Click on the first slide and click Duplicate Slide.
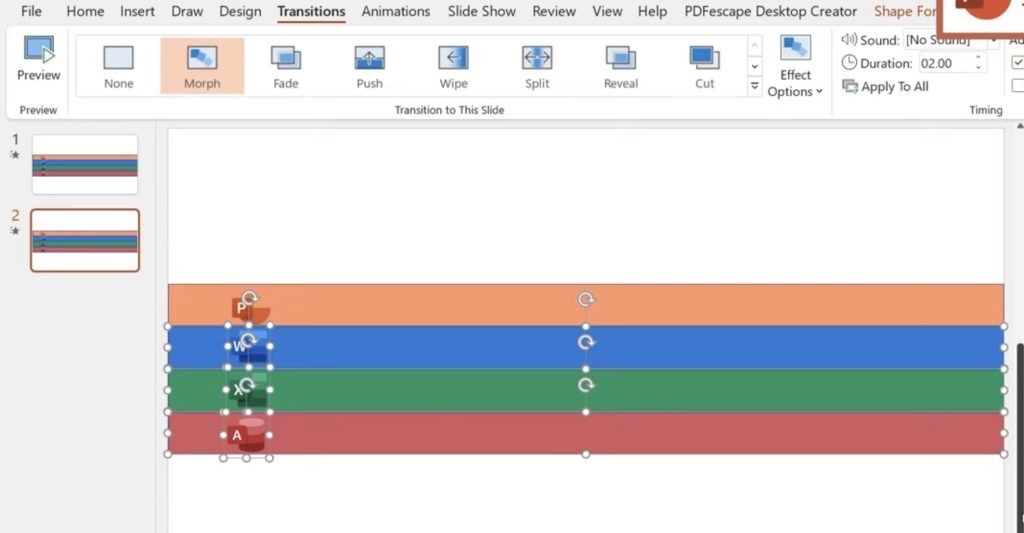
On the second slide, Highlight everything under the PowerPoint icon and rectangle and hit Delete.
Duplicate the first slide again, and Drag the duplicate to the third position. Highlight, and Delete everything except for the Word icon and rectangle.
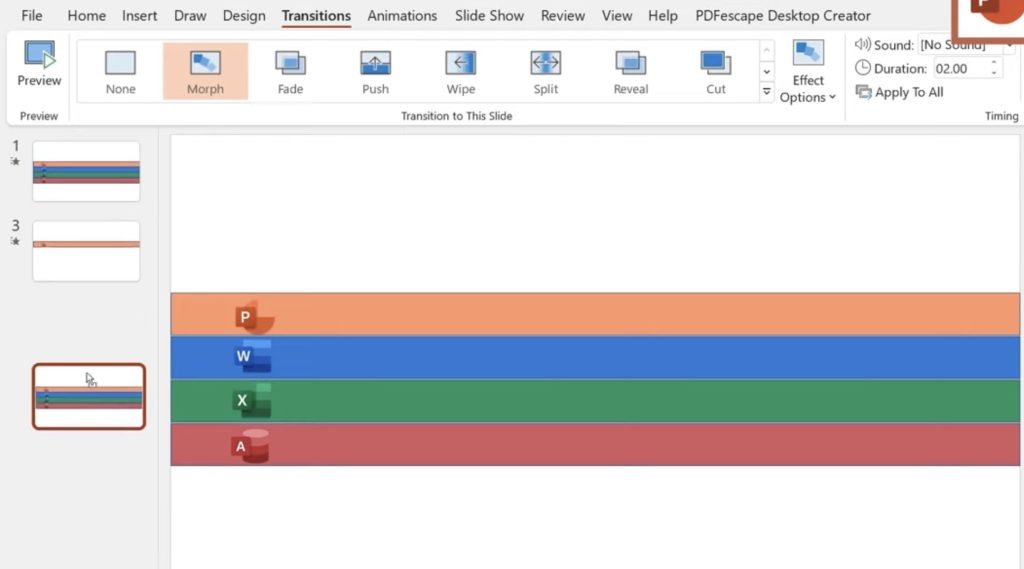
Repeat the same process for the Excel and Access icons. Finally, Duplicate the first slide and Drag it all the way down to the last position.
Preview the presentation by going to Slideshow, then click From Beginning. As you can see, the icon will morph into the next one in this super cool transition!
There you have it! In this article, we have covered how to use various Morph transitions in a PowerPoint presentation. Use these tips to add a cool and professional look into your presentations!
John Michaloudis is a former accountant and finance analyst at General Electric, a Microsoft MVP since 2020, an Amazon #1 bestselling author of 4 Microsoft Excel books and teacher of Microsoft Excel & Office over at his flagship Academy Online Course.
