When you’re dealing with sensitive or confidential data, it’s super important to make sure your Excel sheets are well protected. That way, you can prevent any unauthorized access, changes, or accidental deletions. Safety first, right?
Fortunately, Excel provides several methods to protect sheets, including the option to use a password for an extra layer of security. In this article, we will explore how to Protect Excel Sheets with ease:
You might also want to check out this article on the Top 20 Common Problems in Excel! Don’t forget to take advantage of this Free Microsoft Excel Online Course – 20+ Hours Beginner to Advanced Course!
Download the Excel Workbook below to follow along and understand how to Protect Excel Sheets –
download excel workbook ProtectExcelSheets.xlsx
Now, let’s explore each of these steps individually!
Reasons to Protect Excel Sheets
Securing your Excel sheets brings along benefits, such as:
Confidentiality: By protecting the sheets, you can stop unauthorized users from getting access to sensitive information.
Integrity: It ensures that critical formulas, data, and formatting remain unchanged.
Accidental Changes: Protection reduces the risk of accidental modifications or deletions.
Protecting Excel Sheets with a Password
Excel allows you to protect your sheets with a password to prevent unauthorized access. Follow these steps to protect an Excel sheet using a password:
Open the Excel workbook containing the sheet you want to protect.
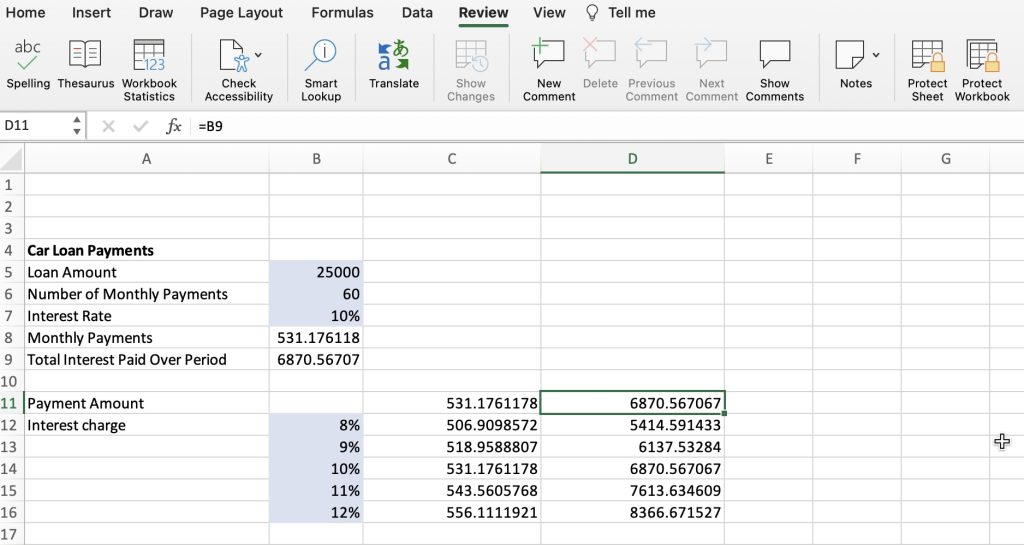
Click on the Review tab in the Excel ribbon. Click on Protect Sheet.
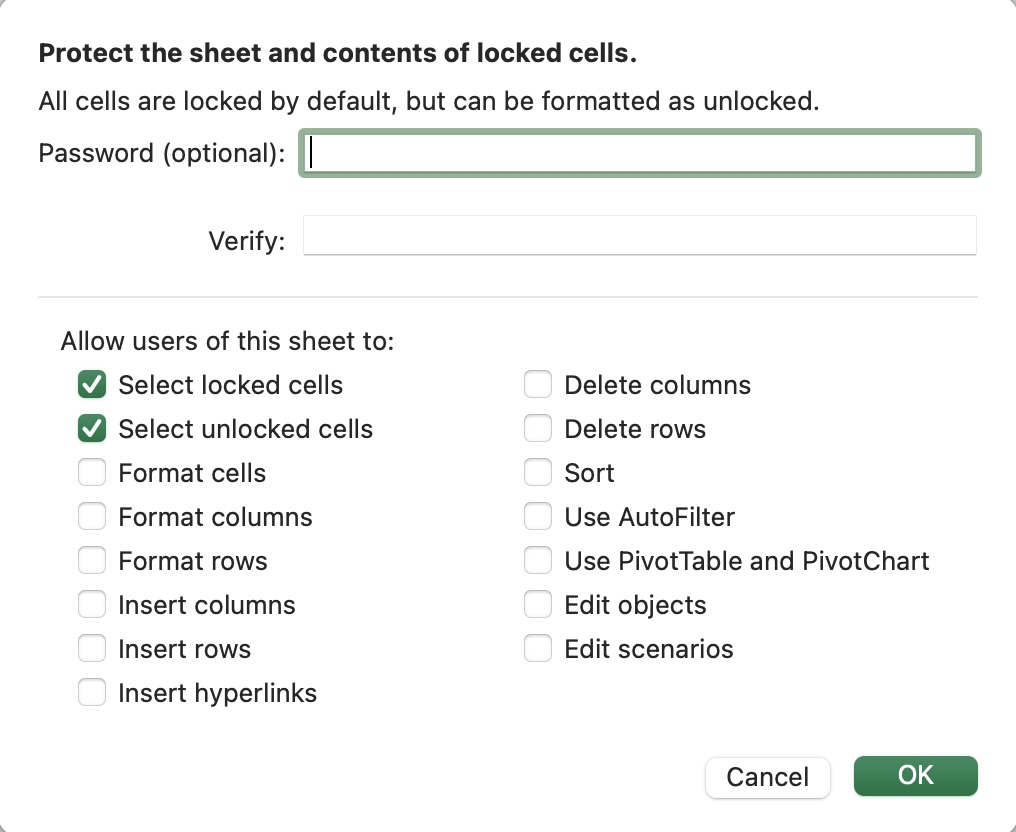
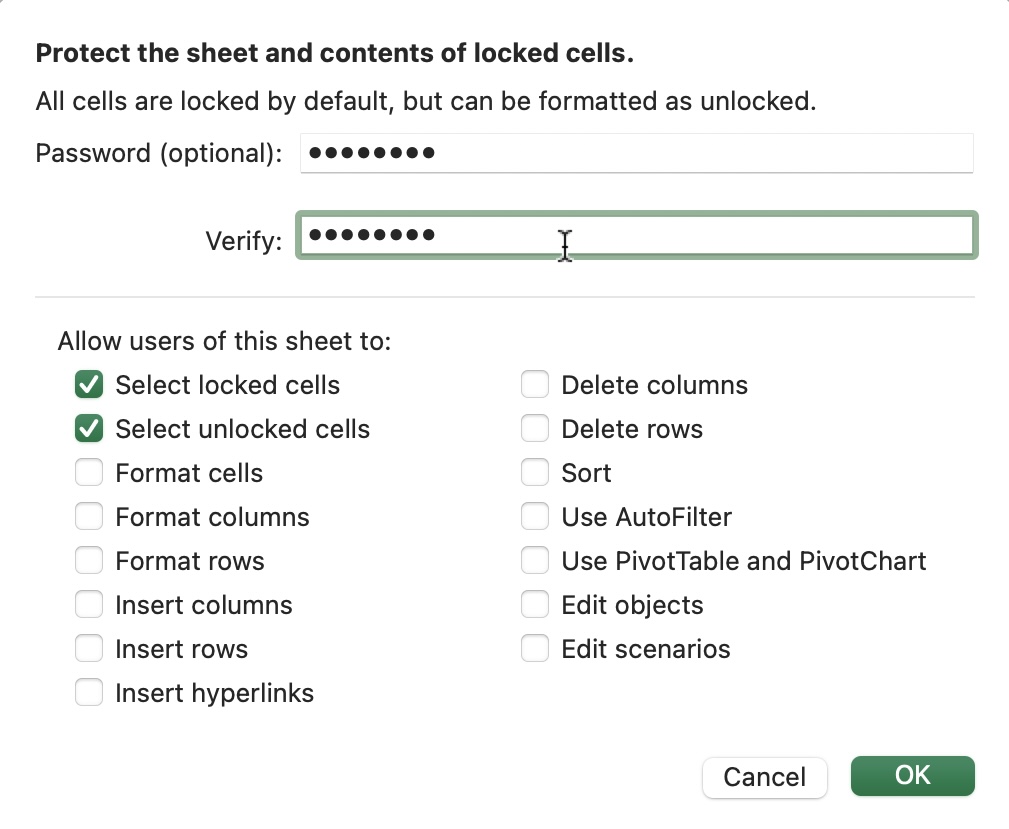
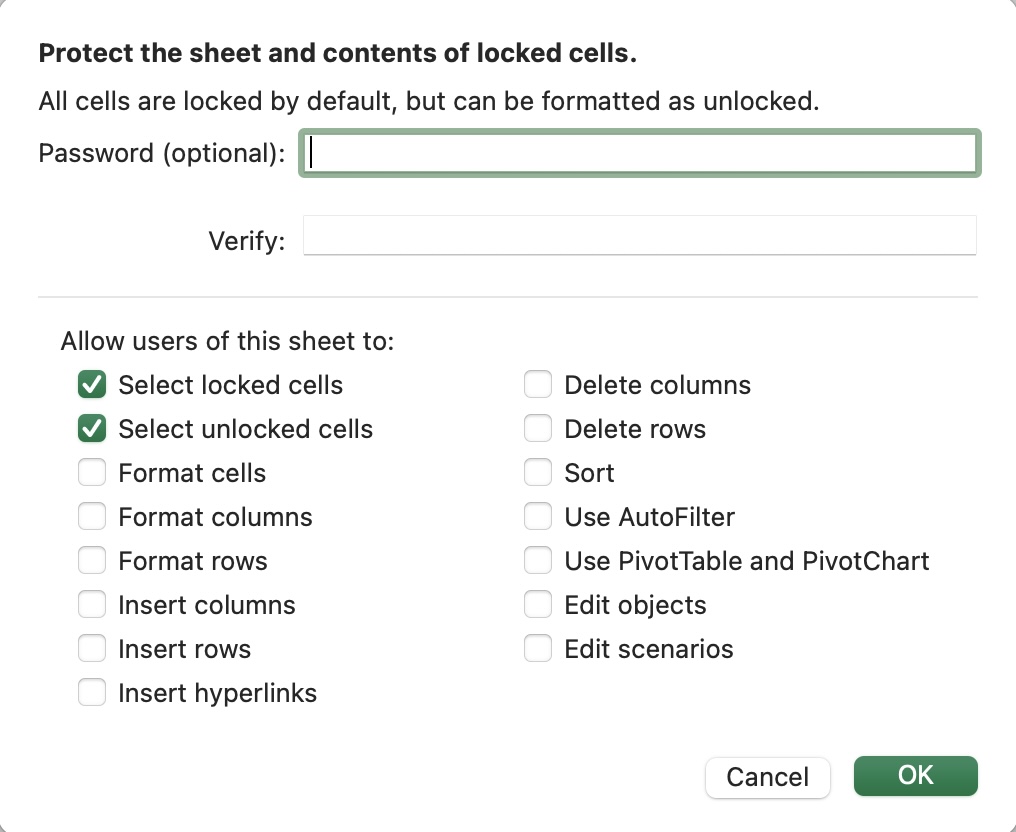
A Protect Sheet dialog box will appear. Check the Password option.
Enter a strong password in the provided field. Make sure to use a combination of uppercase and lowercase letters, numbers, and special characters to enhance security.
You can also specify the actions users are allowed to perform, such as selecting cells, formatting cells, or inserting/deleting rows. Customize these options based on your requirements.
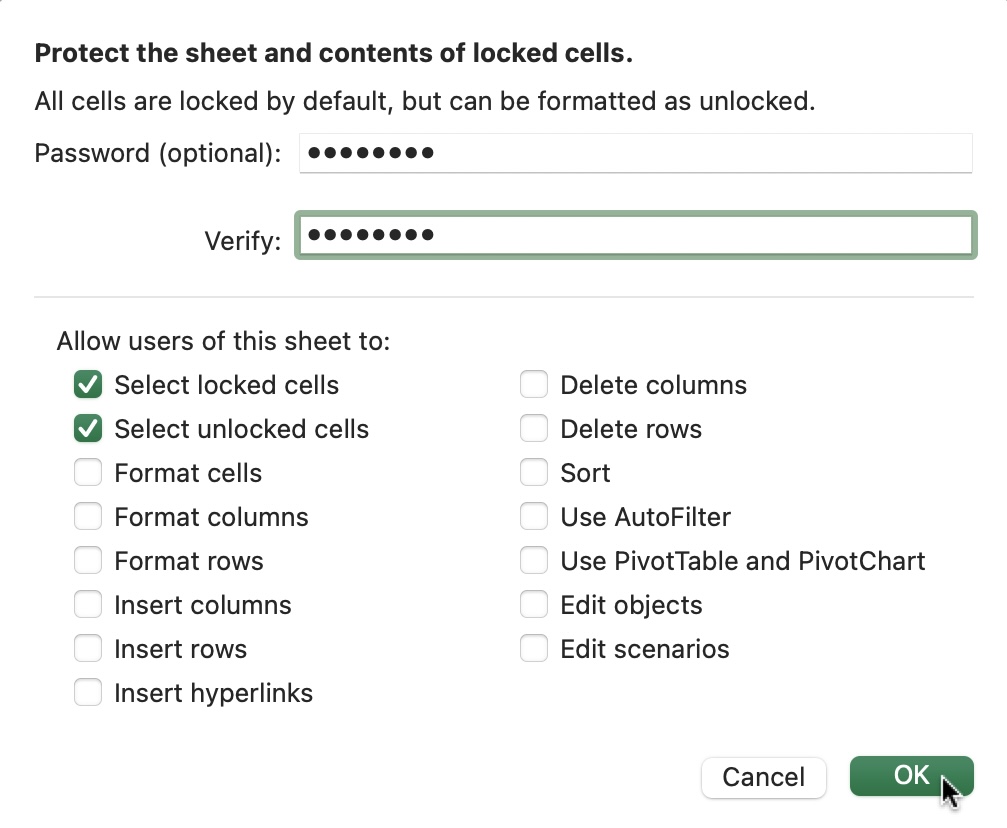
Click OK to apply the protection with the password.
Remember to keep a backup of the password in a secure location as losing the password might result in permanent data loss.
Protecting Excel Sheets Without a Password
If you want to protect an Excel sheet without using a password, you can follow these steps:
Open the Excel workbook and go to the sheet you want to protect.
Click on the Review tab in the Excel ribbon. Click on Protect Sheet.
The Protect Sheet dialog box will appear. Leave the Password field blank.
Similar to the password protection method, you can specify the actions users are allowed to perform.
Click OK to apply the protection without a password.
Unprotecting Excel Sheets
Now that you know how to protect Excel sheets let’s see how to unprotect them when needed.
Unprotecting a Sheet with Password:
Open the Excel workbook containing the protected sheet.
Click on the Review tab. Click on Unprotect Sheet.
A Password dialog box will appear. Enter the password that was used to protect the sheet.
Click OK, and the sheet will be unprotected, allowing you to make changes as needed.
Unprotecting a Sheet Without Password:
If you protected the sheet without a password, unprotecting it is even easier:
Open the Excel workbook containing the protected sheet.
Click on the Review tab.
Click on Unprotect Sheet.
Since there was no password set, the sheet will be unprotected instantly.
Protect the Workbook Structure
To protect the entire workbook and its structure, including the arrangement of sheets and windows, follow these steps:
Click on the Review tab in the Excel ribbon. Select Protect Workbook.
Just like protecting sheets above, you can set a password (optional) or leave it blank for no password protection.
Click OK to protect the workbook structure.
Test the Protection
After implementing protection, give it a test to make sure everything’s running smoothly, just like a well-oiled machine! Try editing some protected cells or accessing those shielded sheets to double-check that all the restrictions are working as they should. It’s a quick and easy way to ensure your sheet or workbook is locked up tight!
Whether you go for a password or decide to protect without one, Excel offers simple options to keep your sensitive info safe and sound. Just remember, if you choose a password, make sure it’s strong and keep it secure, so no unauthorized peeks happen!
John Michaloudis is a former accountant and finance analyst at General Electric, a Microsoft MVP since 2020, an Amazon #1 bestselling author of 4 Microsoft Excel books and teacher of Microsoft Excel & Office over at his flagship Academy Online Course.
