You can easily share screen in Teams meeting. You can choose to either share your entire screen or just a window as per your requirement.
In this article, we will be covering the following sub-topics –
- Share Screen in Teams Meeting
- Share All Screens
- Share Only a Window
- What May and May Not Be Shared
- Additional Tips
Watch this video on How to Share Screen in Teams on YouTube and give it a thumbs-up!
Following are the steps to share your screen within Microsoft Teams –
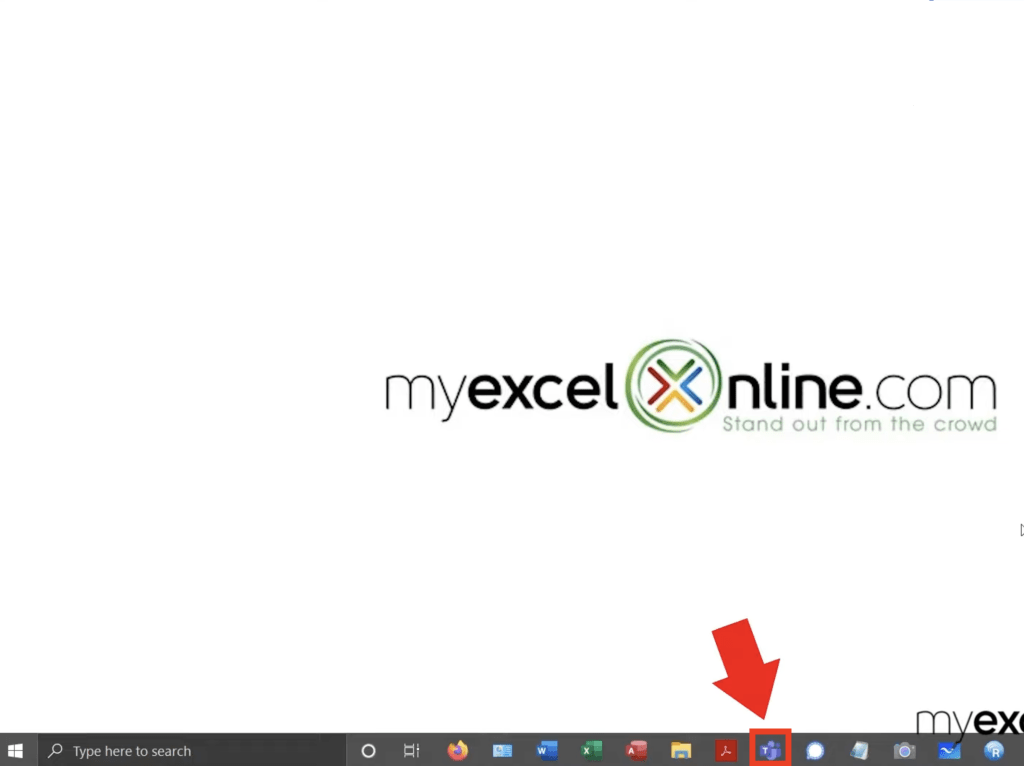
- Launch Microsoft Teams
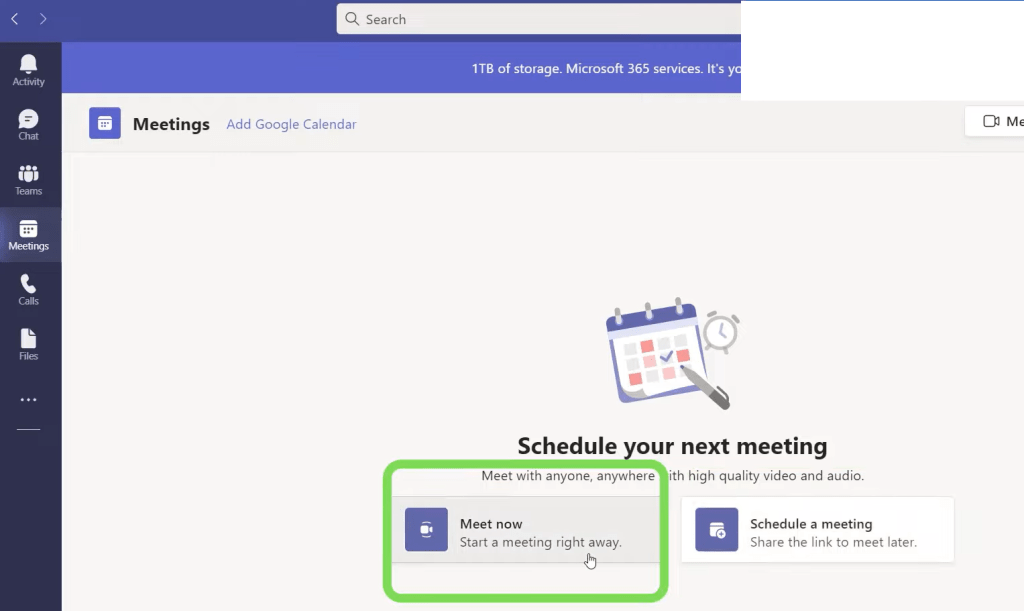
- Start a new meeting or join an ongoing meeting.
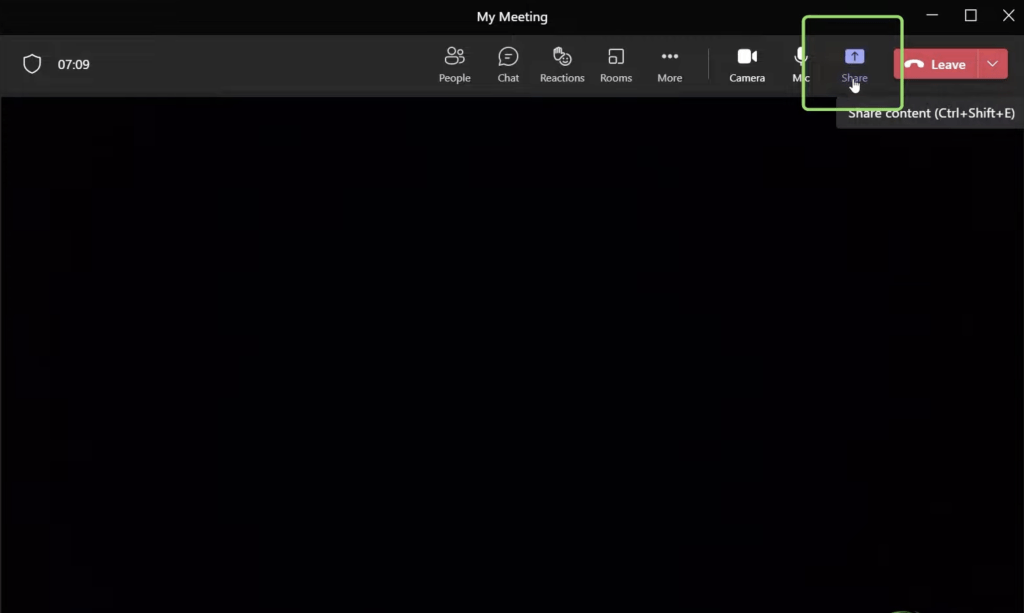
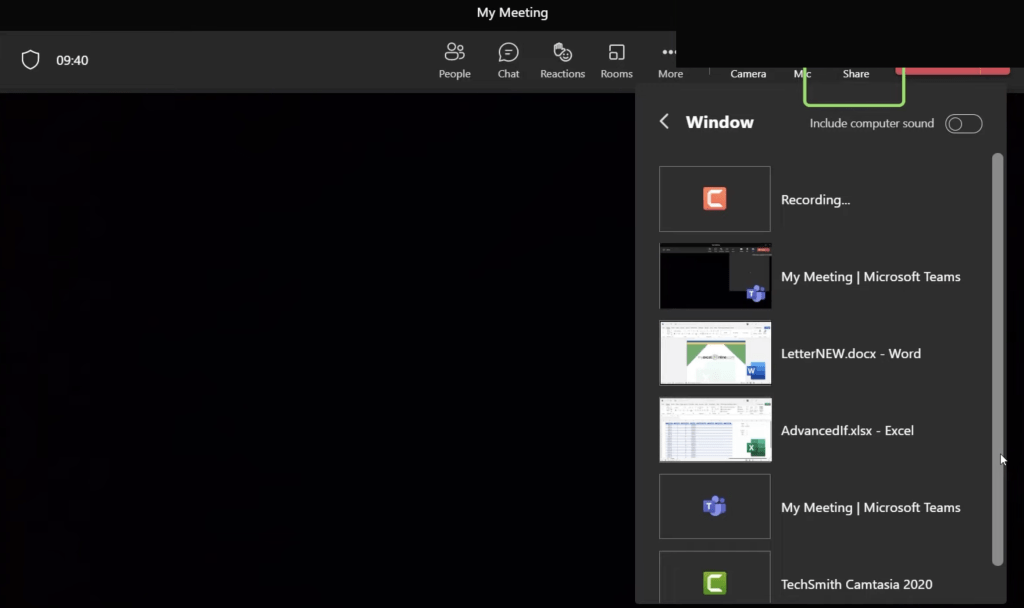
- Click on the Share button in the call menu to launch your screen-sharing options
- Select a Workspace to start sharing your screen
- Share your Screen – This will share your entire desktop with the attendees of the meeting. They will be able to see everything you are doing on your computer.
- Share your Window – This will share just that one window you select.
- After you select what you want to show to your team, a red border will appear around the screen which you’re sharing.
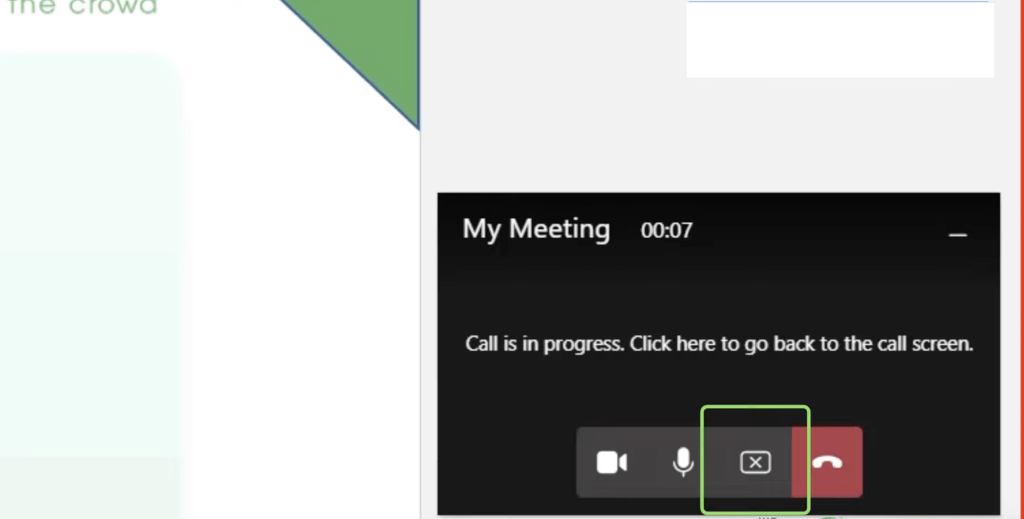
- To stop sharing, choose the Stop Sharing icon in the Call Options Window at the bottom of your screen
In this option, you will be sharing your entire desktop with everyone in the meeting.
Screen sharing means that whatever is visible to you on your screen is also visible to all other participants. Once you start sharing your screen, a red box will appear on your desktop screen, which shows that your screen is being shared.
So, if you switch from one window screen to another, the red box will still appear in each of the windows which means you are sharing all those screens with your team.
In this option, you will be only sharing a particular window with everyone in the meeting. You can open multiple windows in a meeting but only the one selected will be visible to other participants.
If you select to share a window option, then you will be asked to select any one window from the list of your open windows, which you want to share with your teammates. And only that window will be seen by everyone in the meeting.
A red box will appear only on that window screen that you want to share. So, if you switch from one window to another, the red border will disappear meaning this new window will not be seen by others in the meeting.
What May and May Not Be Shared
If you share a window in a Team meeting, some of the pop-up dialog boxes may or maybe not be shared with the attendees. This is because Microsoft Teams may consider a pop-up window as part of the Excel window or as a separate window altogether,
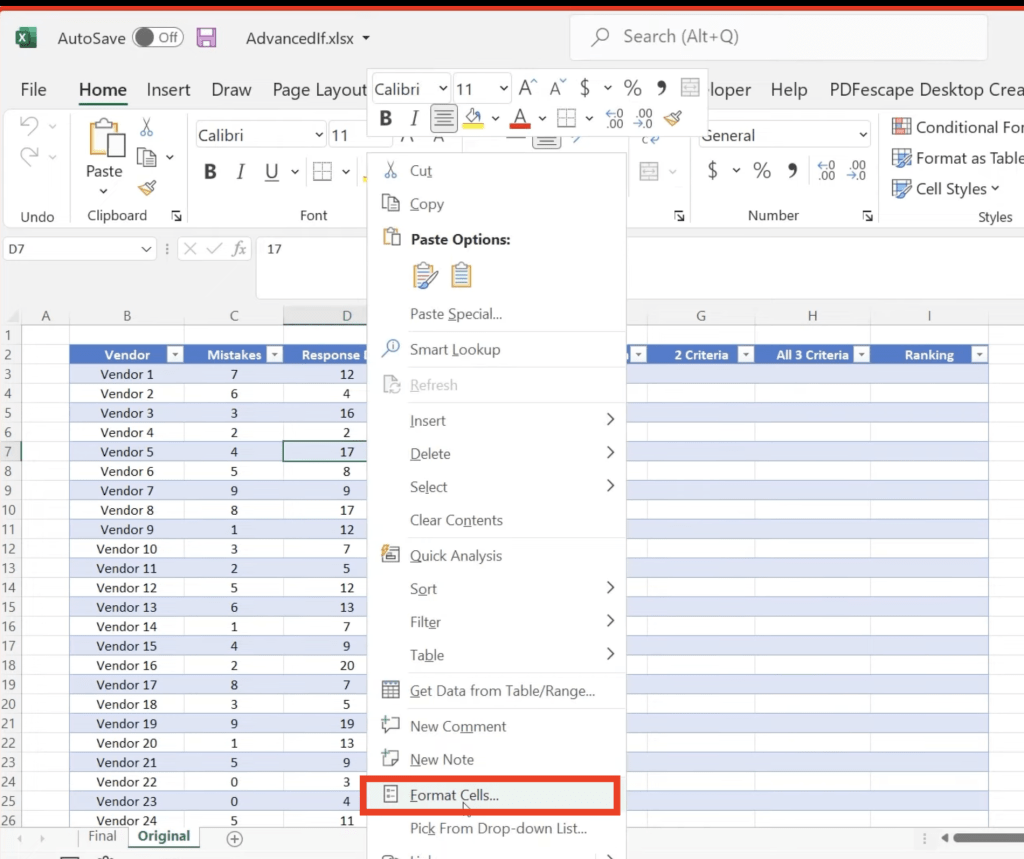
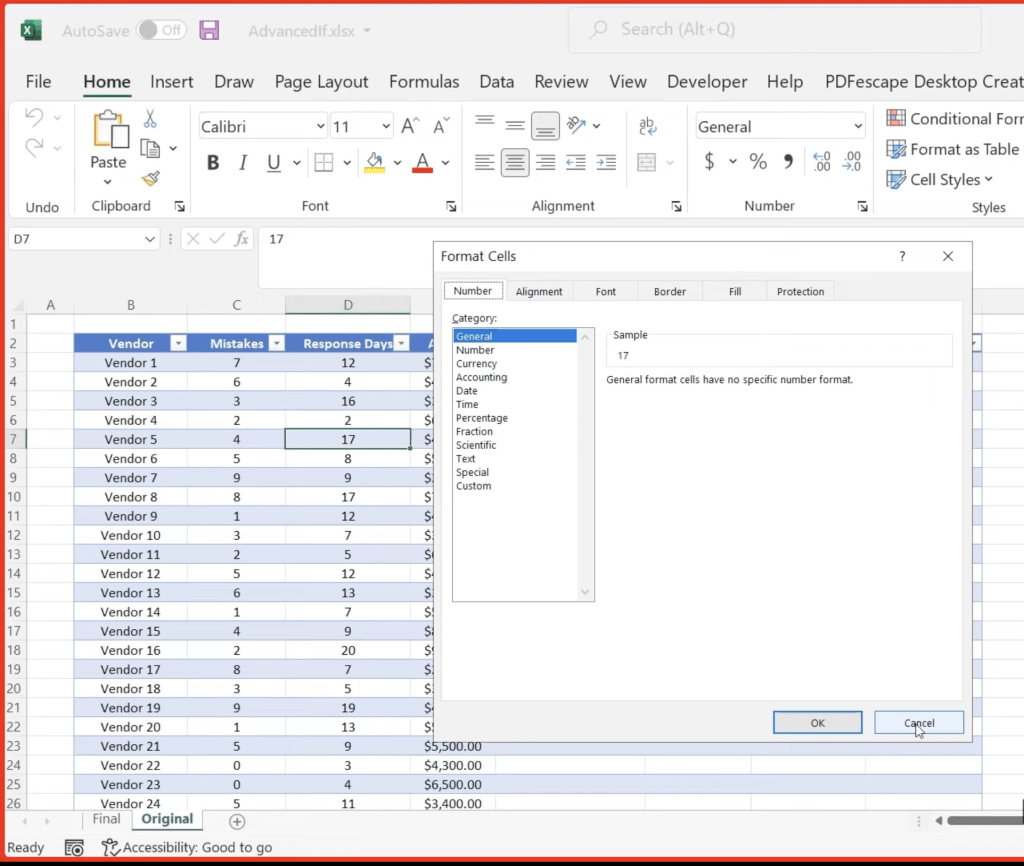
If you right-click on a cell and go to Format Cells,
A format cells dialog box will appear and all of the attendance will be able to see that dialog box.
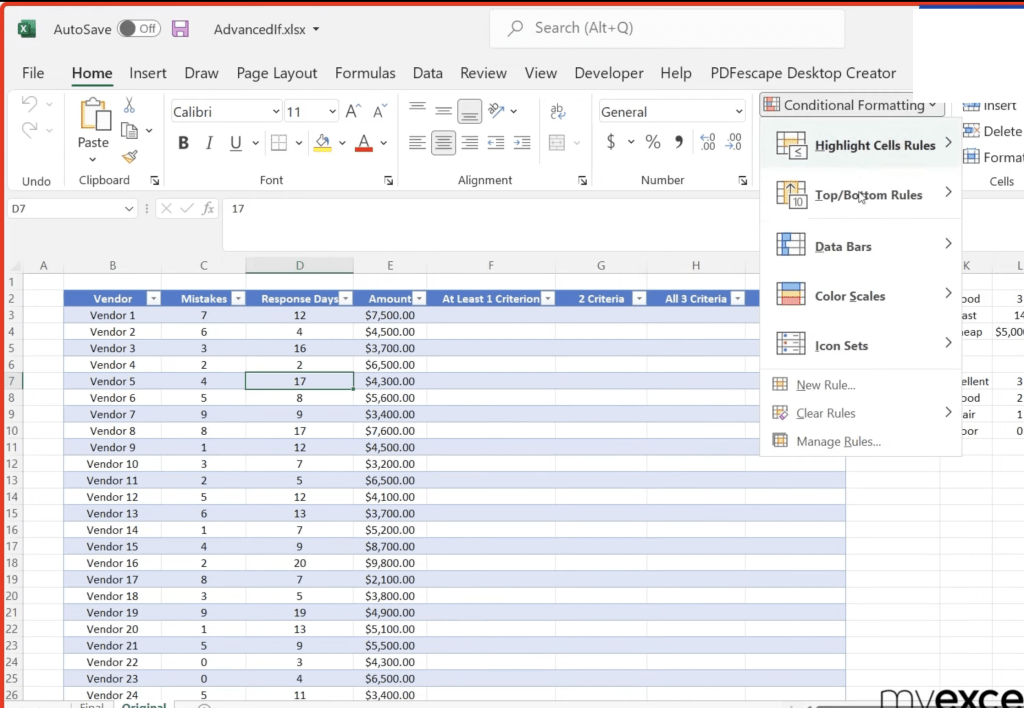
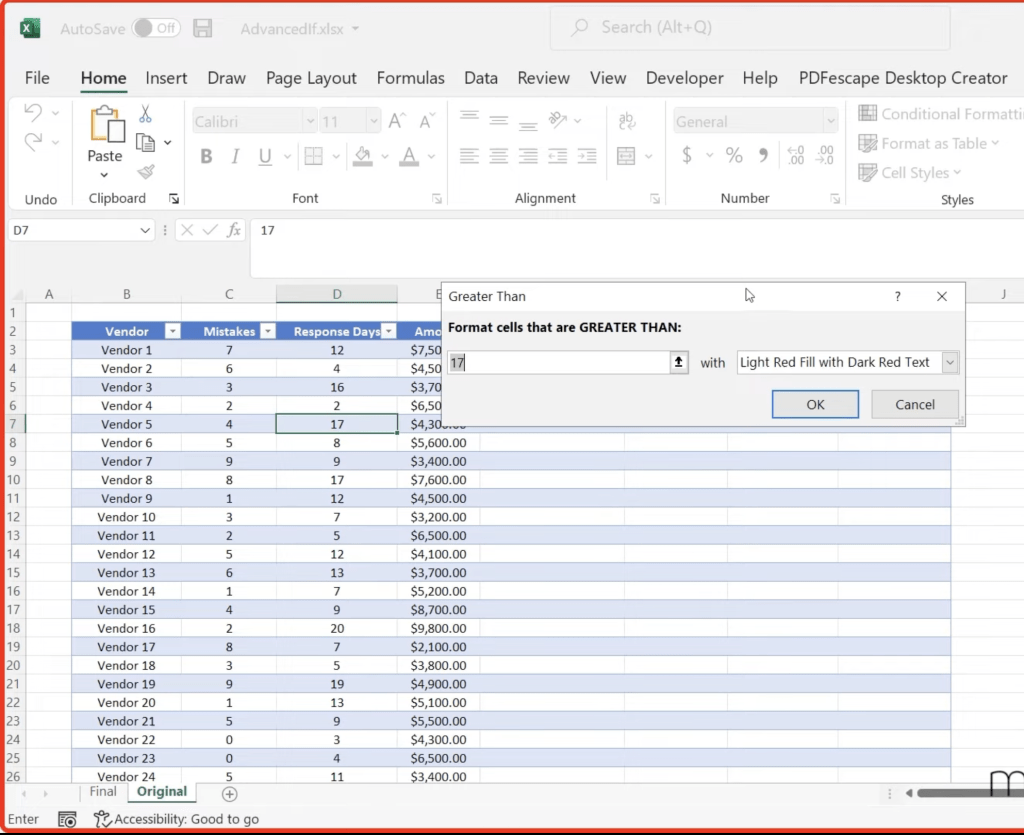
But, if you go to the Home tab and then click on Conditional Formatting.
A conditional formatting dialog box will appear but this will not be visible to others.
So, if you plan on sharing your screen to conduct a training tutorial it would be best that you share the entire desktop and close all the unwanted windows before starting the meeting.
- When you share screen in Teams meeting, the screen may not be properly visible to your teammates because of the size of the screen.
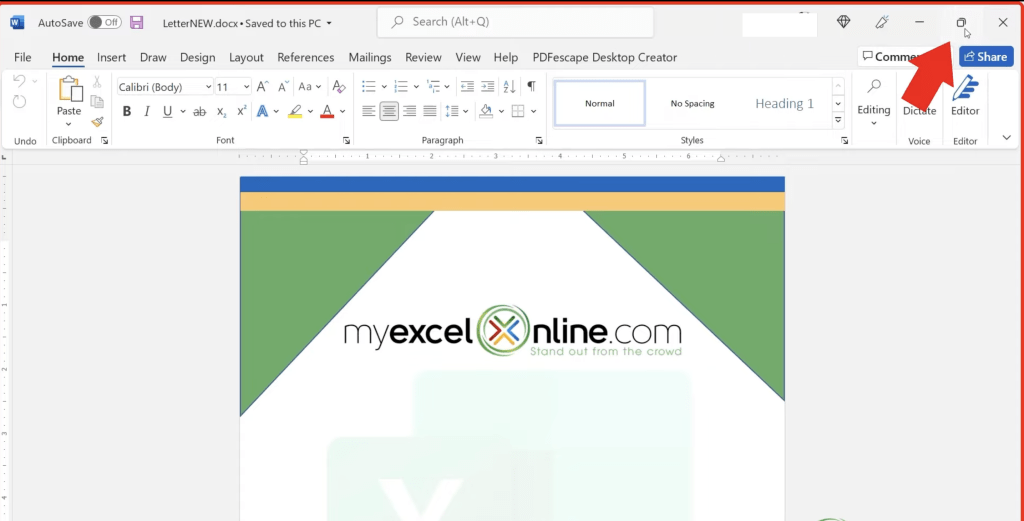
- Instead of minimizing or maximizing your screen, you should simply restore the screen to keep its size perfect for proper visibility to the others in the meeting.
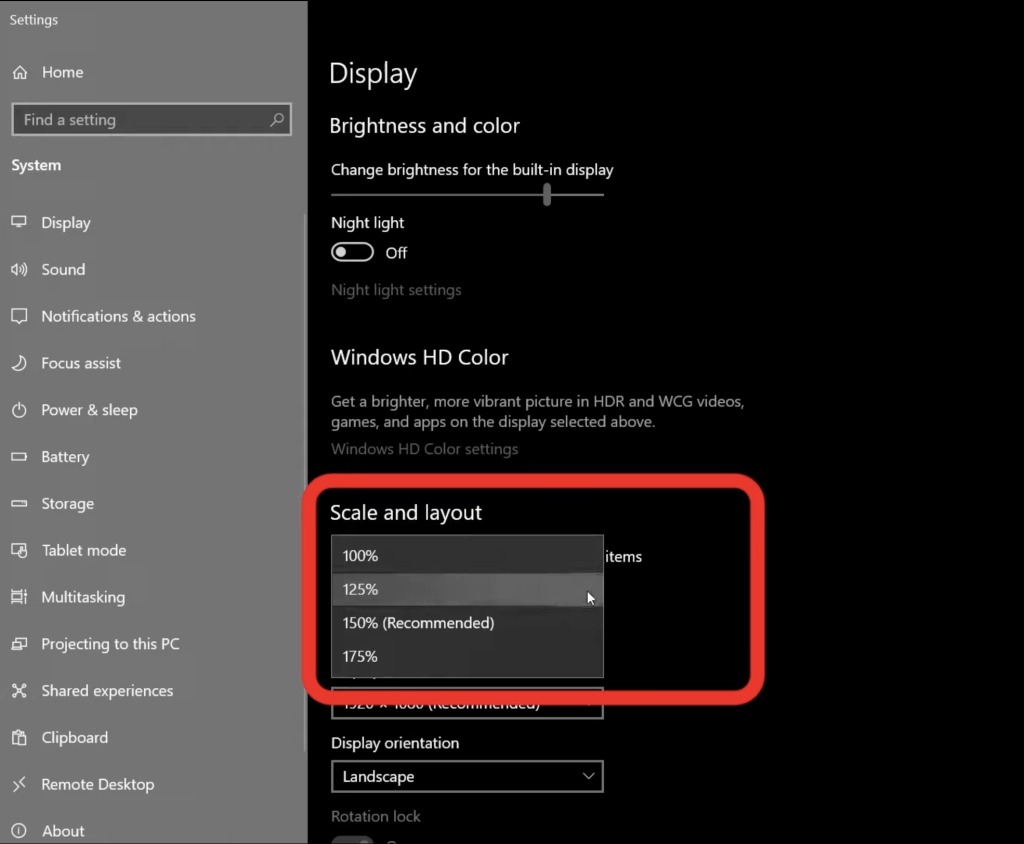
- You can also increase the size of the text from the desktop display setting so that your teammates will be able to clearly see the text on the screen you are sharing with them.
- Instead of minimizing or maximizing your screen, you should simply restore the screen to keep its size perfect for proper visibility to the others in the meeting.
- Before you share a window, you should first open the window that you want to share on your desktop. Only those windows which are open on your desktop will appear on the share window list.
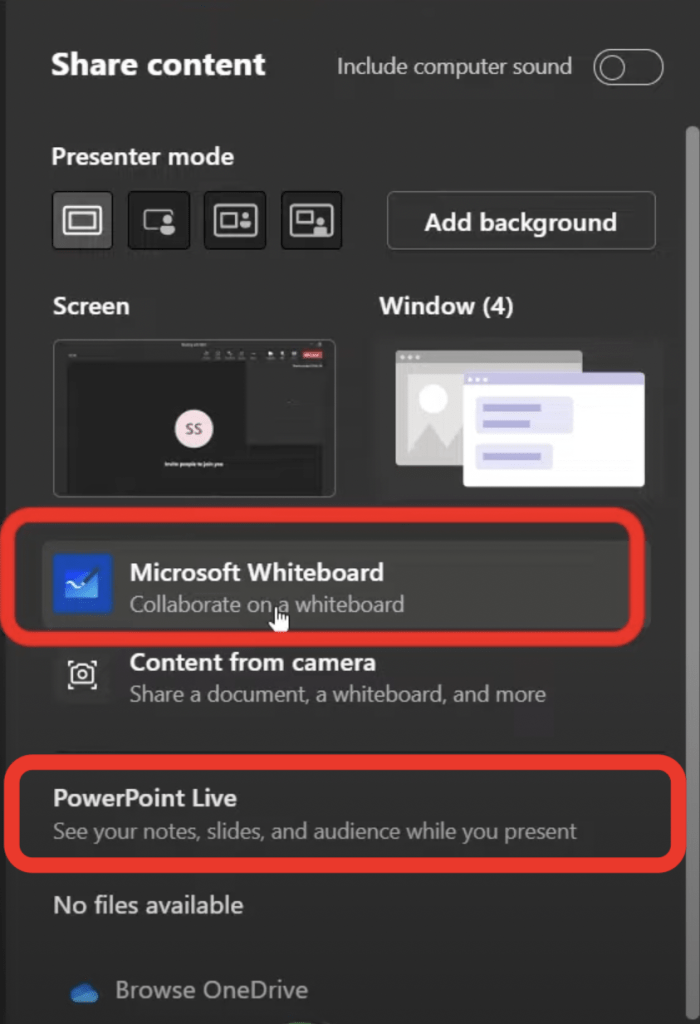
- You have two more sharing options available in a Teams meeting –
This article covers how to properly share your screen in a Microsoft Teams meeting. It shows you different options for screen sharing, including when to share just a window and when to share the whole desktop. It also includes additional tips for maximizing how well others in your Microsoft Teams meeting can better view your screen.
Get access to 30+ Microsoft Excel & Office courses for ONLY $1.
John Michaloudis is a former accountant and finance analyst at General Electric, a Microsoft MVP since 2020, an Amazon #1 bestselling author of 4 Microsoft Excel books and teacher of Microsoft Excel & Office over at his flagship Academy Online Course.
